©Aimée Geroux | https://extremecouponingmom.ca
The Best Italian Angeletti Cookies
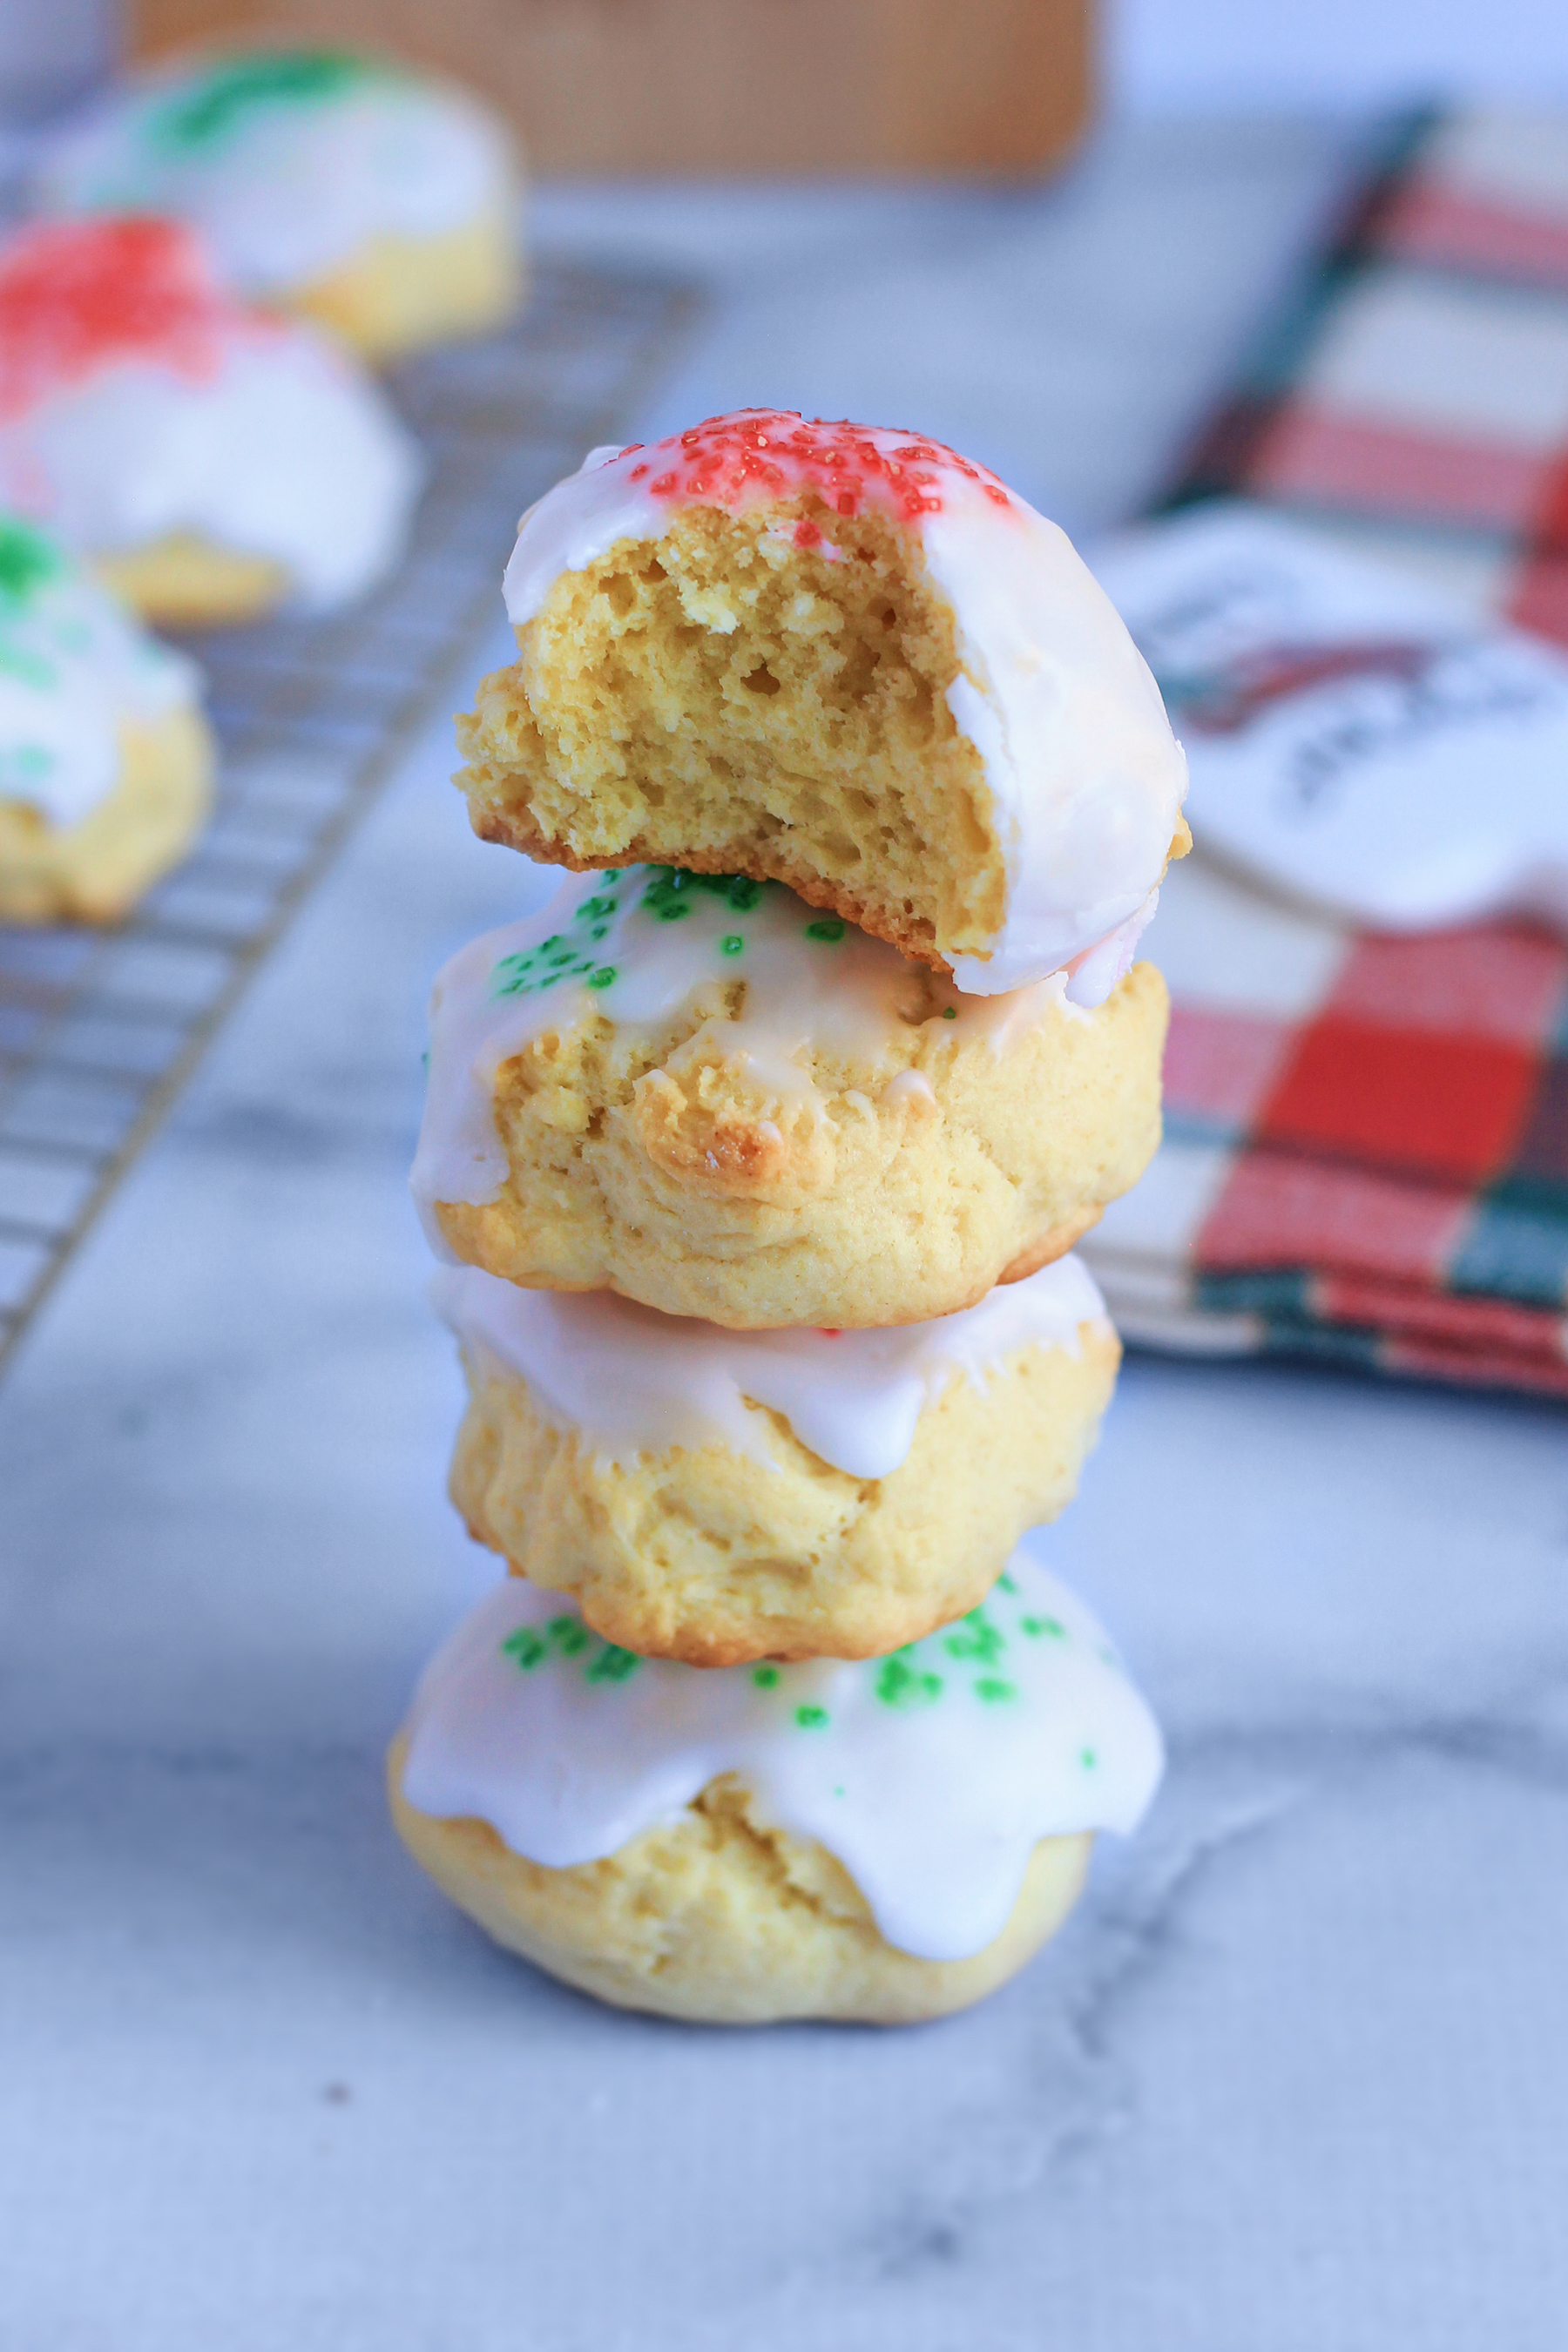
I had originally posted this recipe back in 2015 and it has been one of my most popular cookie recipes on the blog ever since.
My photography has come a long way since this was originally posted and I am finally updating this post with gorgeous photos, including step-by-step process photos.
This recipe deserves the update and all the recognition it will now get from me as these Italian Angeletti Cookies are seriously delicious!
While I am not much of a cookie person, there are only two cookies that make me turn into a cookie hoarding monster, these and my oatmeal cookies!
I baked this batch of 30 cookies yesterday and immediately after the photos were taken I placed them in a plastic container and hid the whole batch in my office desk.
No shame in my Italian Angeletti Cookie game.
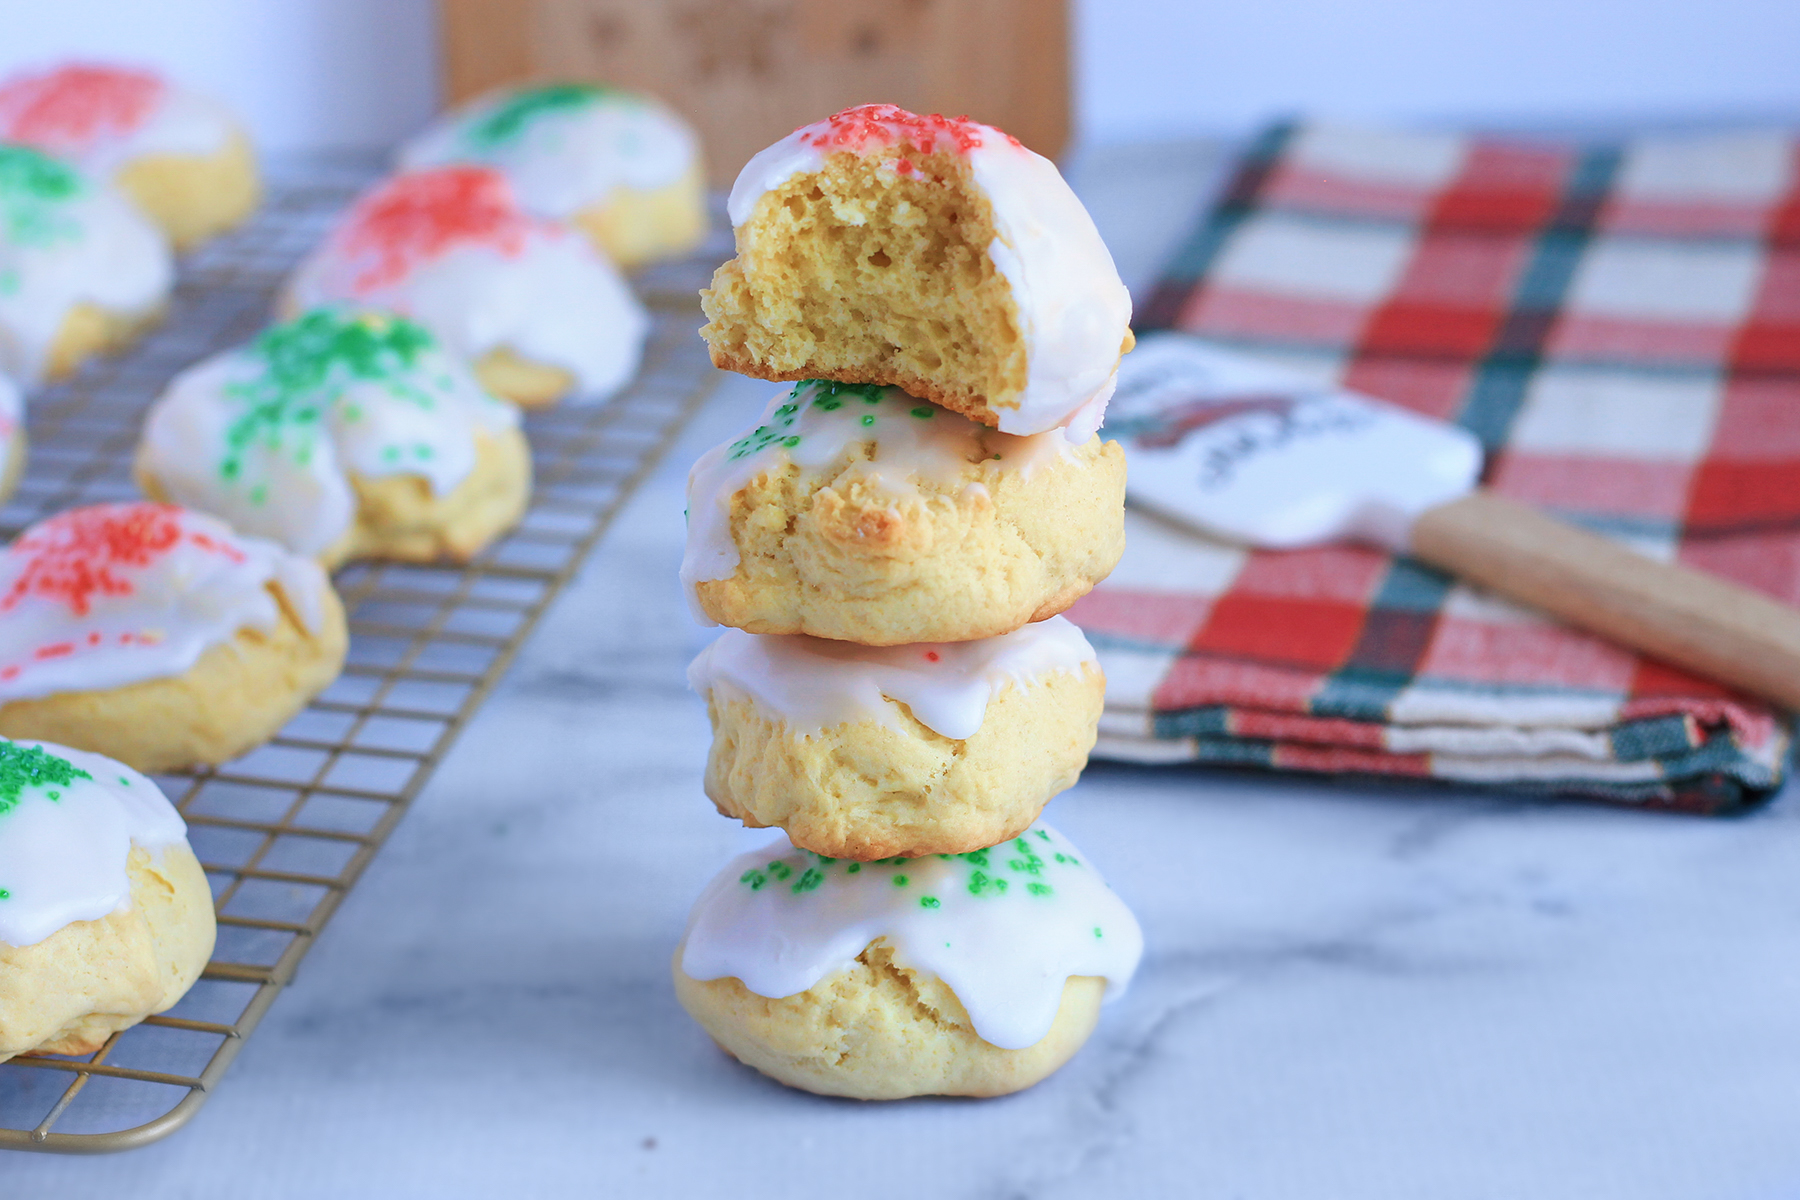
But all jokes aside, these cookies are incredible and you can decorate them for any occasion or holiday just by changing the toppings or icing colour!
©Aimée Geroux | https://extremecouponingmom.ca
The Best Italian Angeletti Cookies
So, if you are looking for the most delicious and easy cookie to bake, give these Italian Angeletti Cookies a try, you won’t regret it!
What You Will Need
Cookie
- 4 cups all-purpose flour
- 2 tbsp baking powder
- 1/2 tsp salt
- 1 cup unsalted butter
- 1 cup granulated sugar
- 6 large eggs
- 1 tbsp vanilla extract
Icing
- 2 cups icing sugar
- 1/4 cup water
Decorations
- Sanding sugar or sprinkles
How To Make The Best Italian Angeletti Cookies
Follow along with the best Italian Angeletti cookies step-by-step process photos and then find the printable recipe below!
©Aimée Geroux | https://extremecouponingmom.ca
Let’s Make The Cookies
Preheat your oven to 350 degrees Fahrenheit.
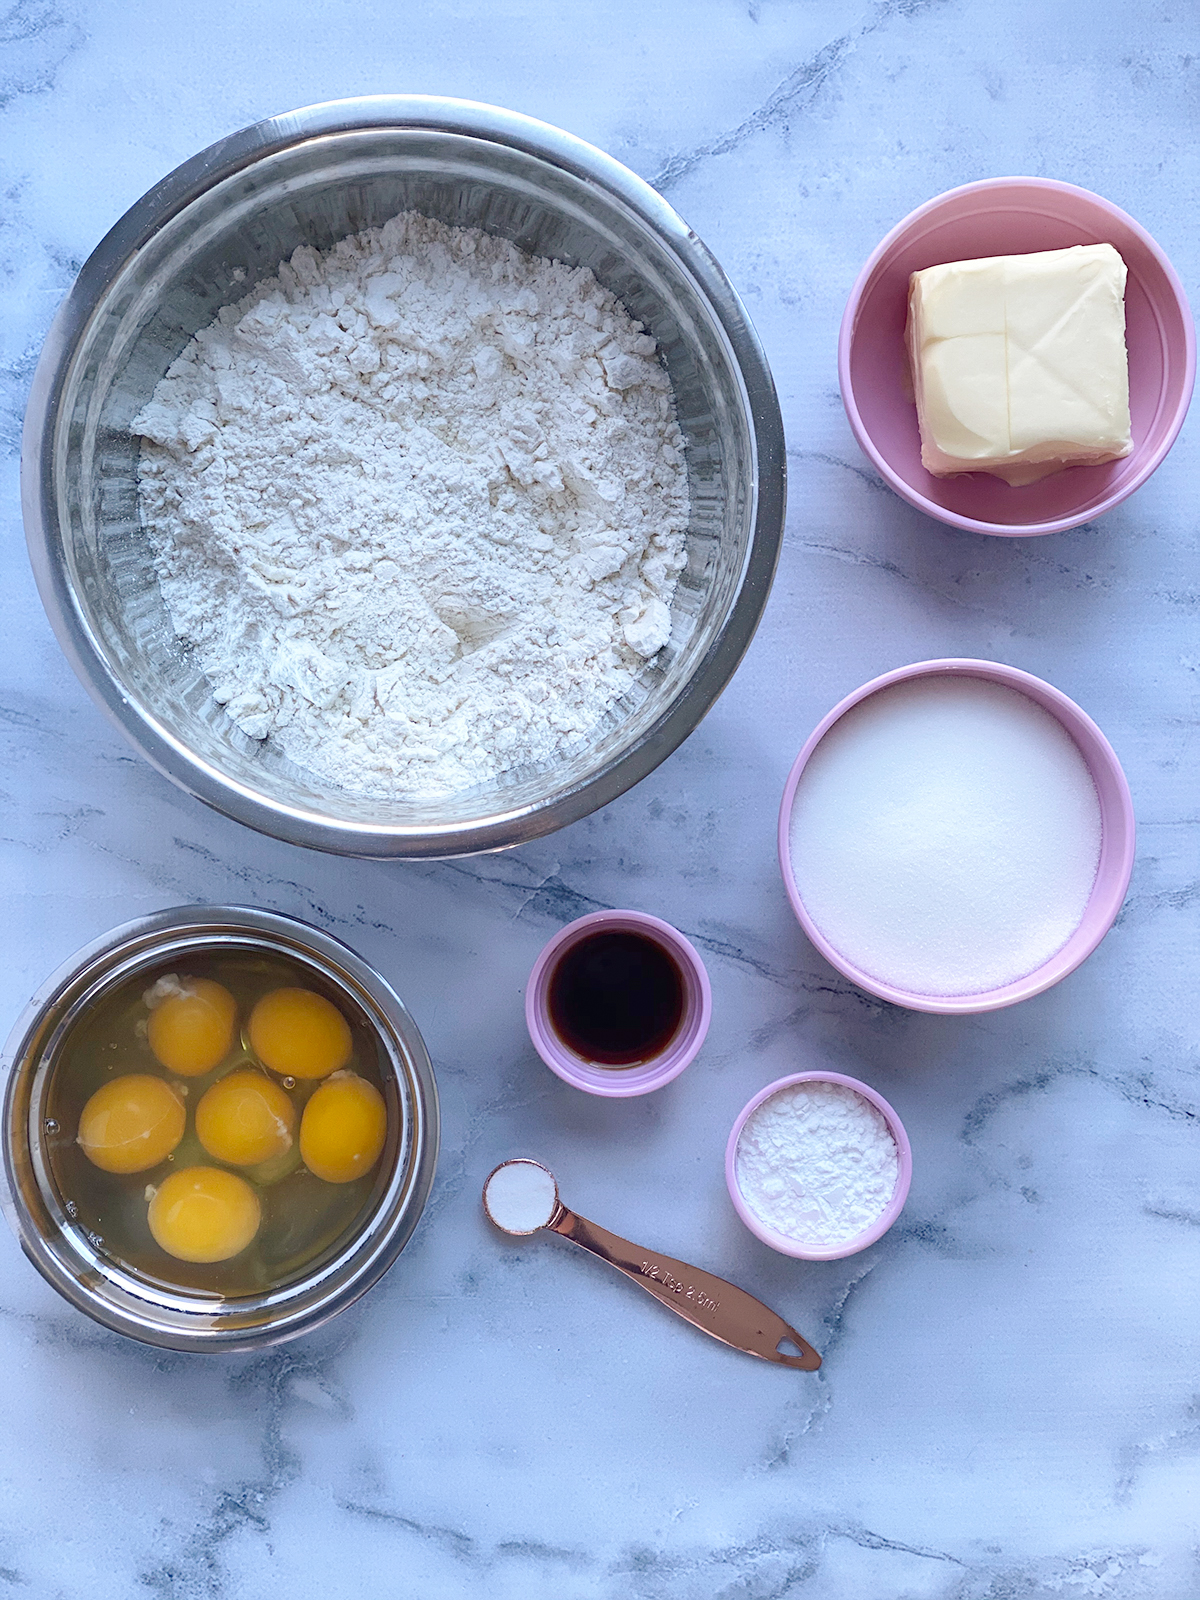
Gather all the ingredients you will need to make the best Italian Angeletti Cookies.
©Aimée Geroux | https://extremecouponingmom.ca
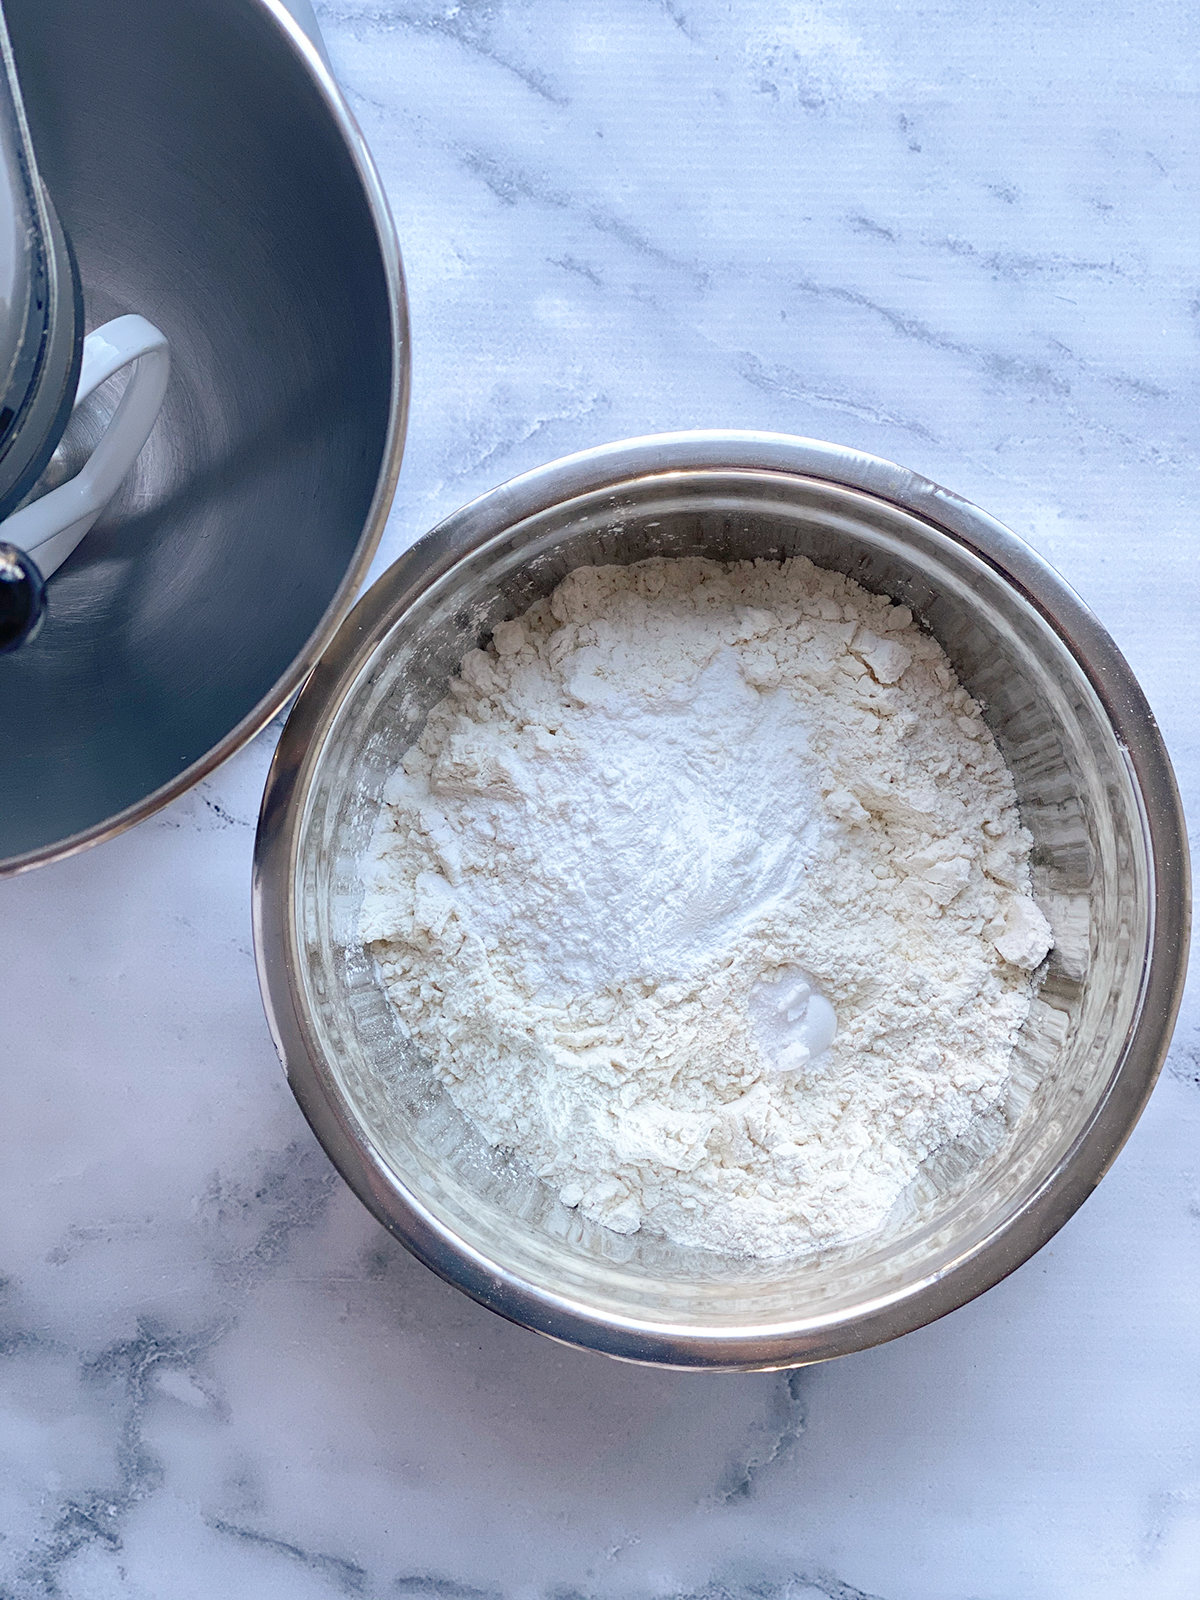
In a medium-sized bowl, sift together your flour, baking powder and salt, then set aside.
©Aimée Geroux | https://extremecouponingmom.ca
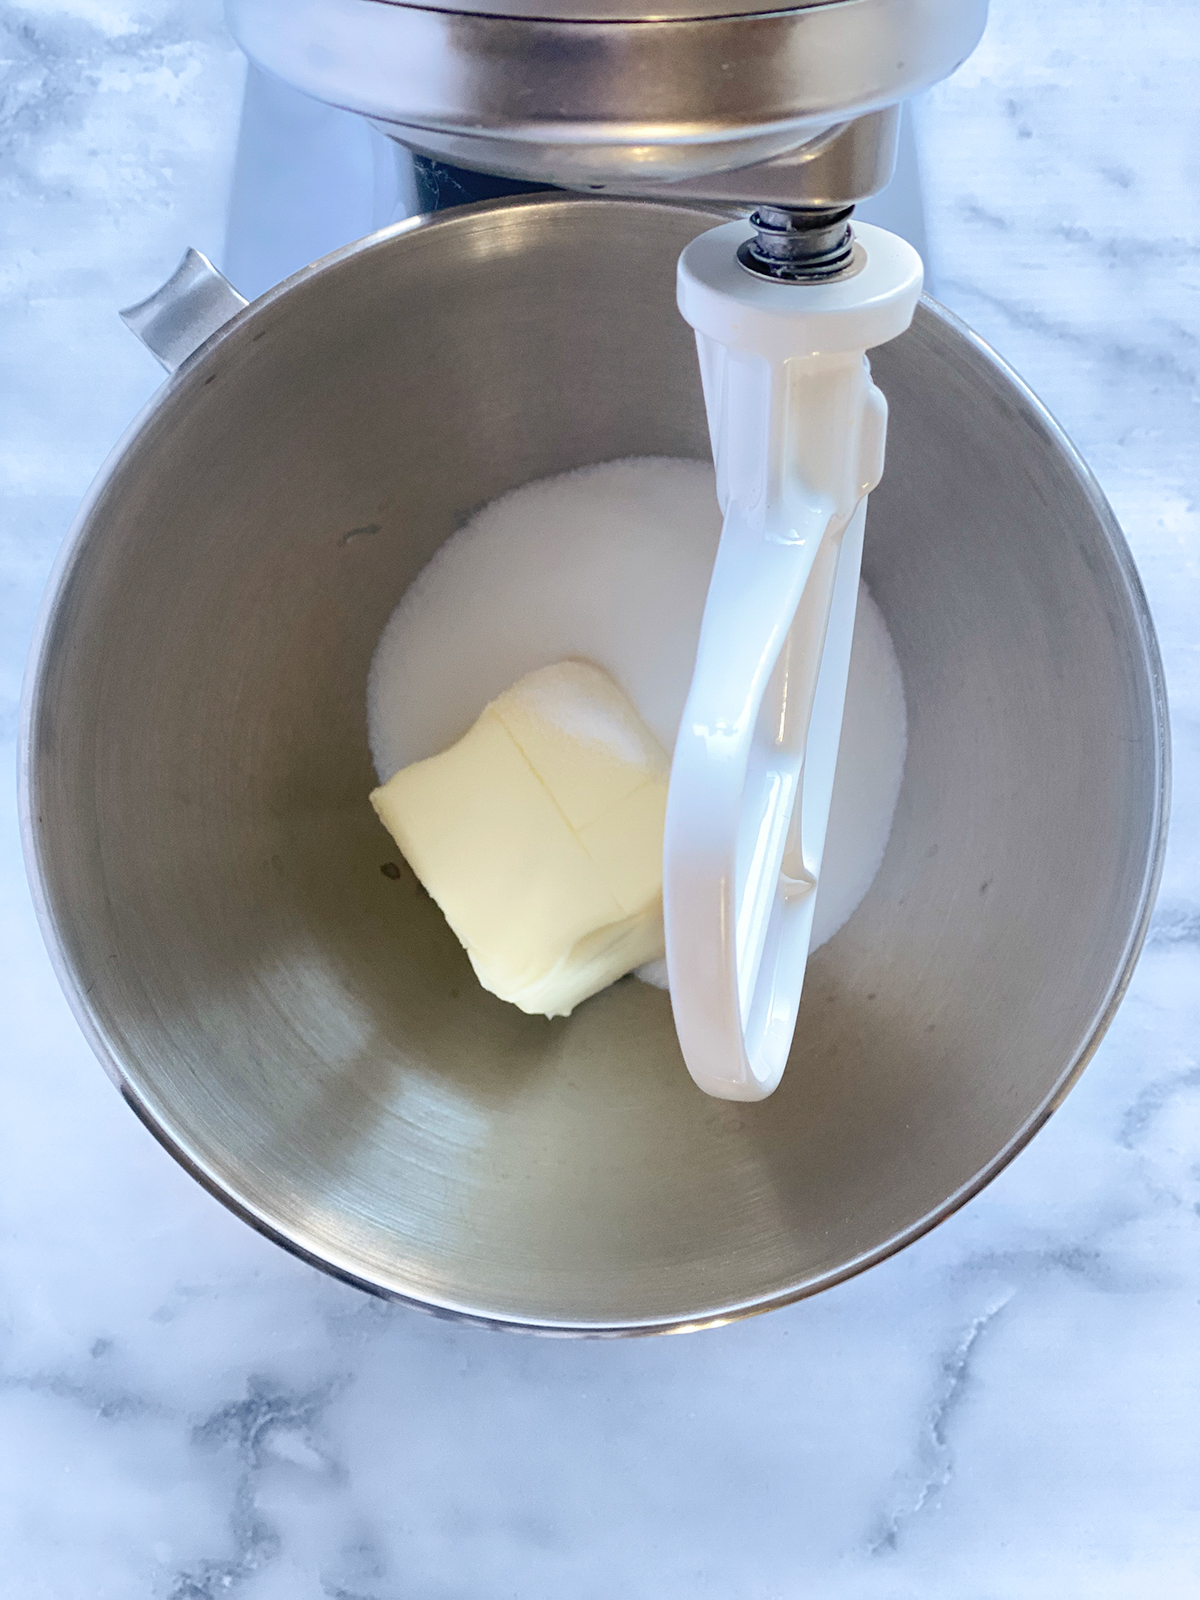
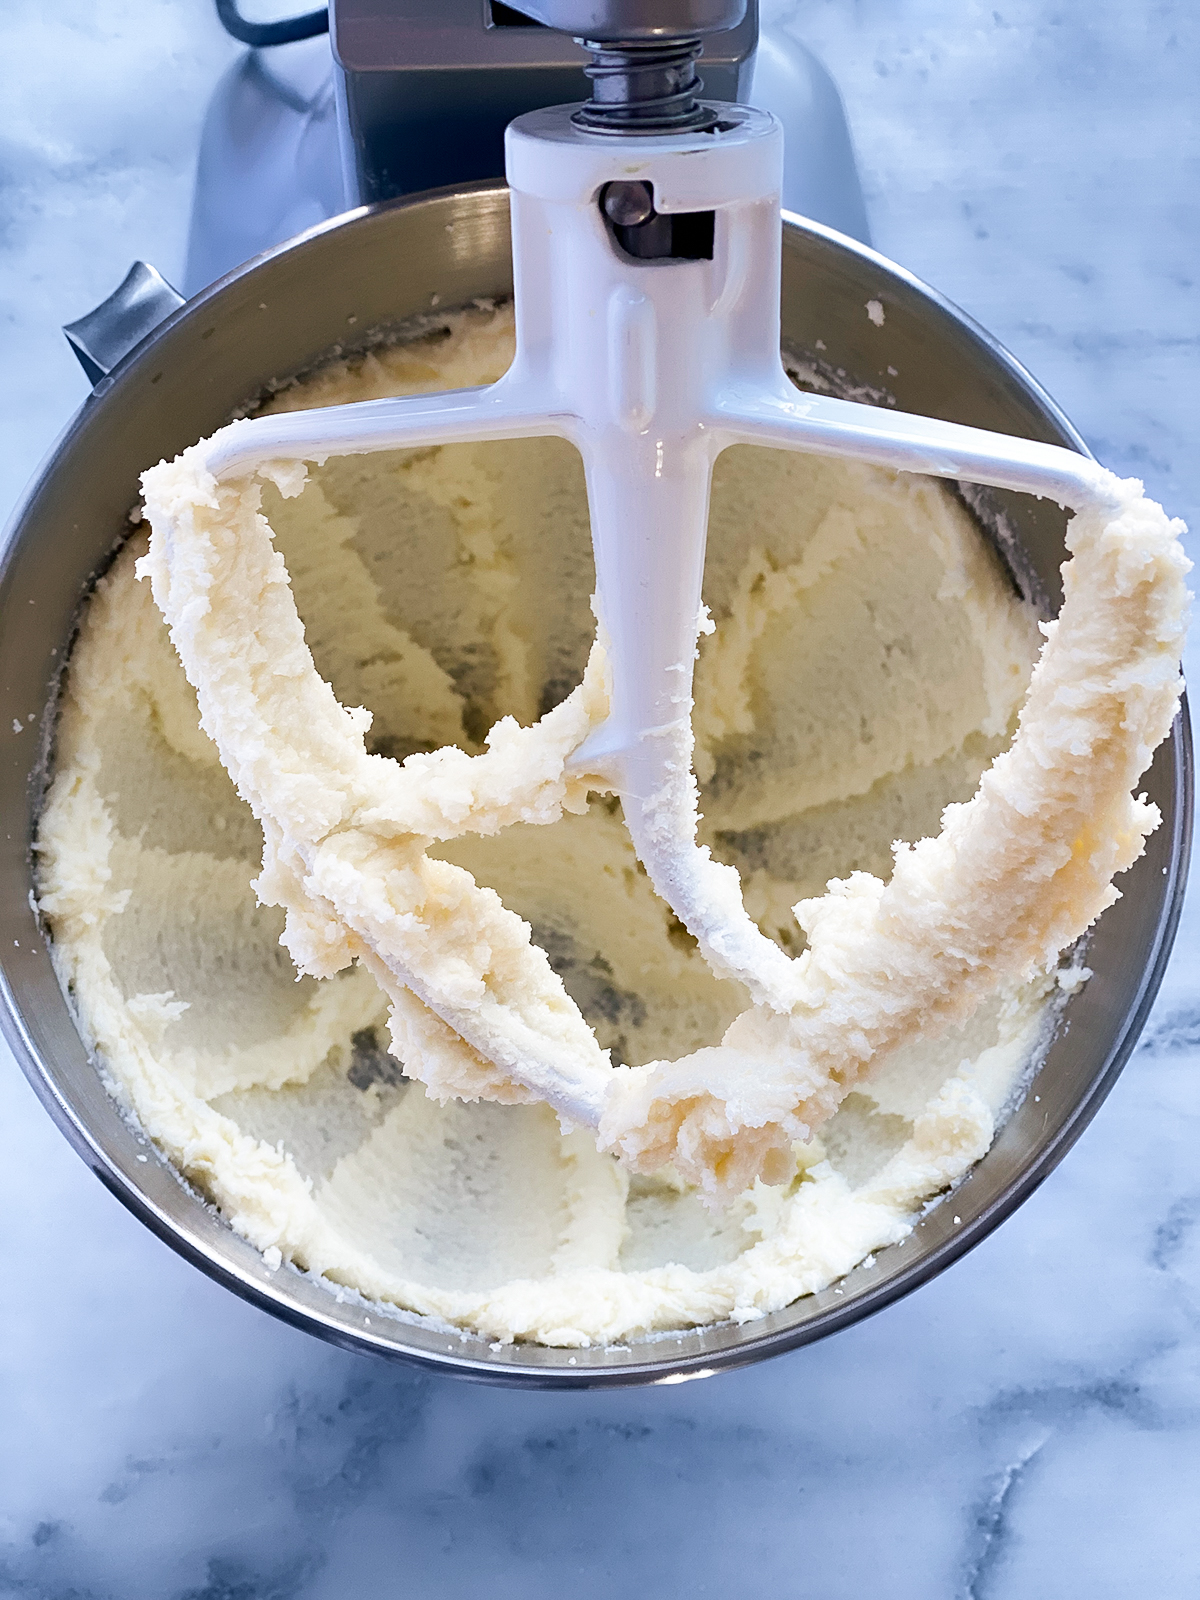
Using the bowl of your electric mixer fitted with the paddle attachment on medium speed, cream together your butter and granulated sugar until light and fluffy – about two minutes.
You could also use a food processor if you don’t have an electric stand mixer.
If you have muscles, you can also do it by hand as the old-school Italian ladies do.
I do not suggest attempting to mix this batter with a hand mixer, it is too thick!
©Aimée Geroux | https://extremecouponingmom.ca
This is what your butter and sugar should look like once mixed.
©Aimée Geroux | https://extremecouponingmom.ca
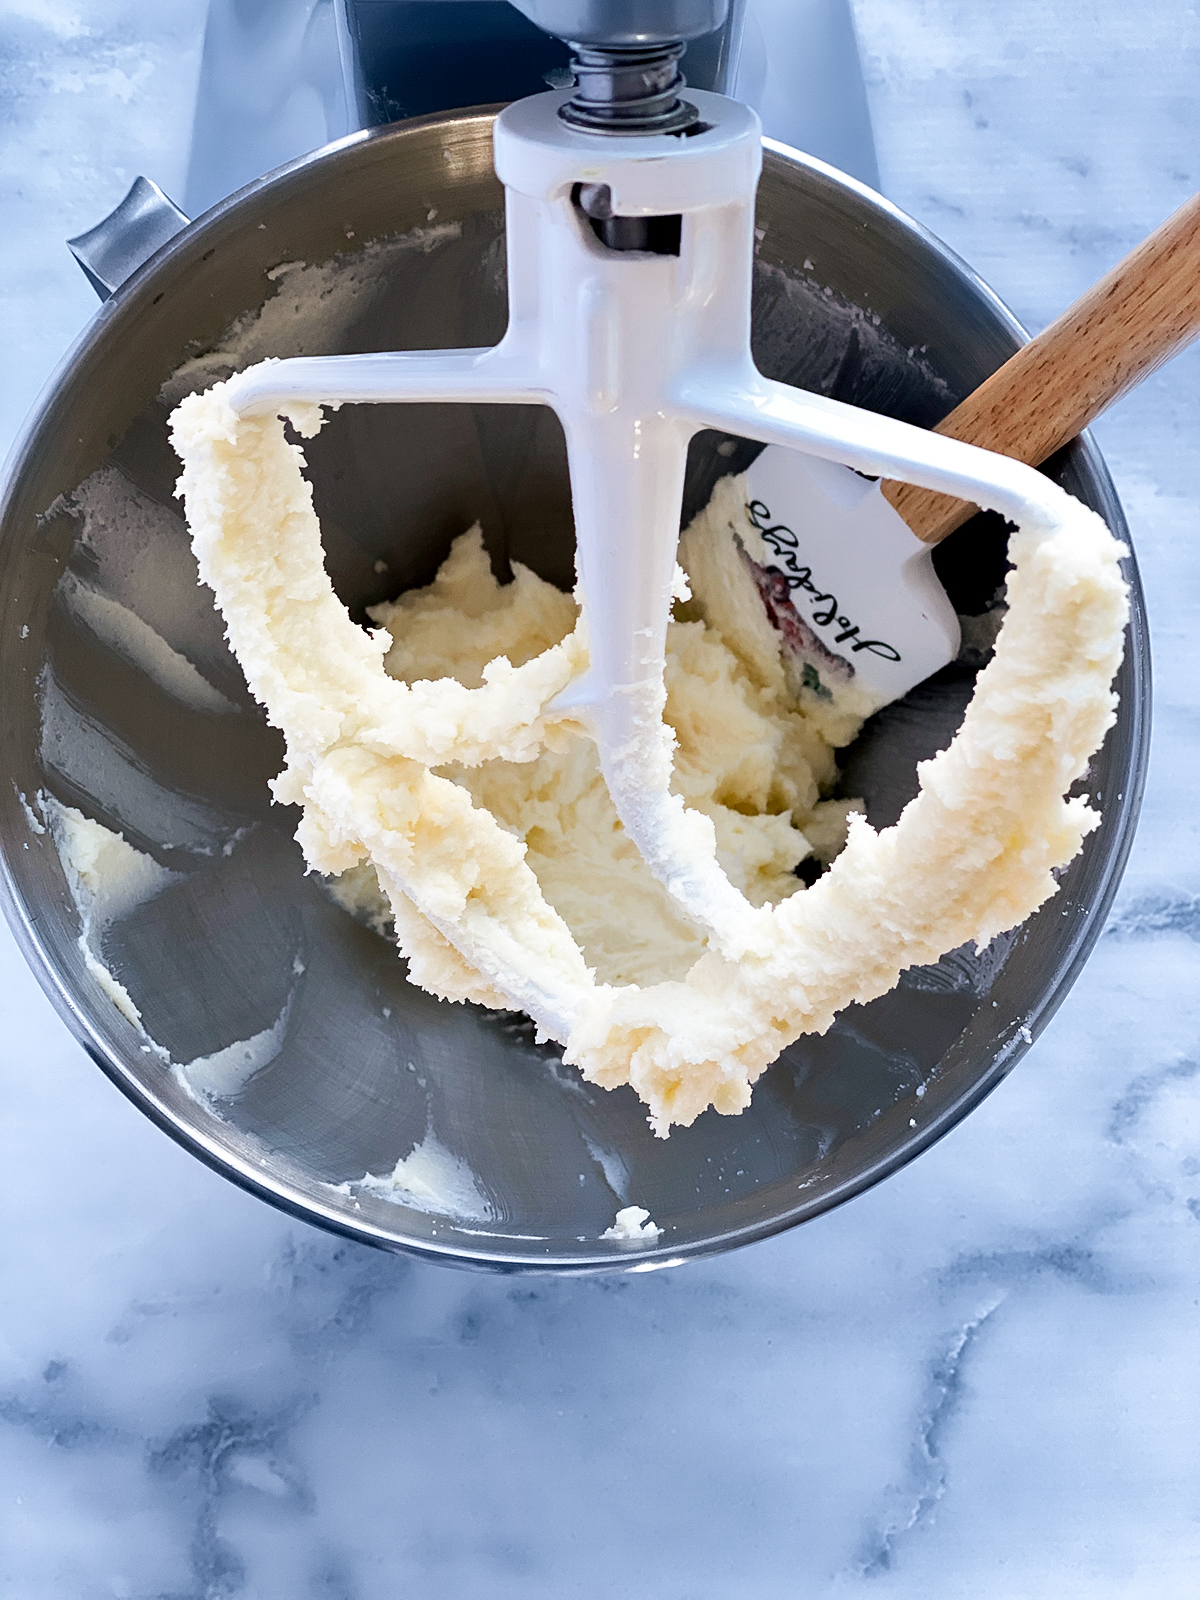
Scrape down the sides.
©Aimée Geroux | https://extremecouponingmom.ca
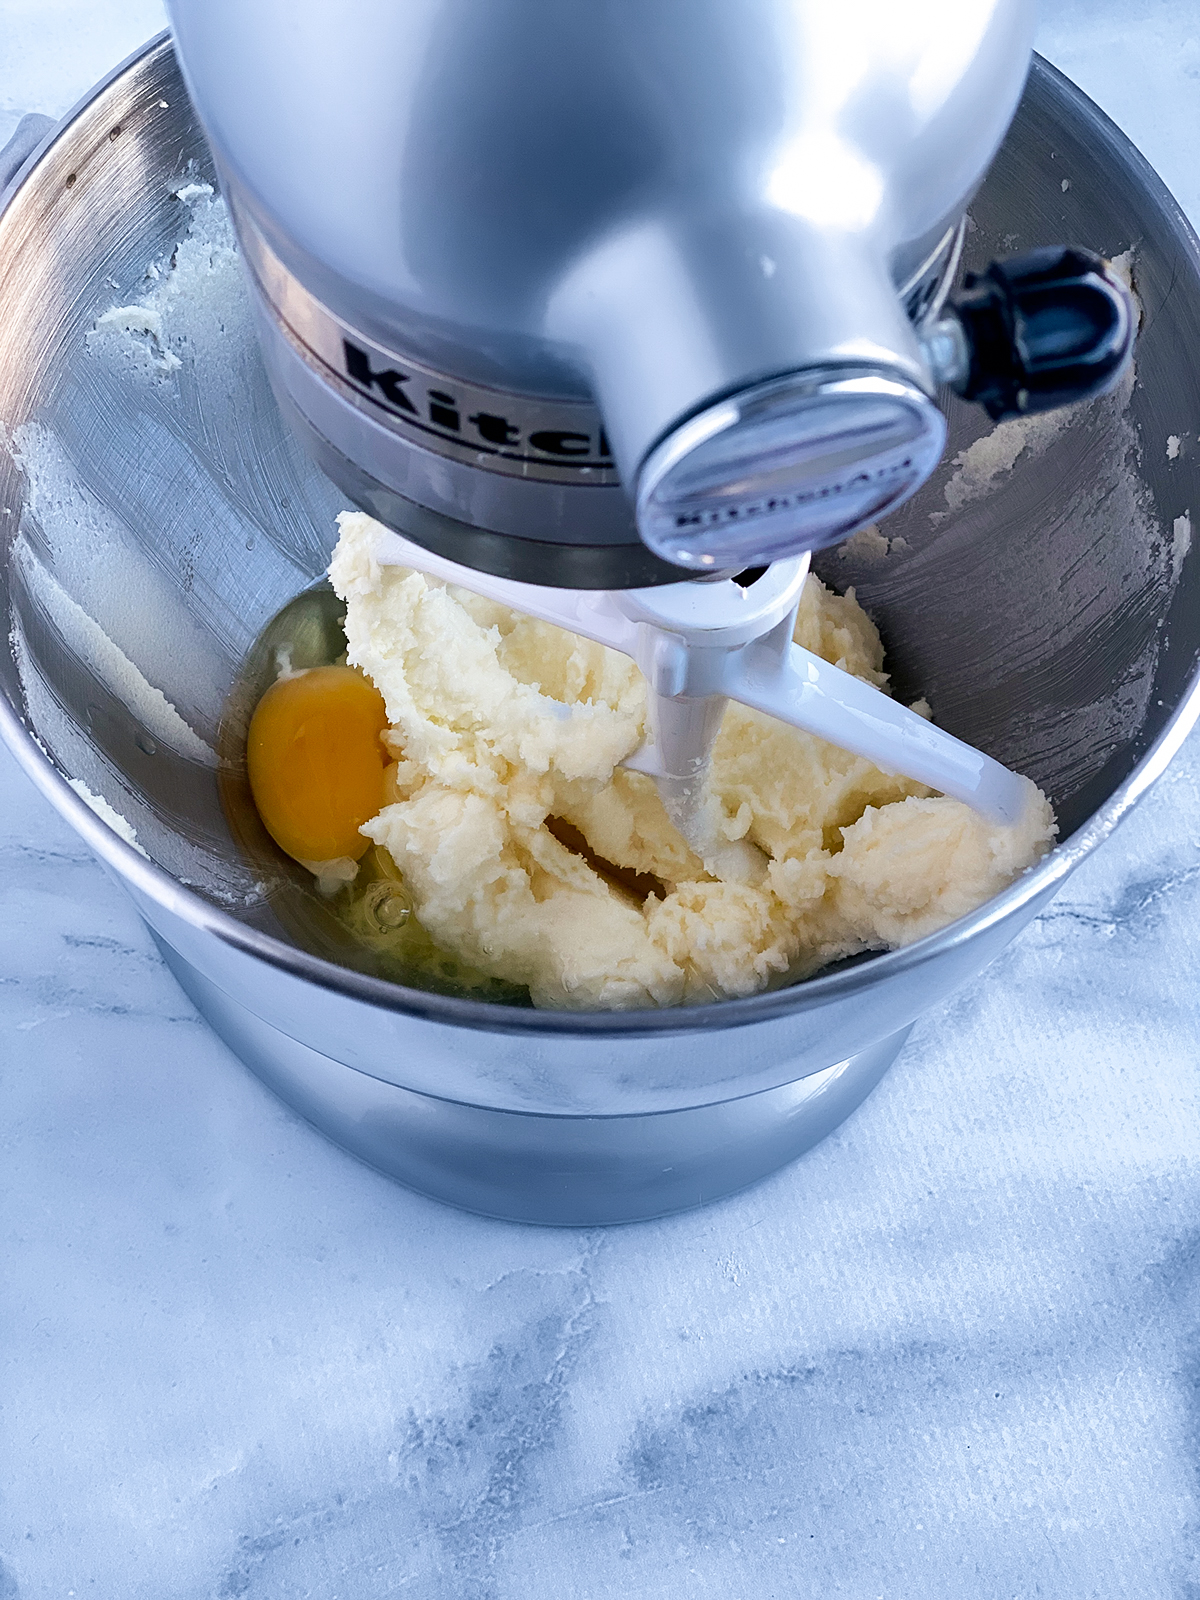
On medium speed, add your eggs in one at a time, ensuring you mix well after each addition.
After you have mixed in all of your eggs, scrape down the sides and bottom of your mixer bowl and then mix again for 30 seconds.
This is an important step, please do not toss all of the eggs in at once.
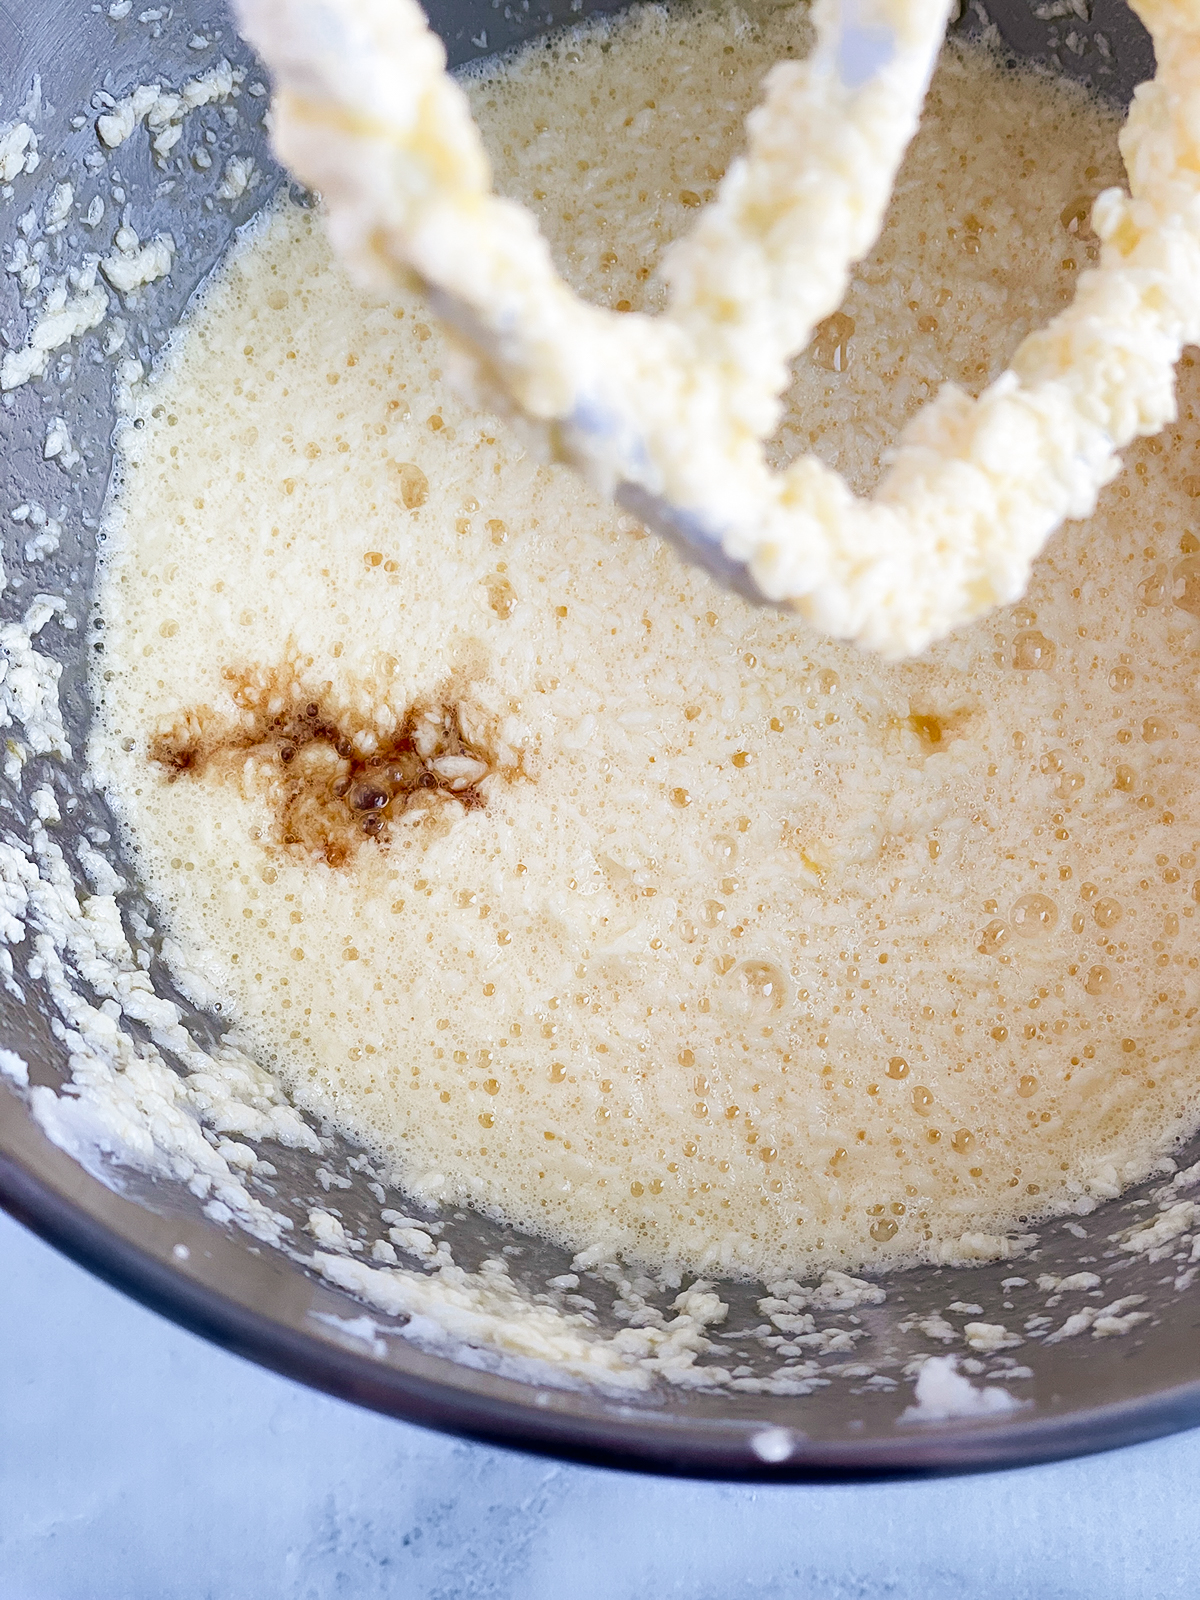
©Aimée Geroux | https://extremecouponingmom.ca
Next, add in your vanilla and beat on medium speed until incorporated.
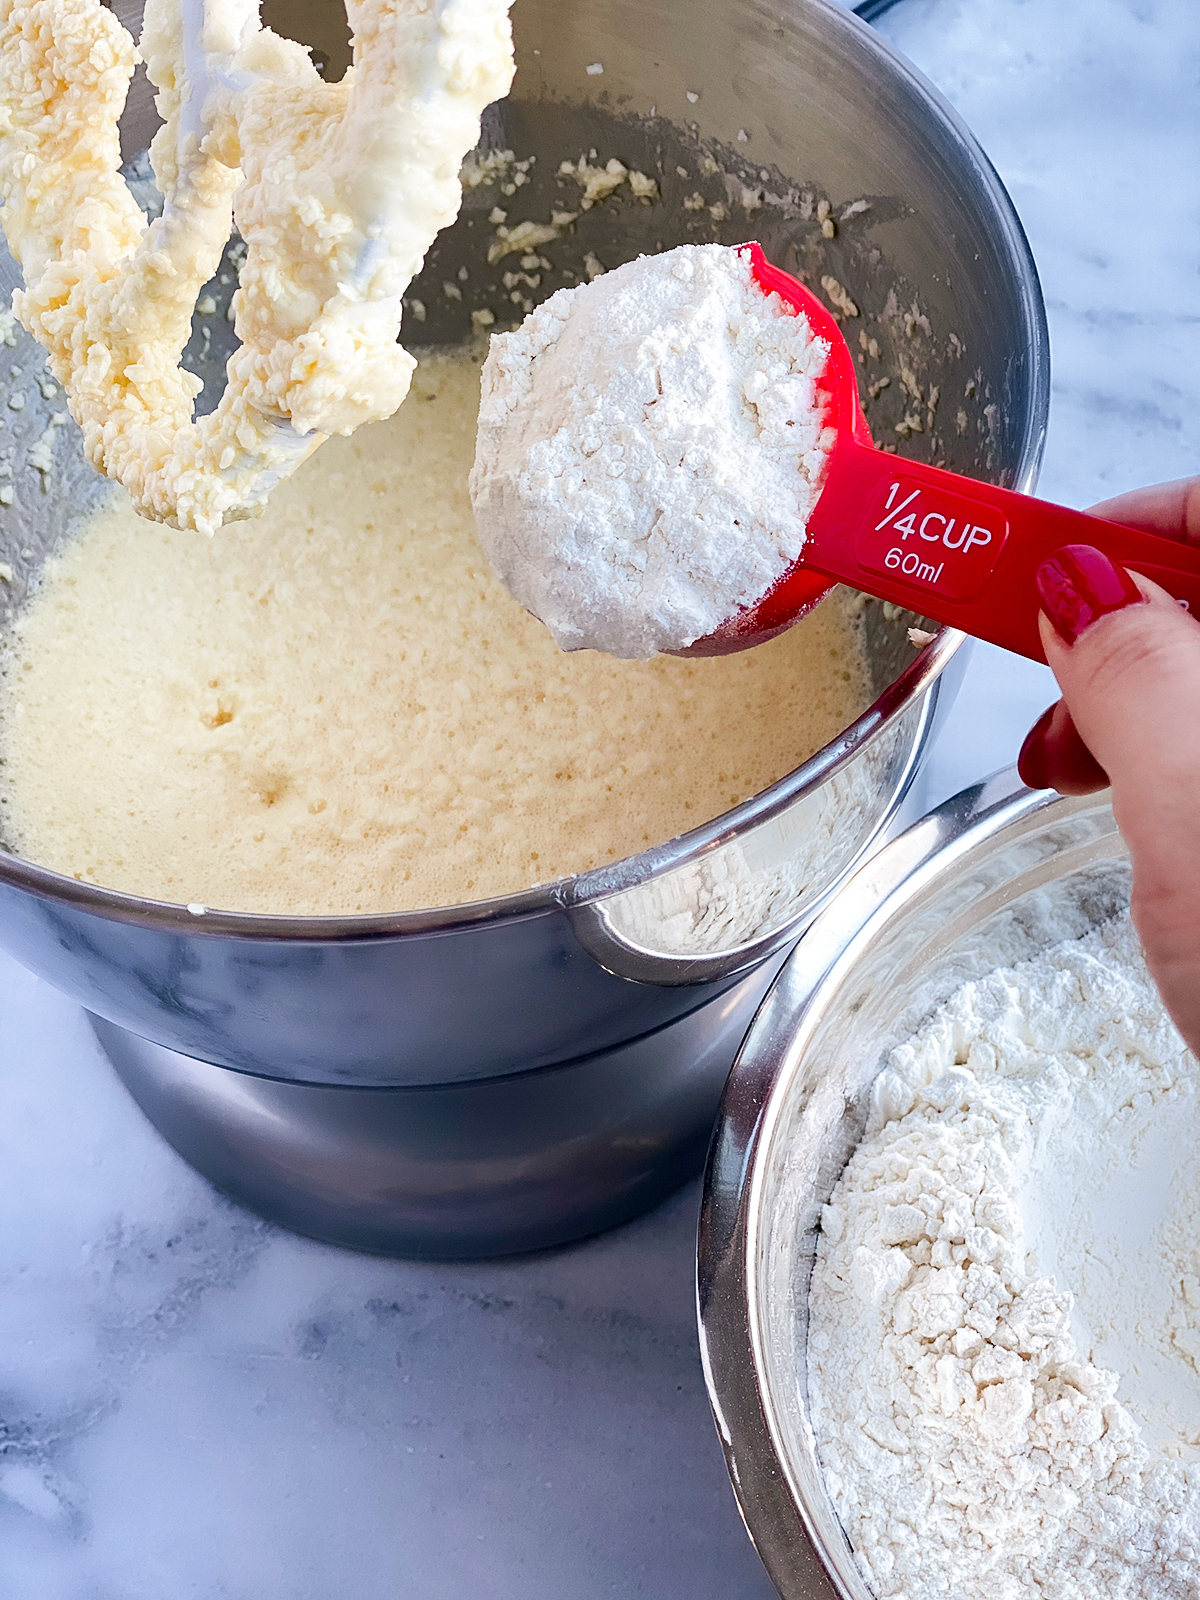
©Aimée Geroux | https://extremecouponingmom.ca
With the mixer on low to medium speed, gradually add your flour mixture (1/4 cup at a time).
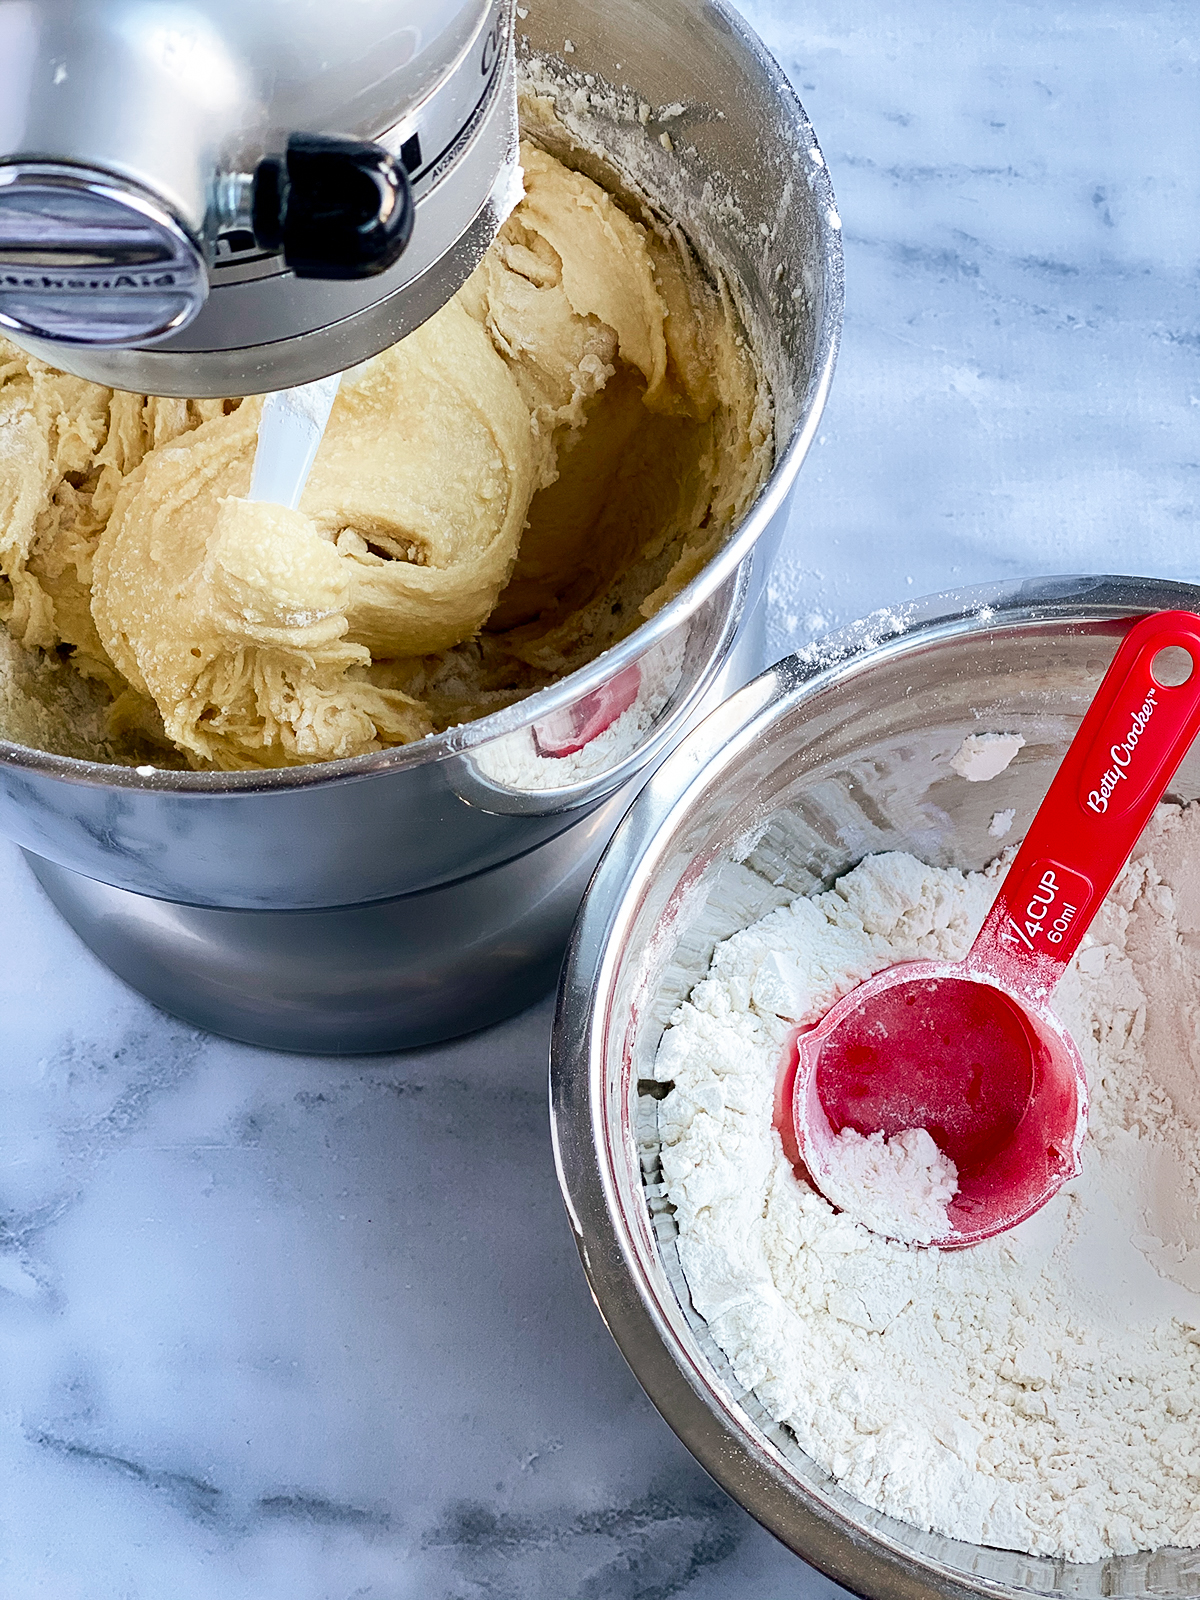
©Aimée Geroux | https://extremecouponingmom.ca
Continue until you have mixed in all of your dry mixture and your dough has formed.
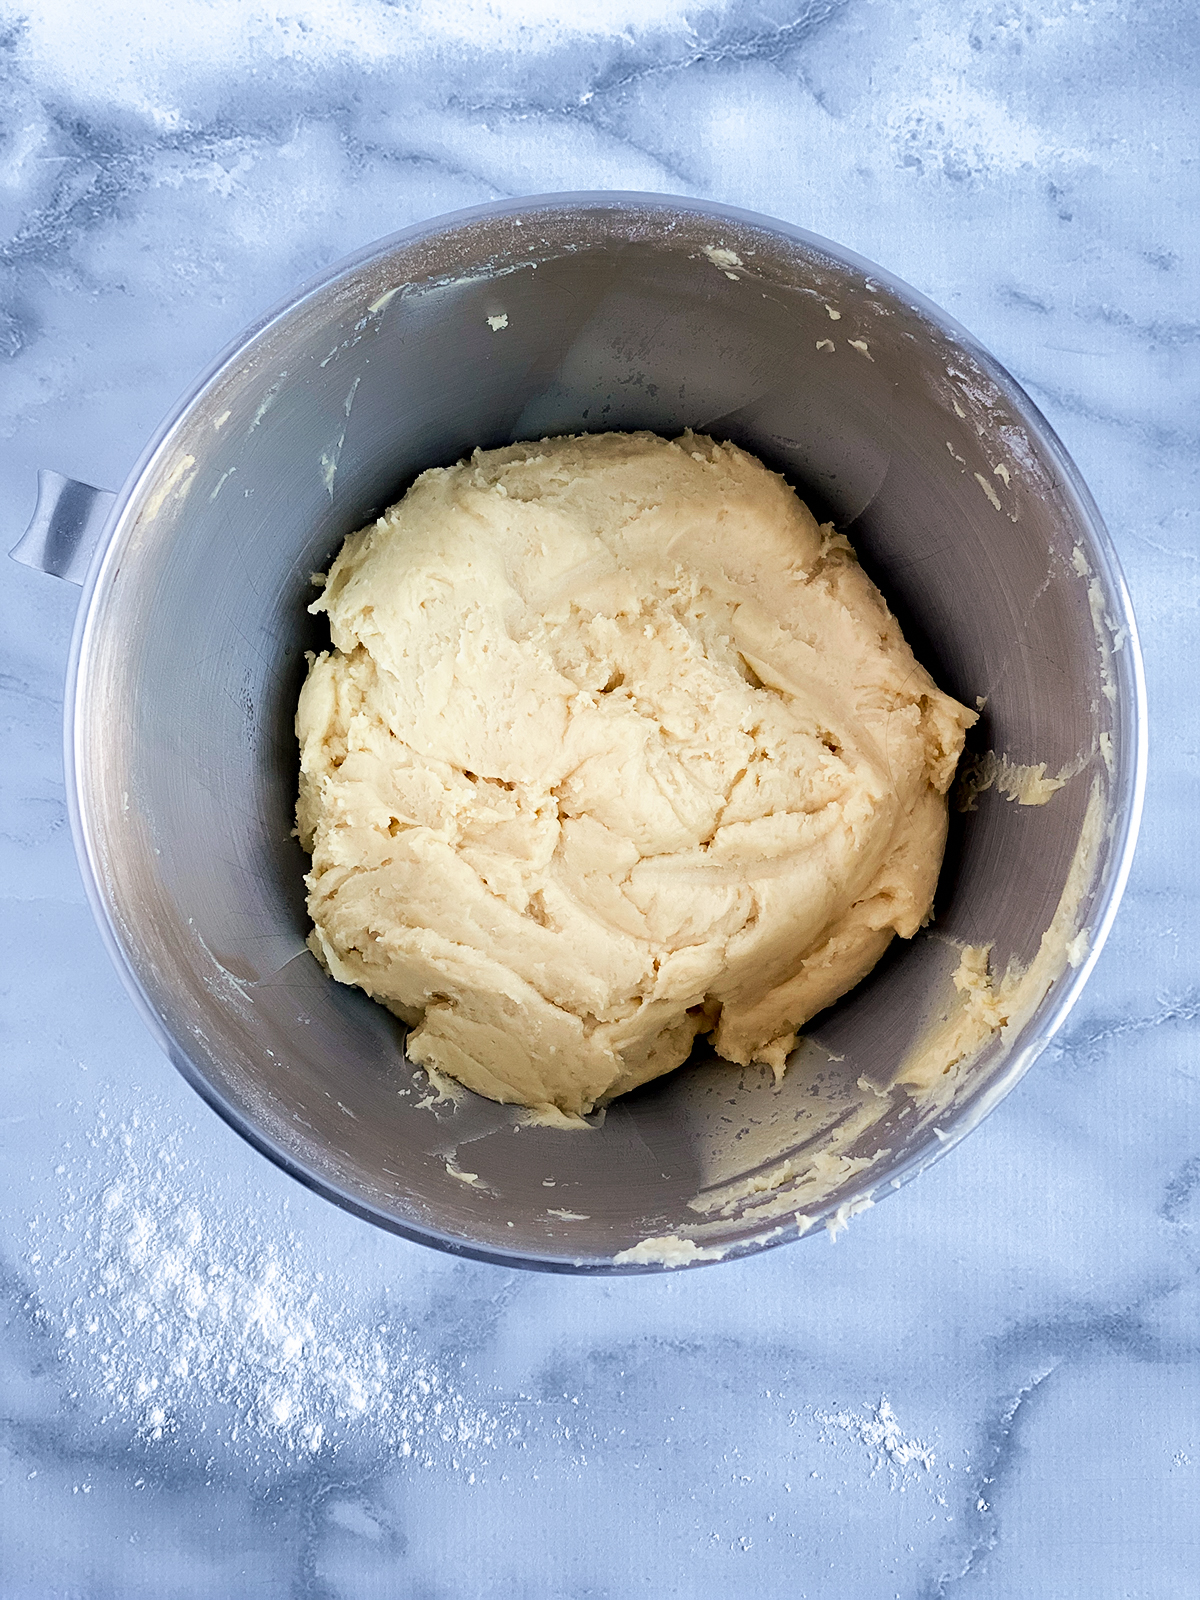
©Aimée Geroux | https://extremecouponingmom.ca
Scrape down the sides.
©Aimée Geroux | https://extremecouponingmom.ca
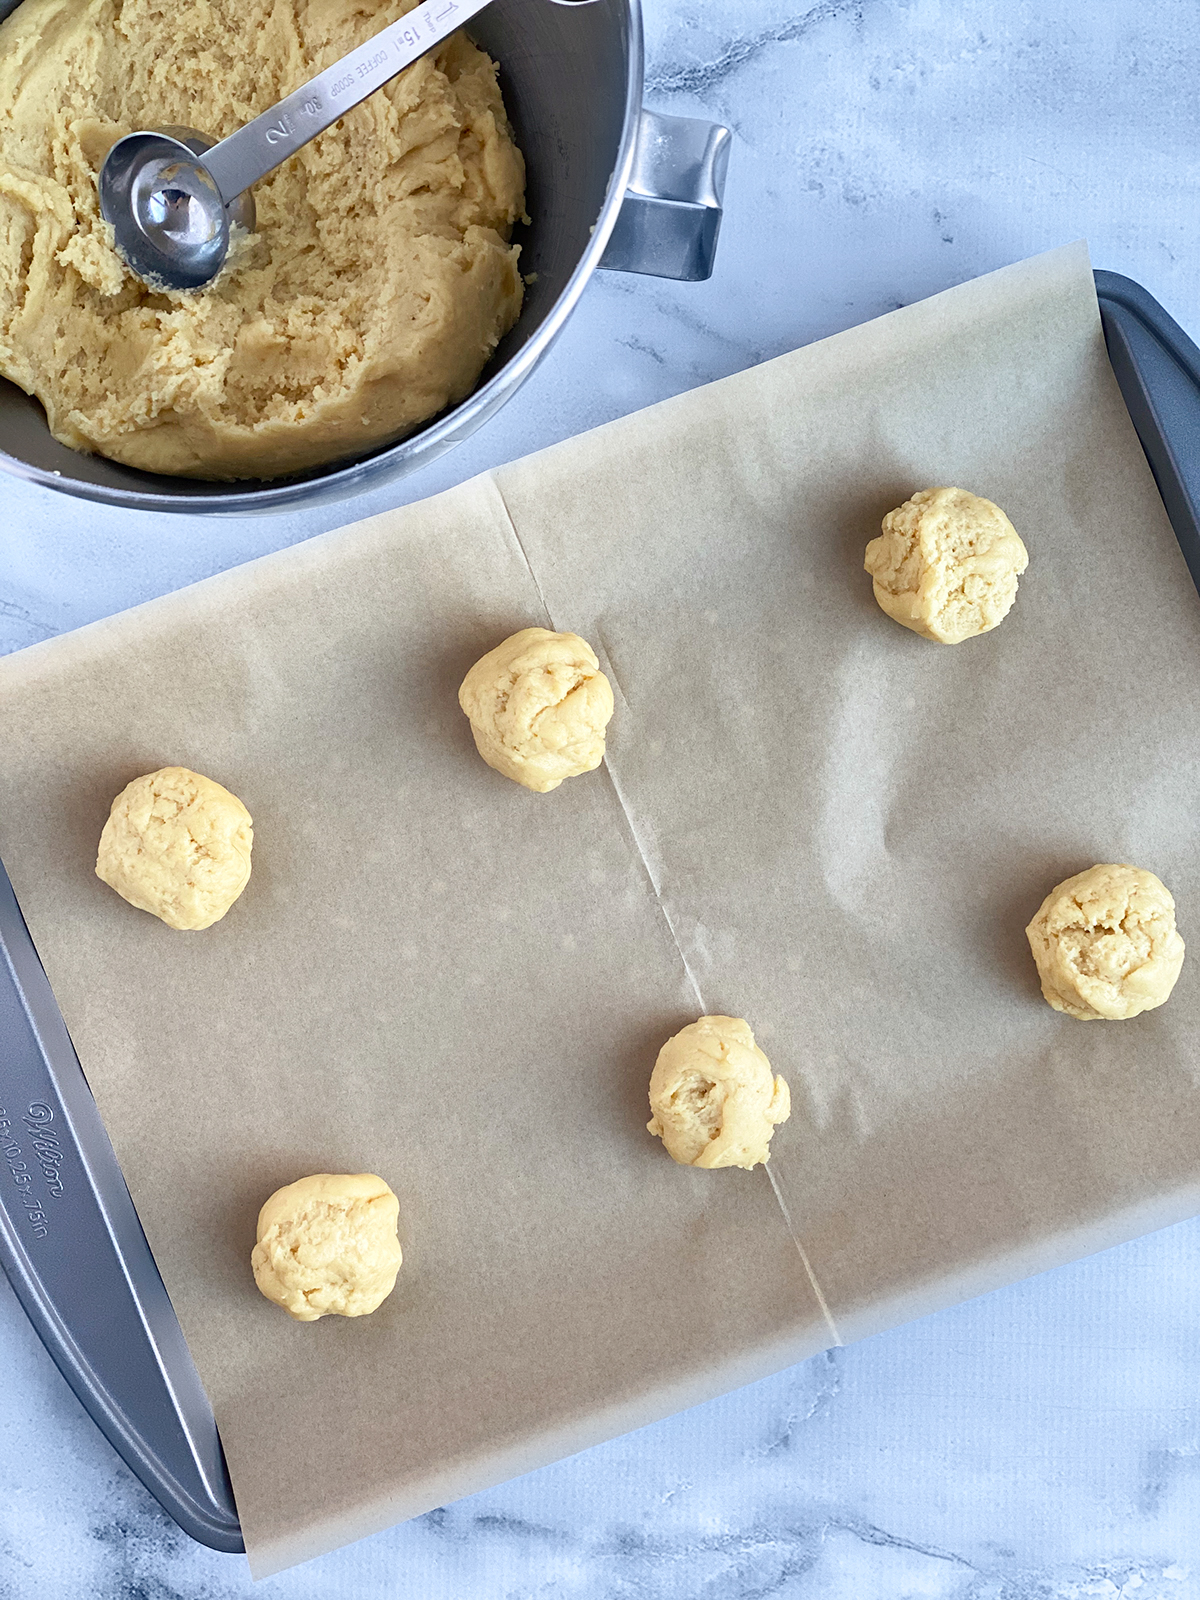
Scoop dough into 1-2 tablespoon-size balls and place onto a baking sheet lined with parchment paper. I did rough 2 tablespoon-sized balls and yielded 30 cookies.
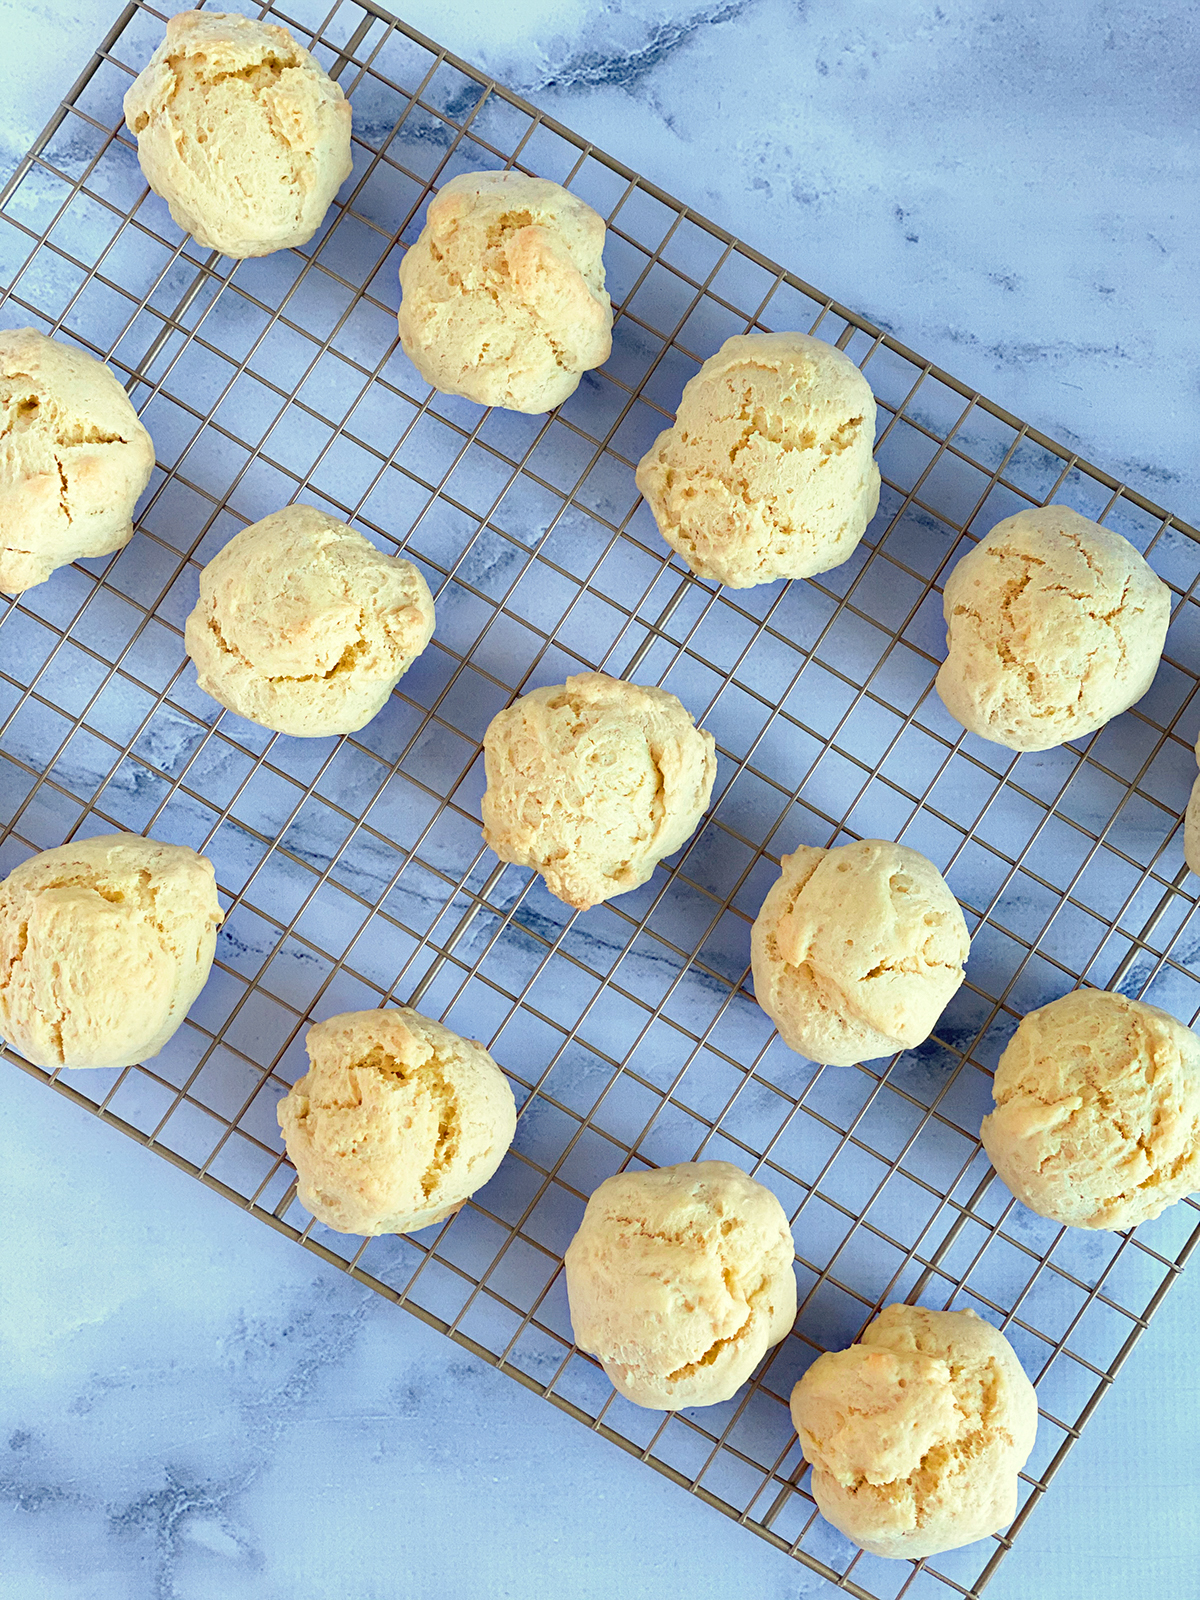
Bake until golden brown on the bottom, about 15 minutes.
©Aimée Geroux | https://extremecouponingmom.ca
Transfer to a wire cooling rack to cool fully before icing.
©Aimée Geroux | https://extremecouponingmom.ca
Let’s Ice and Decorate Our Italian Angeletti Cookies
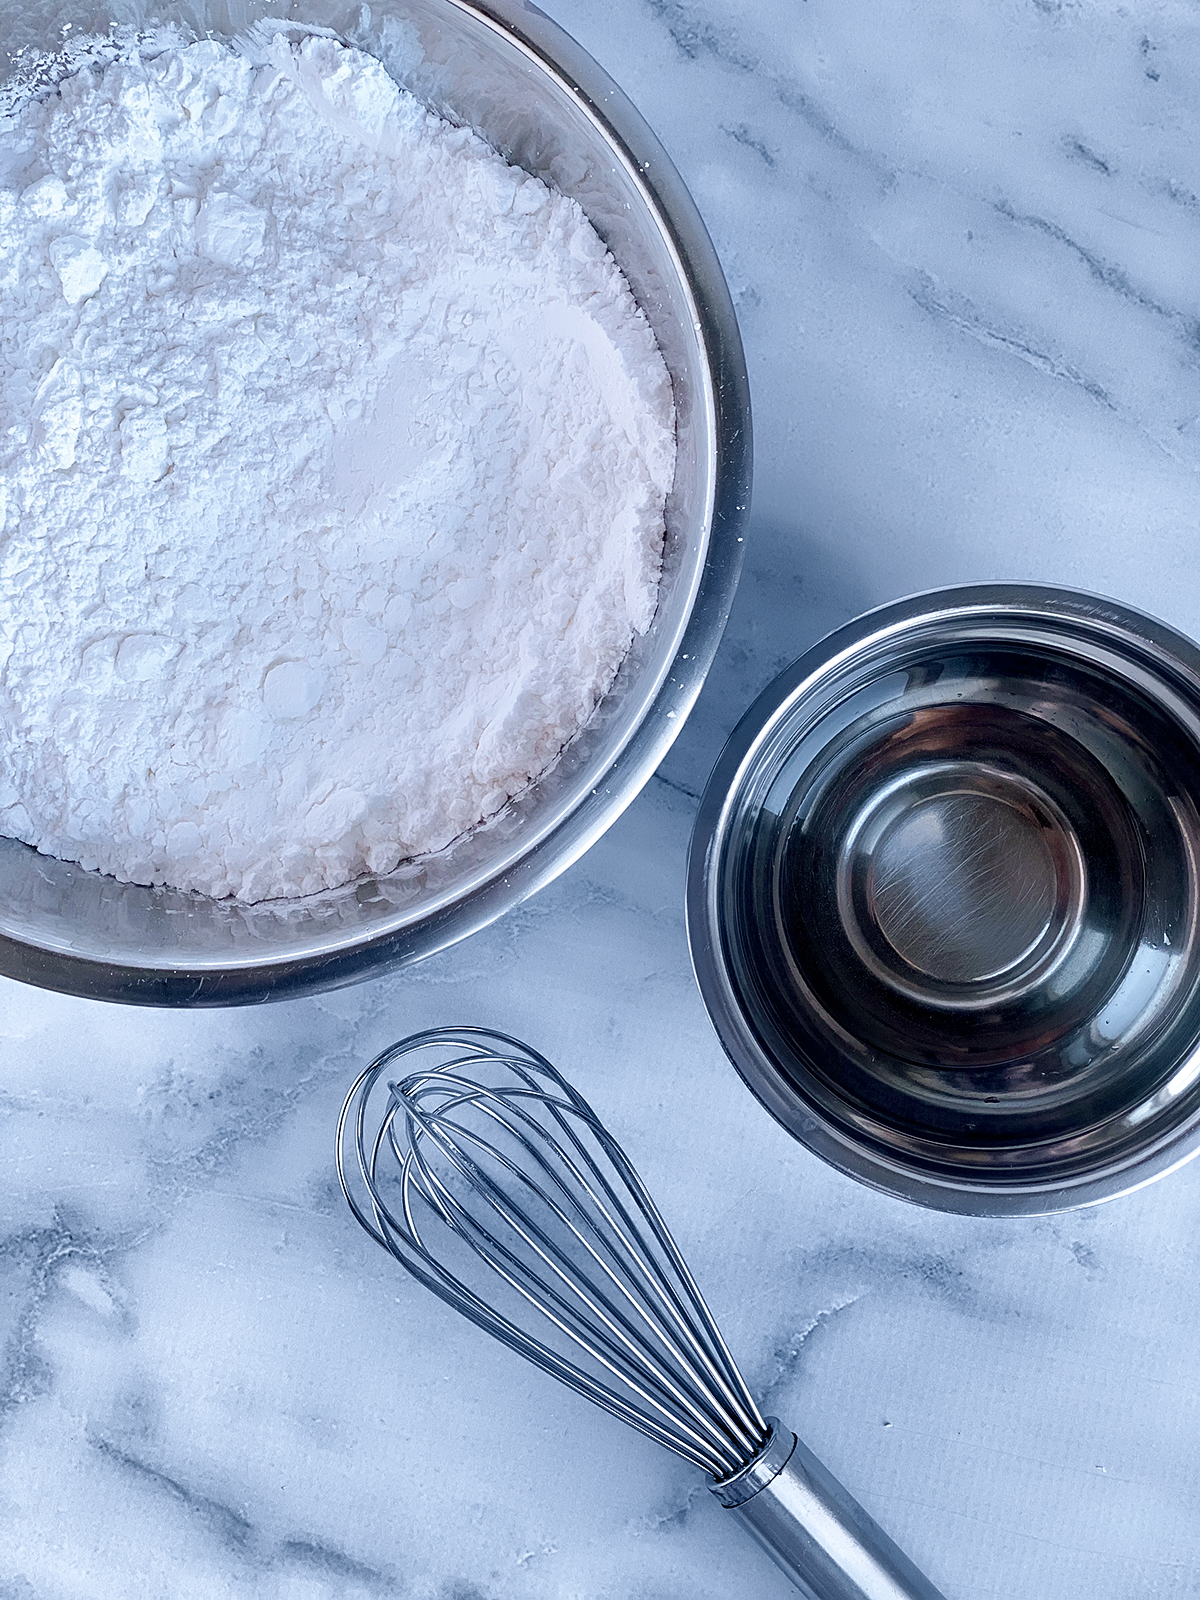
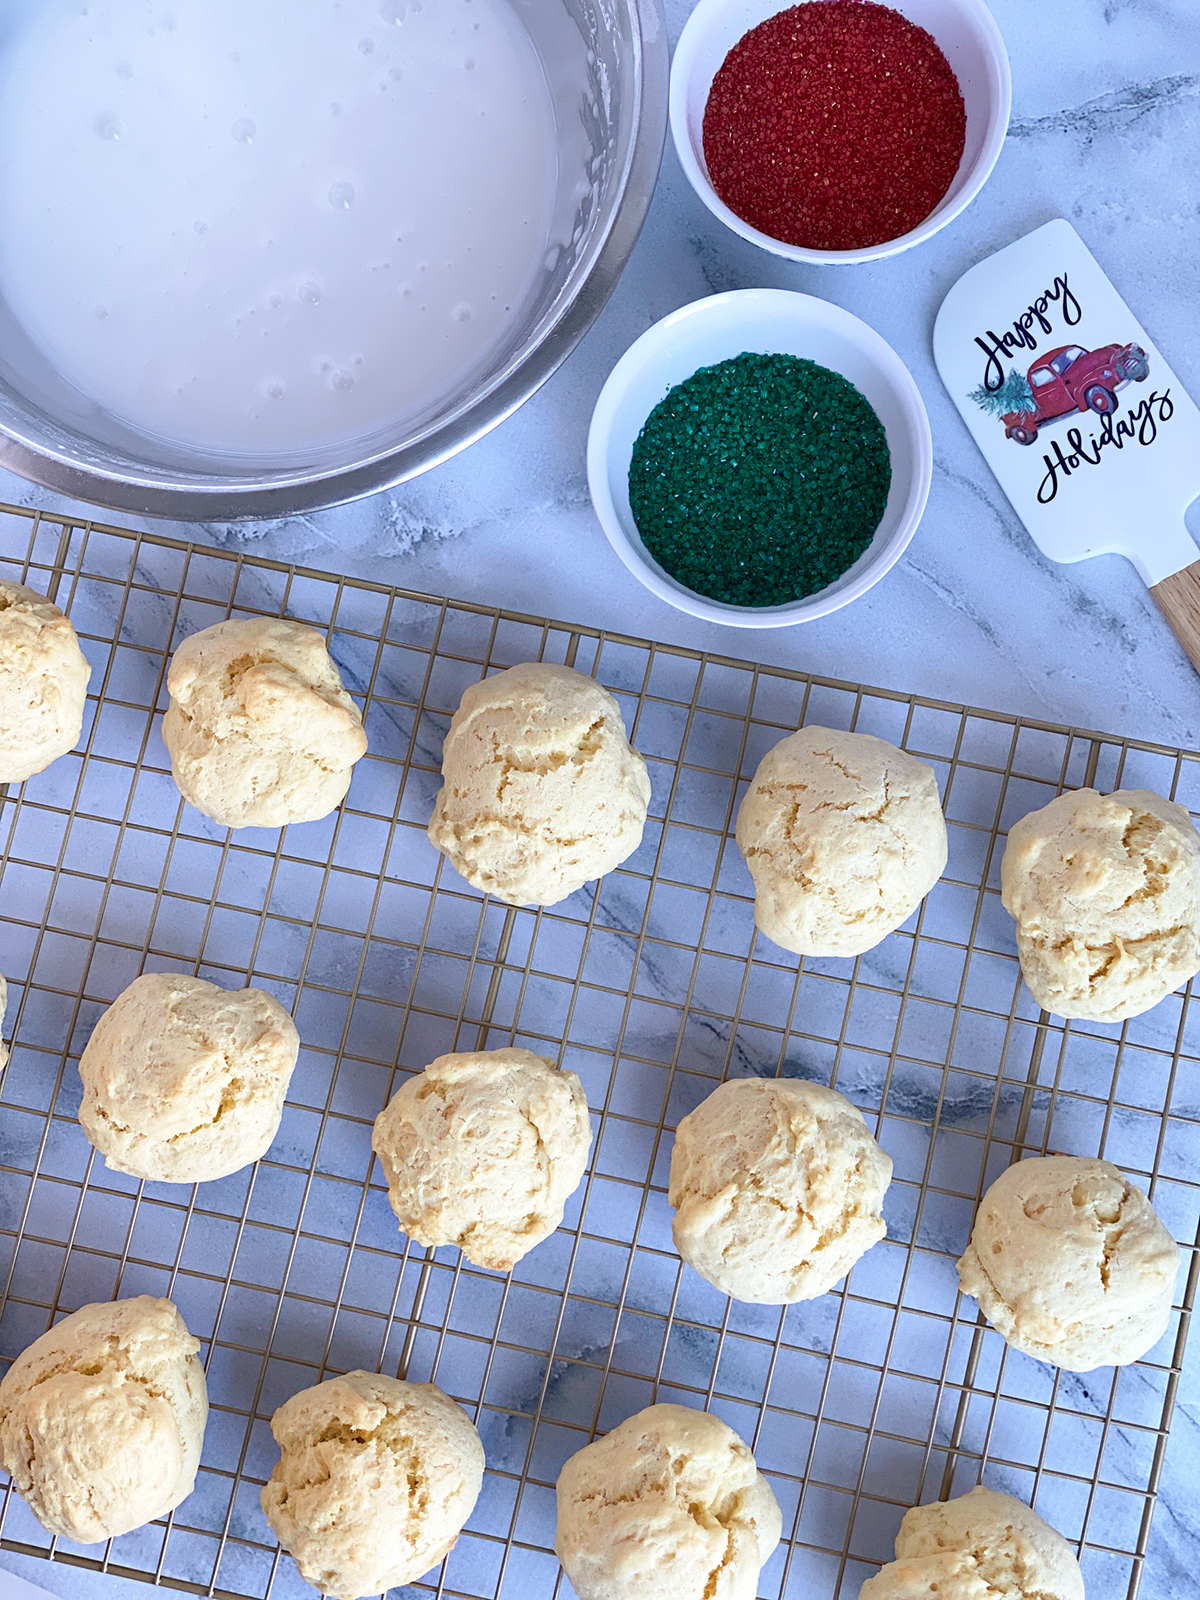
Place your icing sugar in a medium-sized mixing bowl.
Next, add in your water and mix well.
©Aimée Geroux | https://extremecouponingmom.ca
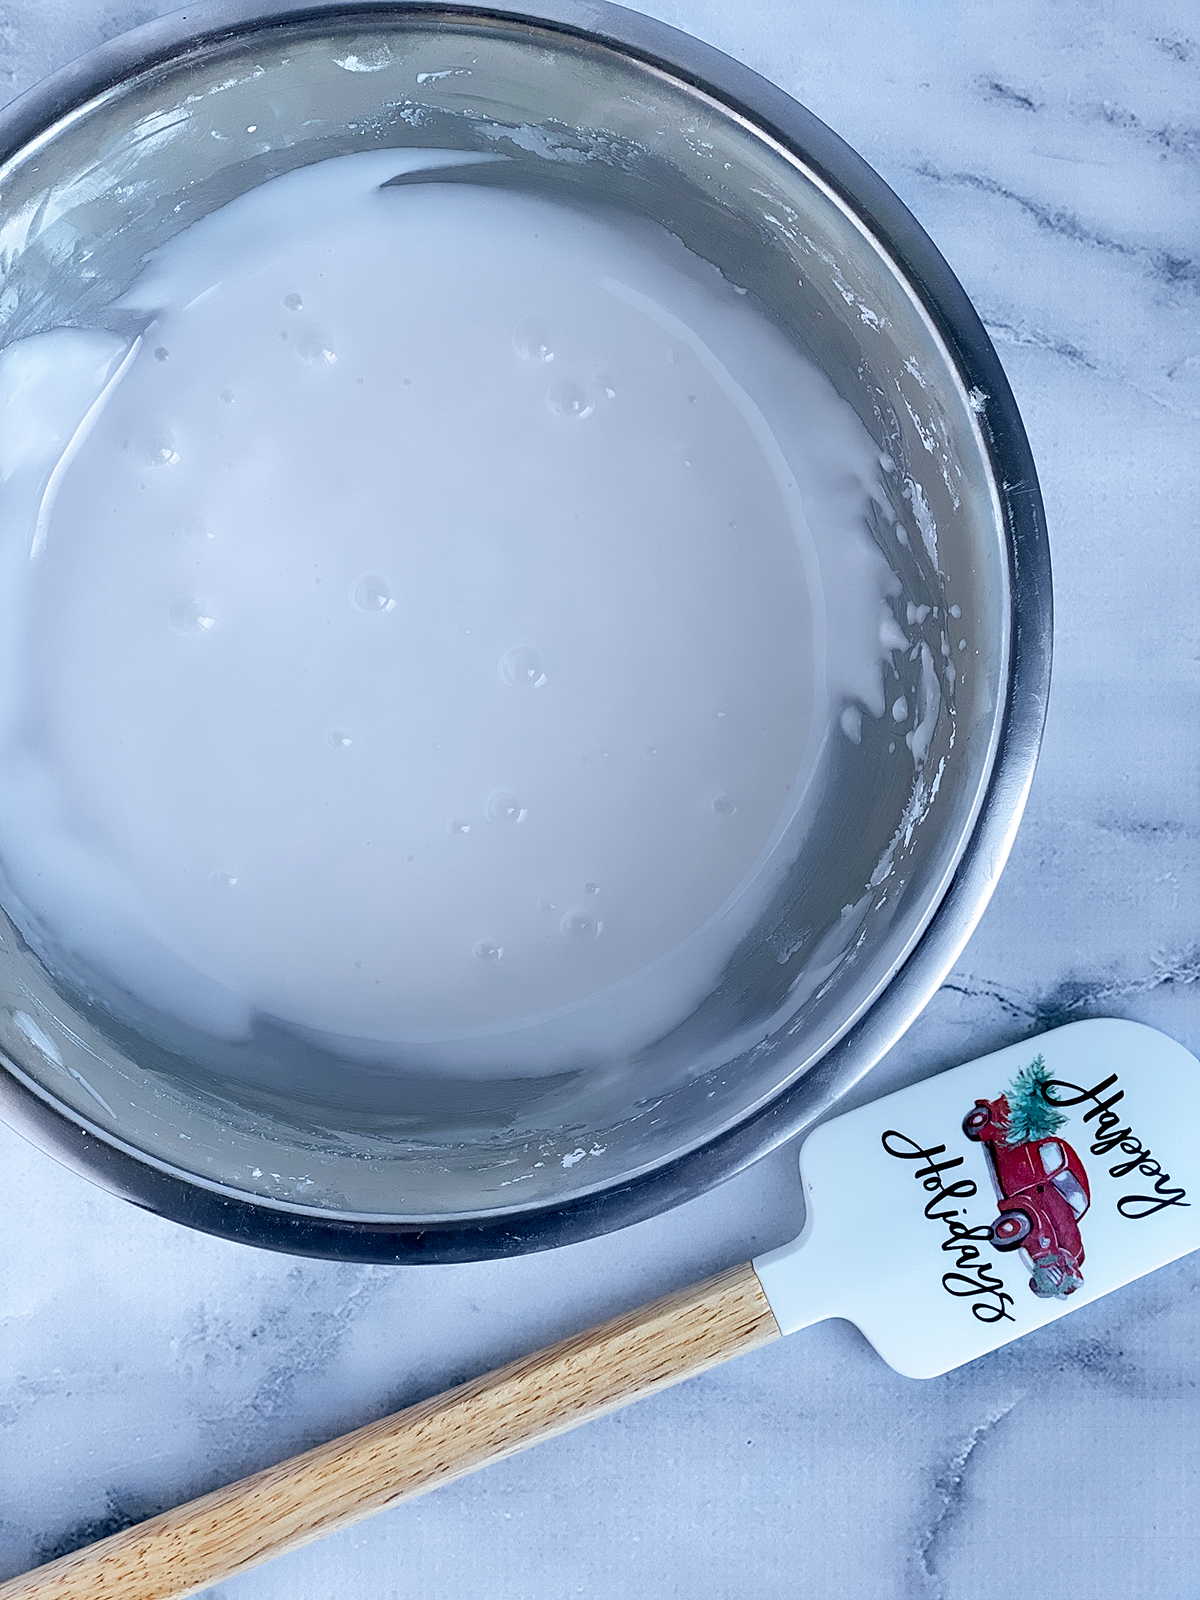
You want the icing to be thick but not too thick.
Thin icing will just run off so you want a nice consistency.
At this point, you could also add in colouring if you wanted to make coloured icing.
If colouring, I suggest using a gel vs liquid colouring so you don’t thin out your icing.
©Aimée Geroux | https://extremecouponingmom.ca
To keep things tidy I suggest putting some parchment paper under your rack of cookies to catch any icing fall off.
Have your sanding sugar or sprinkles handy to decorate before the icing dries!
©Aimée Geroux | https://extremecouponingmom.ca
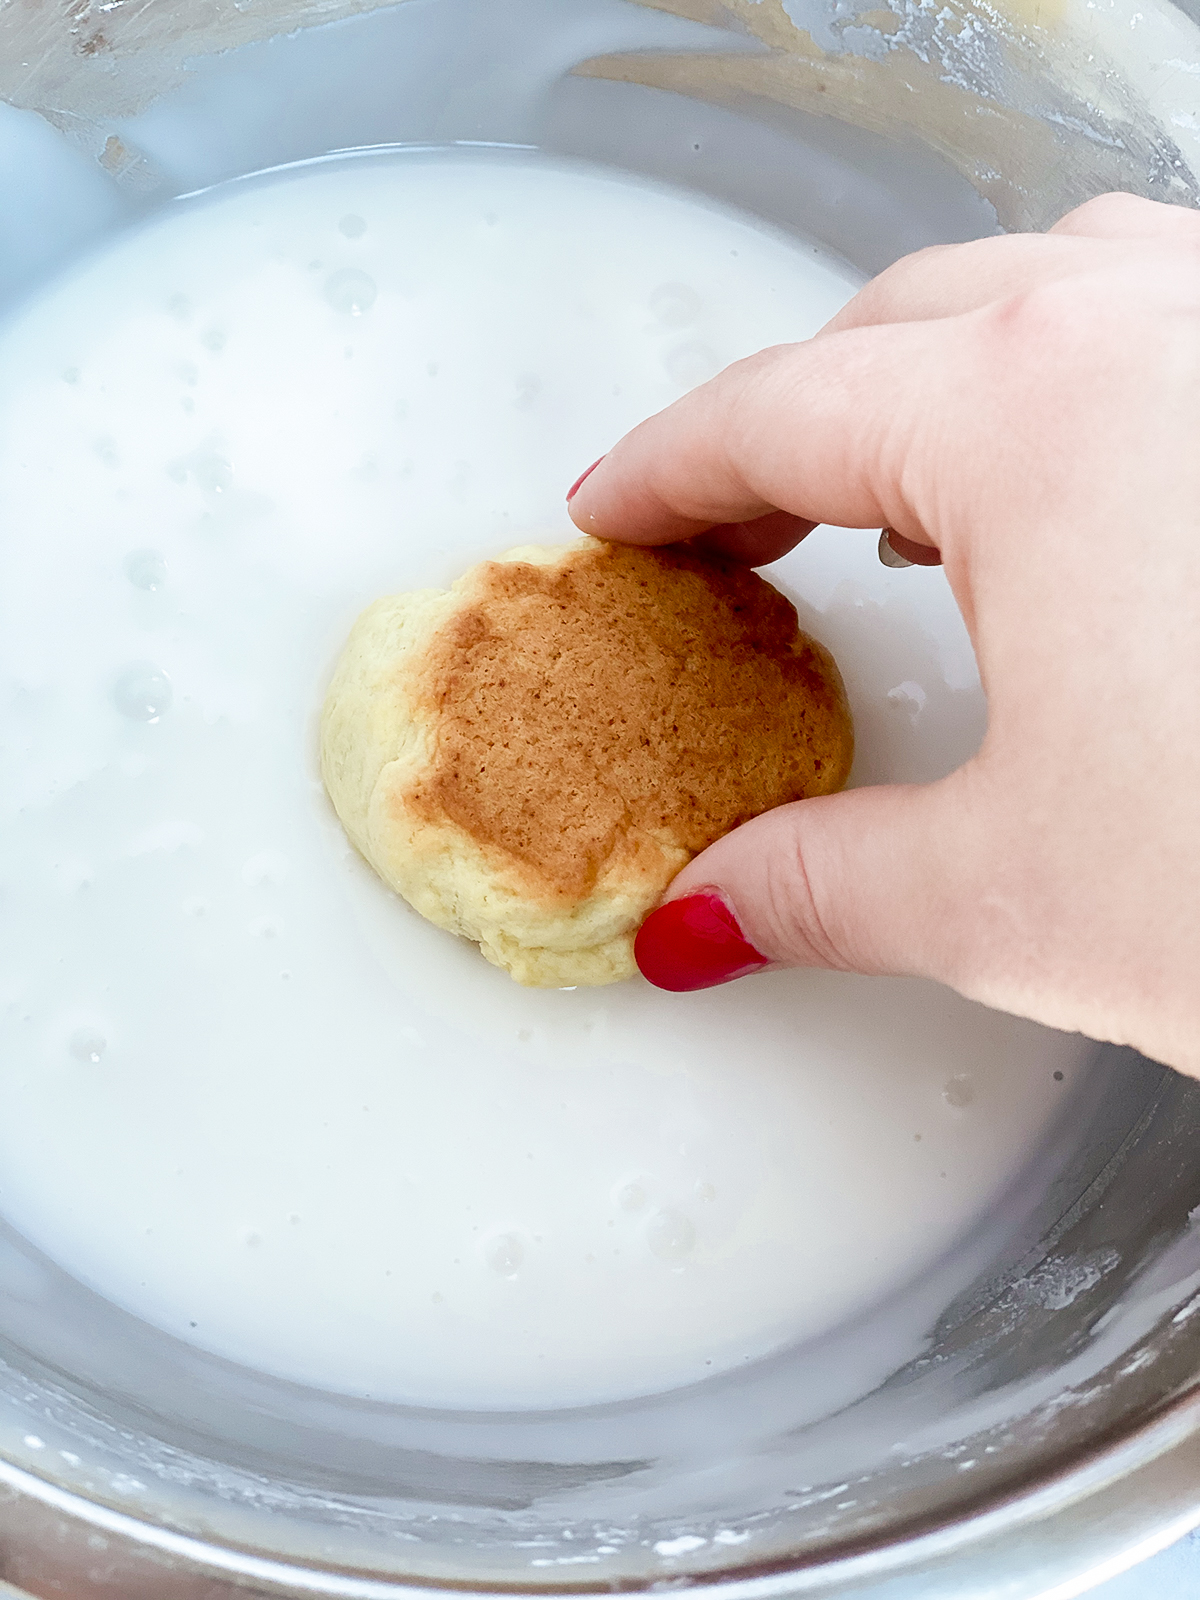
Take your cookies one at a time and dip them in the icing top side down.
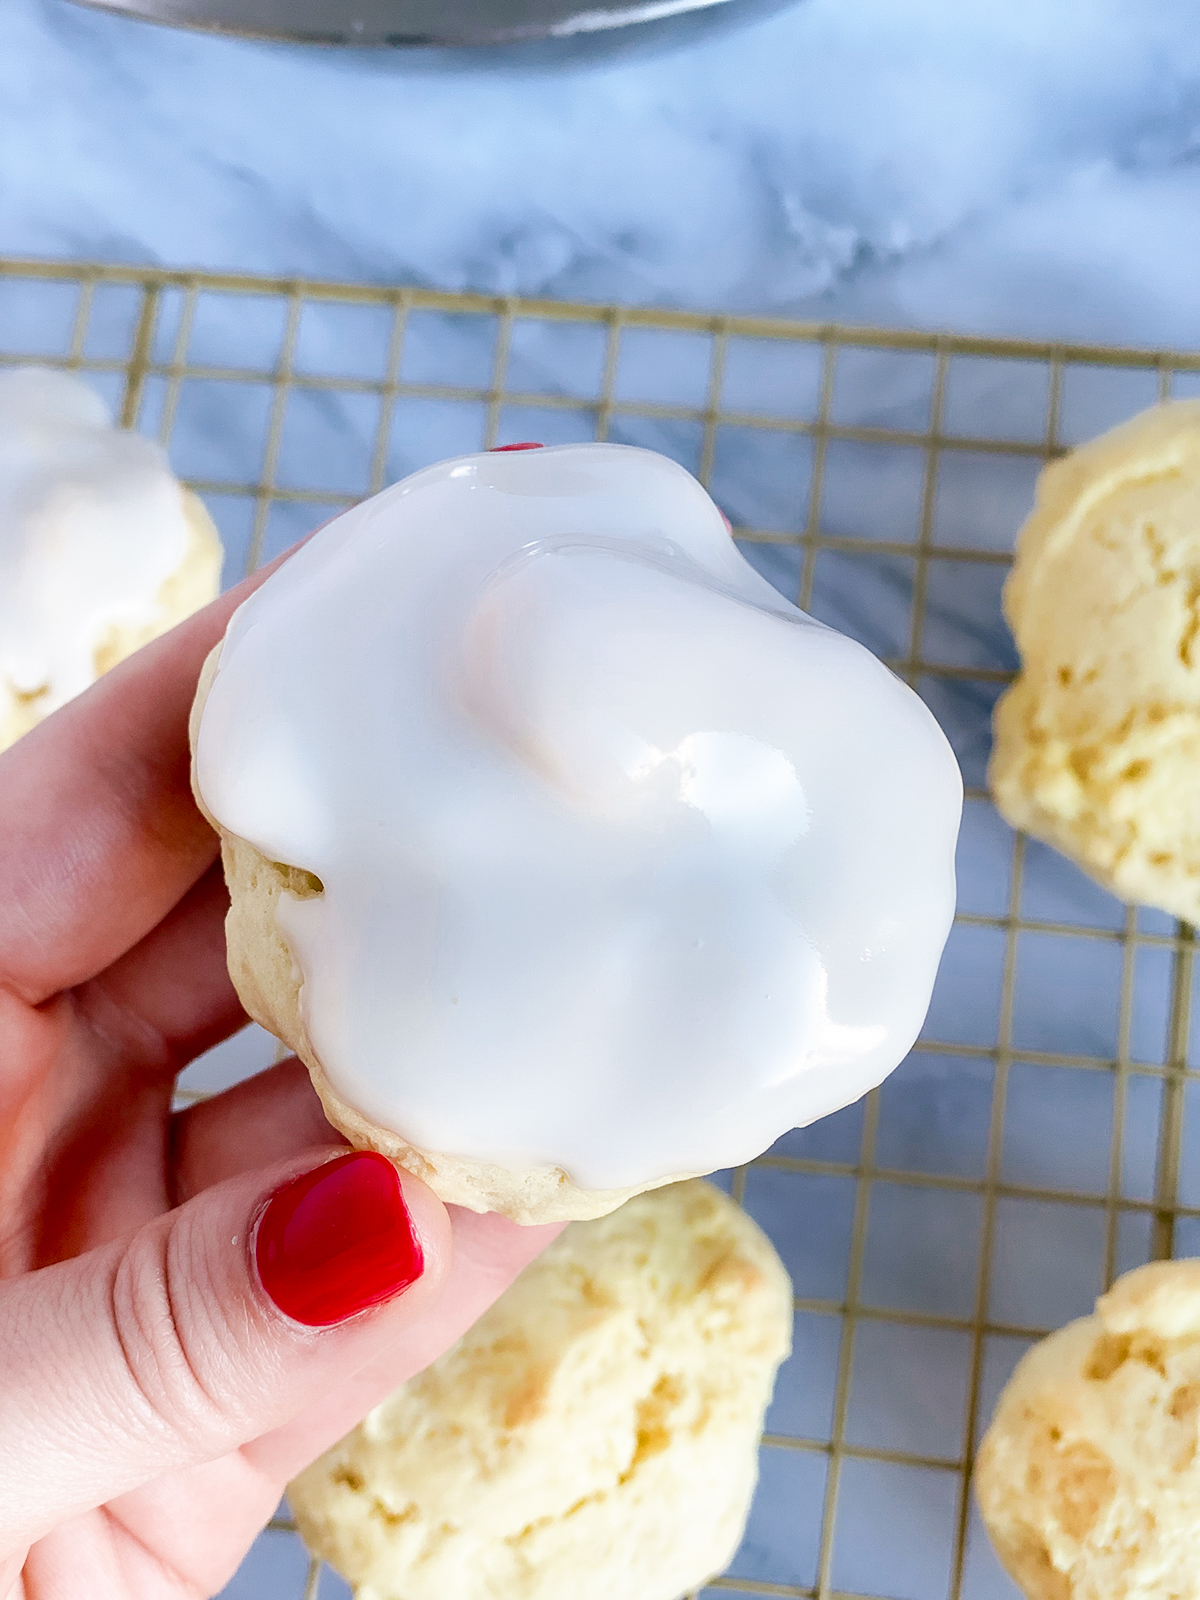
Once you have a nice coating, lift and let excess fall back into the bowl.
©Aimée Geroux | https://extremecouponingmom.ca
This is a good coating of icing.
©Aimée Geroux | https://extremecouponingmom.ca
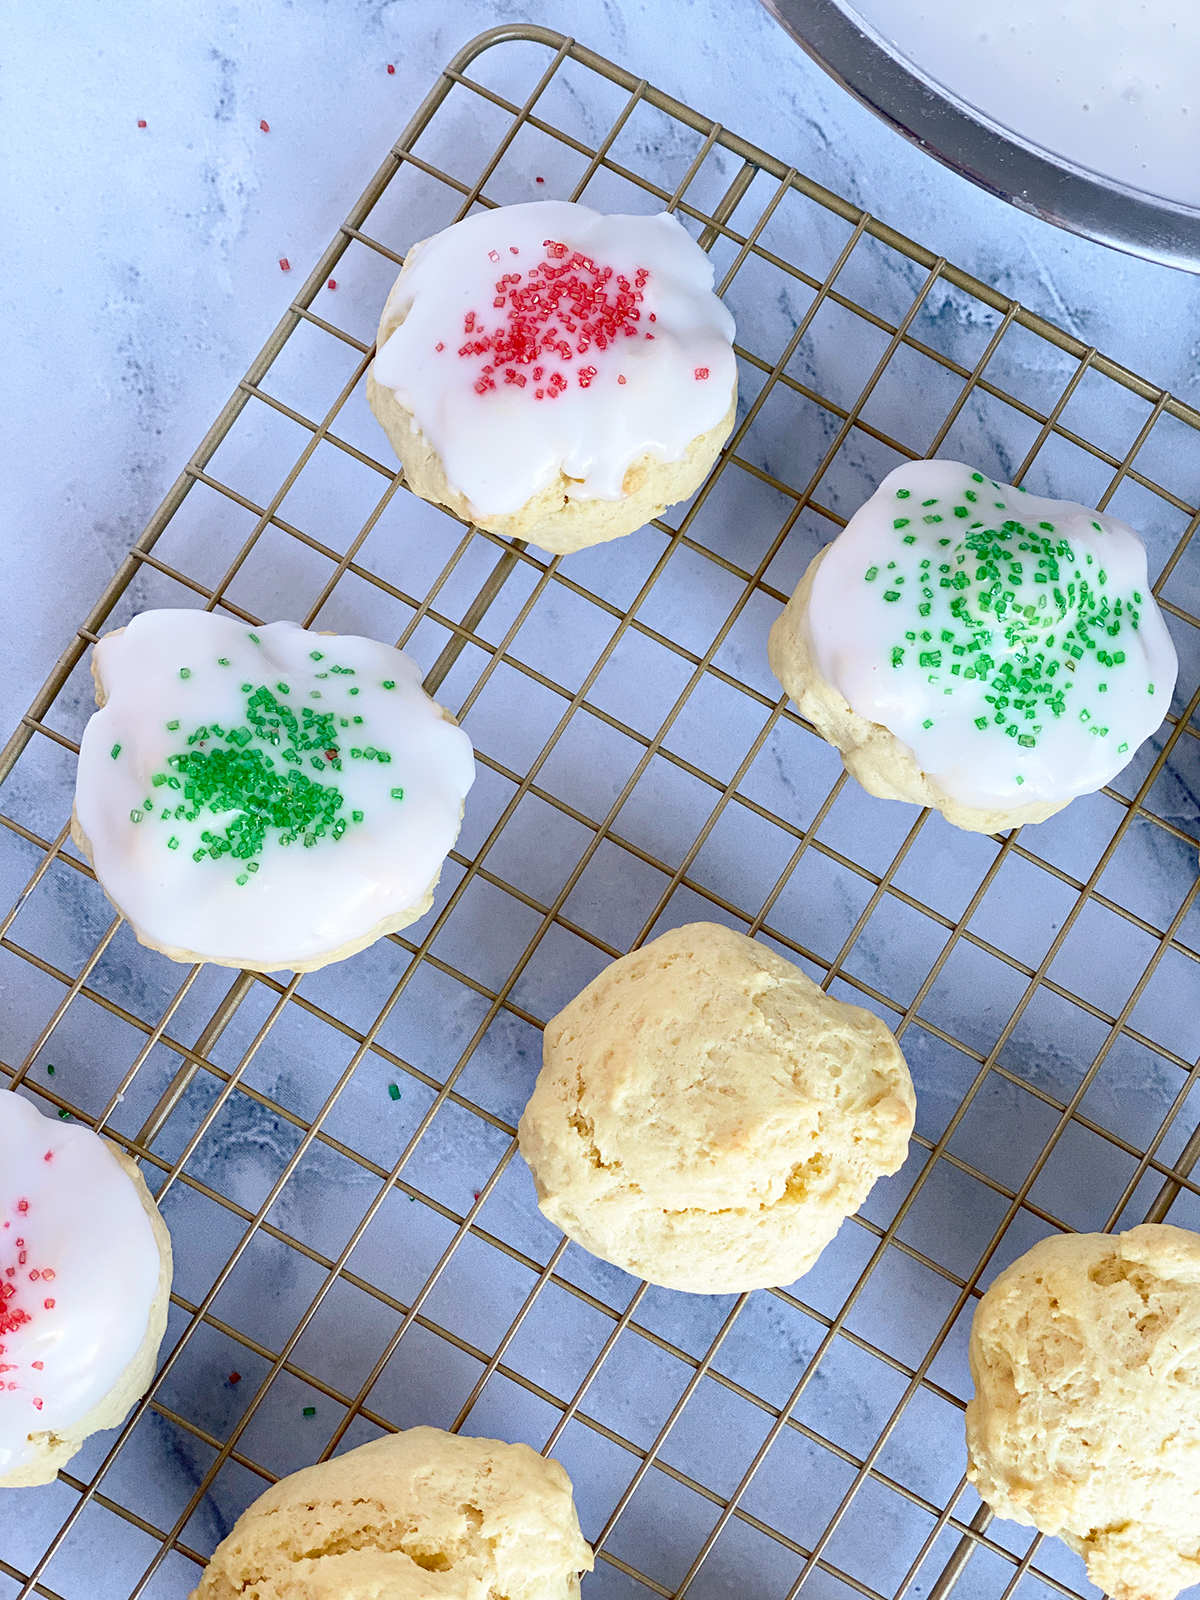
Place the cookie back on the rack and add sprinkles/sanding sugar at this time before the icing hardens.
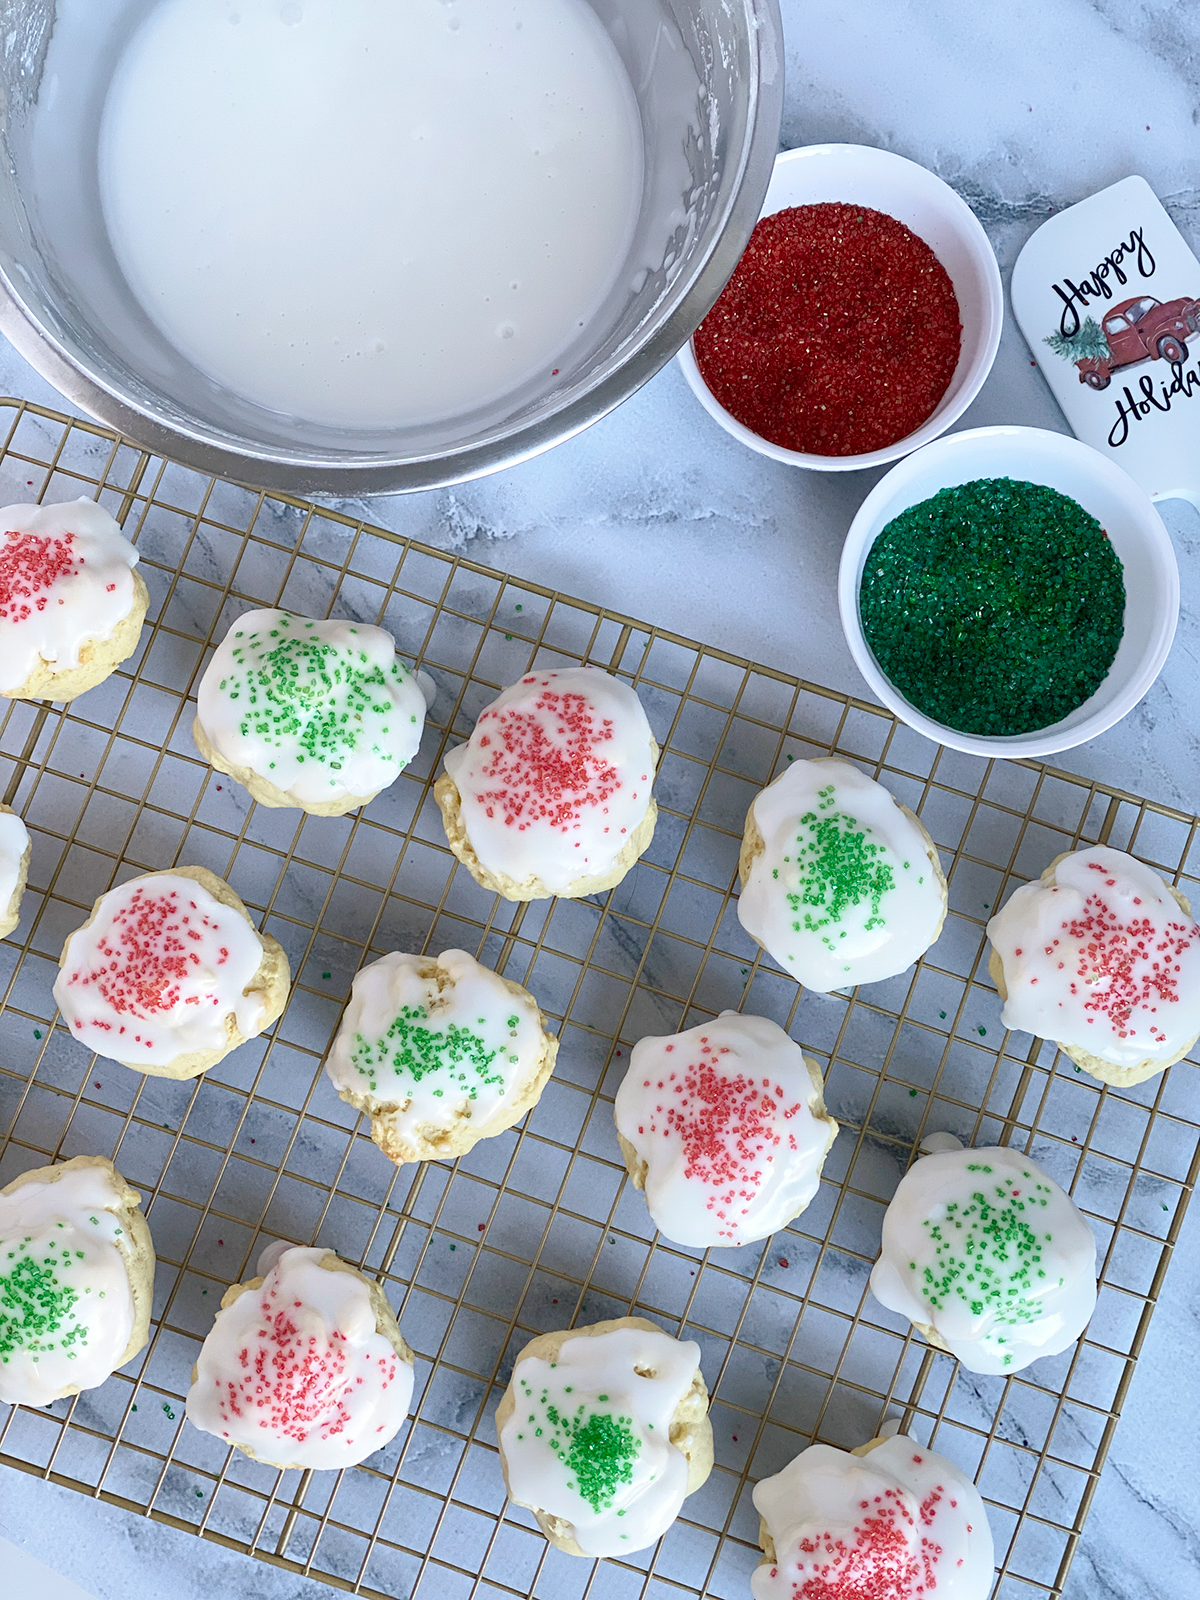
©Aimée Geroux | https://extremecouponingmom.ca
Once you are done icing and decorating all of your cookies, allow the icing to set for about 30 minutes.
Keep in an airtight container for up to a week or freeze for up to a month.

©Aimée Geroux | https://extremecouponingmom.ca
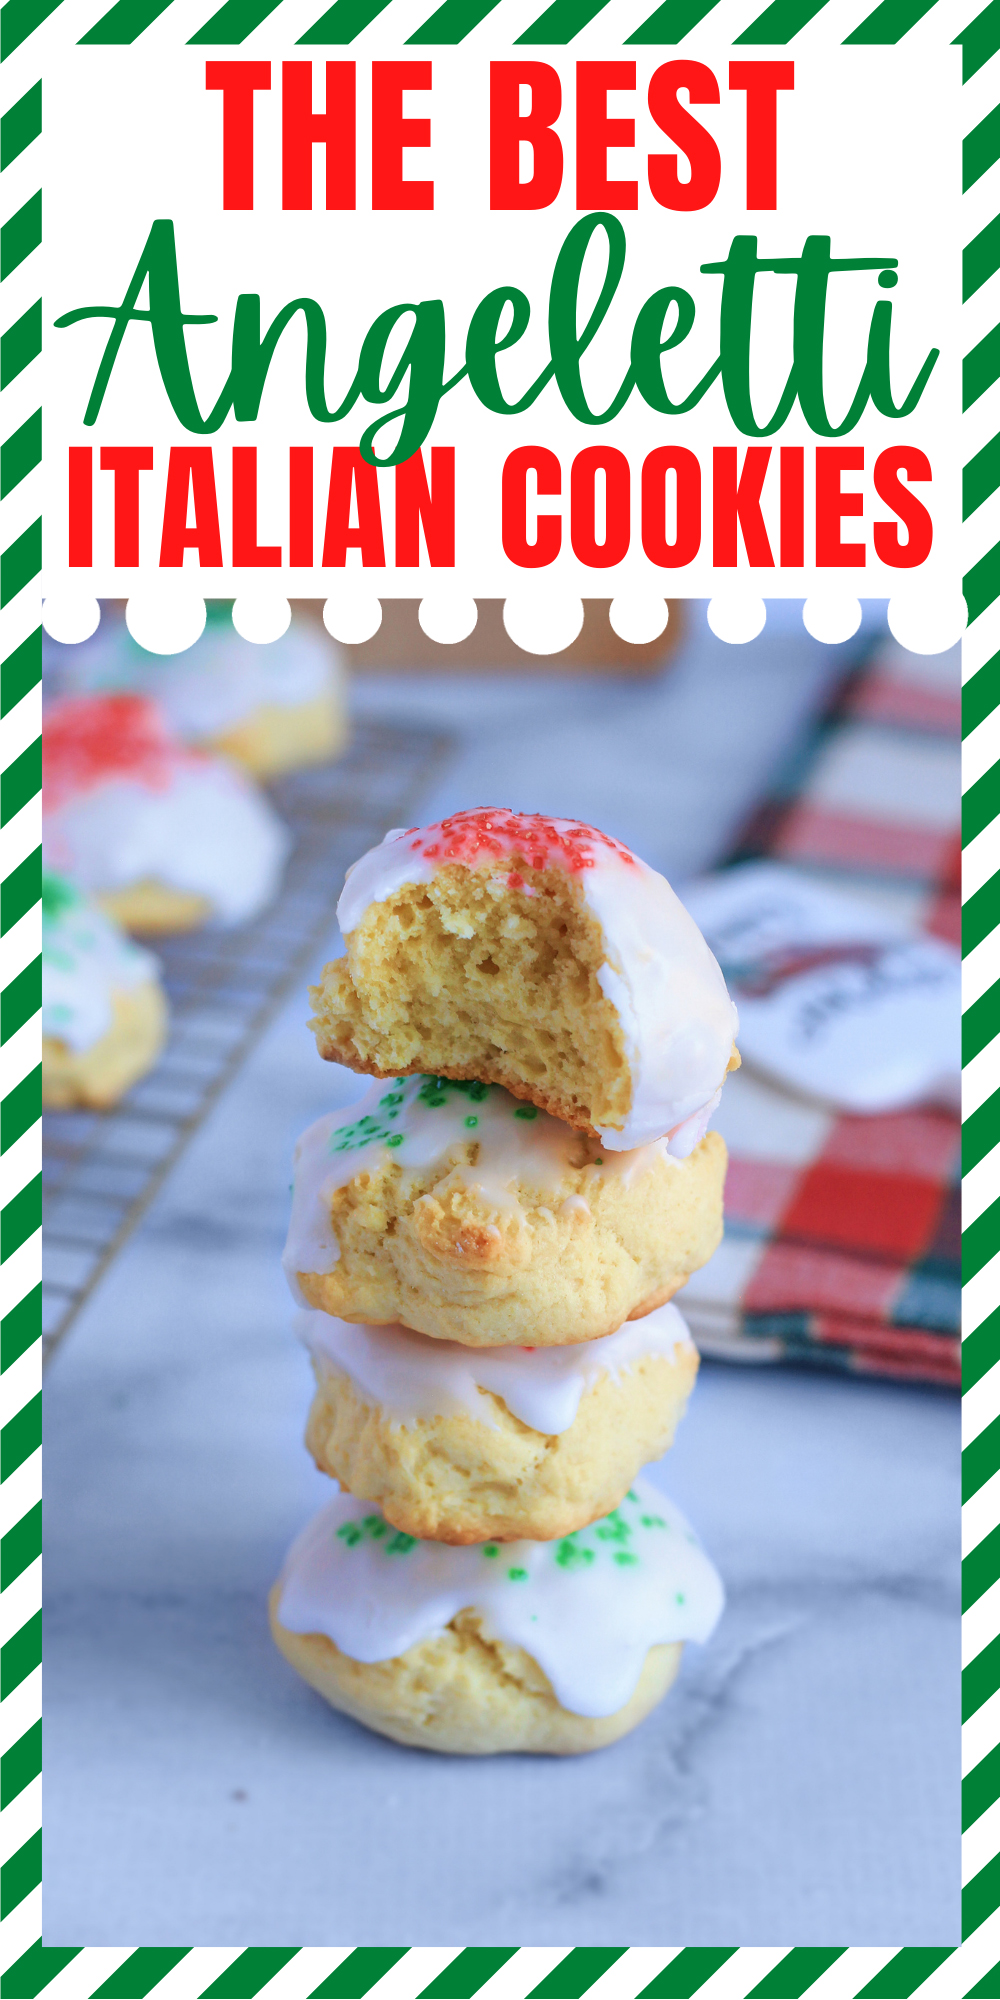
How delicious do these Italian Angeletti Cookies look?
They are soft yet dense, but not too dense and oh-so-yummy!
The Best Italian Angeletti Cookies

These Italian Angeletti Cookies are perfect for any occasion. Decorate with red and green sanding sugar for Christmas or sprinkles to match your birthday, baptism or other celebration themes!
Ingredients
Cookie
- 4 cups all-purpose flour
- 2 tbsp baking powder
- 1/2 tsp salt
- 1 cup unsalted butter
- 1 cup granulated sugar
- 6 large eggs
- 1 tbsp vanilla extract
Icing
- 2 cups icing sugar
- 1/4 cup water
Decorations
- Sanding sugar or sprinkles
Instructions
Cookie
- Preheat your oven to 350 degrees Fahrenheit.
- In a medium-sized bowl, sift together your flour, baking powder and salt, then set aside.
- Using the bowl of your electric mixer fitted with the paddle attachment on medium speed, cream together your butter and granulated sugar until light and fluffy - about two minutes. Scrape down the sides.
- On medium speed, add your eggs in one at a time, ensuring you mix well after each addition.
- After you have mixed in all of your eggs, scrape down the sides and bottom of your mixer bowl and then mix again for 30 seconds.
- Next, add in your vanilla and beat on medium speed until incorporated.
- With the mixer on low to medium speed, gradually add your flour mixture (1/4 cup at a time) and beat until dough comes together. Scrape down the sides.
- Scoop dough into 1-2 tablespoon-size balls and place onto a baking sheet lined with parchment paper. I did rough 2 tablespoon-sized balls and yielded 30 cookies.
- Bake until golden brown on the bottom, about 15 minutes.
- Transfer to a wire cooling rack to cool fully before icing.
Icing + Decorating
- Place your icing sugar in a medium-sized mixing bowl.
- Next, add in your water and mix well. You want the icing to be thick but not too thick. Thin icing will just run off so you want a nice consistency. At this point, you could also add in colouring if you wanted to make coloured icing.
- Take your cookies one at a time and dip them in the icing top side down. Once you have a nice coating, lift and let excess fall back into the bowl.
- Place the cookie back on the cooling rack and add sprinkles/sanding sugar at this time before the icing hardens. I also place a sheet of parchment paper under my cooling racks to catch any icing or sprinkle mess for easy cleanup.
- Allow the icing to set for about 30 minutes.
- Keep in an airtight container for up to a week or freeze for up to a month.

©Aimée Geroux | https://extremecouponingmom.ca
Decorate The Best Italian Angeletti Cookies For Other Holidays
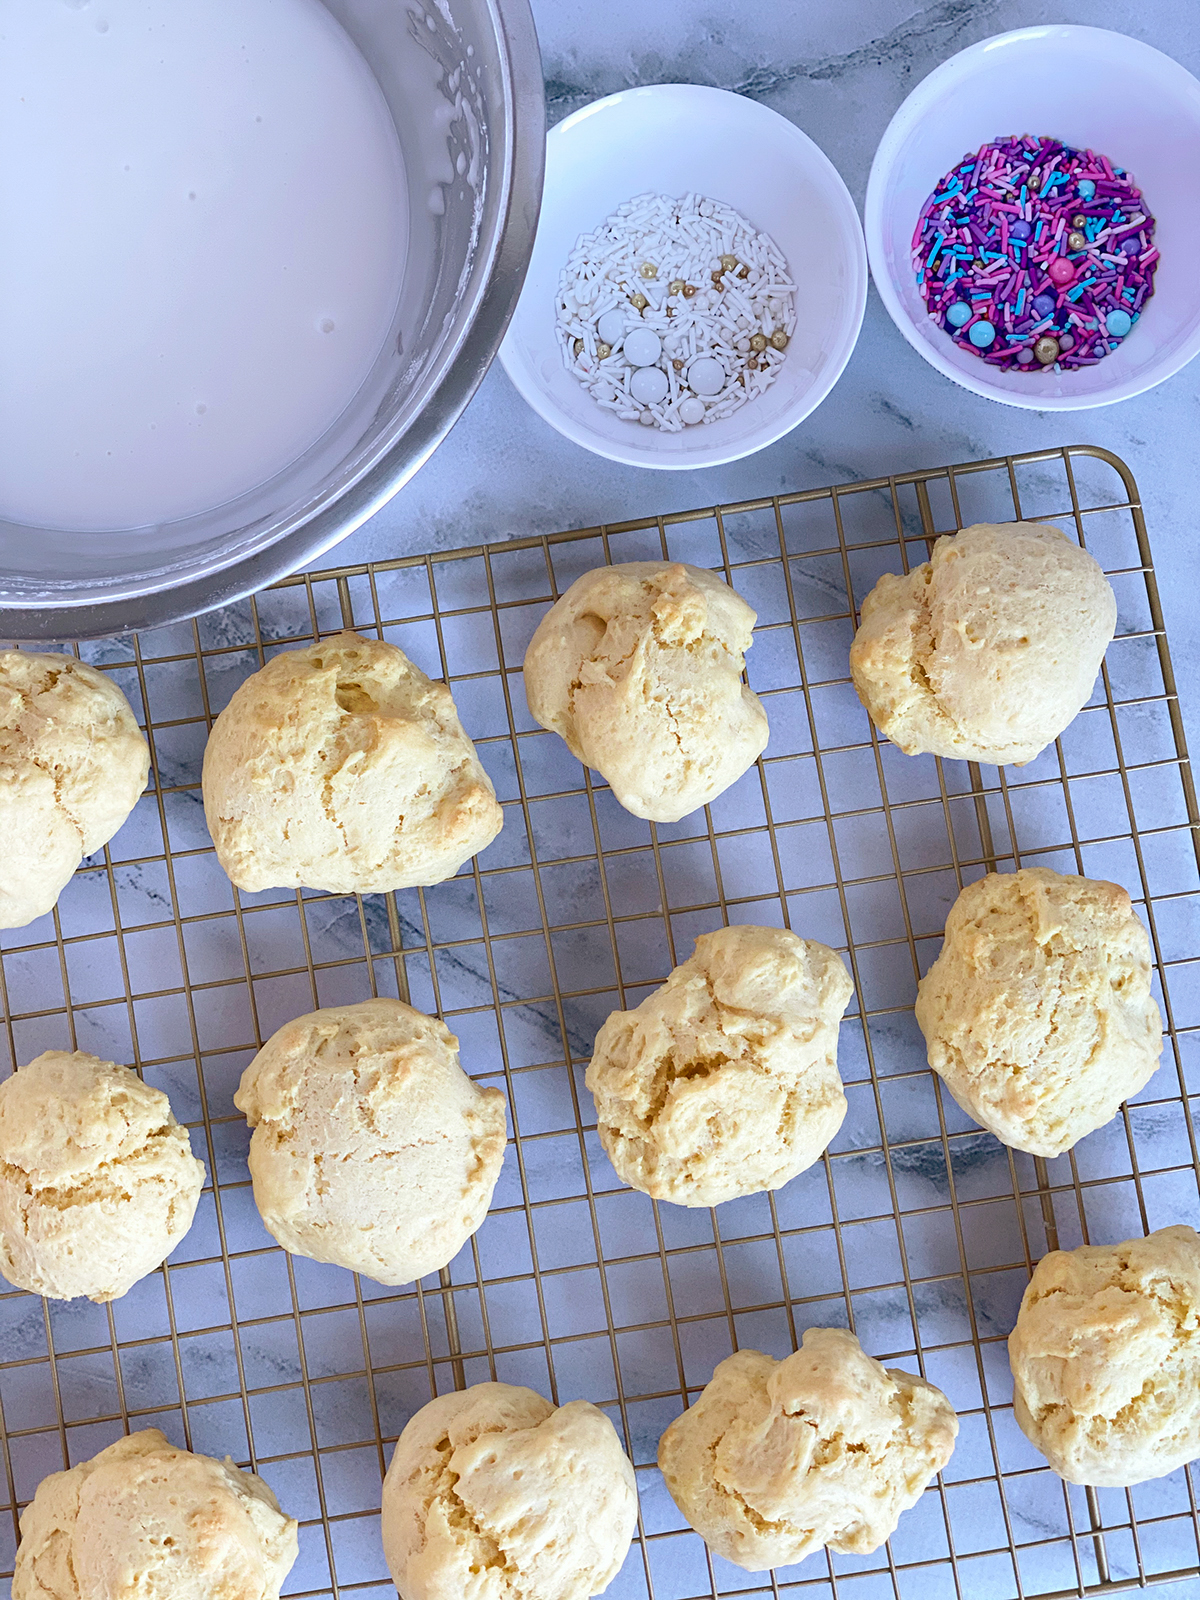
These cookies aren’t just for Christmas, you can decorate them however you’d like to enjoy them during other holidays or celebrations.
Use white, gold and black sprinkles for New Year’s Eve.
Having a unicorn birthday? Use purple, pink, blue and gold sprinkles!
Red and white sprinkles for Canada Day or red white and blue for Independence Day.
While the possibilities are endless, the result of a delicious cookie everyone will enjoy is the same!
©Aimée Geroux | https://extremecouponingmom.ca
Just like the Christmas version, get your decorations ready and place some parchment paper under your cookie rack.

©Aimée Geroux | https://extremecouponingmom.ca
Take your cookies one at a time and dip them in the icing top side down.
Once you have a nice coating, lift and let excess fall back into the bowl.

©Aimée Geroux | https://extremecouponingmom.ca
This is a good coating of icing.
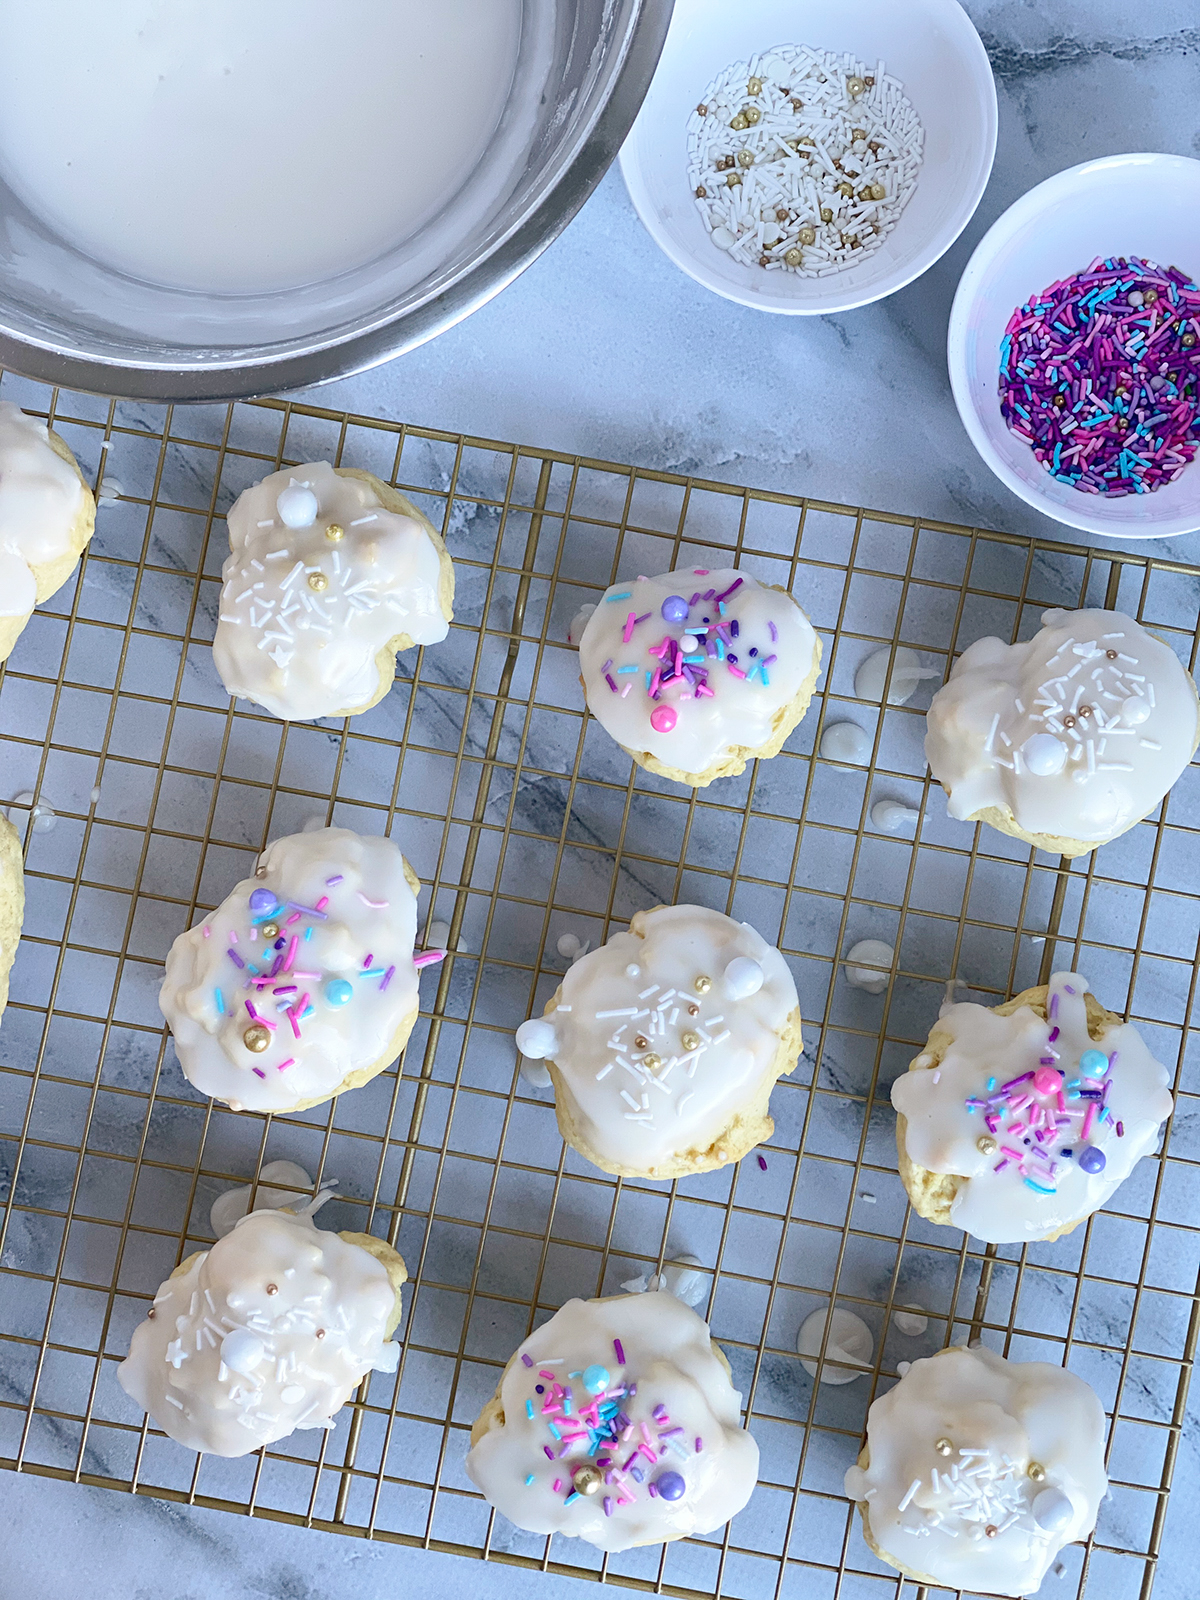
©Aimée Geroux | https://extremecouponingmom.ca
Place the cookie back on the rack and add sprinkles/sanding sugar at this time before the icing hardens.

©Aimée Geroux | https://extremecouponingmom.ca
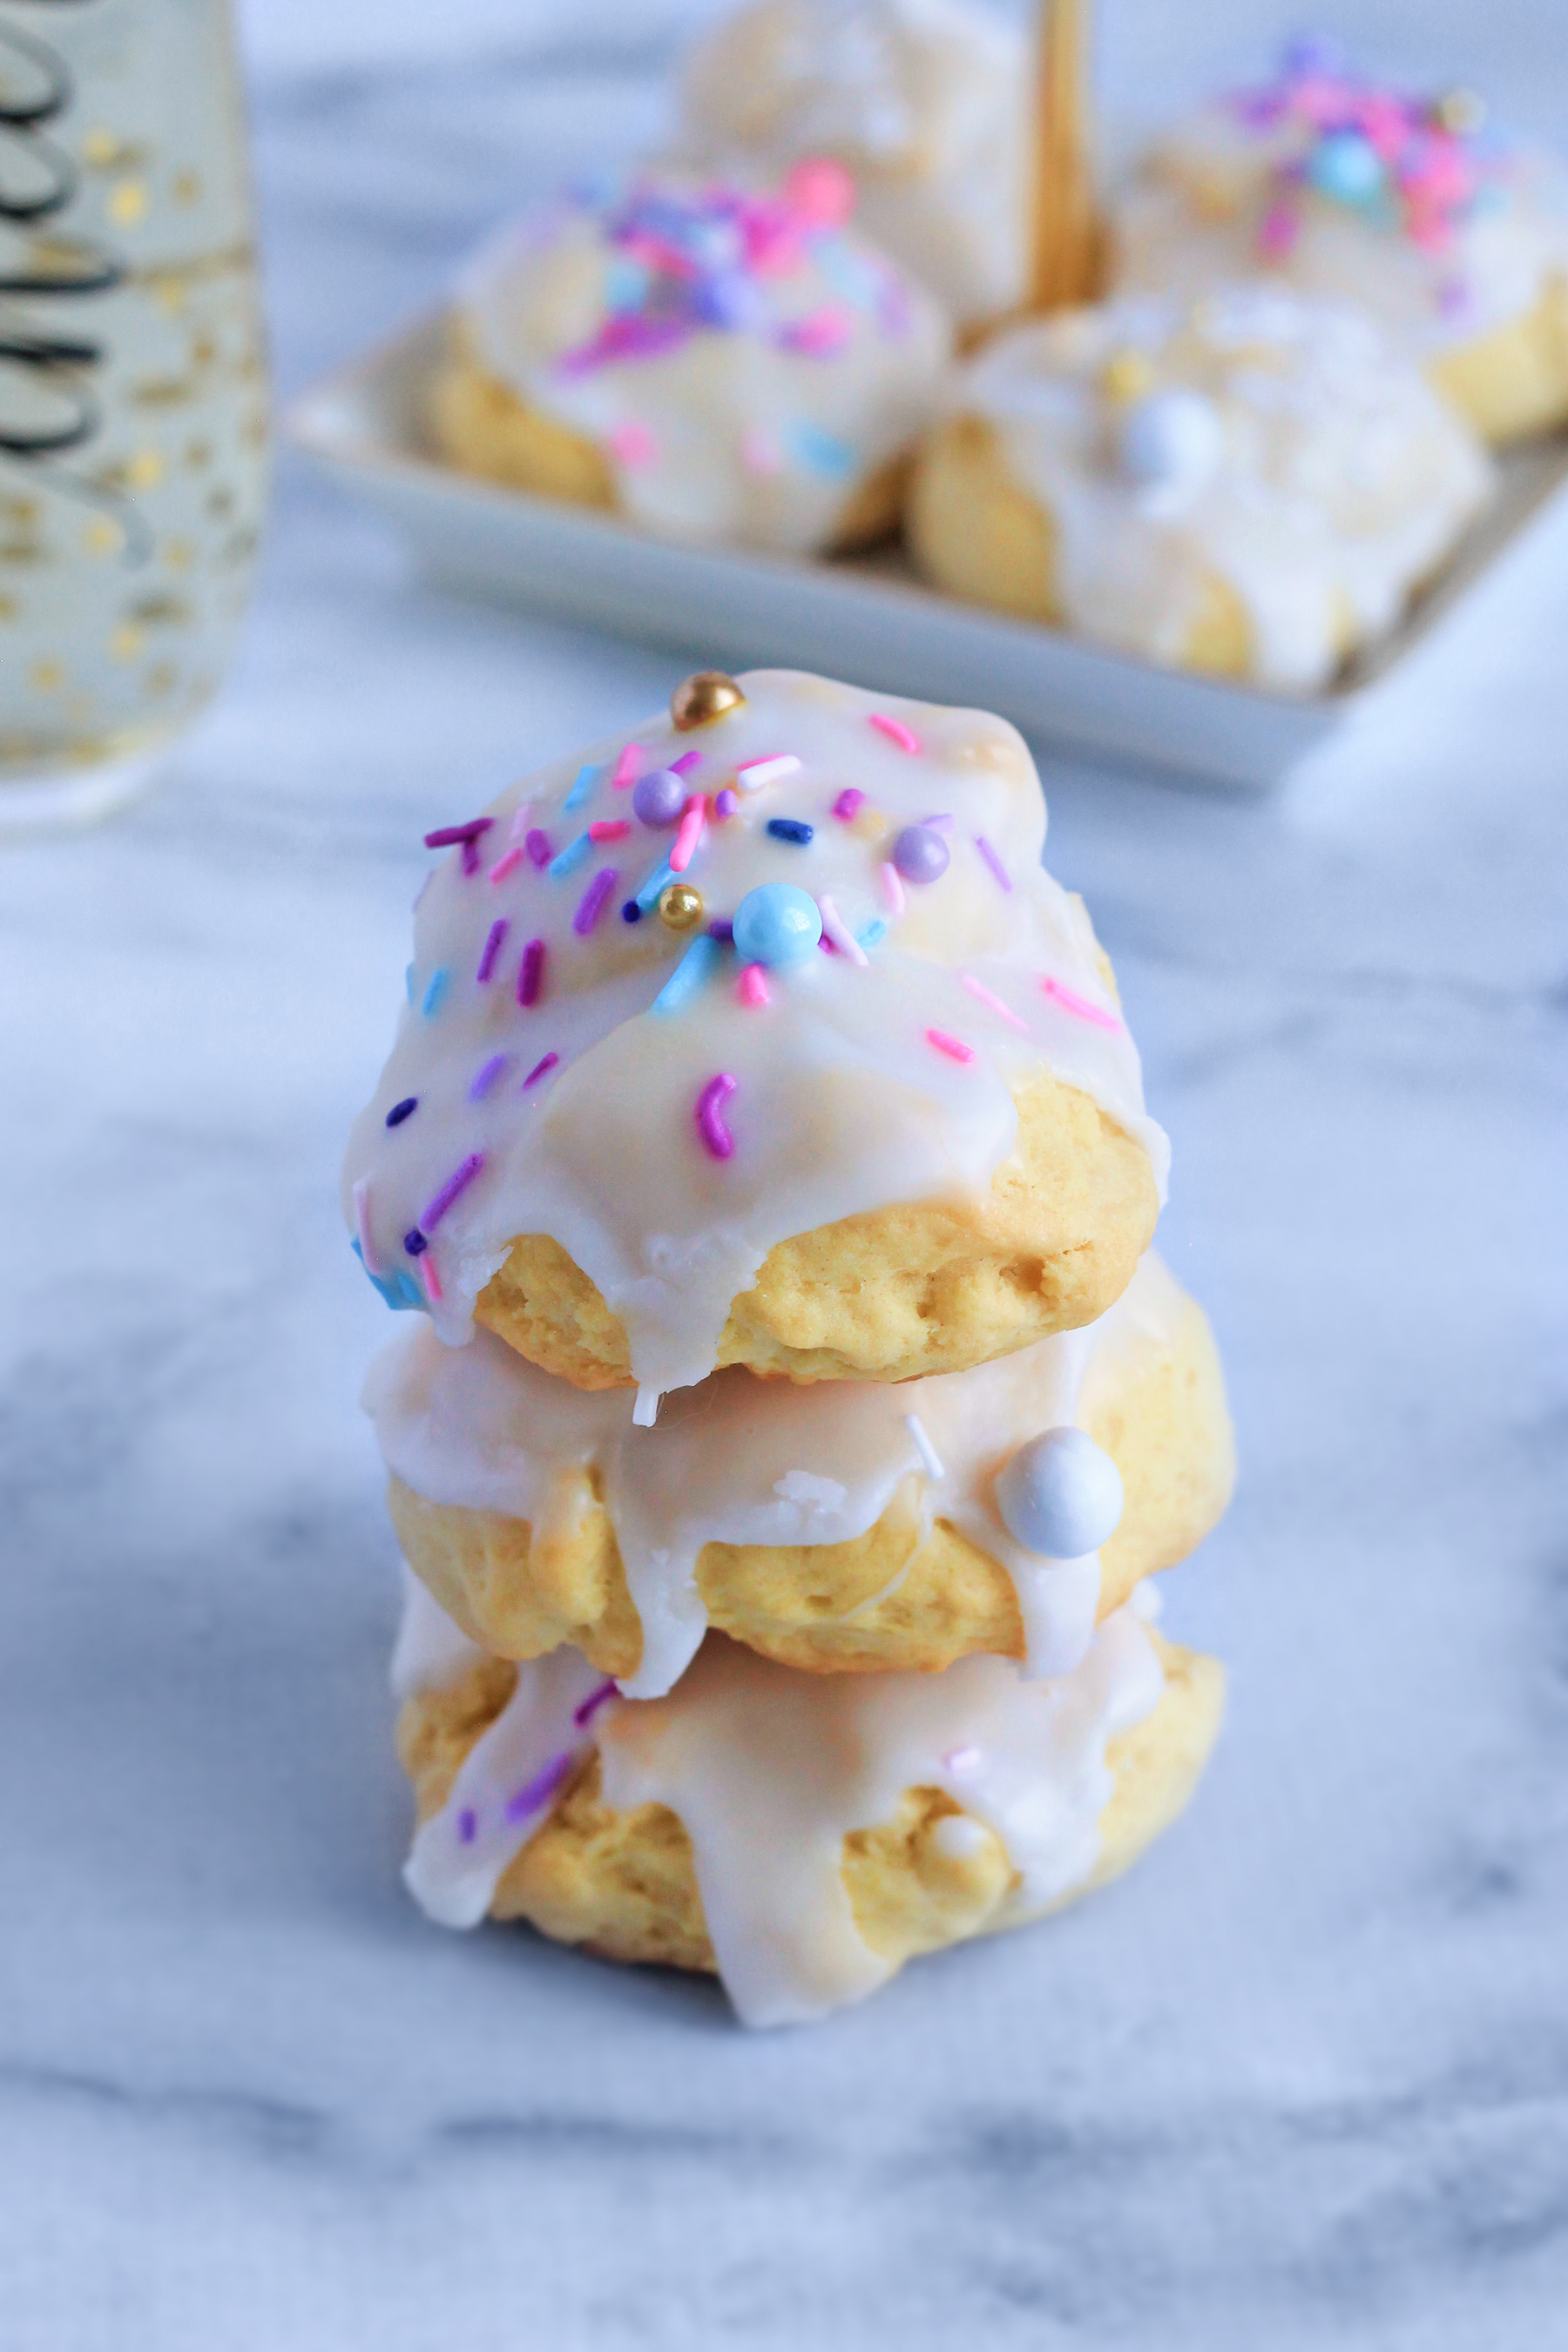
These white and gold decorated Italian Angeletti Cookies would be the perfect treat at a baptism.

©Aimée Geroux | https://extremecouponingmom.ca
How adorable would these look on the dessert table at your little princess’ next birthday?
©Aimée Geroux | https://extremecouponingmom.ca
However you decorate these cookies one thing is for sure, they will disappear so fast and everyone will want the recipe!
©Aimée Geroux | https://extremecouponingmom.ca
Other Delicious Dessert + Snack Recipes To Try
Check out these other yummy dessert and snack recipes for your next celebration!

©Aimée Geroux | https://extremecouponingmom.ca
- Gap Canada Cyber Monday Sale - November 29, 2025
- Acer Canada Cyber Monday Sale - November 29, 2025
- Tuff Athletics Canada Cyber Monday Sale - November 29, 2025

















Laurie P says
Oh this would be so perfect to bring to our last playgroup potluck for the school year! Definitely a treat! and very unique.
Thanks for the inspiration!
Treen Goodwin says
these look and sound so delish thanks for sharing the recipe , i will def be making these 🙂
Caroline says
Oh, I love these! And they are so pretty with pink icing.
Cheryl says
These sound like a great cookie!! Must make thanks for the recipe 🙂