©Aimée Geroux | https://extremecouponingmom.ca
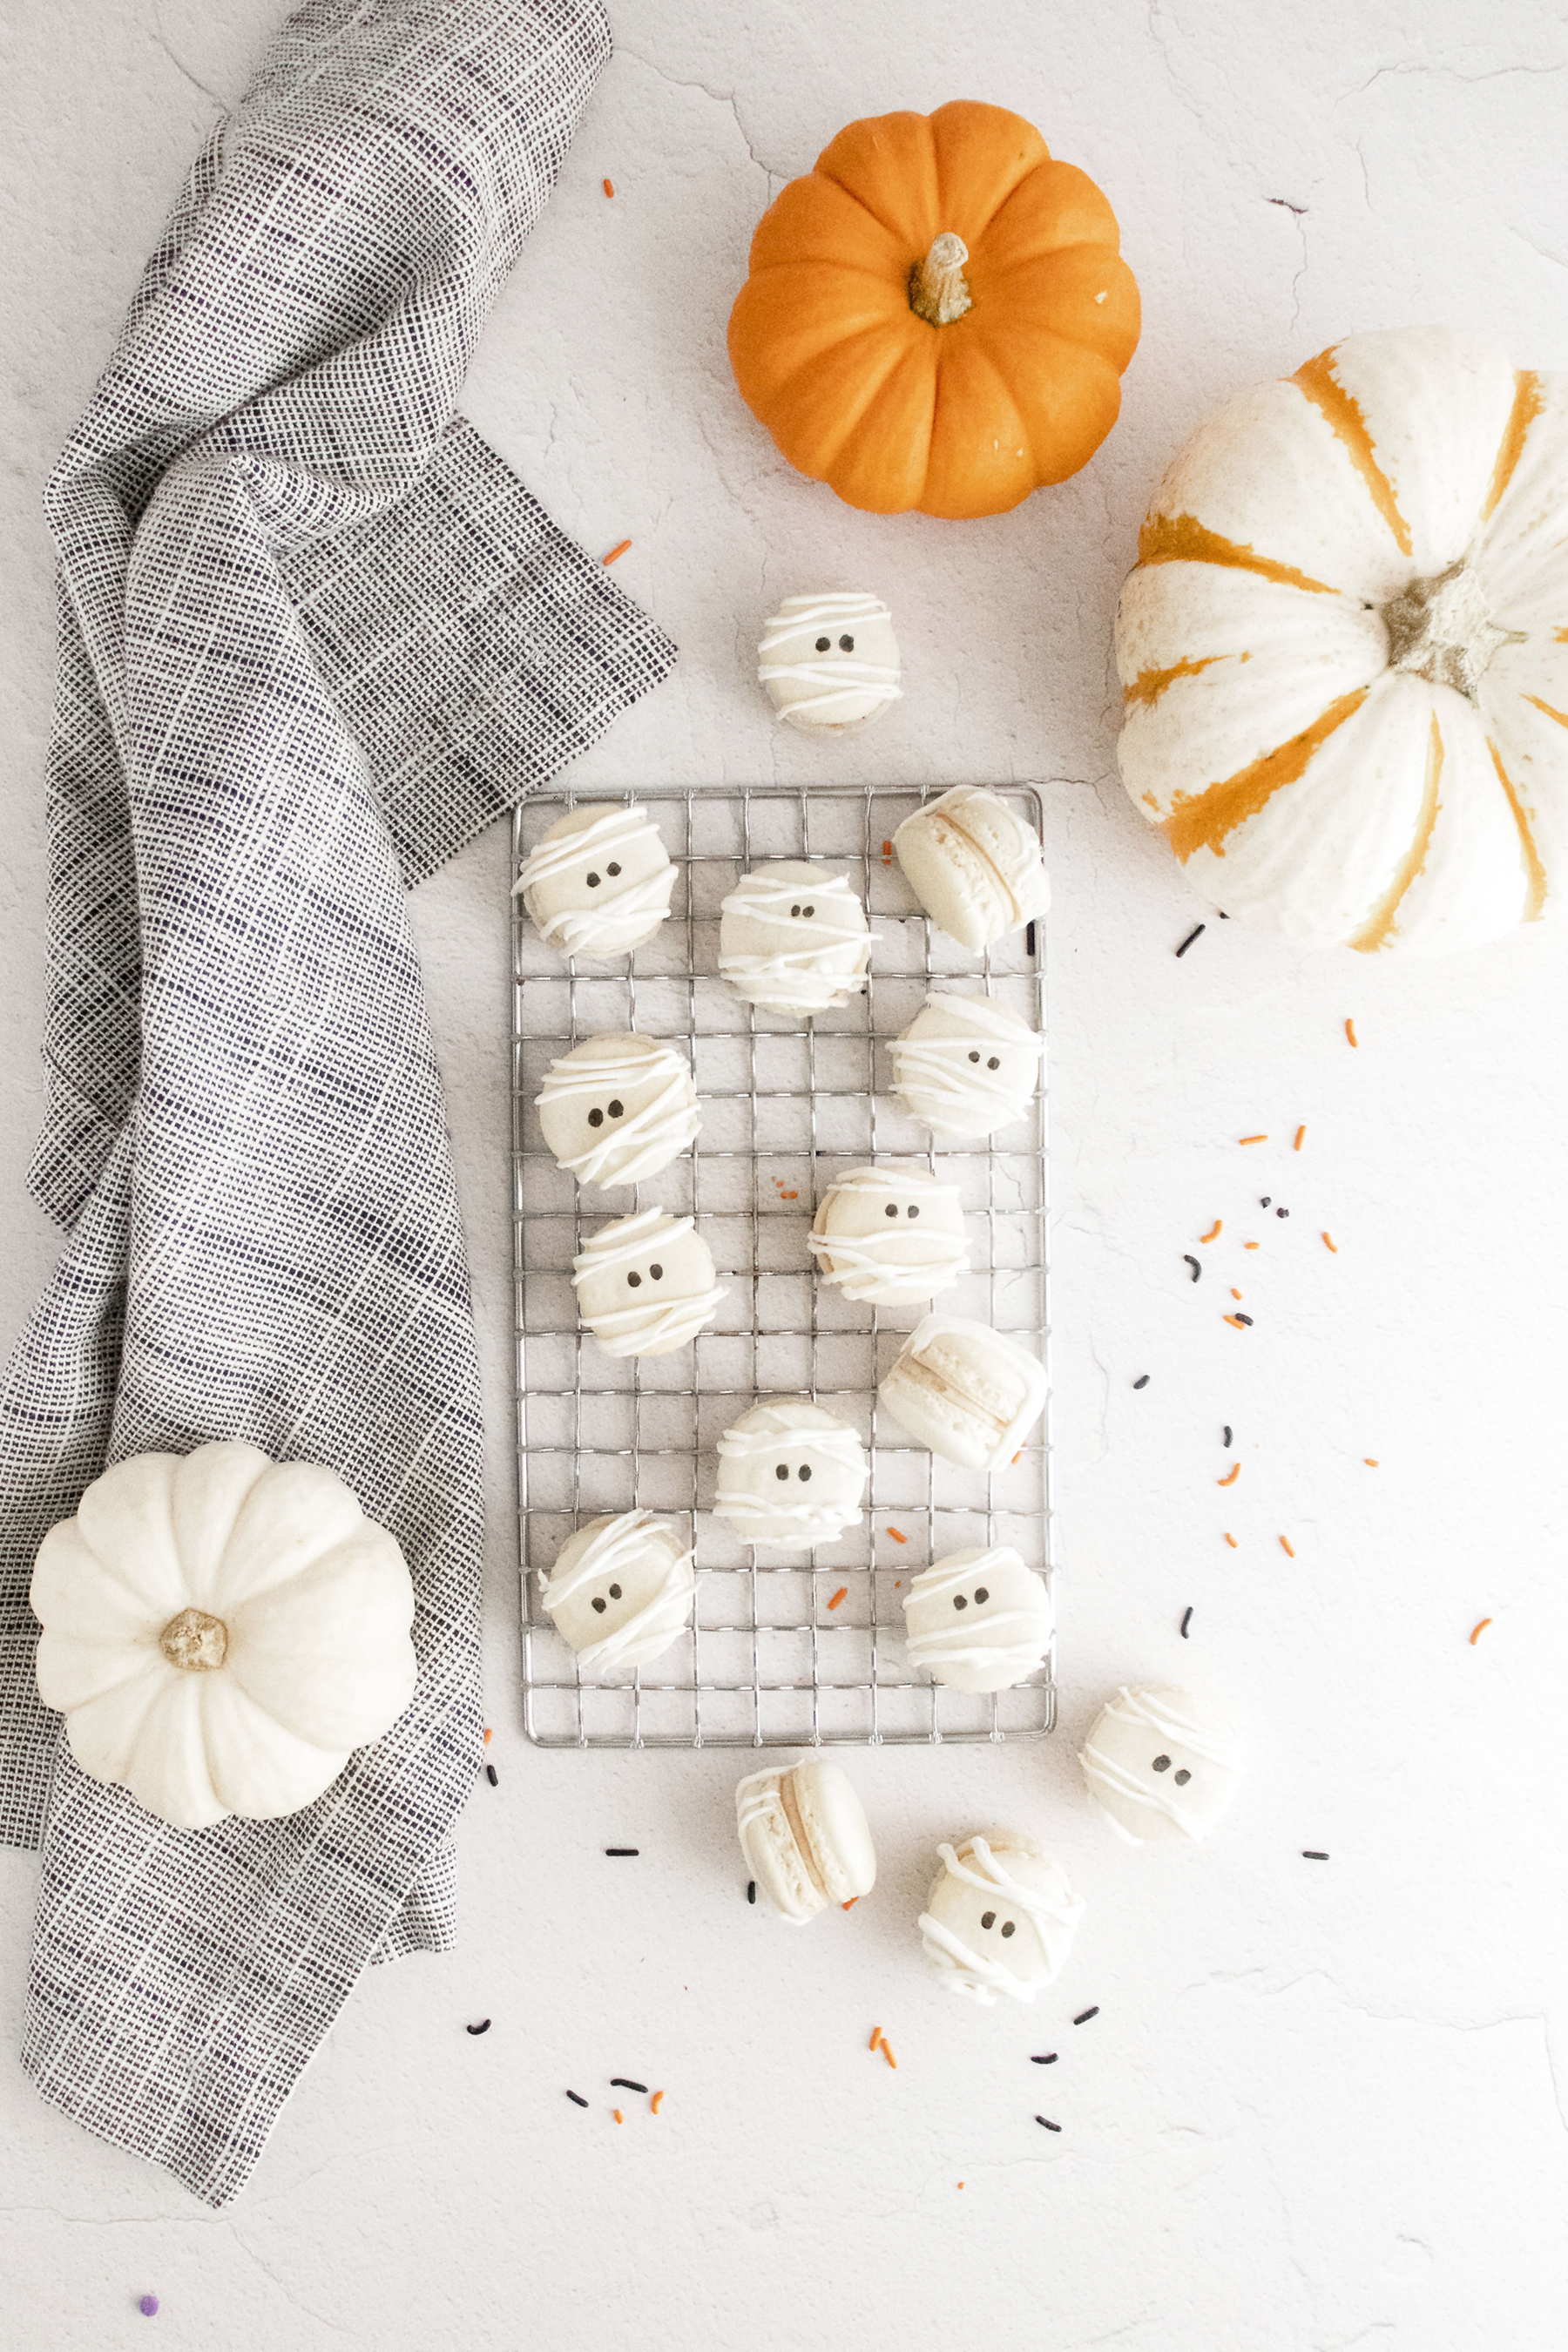
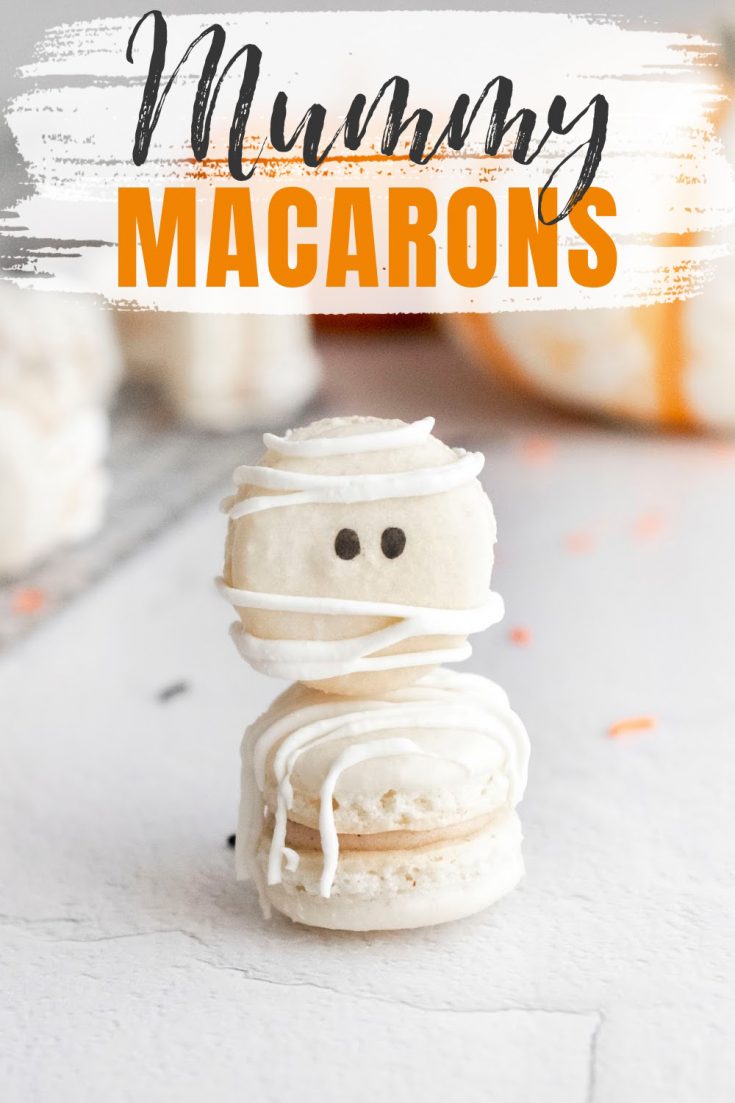
Spooky season is finally here and what better way to kick things off than with these adorable Mummy Halloween Macarons!
You don’t have to be an expert baker to make macarons, I am certainly not and not all of my macarons come out perfect.
So, put your fears aside and give these Mummy Halloween Macarons a try.
©Aimée Geroux | https://extremecouponingmom.ca
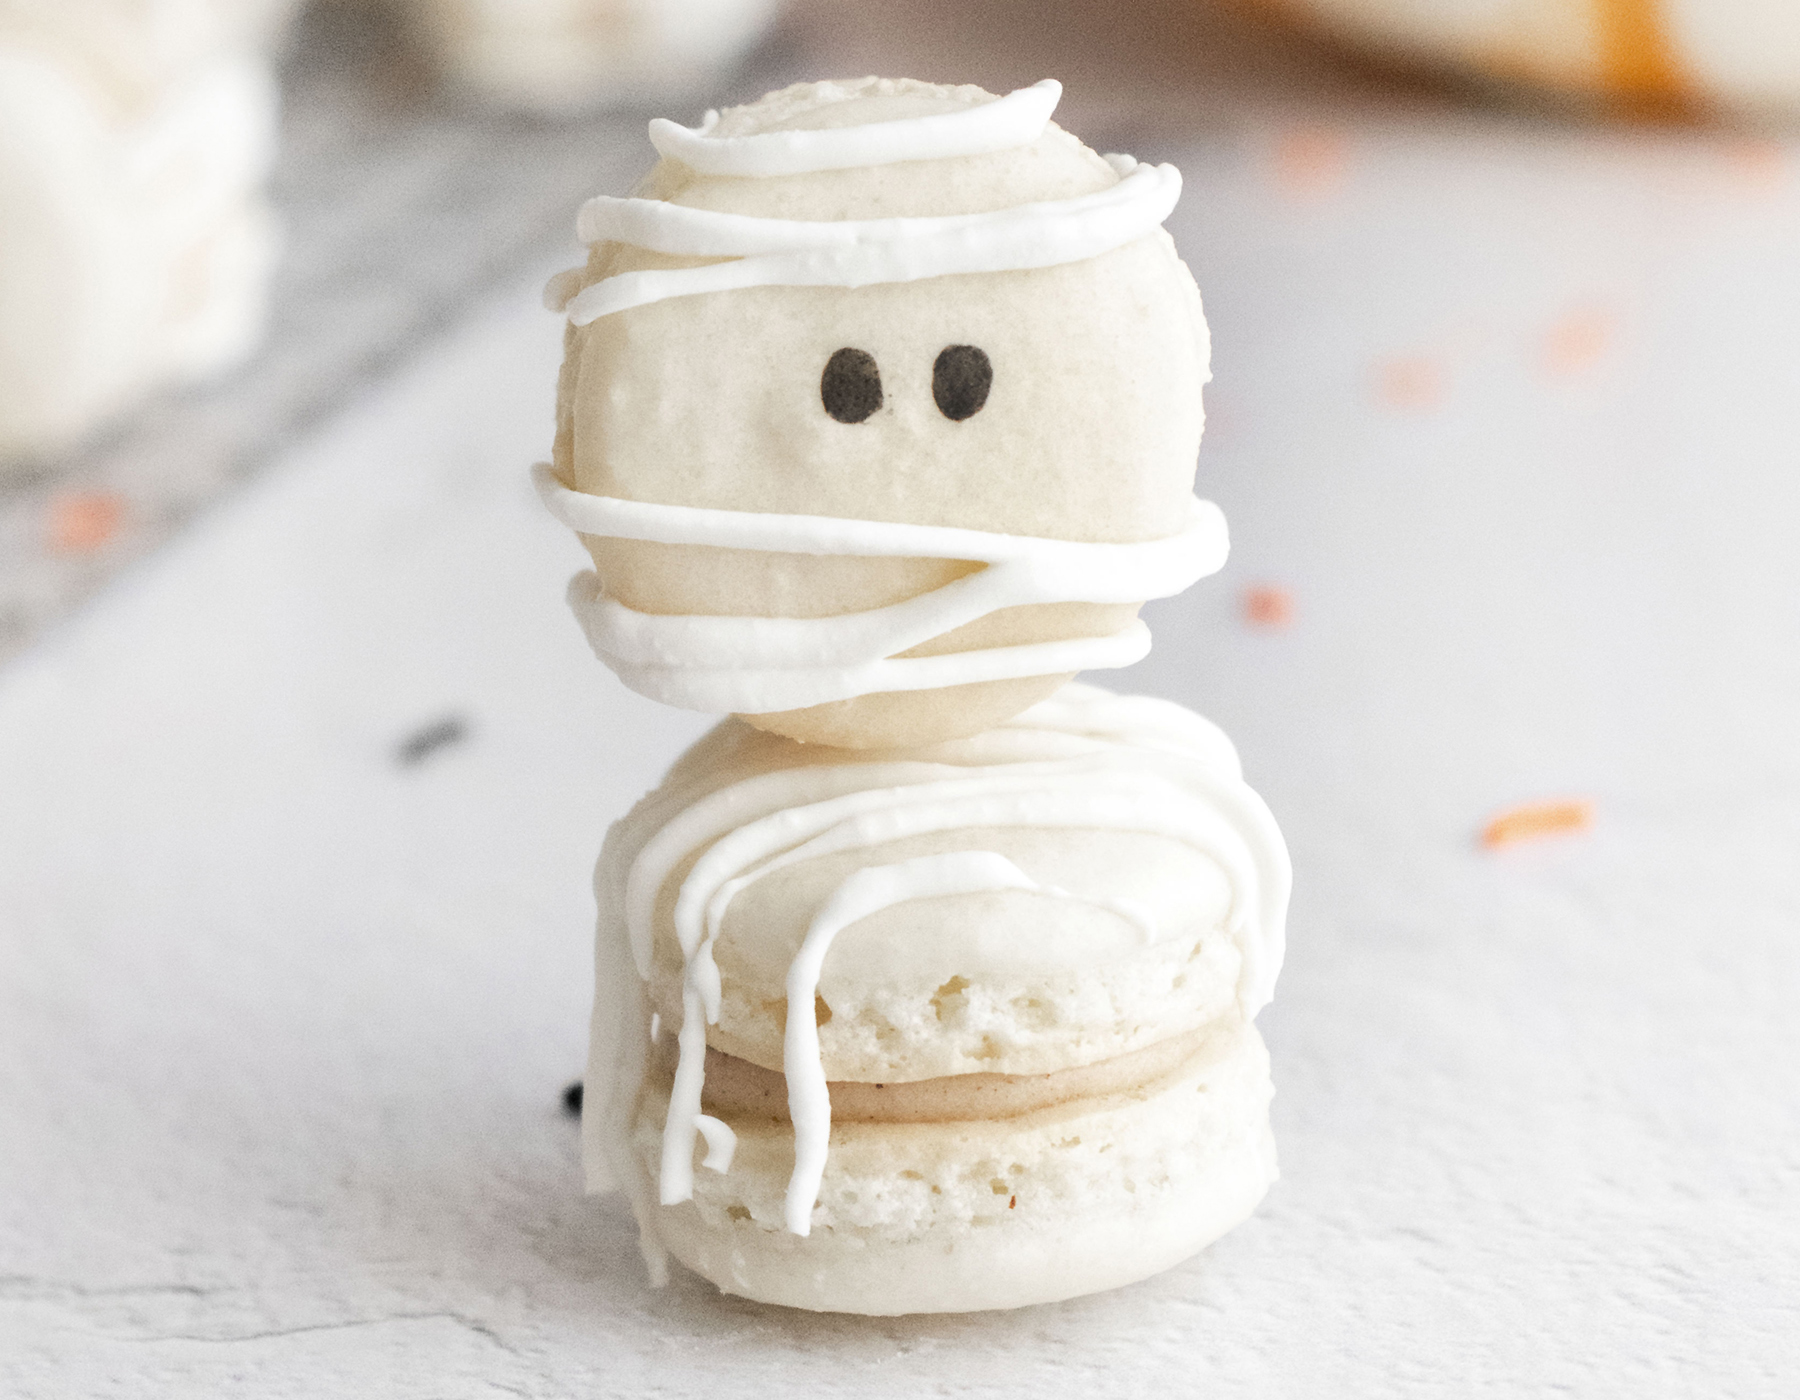
Mummy Halloween Macarons
Celebrate Spooky season with the adorably delicious Mummy Halloween Macarons.
They are the perfect treat for your Halloween celebrations!
PLUS, check out 40 other great Halloween recipes, crafts & more at the end of this post.
Tools Needed To Make Macarons:
- Kitchen Scale: Macarons require precision so you will need to weigh your ingredients to ensure they have the best chance of turning out.
- Sifter: You need to ensure there are no lumps or clumps.
- Oven Thermometer: Your oven may say it is heated to 300 degrees but it may not be. Temperature is important for these!
- Electric Mixer: Hand or stand doesn’t matter, but you can’t whip those egg whites by hand.
- Glass or Stainless Steel Mixing Bowls: Plastic absorbs oil and which is a big enemy to a stable meringue.
- Silicone Spatula: Folding your ingredients is much easier with a flexible silicone spatula.
- Plain Round Piping Tip: Key to a nice round macaron.
- Heavy Duty Baking Sheet: A good baking sheet will help the shells cook evenly.
- Macaron Mat: If you are not ready to freehand, having a macaron mat will help you.
You can visit my Amazon Influencer Page and in the Macaron Baking section, I have put my recommended tools for you.
If you need some first-timer tips on making macarons, check out this professional baker’s insider tips to making the best macarons.
What You Will Need:
Below are the ingredients you will need to make the Mummy Halloween Macarons.
For the Shell
- 1 1/4 cups powdered sugar
- 3/4 cup almond flour (see notes)
- 2 large egg whites
- 1/4 cup granulated sugar
For the Filling
- 2 ounces whipped cream cheese, at room temperature
- 1 tbsp butter, at room temperature
- 1 tbsp maple syrup (Grade A is recommended)
- 1 tsp pure vanilla extract
- 1 tsp ground cinnamon
- 1 1/2 cups powdered sugar
To Decorate
- 1/3 cup white candy melts
- 1 tablespoon vegetable shortening
- Black Food Pen
How To Make Mummy Halloween Macarons
Follow along with the step-by-step process photos for the Mummy Halloween Macarons and then find the printable recipe below!
©Aimée Geroux | https://extremecouponingmom.ca
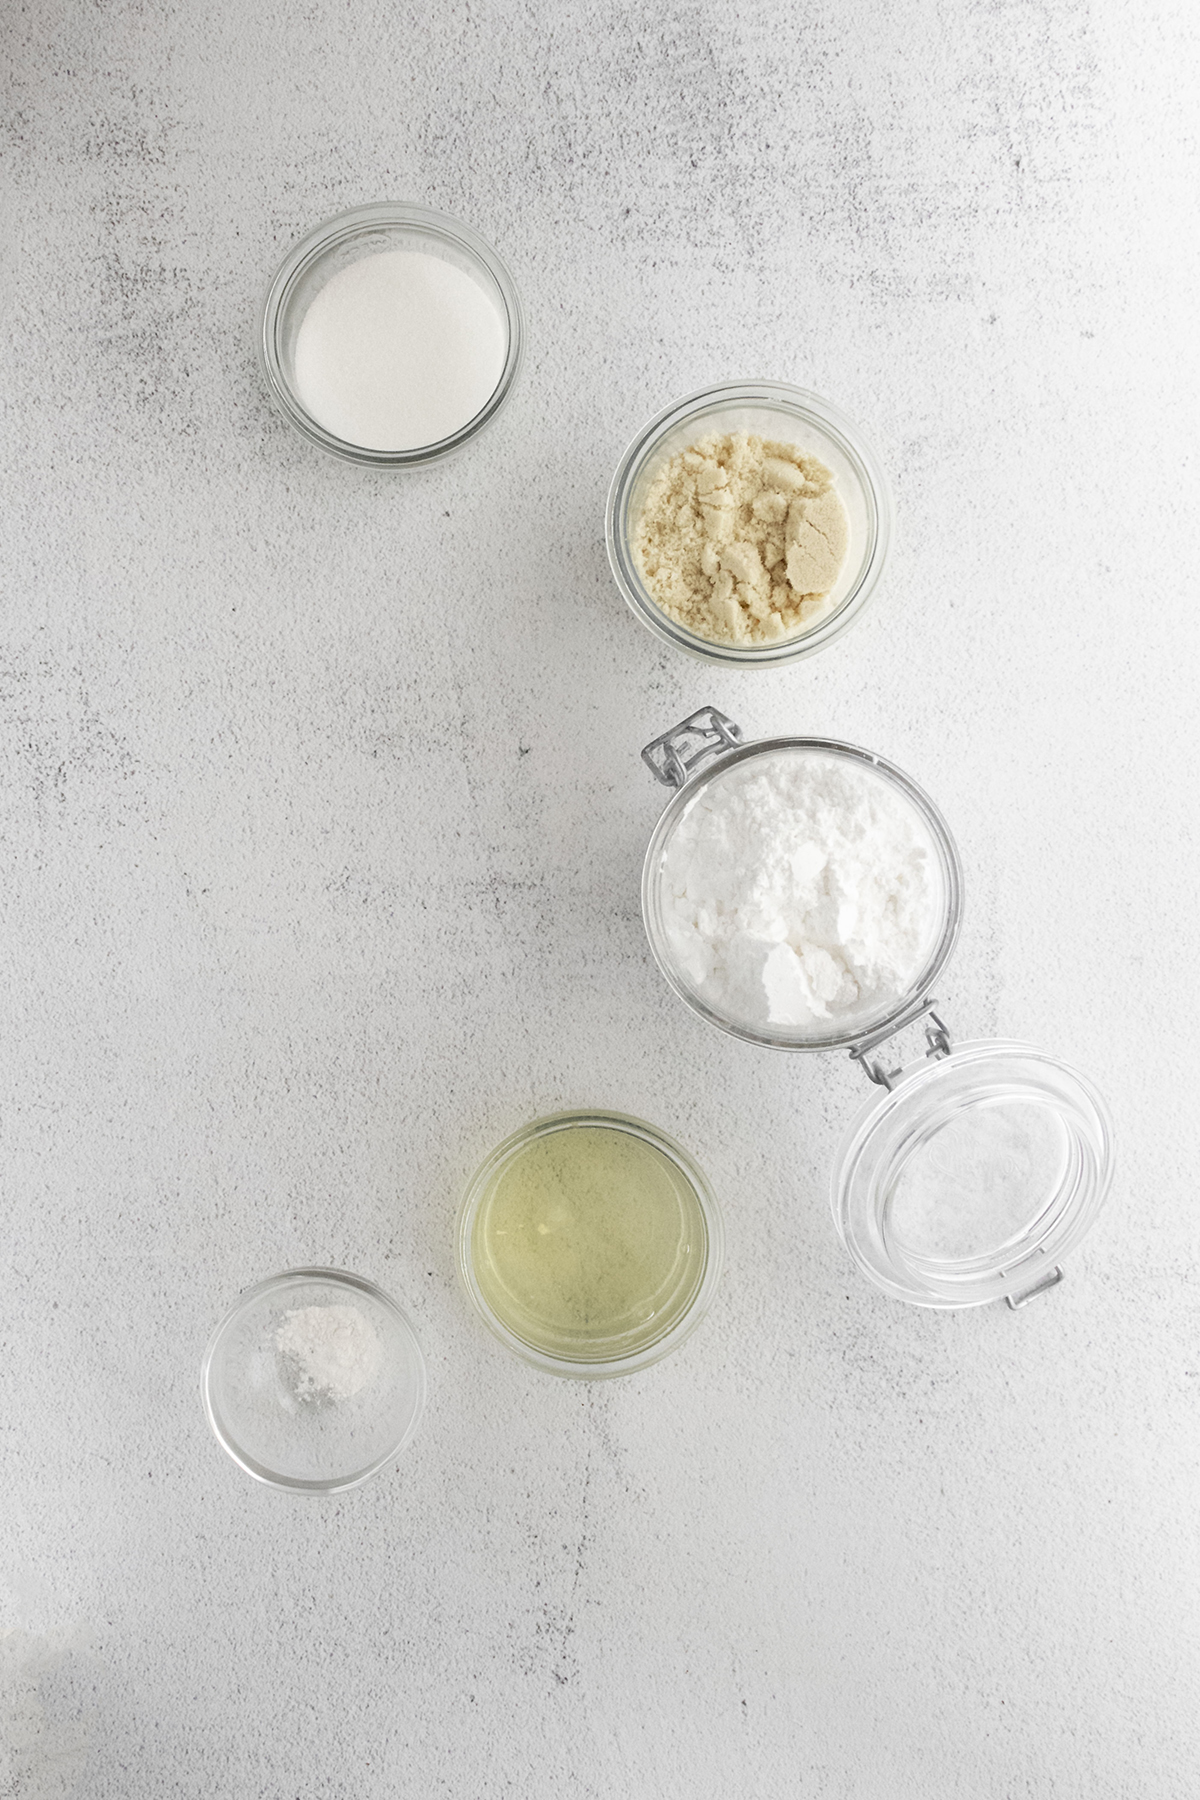
Gather all the ingredients for the recipe and line two baking sheets with parchment paper.
Above are the ingredients for the macaron shells.
©Aimée Geroux | https://extremecouponingmom.ca
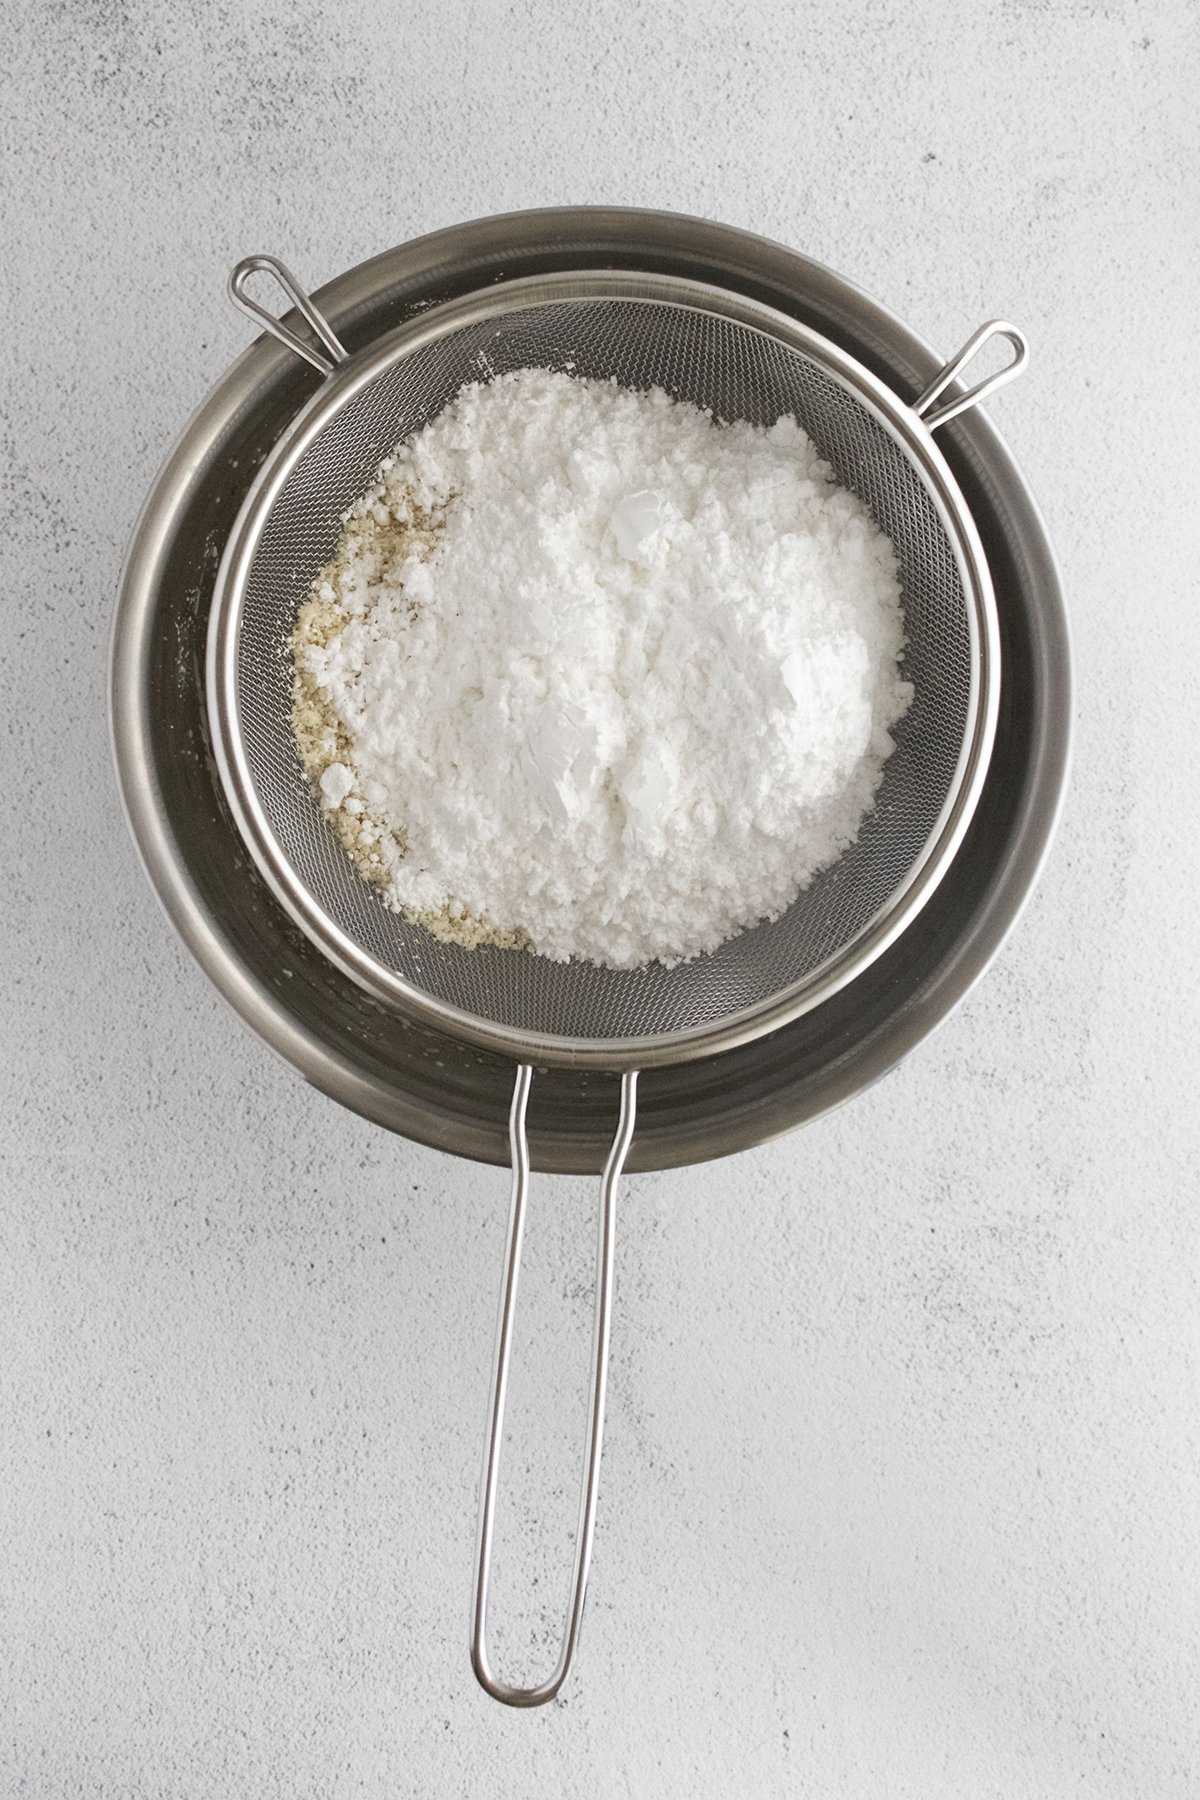
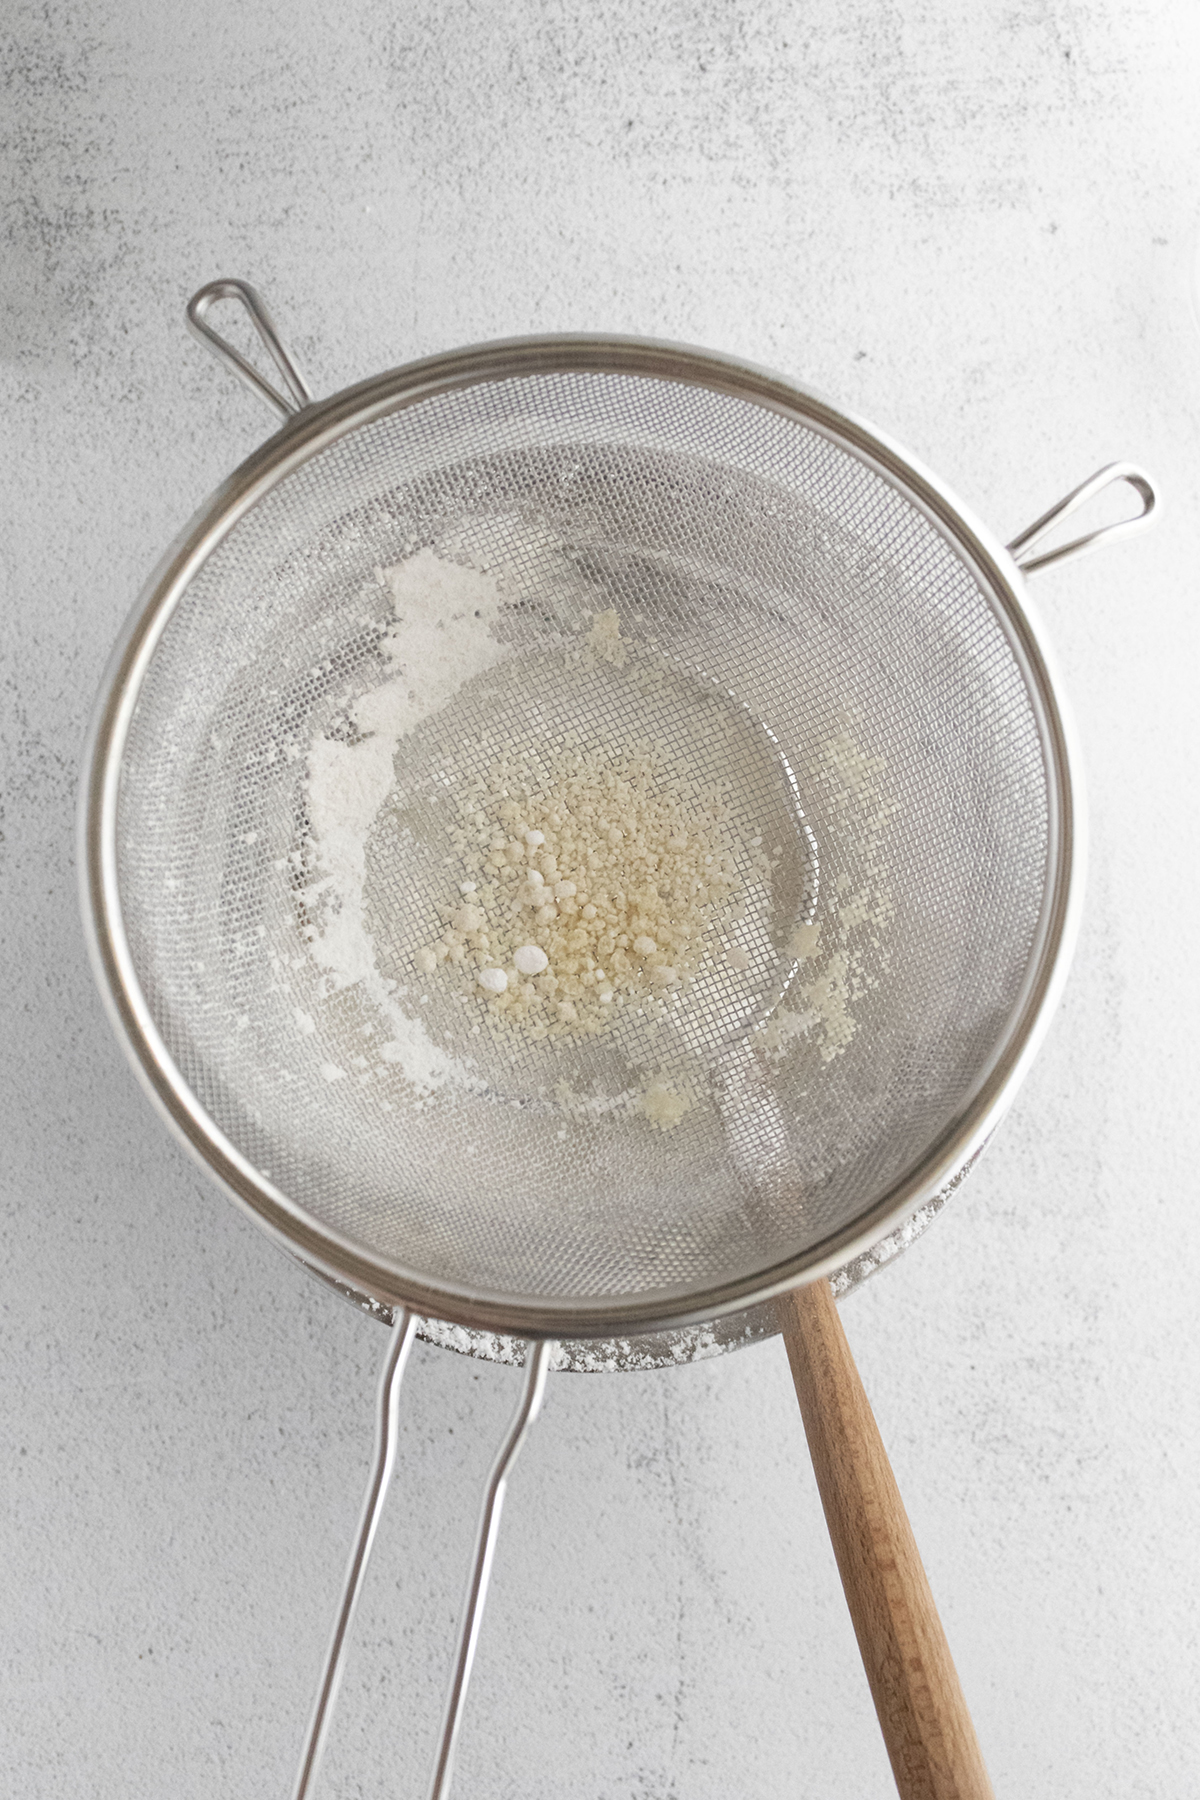
Place a fine-mesh sieve over a medium-sized bowl.
Add the powdered sugar and almond flour to the sieve and sift them together.
©Aimée Geroux | https://extremecouponingmom.ca
Discard any large lumps that remain in the sifter and set the bowl of sifted ingredients aside.
©Aimée Geroux | https://extremecouponingmom.ca
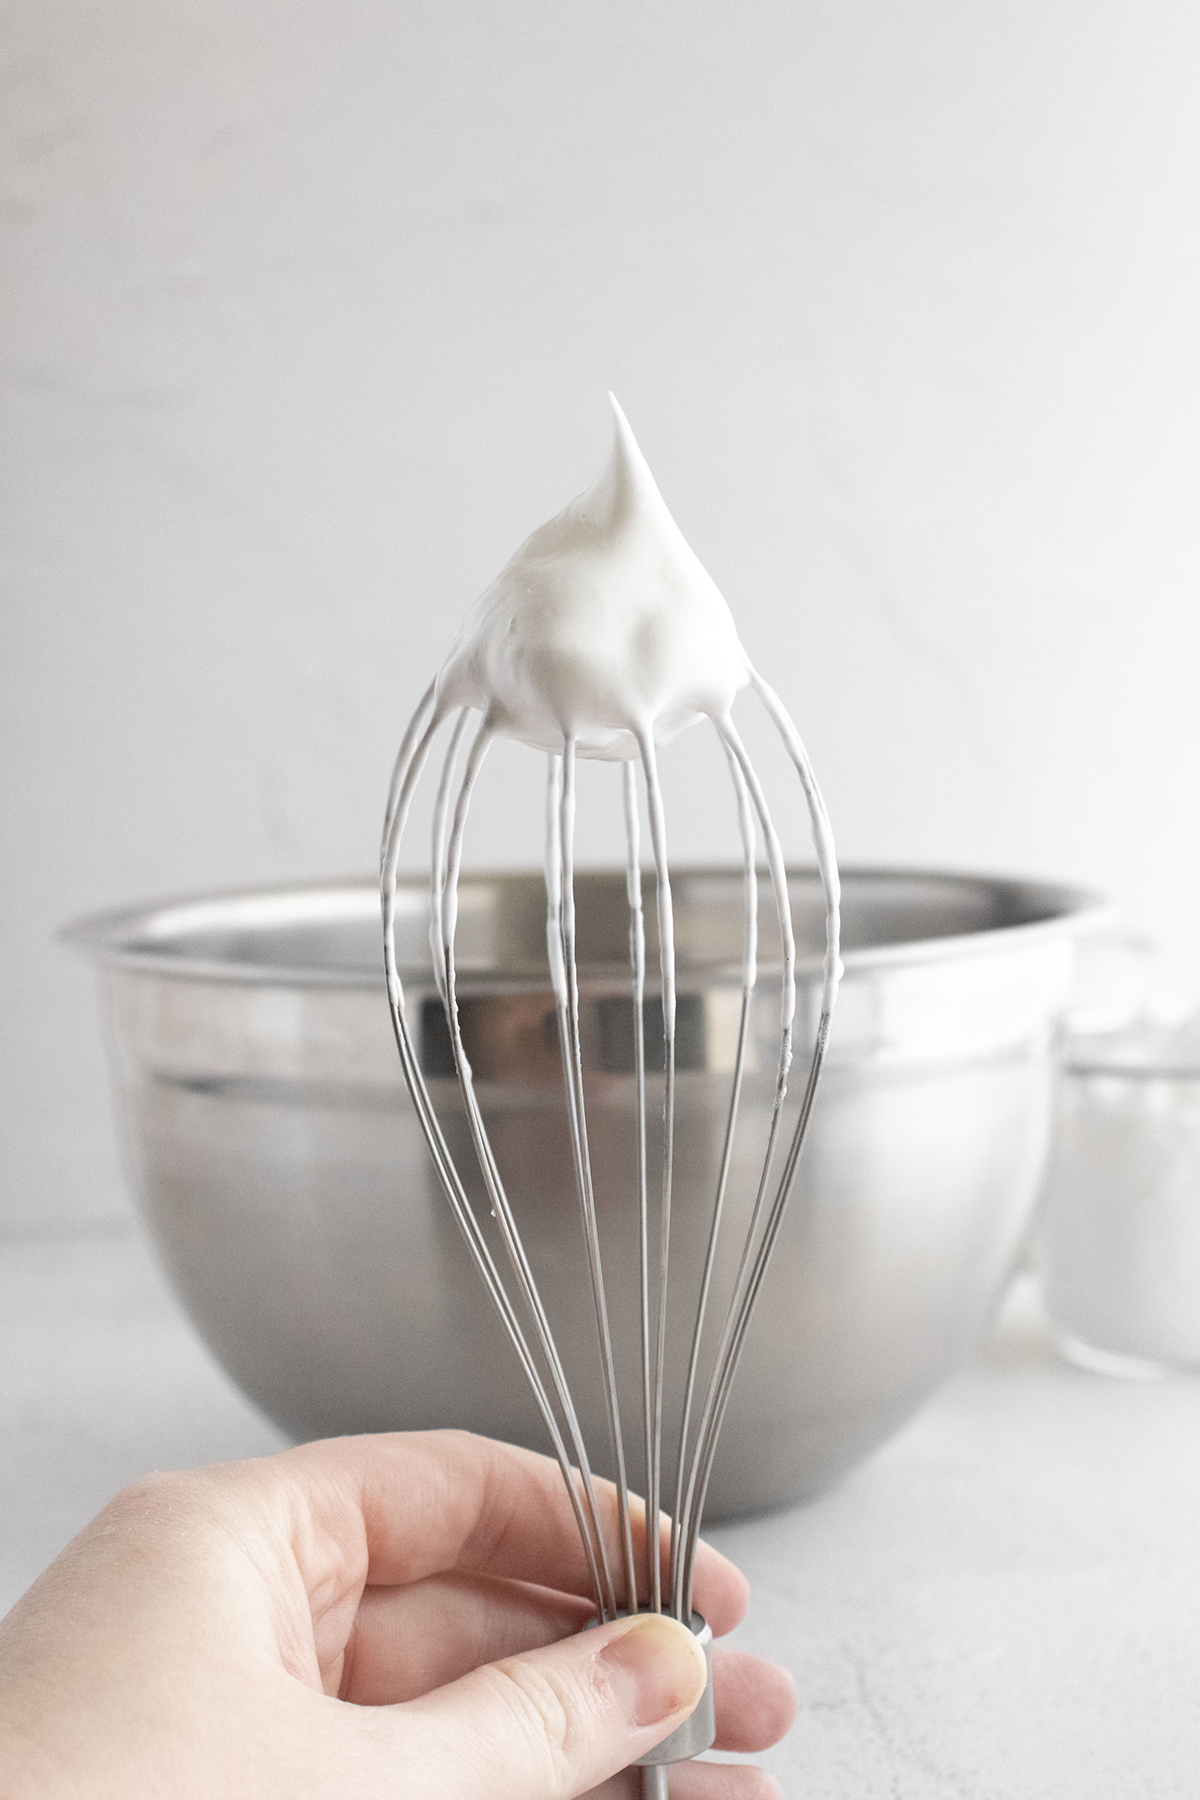
Add the egg whites to the bowl of a stand mixer.
Beat the egg whites on medium speed (speed 6-8 on a Kitchenaid Mixer) and add the granulated sugar slowly.
You should add about 1 tablespoon of sugar and then wait for it to become fully incorporated before adding the next tablespoon.
The process of adding sugar should take 2-3 minutes.
Increase the speed to medium-high and beat the egg whites until they hold a stiff peak — about 4-6 minutes.
©Aimée Geroux | https://extremecouponingmom.ca
Once the egg whites can hold a stiff peak, remove the bowl from the mixer stand and place the fine-mesh sieve on top.
Pour the powdered sugar/almond four mixture into the sieve and sift it into the egg whites.
Again, discard any remaining clumps.
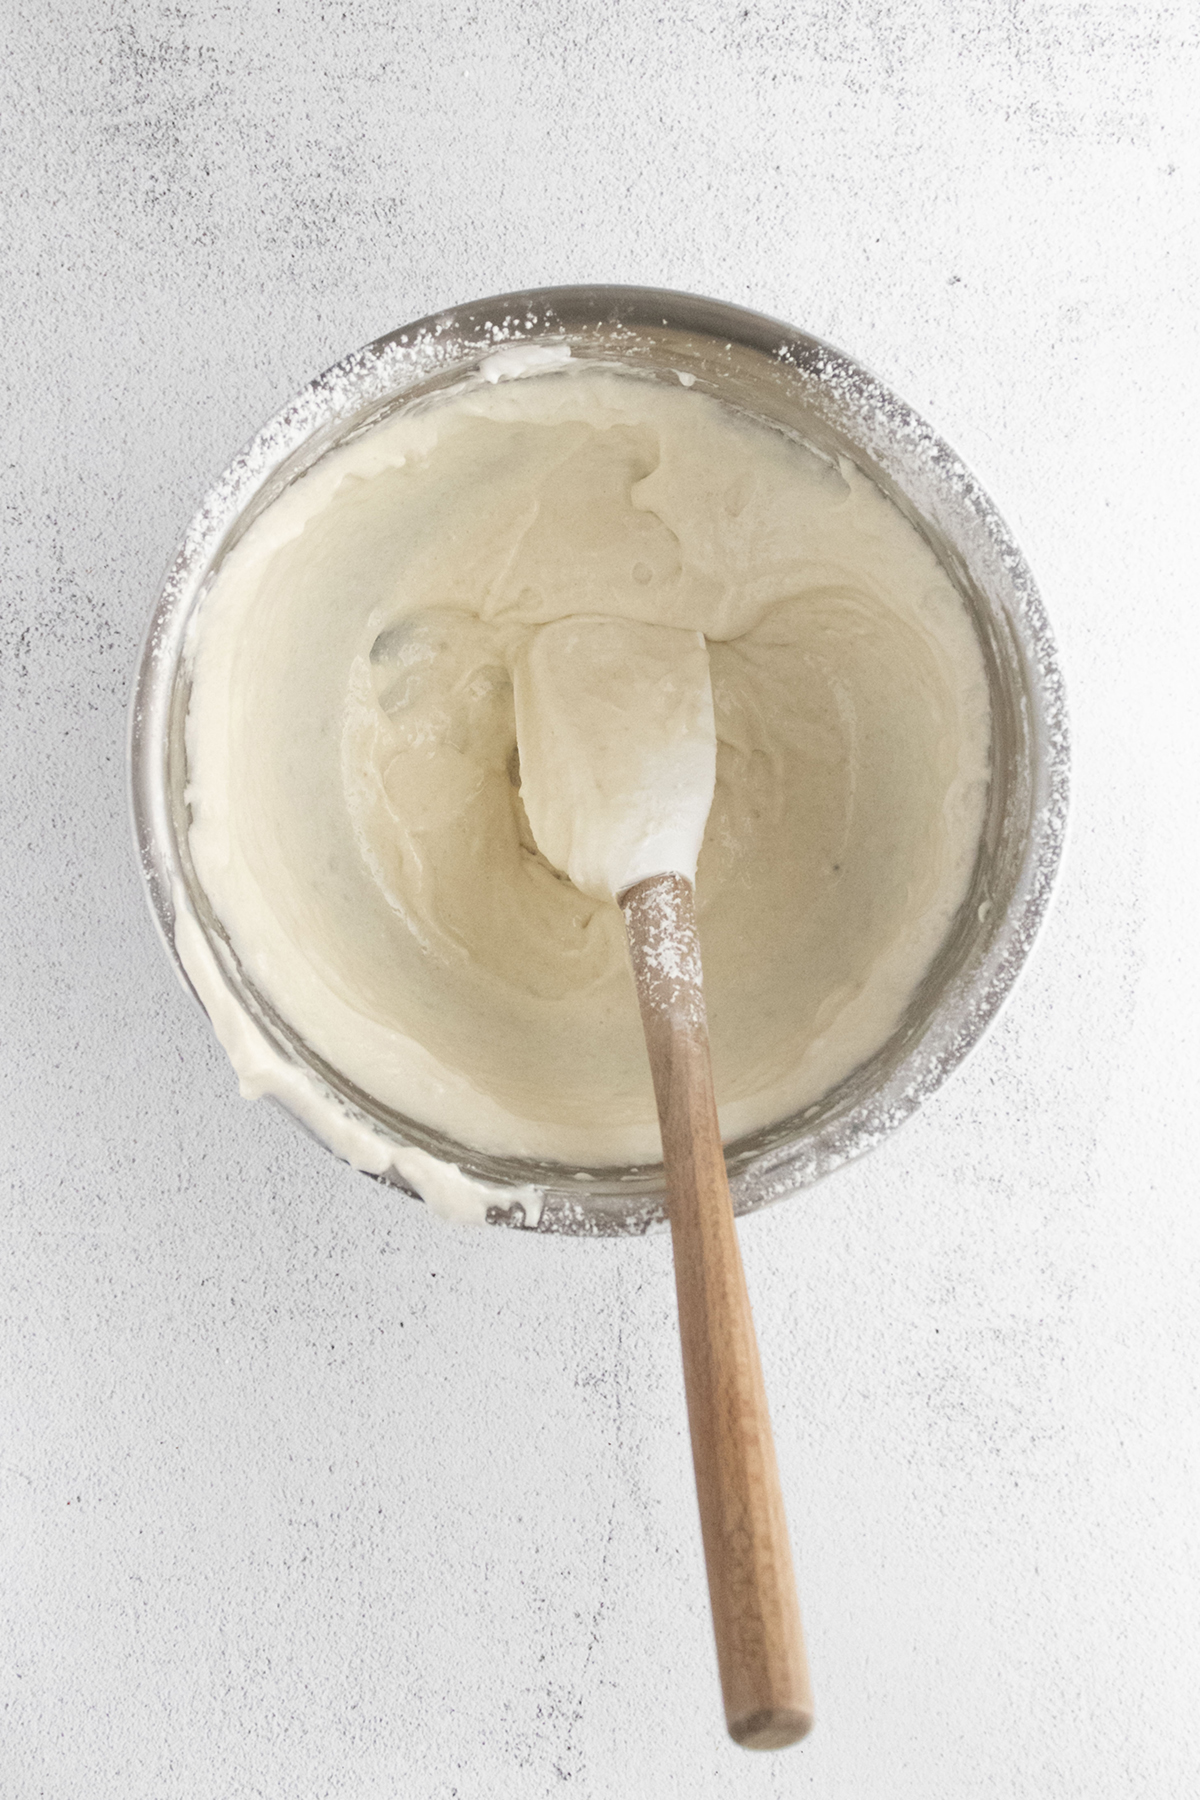
Begin to gently fold the dry ingredients into the egg whites.
Proper folding technique is to cut through the centre of the batter with your spatula and scoop around the bottom of the bowl and flip the batter from the bottom to the top. Turn the bowl 90 degrees and repeat.
©Aimée Geroux | https://extremecouponingmom.ca
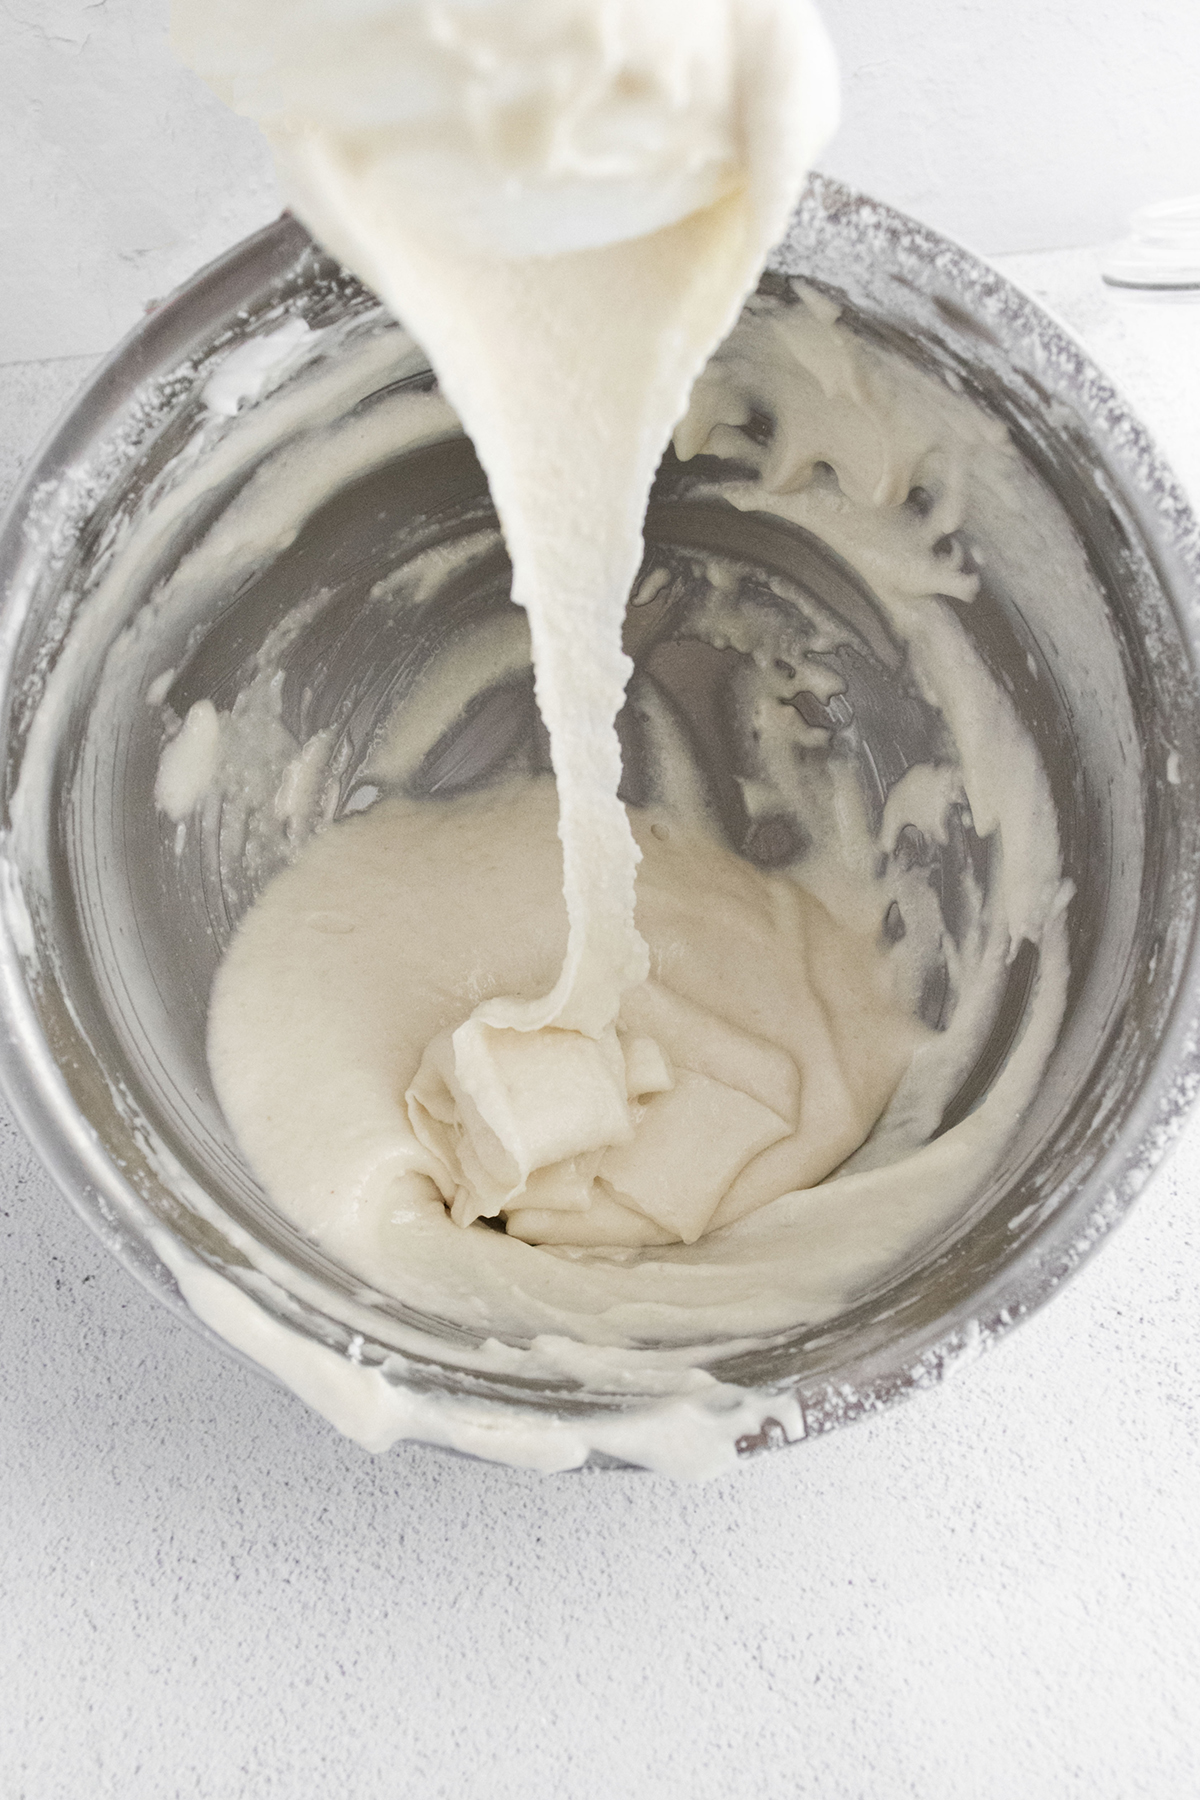
Once the dry ingredients have been fully incorporated, it’s time for the Macaronage stage.
Smush all of the batter against the sides of the bowl and then scrape it down and fold it back together again.
Repeat 5-6 times, or until the batter reaches the “lava stage”.
You should be able to lift the batter with your spatula and draw a figure 8 without the batter clumping.
If it doesn’t flow evenly and smoothly, repeat the smushing another 1-2 times and test again.
©Aimée Geroux | https://extremecouponingmom.ca
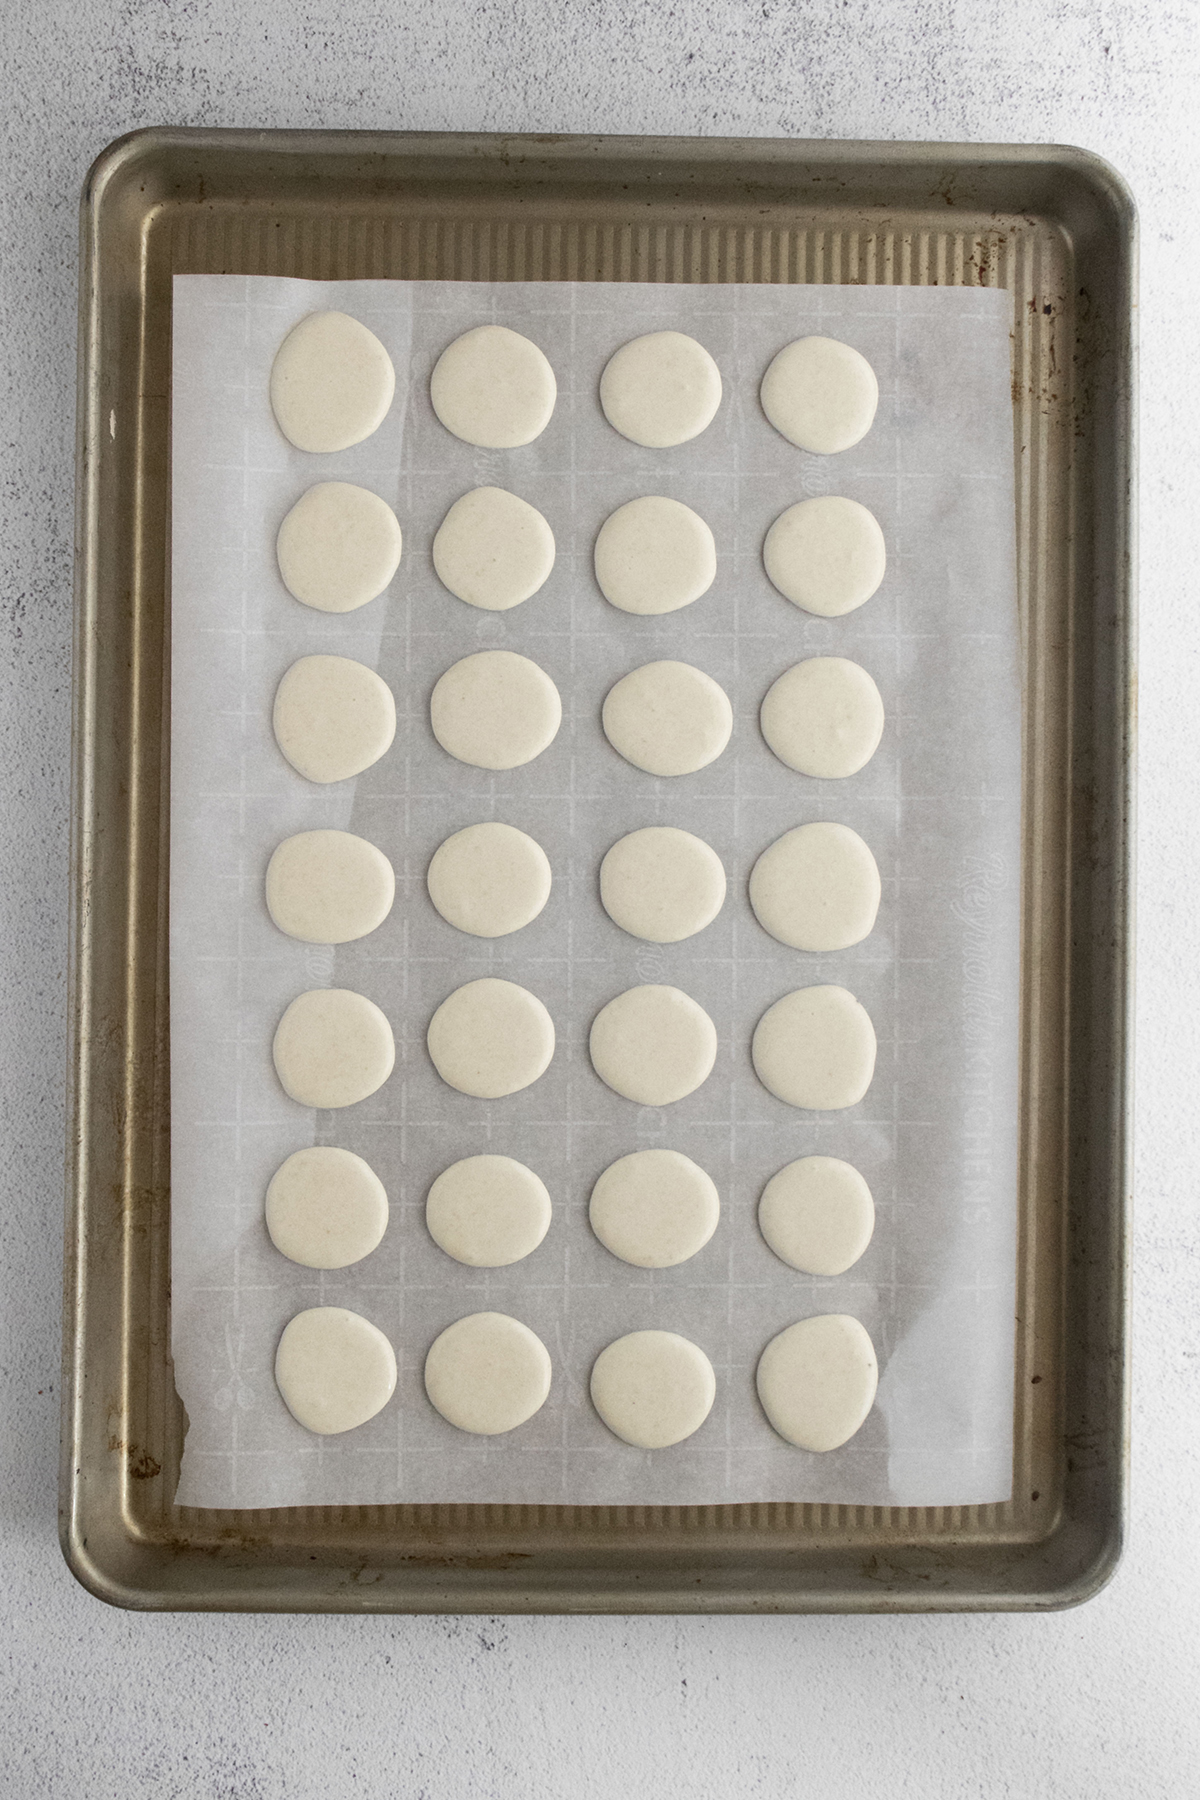
Transfer the batter to a piping bag and pipe 1” circles that are about 2” apart on the baking sheet.
Once you’ve finished the first tray, pick it up approximately 6″ off the counter and drop it straight down to release any air bubbles.
Repeat 6-7 more times, or until you do not see any large air bubbles remaining.
Continue piping the second tray and then drop it to release any air bubbles.
©Aimée Geroux | https://extremecouponingmom.ca
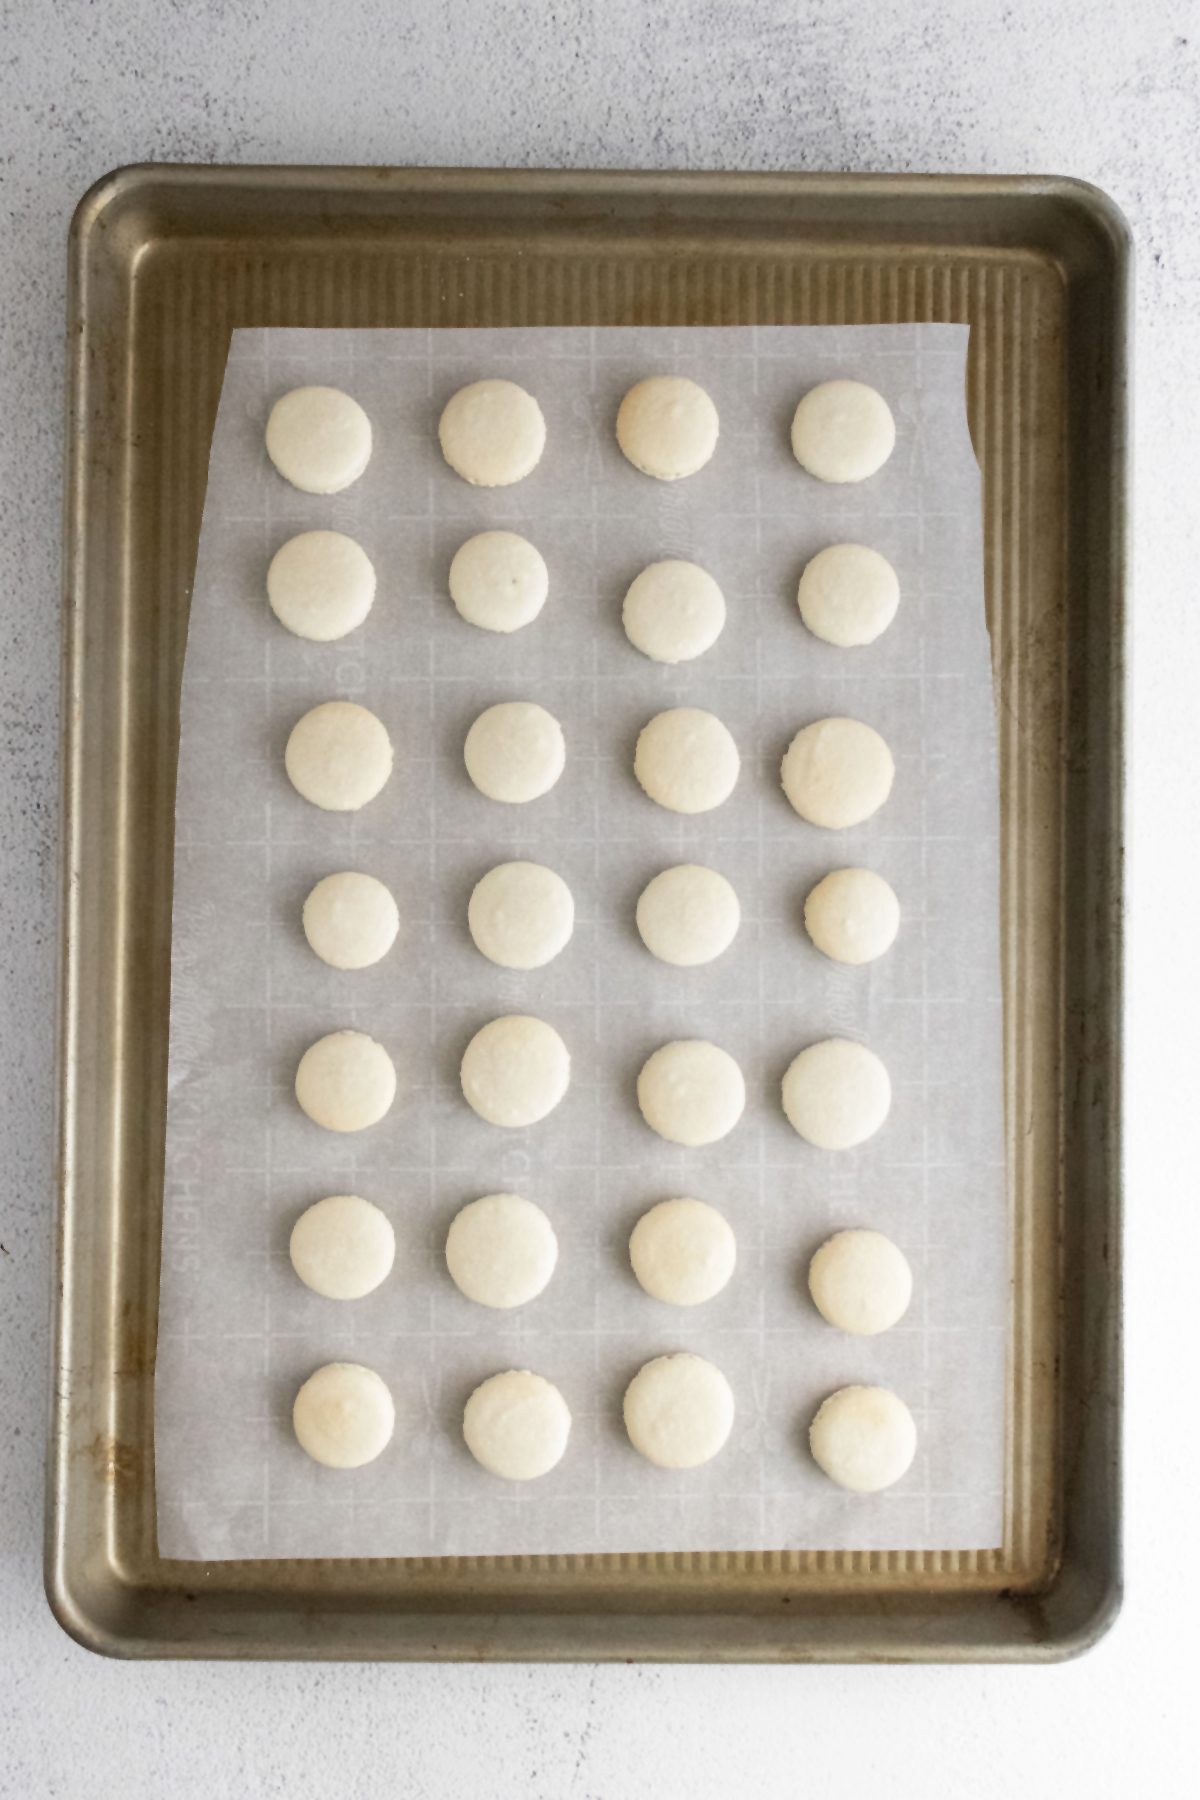
Allow the macarons to rest at room temperature for at least 30 minutes (up to an hour if it’s humid) or until they have developed a skin.
You should be able to touch the top of the macaron without it sticking to your finger.
©Aimée Geroux | https://extremecouponingmom.ca
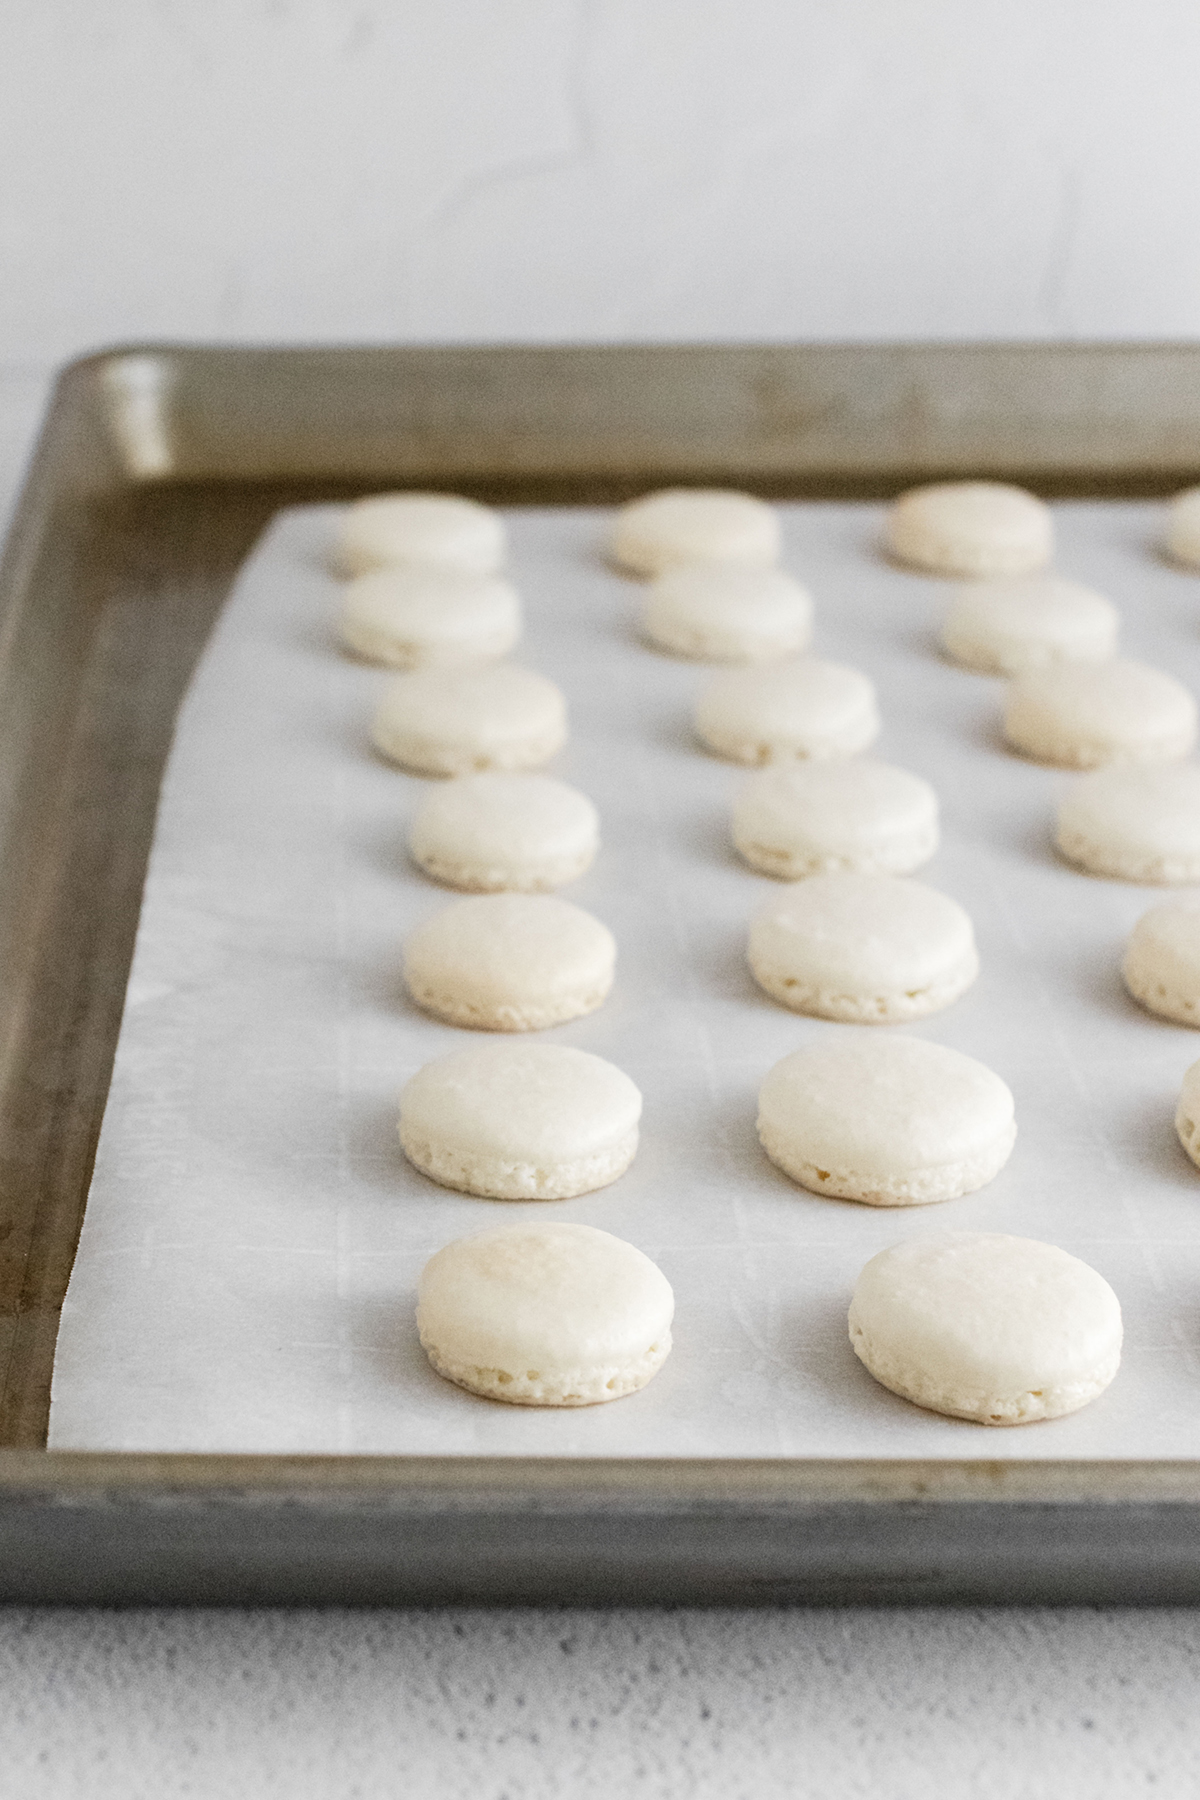
While the macarons are resting, preheat your oven to 325F.
Bake the macarons in a preheated oven one tray at a time — on the centre rack— for 12-14 minutes, or until the bottoms are just starting to turn a light brown.
Leave the macarons on the tray to cool.
Time To Make The Filling
©Aimée Geroux | https://extremecouponingmom.ca
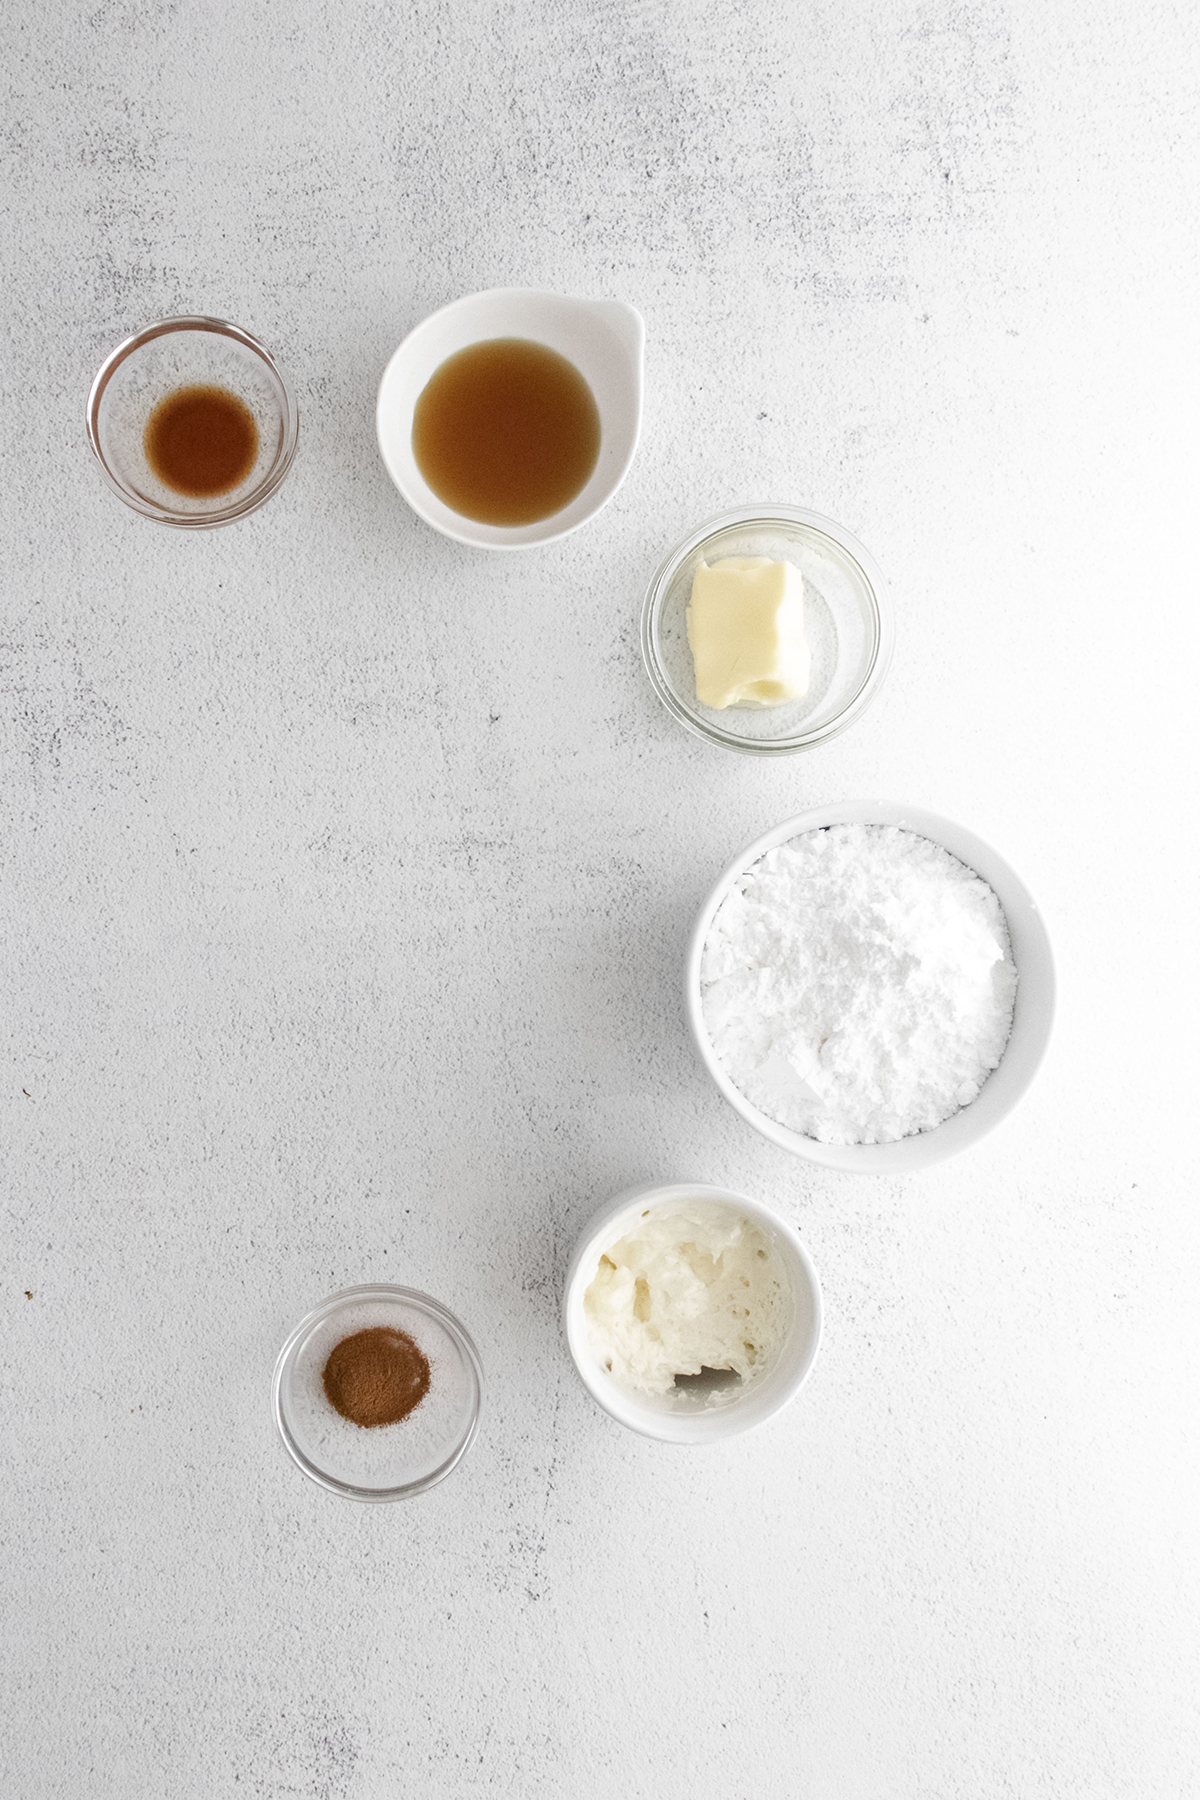
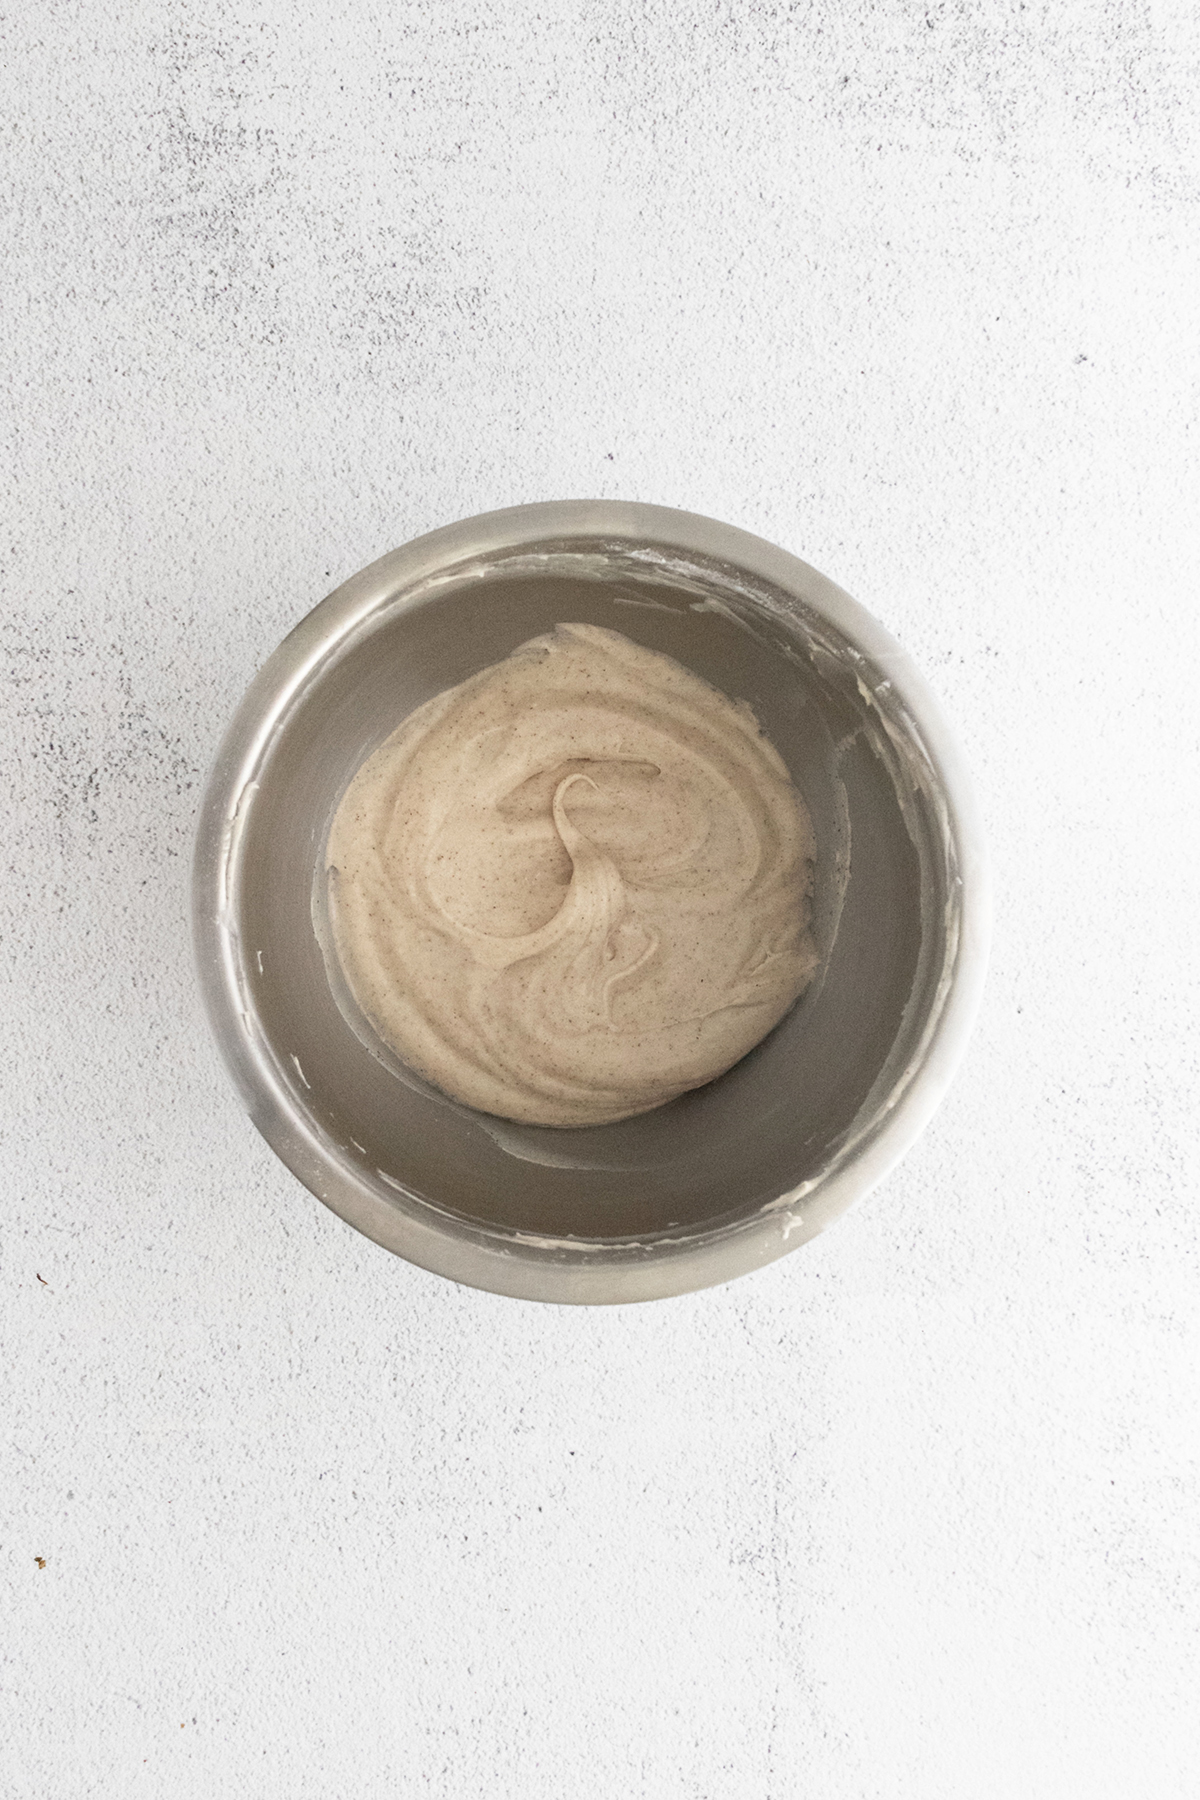
Gather the ingredients you will need to make the maple cinnamon filling for the Mummy Halloween Macarons.
©Aimée Geroux | https://extremecouponingmom.ca
In the bowl of a stand mixer fitted with the whisk attachment, cream together the cream cheese and butter on high speed until light and fluffy.
Next, add the maple syrup, vanilla, and cinnamon and mix again on medium speed until they are completely incorporated.
Scrape down the sides of the bowl and turn the mixer on low speed.
Gradually add the powdered sugar.
Once all of the powdered sugar has been added, turn the mixer to high and beat until the filling becomes light and airy — about 2 minutes.
Transfer to a piping bag.
Let’s Assemble The Macarons
©Aimée Geroux | https://extremecouponingmom.ca
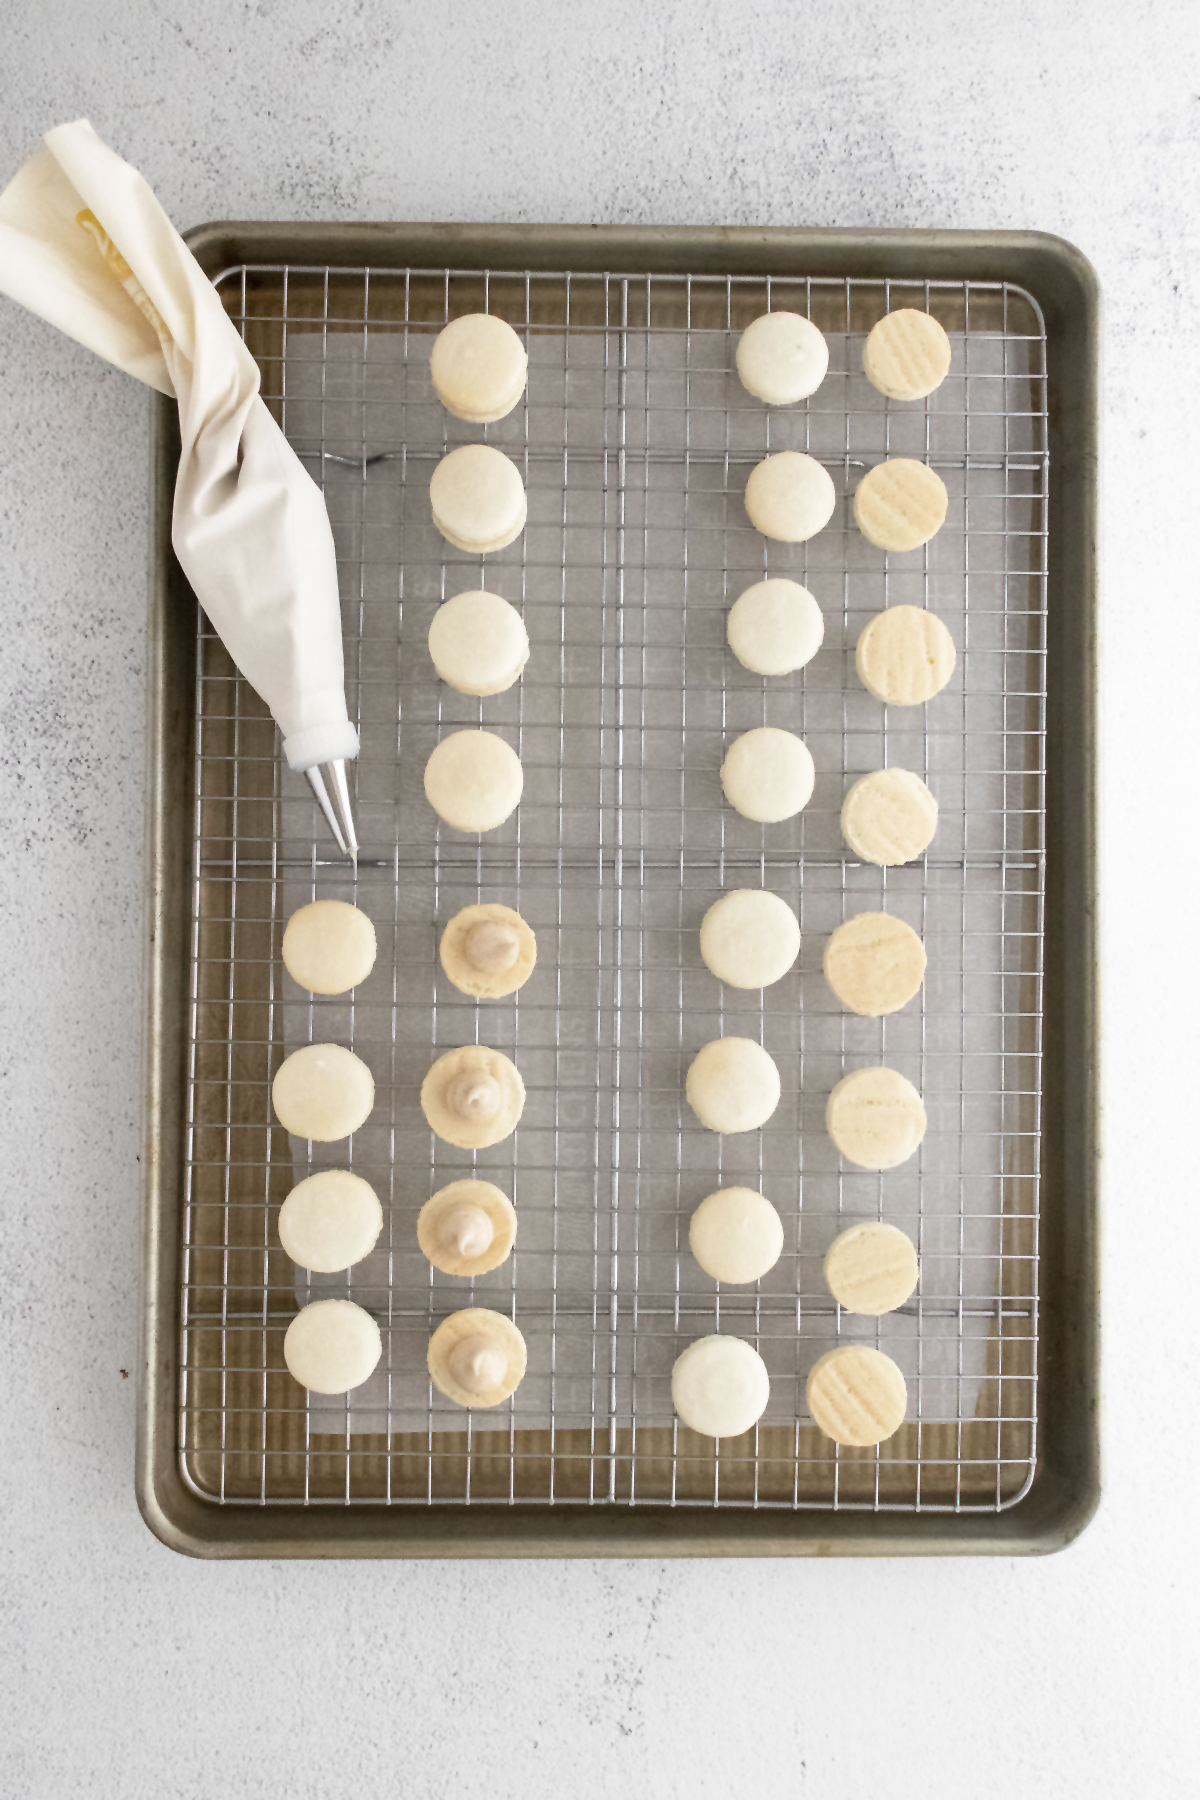
Once the macarons have cooled fully, place them in similar sized pairs.
Pipe a small dollop (about 1/2 teaspoon, depending on the size of your macaron) of filling into the centre of one macaron.
©Aimée Geroux | https://extremecouponingmom.ca
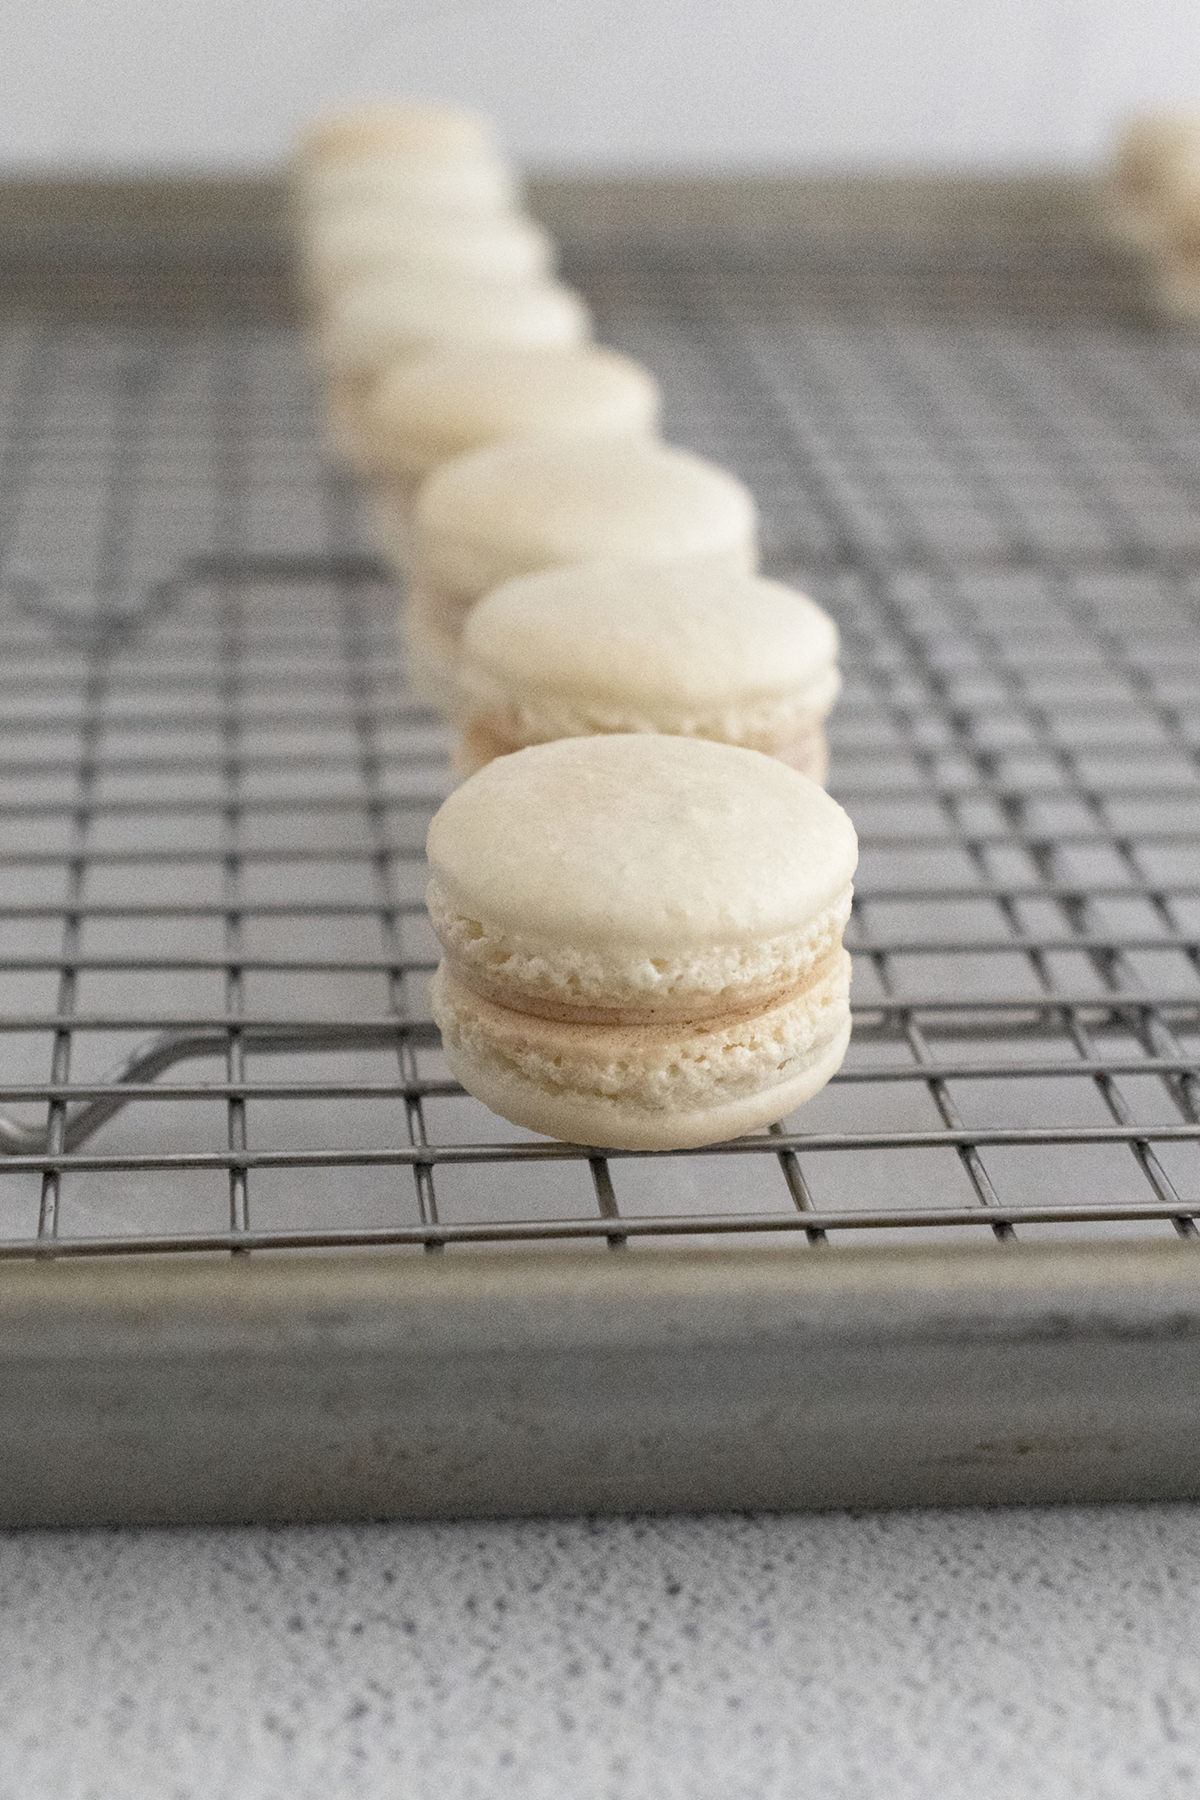
Place the second macaron on top and gently press it down to smush the filling all the way to the edge.
Repeat with the remaining macarons.
Time To Decorate The Mummy Halloween Macarons
©Aimée Geroux | https://extremecouponingmom.ca
Add the candy melts and vegetable shortening to a small, microwave-safe bowl.
Microwave for 30 seconds and then stir.
Repeat for an additional 30 seconds and stir again.
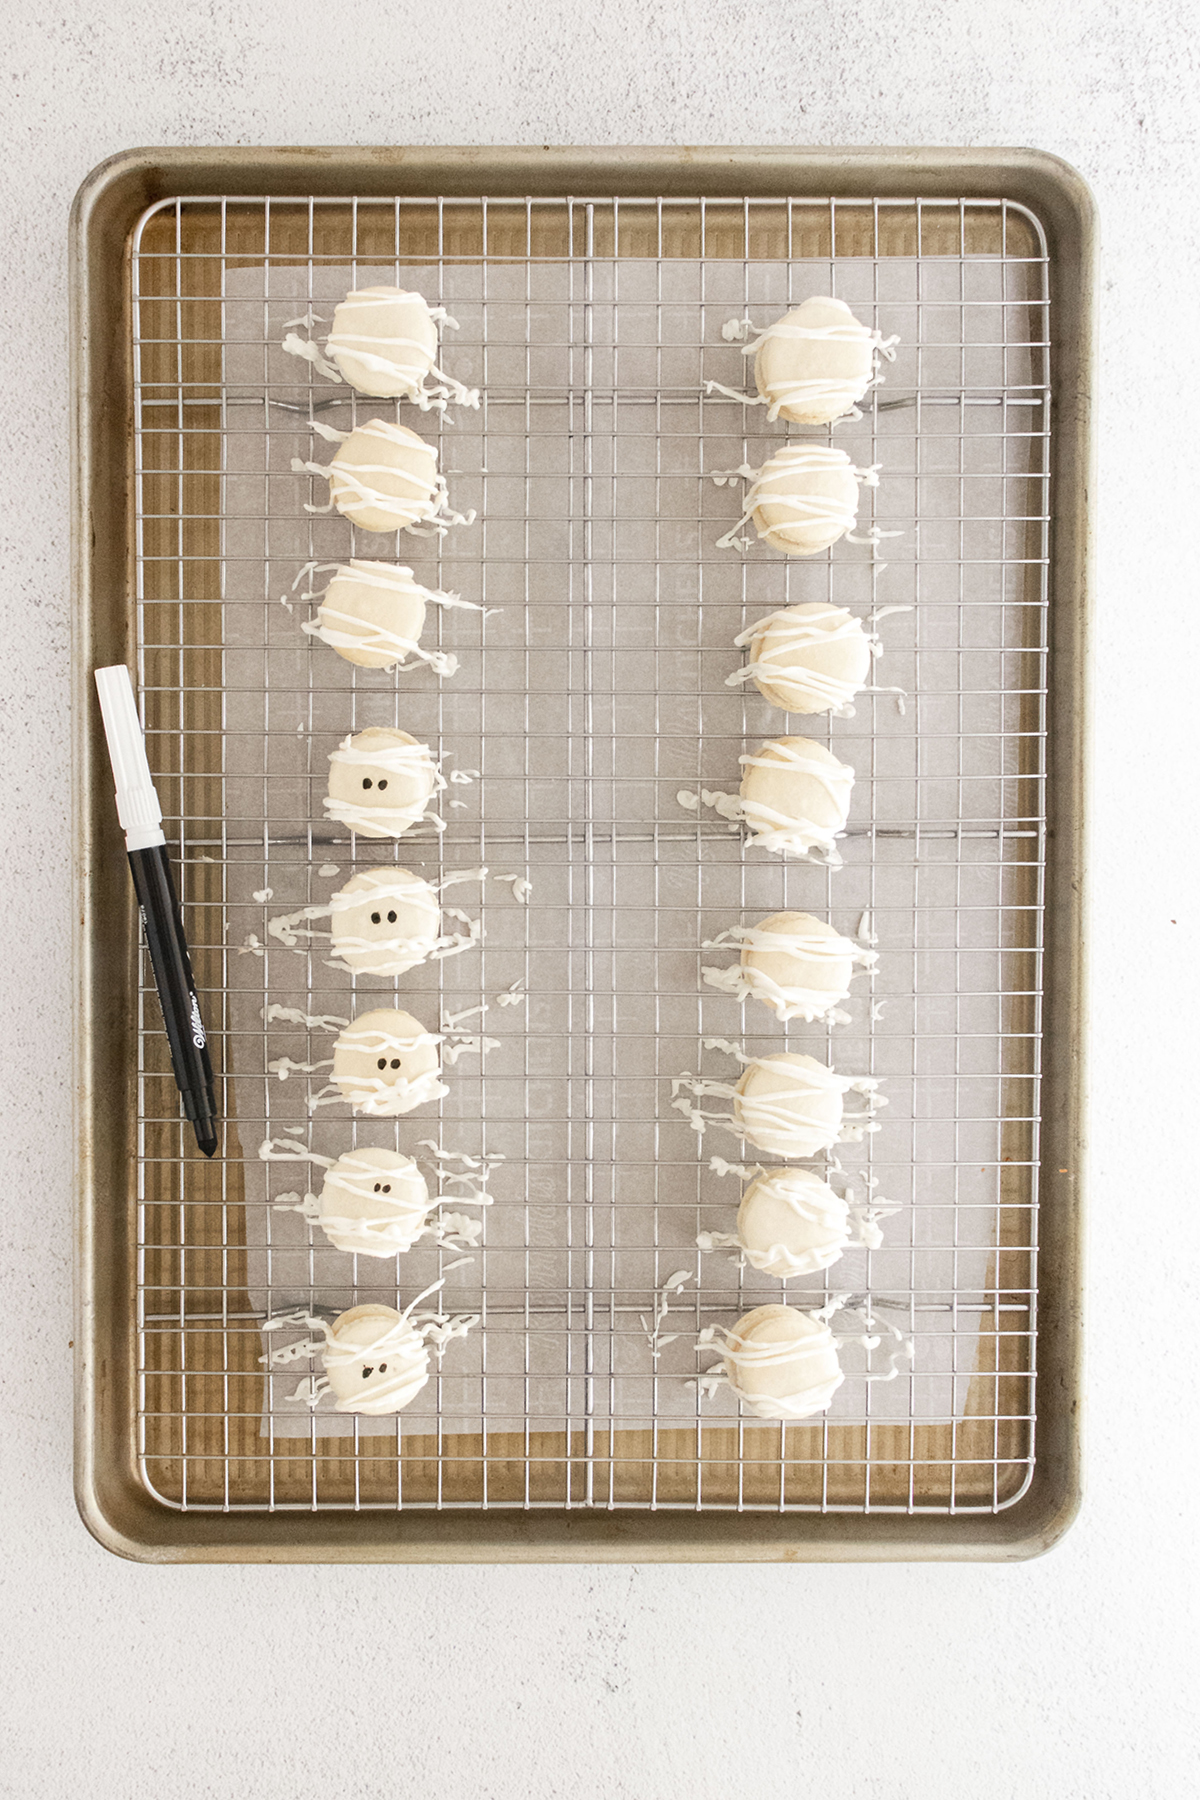
Transfer the melted chocolate to a plastic bag and cut the very tip of the corner of the bag off.
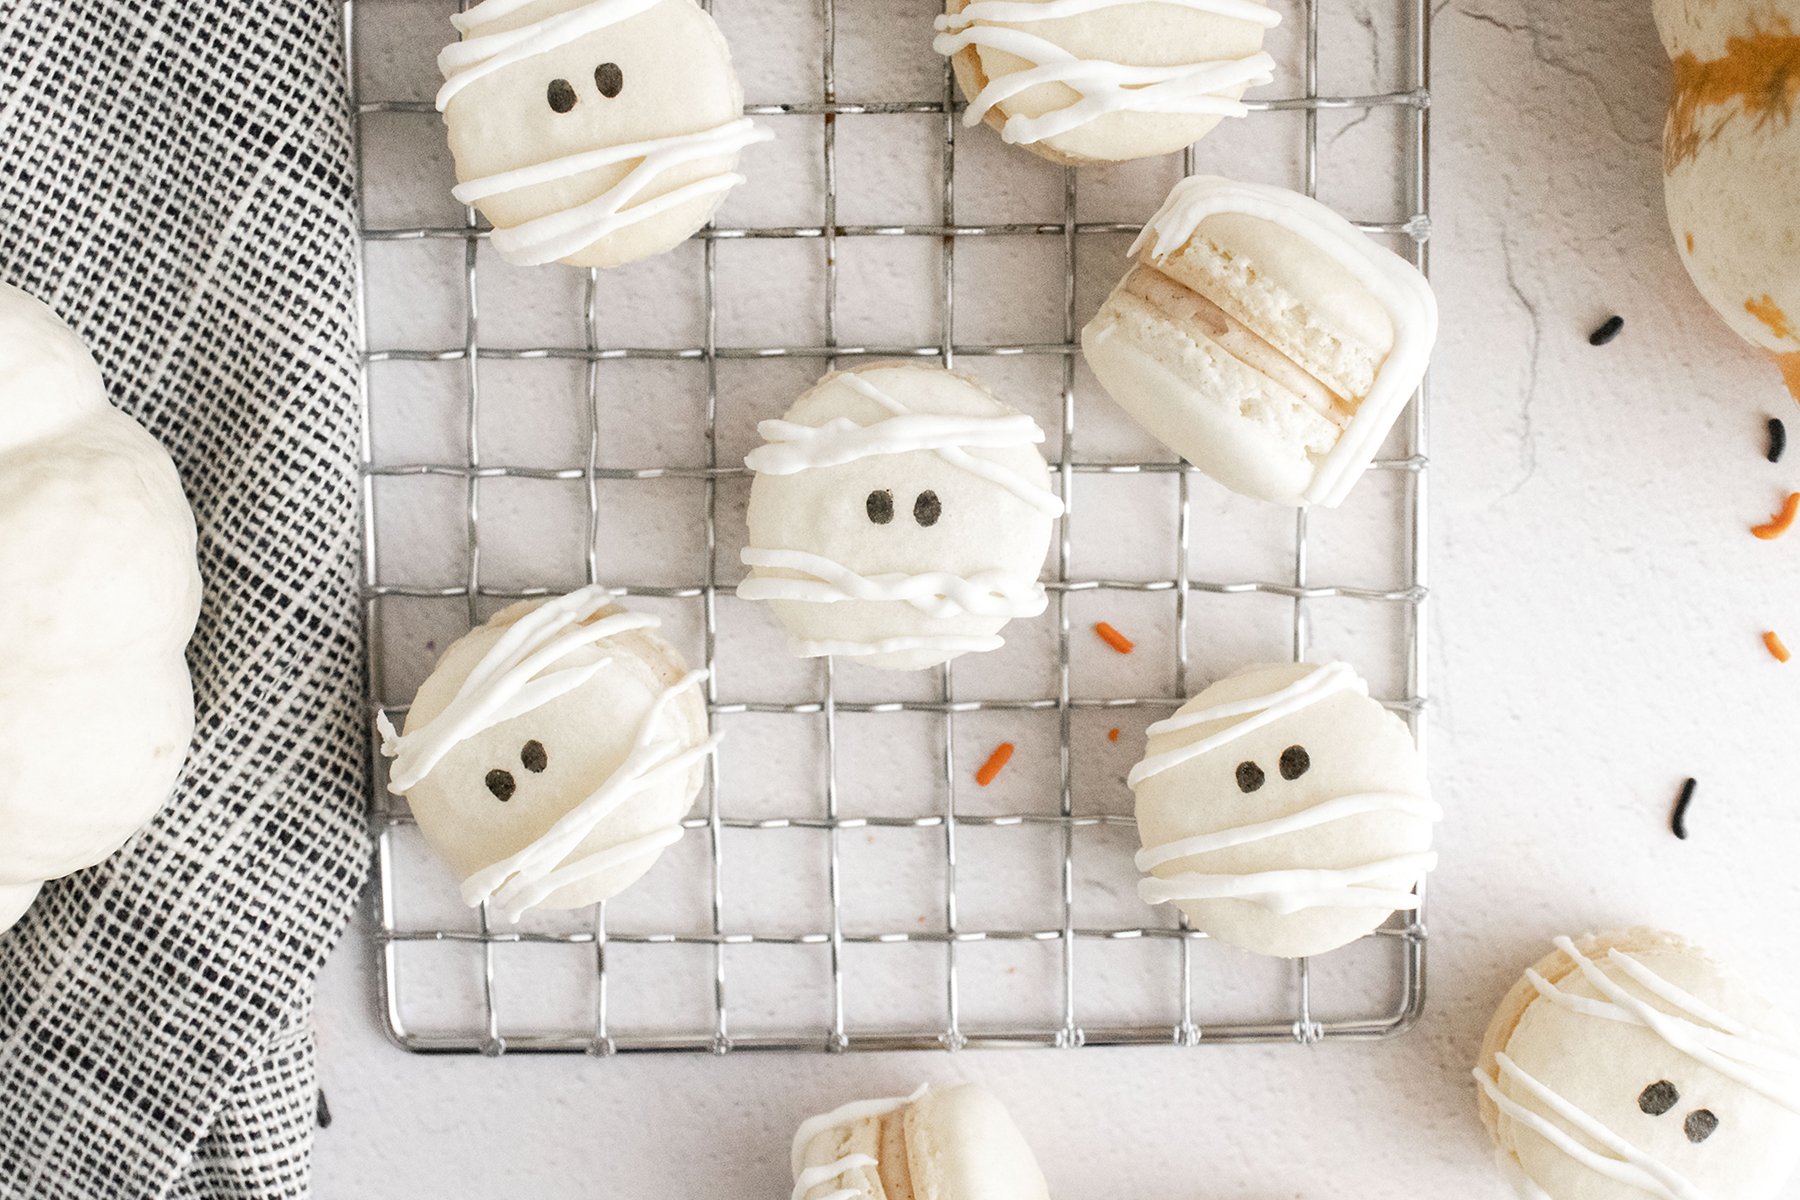
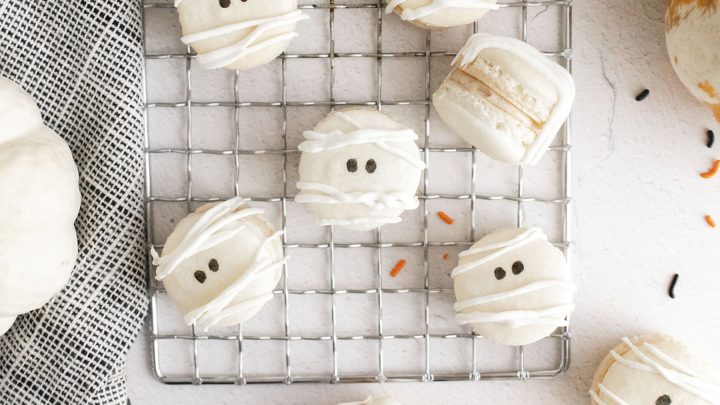
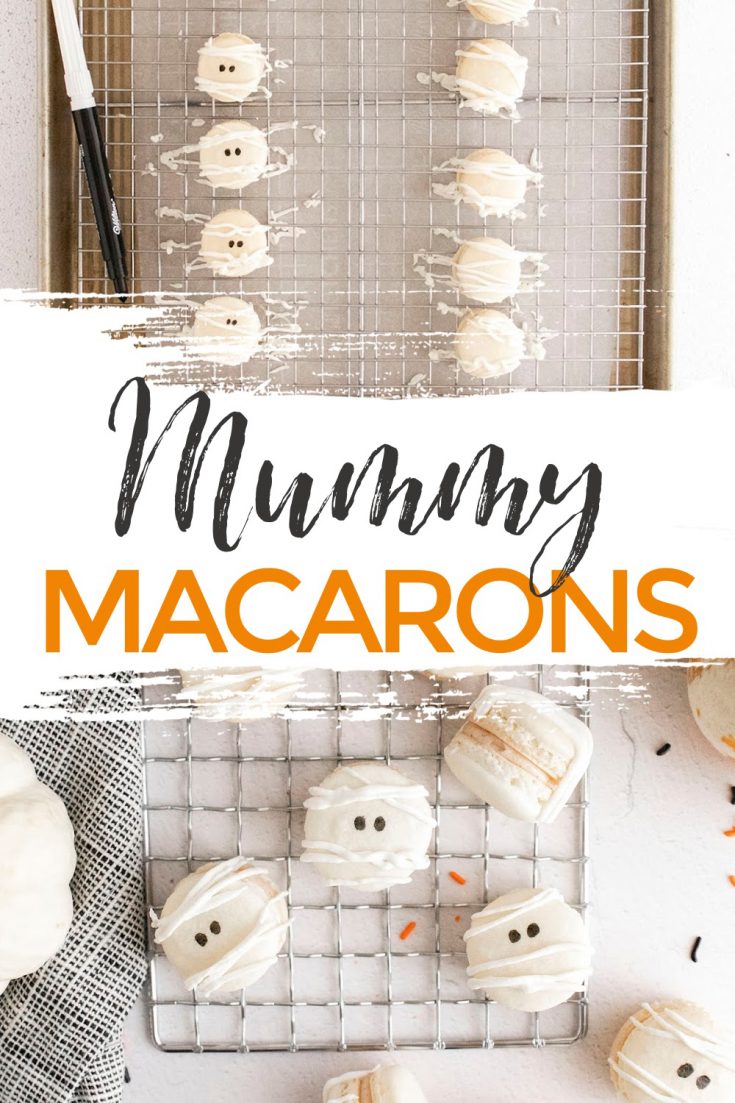
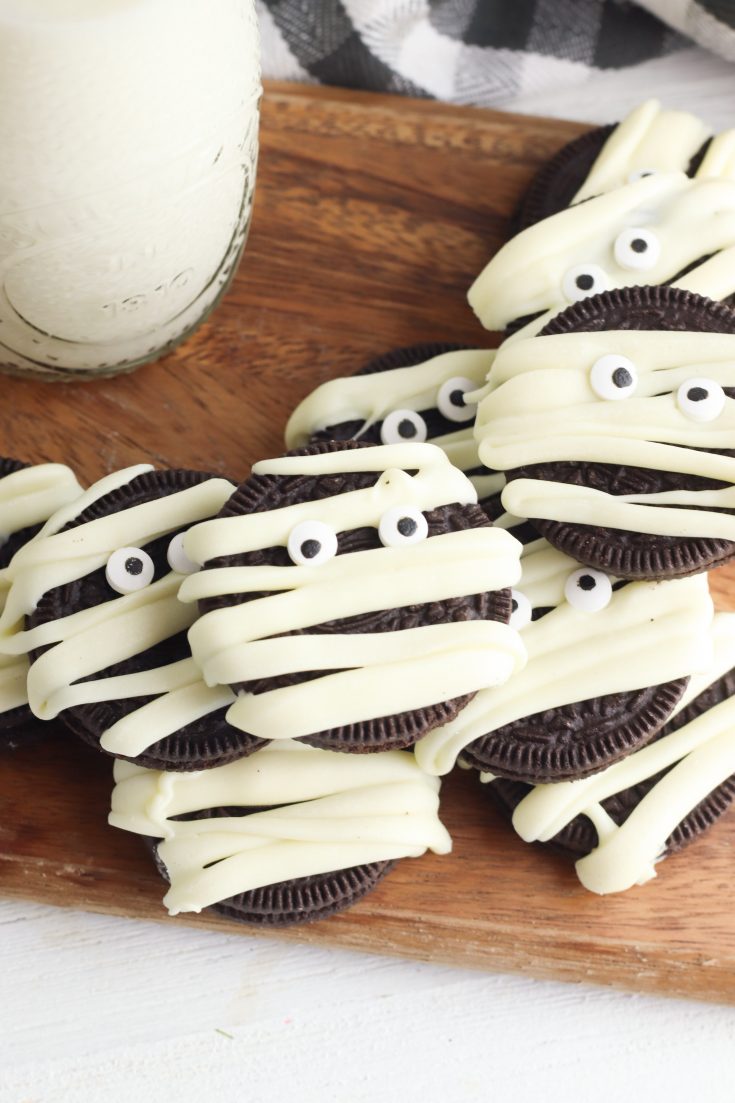
Drizzle the chocolate over the macarons to create the mummy look.
Once the chocolate has set, use a food pen to draw on two eyes.
Place the macarons in an airtight container in the fridge to age at least 4 hours— if you have the time, ageing overnight is preferred and will result in the best texture.
©Aimée Geroux | https://extremecouponingmom.ca
Bring to room temperature before serving these adorable Mummy Halloween Macarons!
Macarons can be kept in the fridge for up to 3 days.
Mummy Halloween Macarons
Ingredients
Macaron Shell
- 1 1/4 cups powdered sugar
- 3/4 cup almond flour (see notes)
- 2 large egg whites
- 1/4 cup granulated sugar
Filling
- 2 ounces whipped cream cheese, at room temperature
- 1 tbsp butter, at room temperature
- 1 tbsp maple syrup (Grade A is recommended)
- 1 tsp pure vanilla extract
- 1 tsp ground cinnamon
- 1 1/2 cups powdered sugar
Decorations
- 1/3 cup white candy melts
- 1 tbsp vegetable shortening
- Black Food Pen
Instructions
Making the Shells via the Swiss Method (Recommended for Beginners)
- Line two baking sheets with parchment paper.
- Place a fine-mesh sieve over a medium-sized bowl. Add the powdered sugar and almond flour to the sieve and sift them together. Discard any large lumps that remain in the sifter. Set aside.
- Fill a small saucepan halfway with water. Place it over high heat and bring to a rolling boil.
- Add the egg whites and granulated sugar to the bowl of a stand mixer.
- Remove the saucepan from the heat and place the bowl with the egg whites on top. Begin whisking the egg whites and sugar together until the sugar has fully dissolved— about 2 minutes.
- Remove the bowl from the heat and place in on the mixer. Beat the egg whites on medium speed until they hold a stiff peak— about 8-10 minutes with a Kitchenaid mixer on speed 6-8.
- Once the egg whites can hold a stiff peak, remove the bowl from the mixer stand and place the fine-mesh sieve on top. Pour the powdered sugar/almond four mixture into the sieve and sift it into the egg whites. Again, discard any remaining clumps.
- Begin to gently fold the dry ingredients into the egg whites. Proper folding technique is to cut through the centre of the batter with your spatula and scoop around the bottom of the bowl and flip the batter from the bottom to the top. Turn the bowl 90 degrees and repeat.
- Once the dry ingredients have been fully incorporated, it’s time for the Macaronage stage. Smush all of the batter against the sides of the bowl and then scrape it down and fold it back together again. Repeat 5-6 times, or until the batter reaches the “lava stage”. You could be able to lift the batter with your spatula and draw a figure 8 without the batter clumping. If it doesn’t flow evenly and smoothly, repeat the smushing another 1-2 times and test again.
- Transfer the batter to a piping bag and pipe 1” circles that are about 2” apart on the baking sheet. Once you’ve finished the first tray, pick it up approximately 6” off the counter and drop it straight down to release any air bubbles. Repeat 6-7 more times, or until you do not see any large air bubbles remaining.
- Continue piping the second tray and then drop it to release any air bubbles.
- Allow the macarons to rest at room temperature for at least 30 minutes (up to an hour if it’s humid) or until they have developed a skin. You should be able to touch the top of the macaron without it sticking to your finger.
- While the macarons are resting, preheat your oven to 325F.
- Bake the macarons in a preheated oven one tray at a time— on the centre rack— for 12-14 minutes, or until the bottoms are just starting to turn a light brown.
- Leave the macarons on the tray to cool.
Making the Shells via the French Method
- Line two baking sheets with parchment paper.
- Place a fine-mesh sieve over a medium-sized bowl. Add the powdered sugar and almond flour to the sieve and sift them together. Discard any large lumps that remain in the sifter. Set aside.
- Add the egg whites to the bowl of a stand mixer.
- Beat the egg whites on medium speed (speed 6-8 on a Kitchenaid Mixer) and add the granulated sugar slowly. You should add about 1 tablespoon of sugar and then wait for it to become fully incorporated before adding the next tablespoon. The process of adding sugar should take 2-3 minutes.
- Increase the speed to medium-high and beat the egg whites until they hold a stiff peak— about 4-6 minutes.
- Once the egg whites can hold a stiff peak, remove the bowl from the mixer stand and place the fine-mesh sieve on top. Pour the powdered sugar/almond four mixture into the sieve and sift it into the egg whites. Again, discard any remaining clumps.
- Begin to gently fold the dry ingredients into the egg whites. Proper folding technique is to cut through the centre of the batter with your spatula and scoop around the bottom of the bowl and flip the batter from the bottom to the top. Turn the bowl 90 degrees and repeat.
- Once the dry ingredients have been fully incorporated, it’s time for the Macaronage stage. Smush all of the batter against the sides of the bowl and then scrape it down and fold it back together again. Repeat 5-6 times, or until the batter reaches the “lava stage”. You could be able to lift the batter with your spatula and draw a figure 8 without the batter clumping. If it doesn’t flow evenly and smoothly, repeat the smushing another 1-2 times and test again.
- Transfer the batter to a piping bag and pipe 1” circles that are about 2” apart on the baking sheet. Once you’ve finished the first tray, pick it up approximately 6” off the counter and drop it straight down to release any air bubbles. Repeat 6-7 more times, or until you do not see any large air bubbles remaining.
- Continue piping the second tray and then drop it to release any air bubbles.
- Allow the macarons to rest at room temperature for at least 30 minutes (up to an hour if it’s humid) or until they have developed a skin. You should be able to touch the top of the macaron without it sticking to your finger.
- While the macarons are resting, preheat your oven to 325F.
- Bake the macarons in a preheated oven one tray at a time— on the centre rack— for 12-14 minutes, or until the bottoms are just starting to turn a light brown.
- Leave the macarons on the tray to cool.
Make the Filling
- In the bowl of a stand mixer fitted with the whisk attachment, cream together the cream cheese and butter on high speed until light and fluffy.
- Next, add the maple syrup, vanilla, and cinnamon and mix again on medium speed until they are completely incorporated.
- Scrape down the sides of the bowl and turn the mixer on low speed. Gradually add the powdered sugar. Once all of the powdered sugar has been added, turn the mixer to high and beat until the filling becomes light and airy— about 2 minutes. Transfer to a piping bag.
Assemble
- Once the macarons have cooled fully, place them in similar sized pairs. Pipe a small dollop (about 1/2 teaspoon, depending on the size of your macaron) of filling into the centre of one macaron. Place the second macaron on top and gently press it down to smush the filling all the way to the edge. Repeat with the remaining macarons.
Decorate
- Add the candy melts and vegetable shortening to a small, microwave-safe bowl. Microwave for 30 seconds. Stir.
- Microwave for an additional 30 seconds and stir again. Transfer the melted chocolate to a plastic bag. Cut the very tip of the corner of the bag off.
- Drizzle the chocolate over the macarons to create the mummy look.
- Once the chocolate has set, use a food pen to draw on two eyes.
- Place the macarons in an airtight container in the fridge to age at least 4 hours— if you have the time, ageing overnight is preferred and will result in the best texture.
- Bring to room temperature before serving. Macarons can be kept in the fridge for up to 3 days.
Notes
- Make sure to use Almond Flour. It is not the same thing as Almond Meal. Bob’s Red Mill Superfine Almond Flour is my go-to.
- Your egg whites can, but do not need to be at room temperature.
- Using whipped cream cheese in the filling makes a lighter icing but standard cream cheese works as well.
- There are two things that can help ensure the success of macarons. First, make sure you are deflating the batter only to the lava stage. If you don’t deflate enough, the batter will be too thick and your macarons will have peaks (typically called nipples). If you deflate too much, your batter will be too runny and the macarons won’t rise properly. Secondly, using an oven thermometer is highly encouraged. An oven that is too hot will cause the feet on the macarons to spread and result in hollow shells. An oven that is too cold will result in wrinkly, undercooked macarons.
©Aimée Geroux | https://extremecouponingmom.ca
More Halloween Food + Treats + Fun
Check out these other delicious spooky Halloween eats & fun and enjoy!
©Aimée Geroux | https://extremecouponingmom.ca
- Williams Sonoma Canada Boxing Day Sale - December 26, 2025
- Warby Parker Boxing Day Sale - December 26, 2025
- Psycho Bunny Canada Boxing Day Sale - December 26, 2025










Leave a Reply