© Aimée Geroux | https://extremecouponingmom.ca
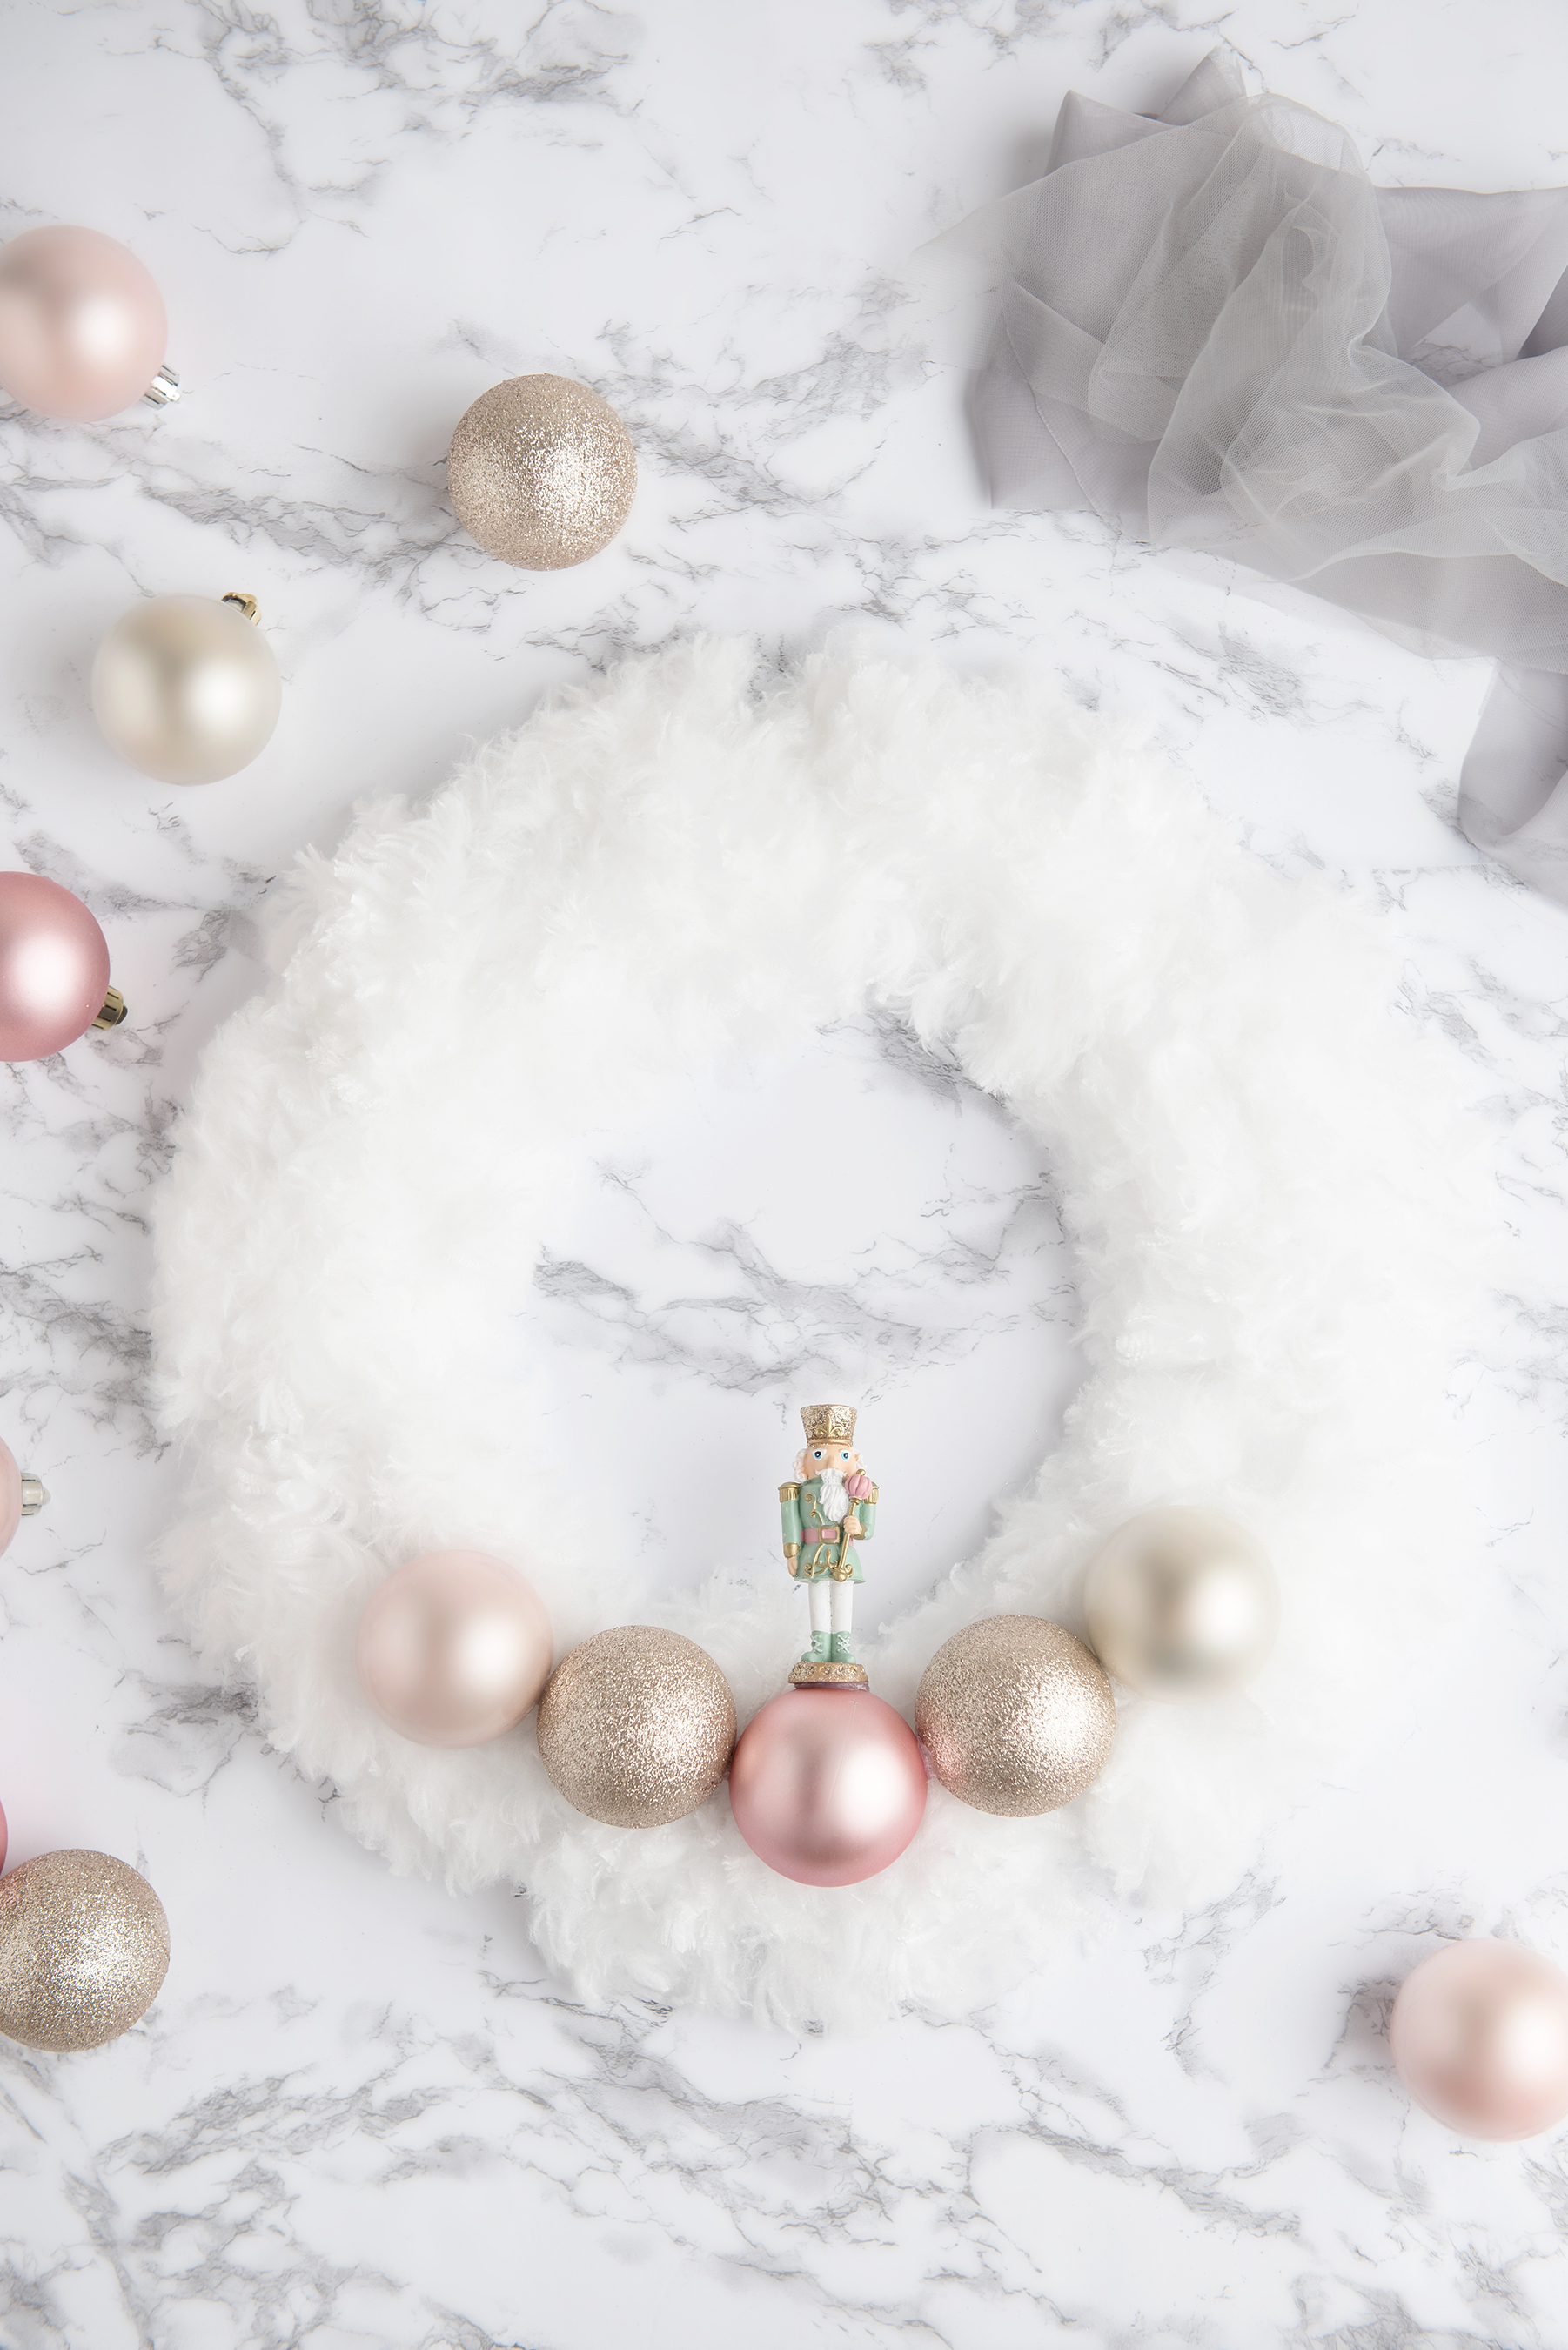
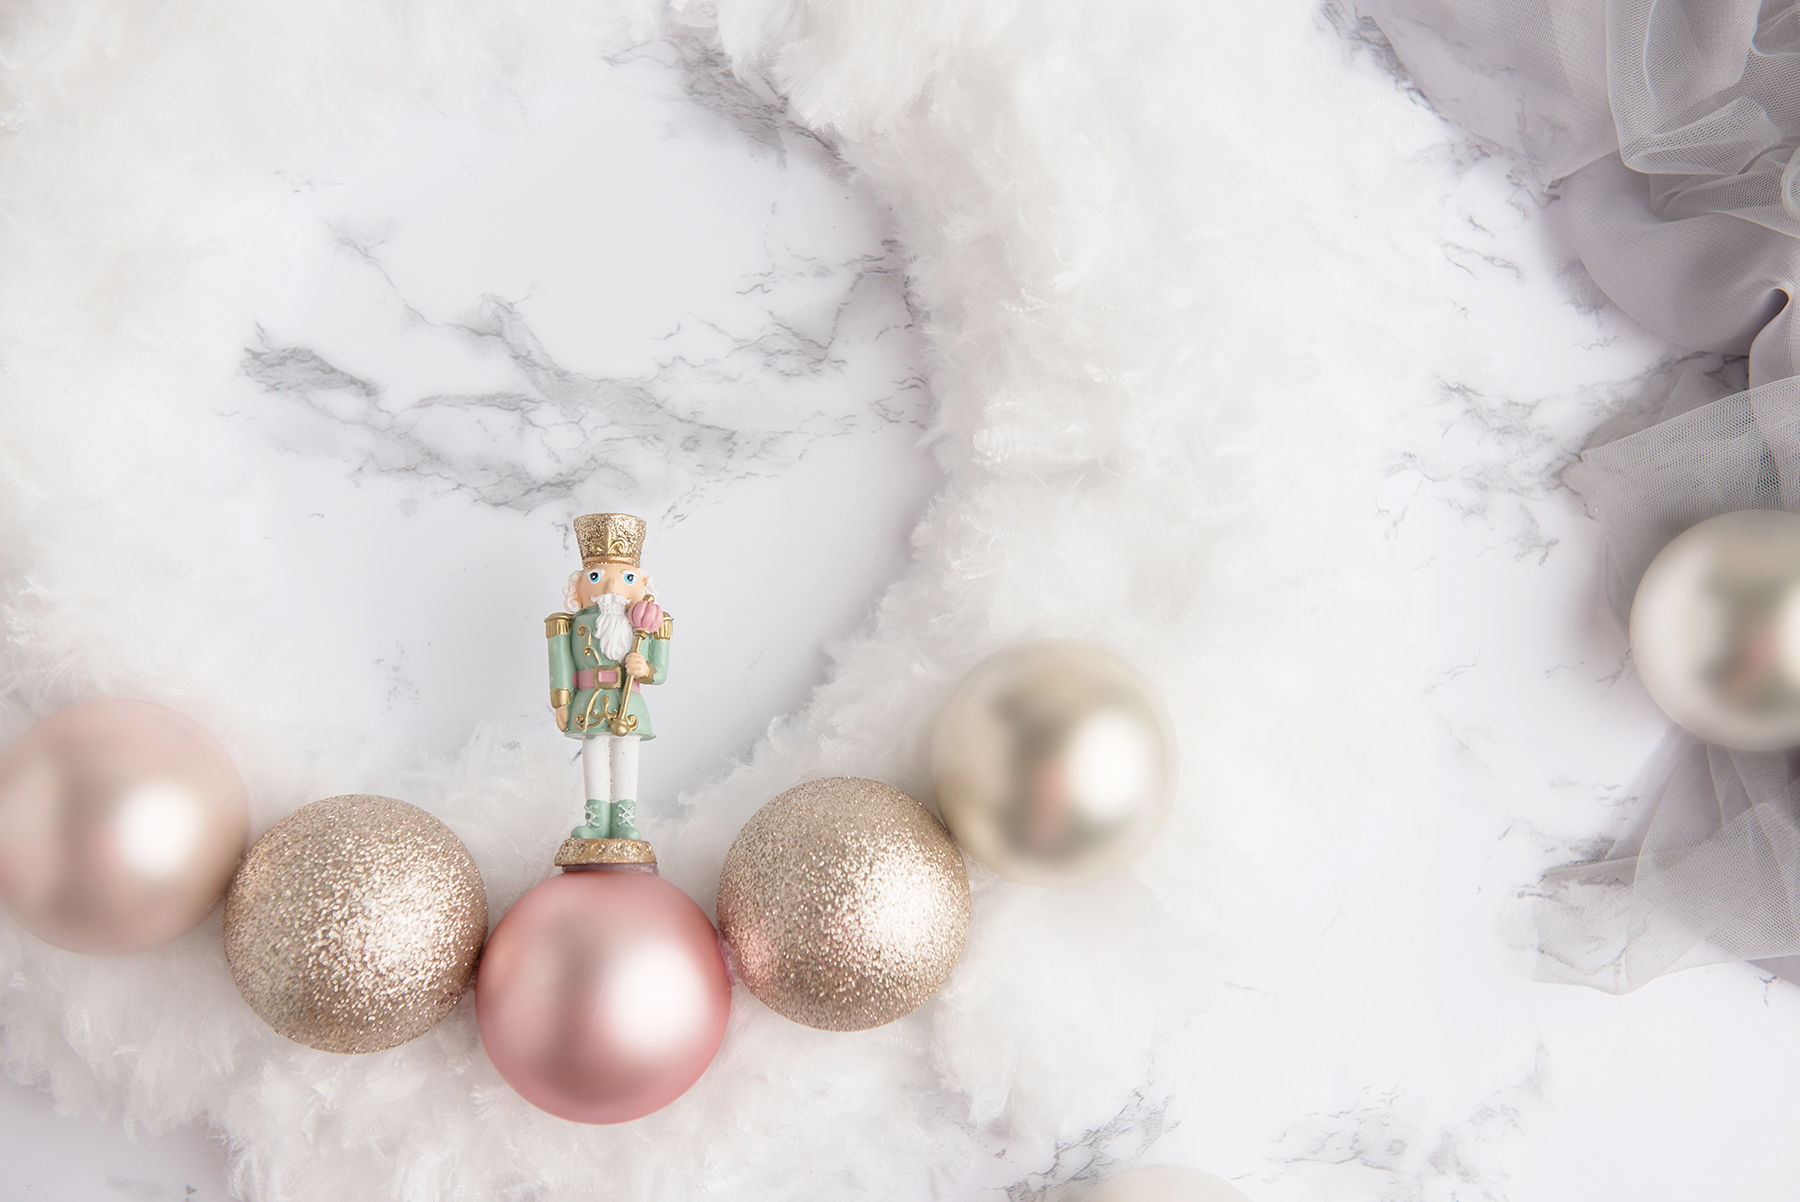
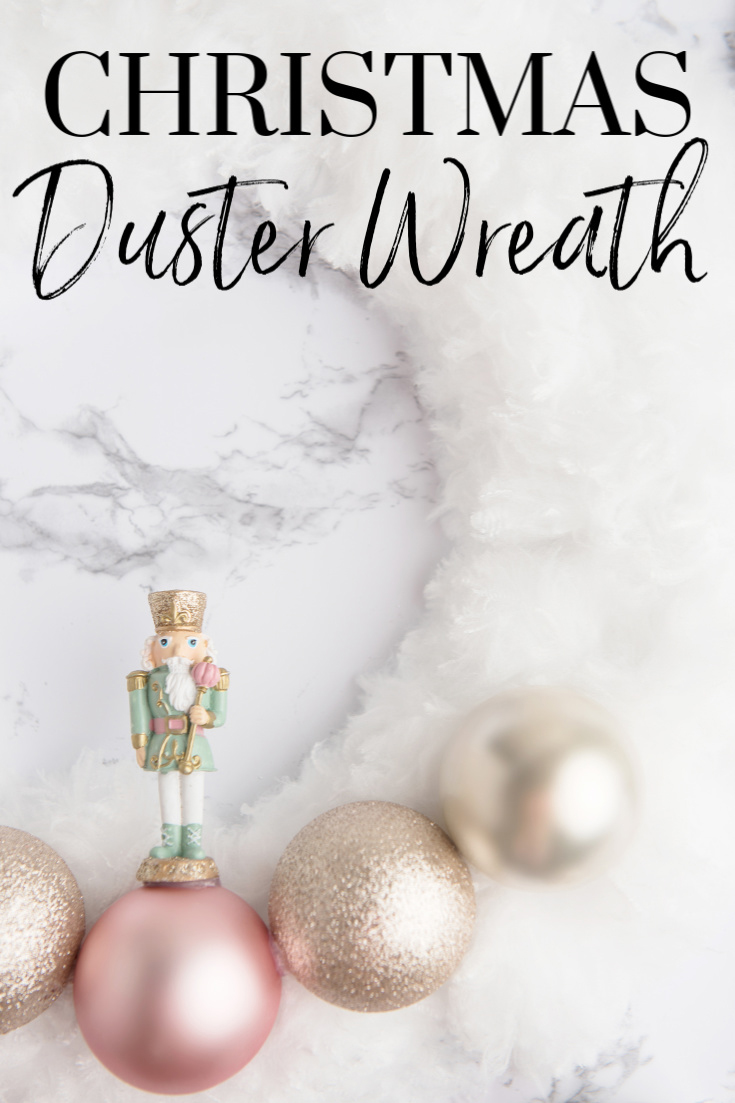
How gorgeous is this DIY Christmas Duster Wreath?
I love how elegant yet simple this Christmas wreath is.
Would you believe it is made out of dusters from the dollar store?
The best part, you can design it however you’d like once you have the base done.
If your Christmas decor is more rustic, different colours etc, you can find Christmas ornaments and decor to add that match your theme!
© Aimée Geroux | https://extremecouponingmom.ca
DIY Christmas Duster Wreath
Create a gorgeous DIY Christmas Duster Wreath easily and for less than a premade Christmas wreath would cost.
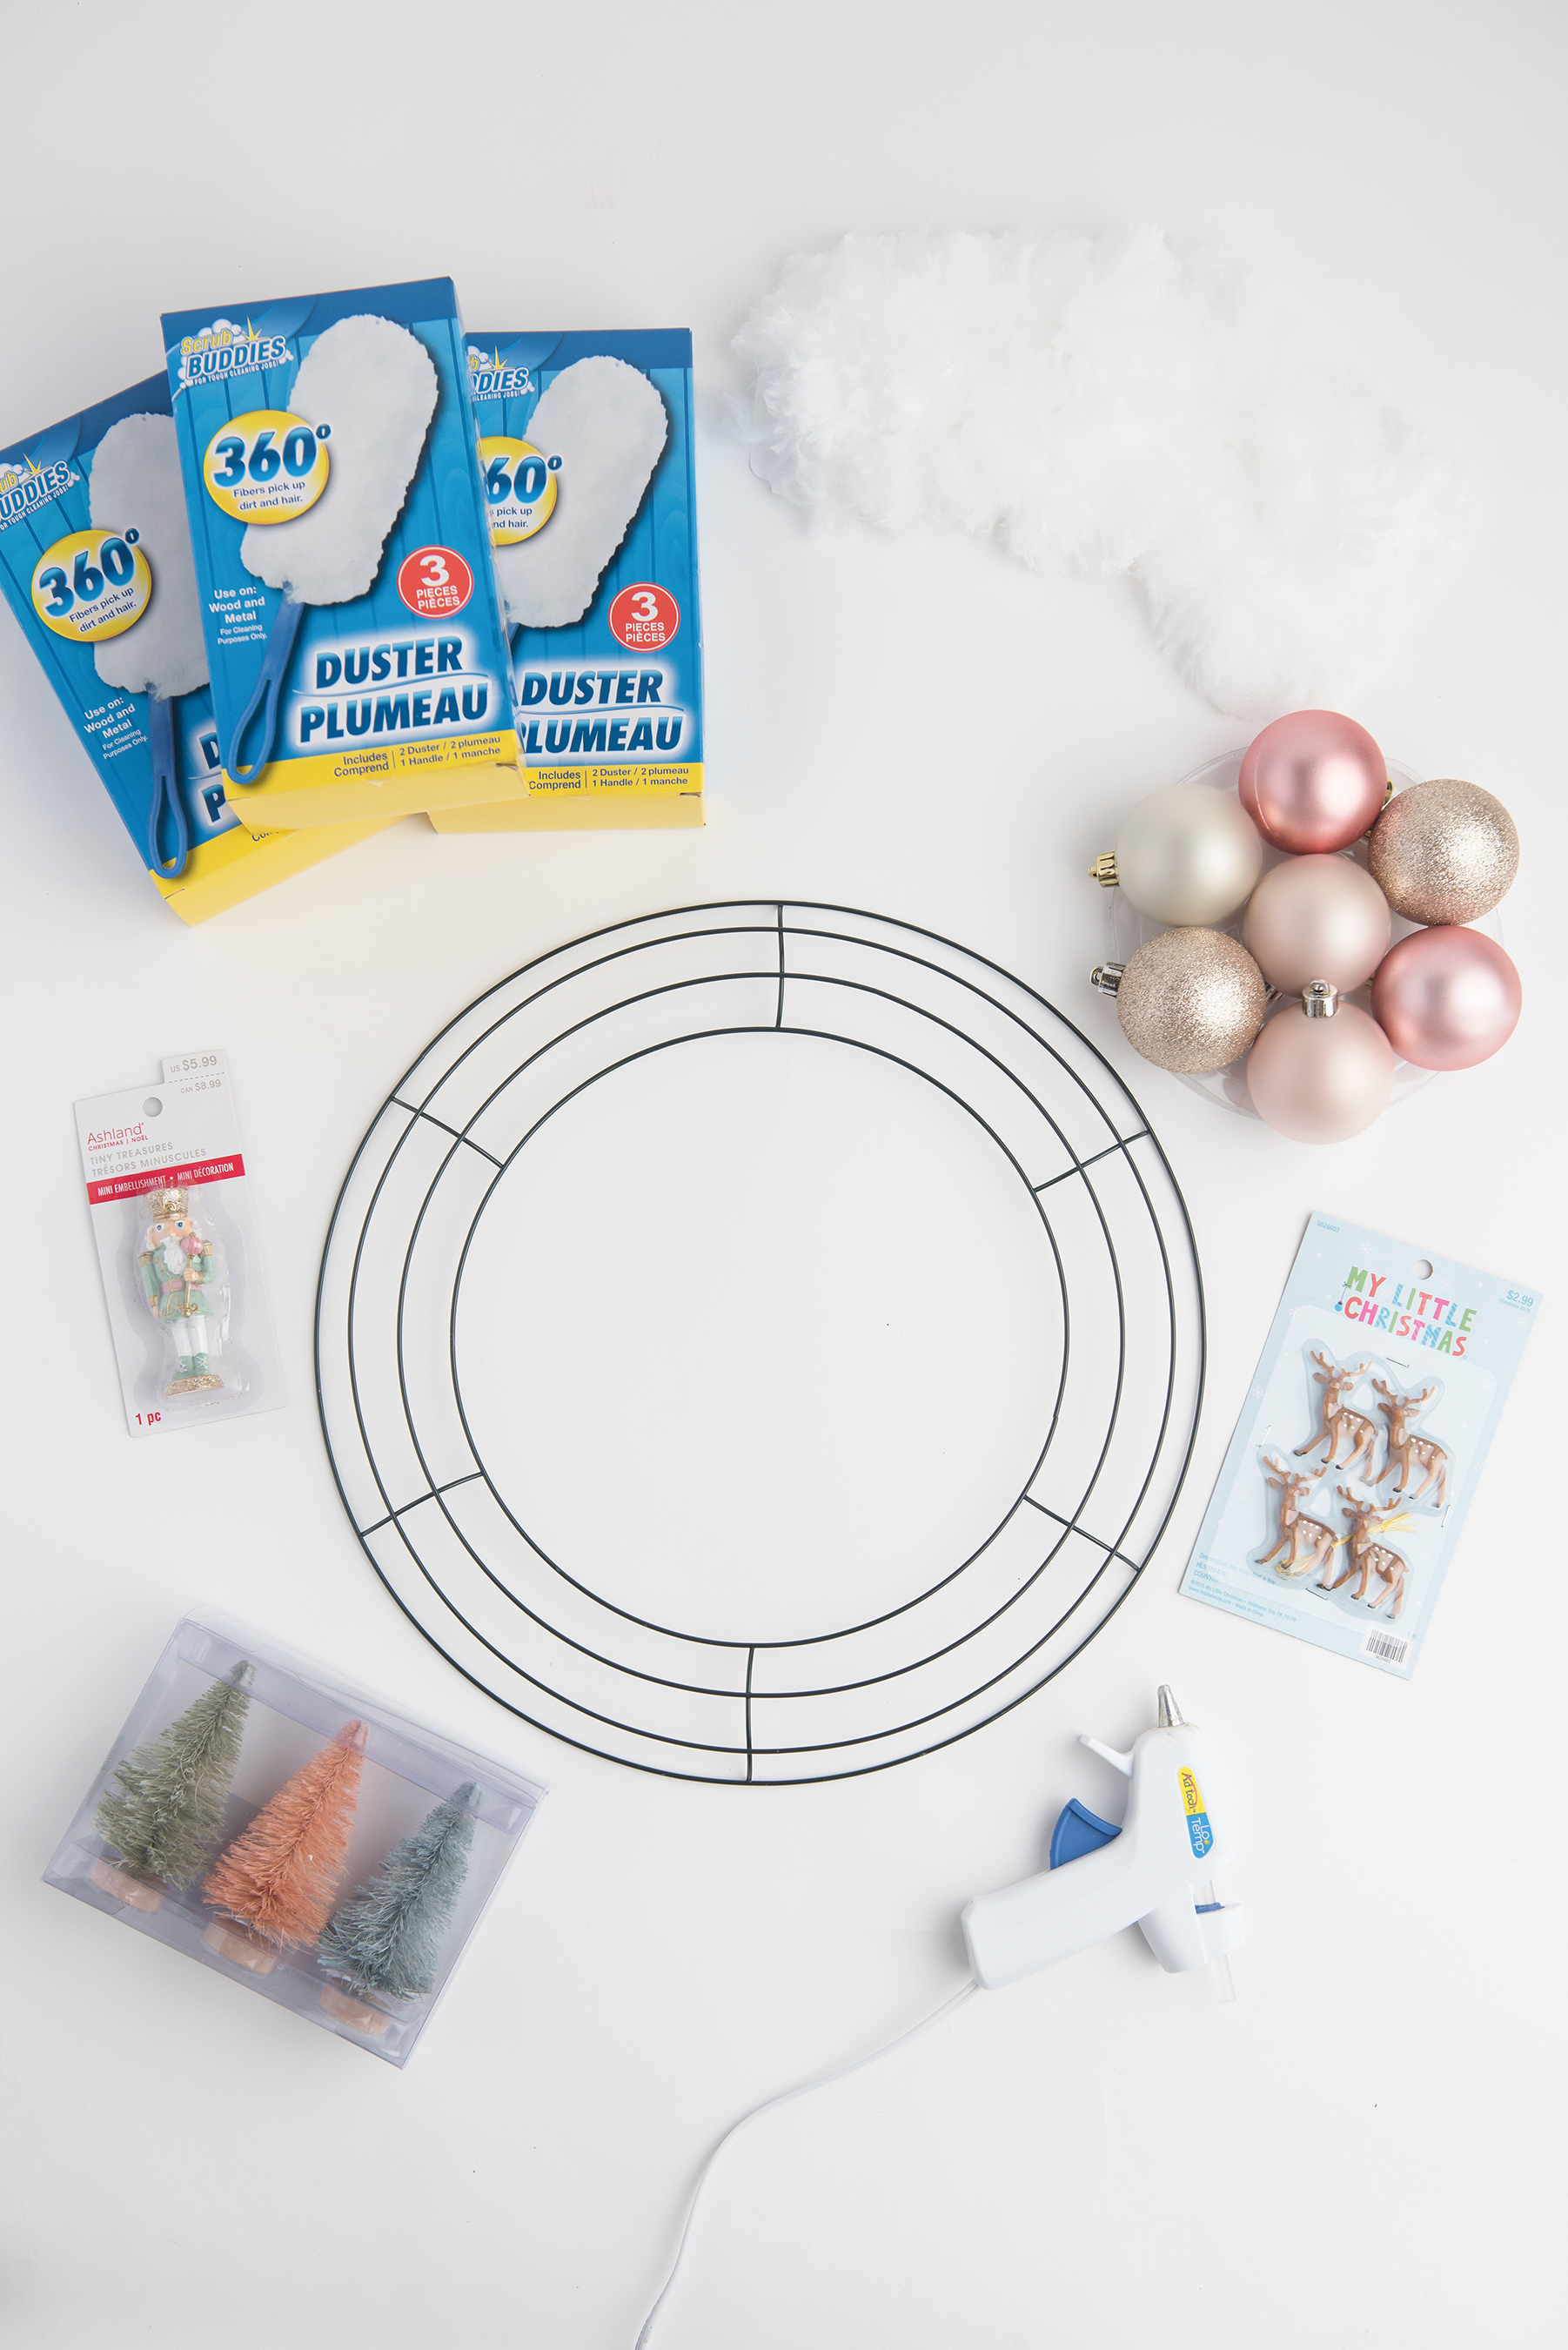
What You Will Need:
- 12 ” Wired wreath form (buy on Amazon Canada or Amazon US)
- 8 dusters (dollar store – usually come 2 per box)
- Hot glue gun
- Ornaments (grab some from your collection or buy new)
- Christmas embellishment (like a Nutcracker, bottlebrush trees or a farm truck for the centre)
How To Make A Christmas Duster Wreath
Follow along with the step-by-step visual instructions below and then find the printable instructions below!
© Aimée Geroux | https://extremecouponingmom.ca
Gather your materials needed to create your DIY Christmas Duster Wreath.
For this project, you will need 8 dusters total if using a 12″ wired wreath.
© Aimée Geroux | https://extremecouponingmom.ca
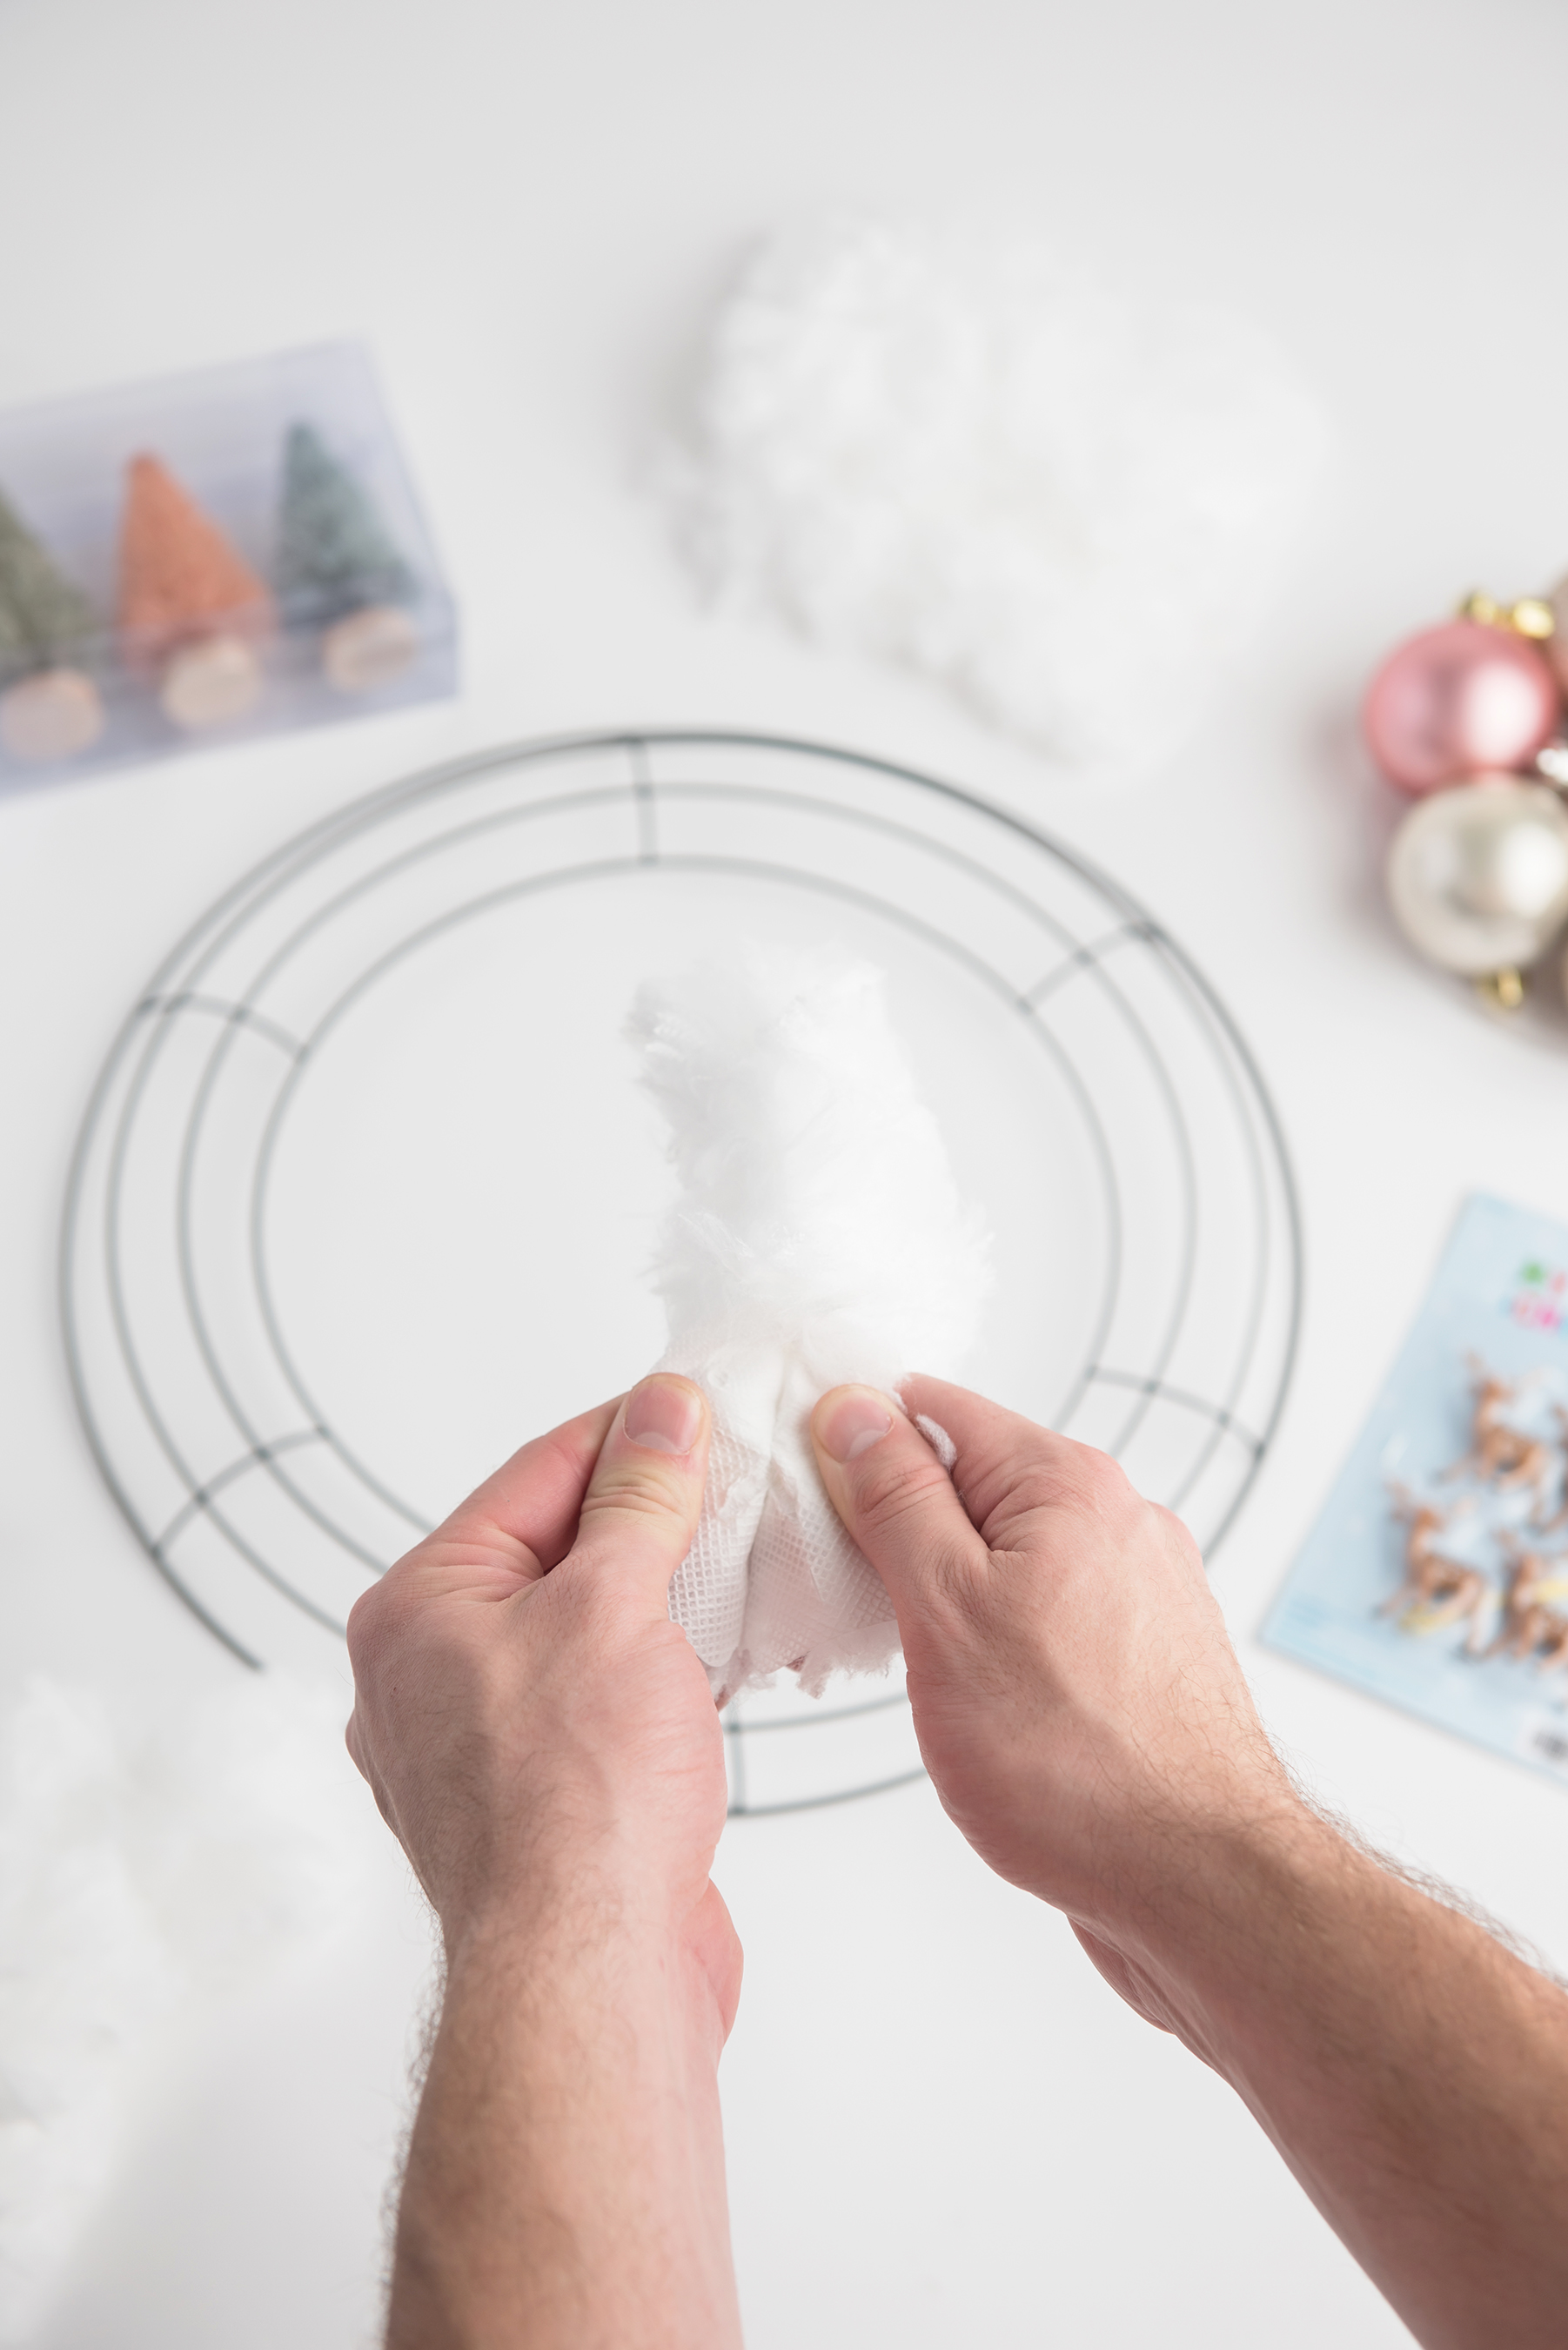
If your duster is a 360 duster, start off by inserting thumbs into the pocket where the duster handle will normally be attached.
Use both thumbs and gently tear up ONE side of the duster to open.
The seems will easily pop as you work your way up.
It’s important to only pop open one side so it leaves us with a larger panel to work with.
If you are using a normal duster refill you won’t need to open it up and can move to the next step.
© Aimée Geroux | https://extremecouponingmom.ca
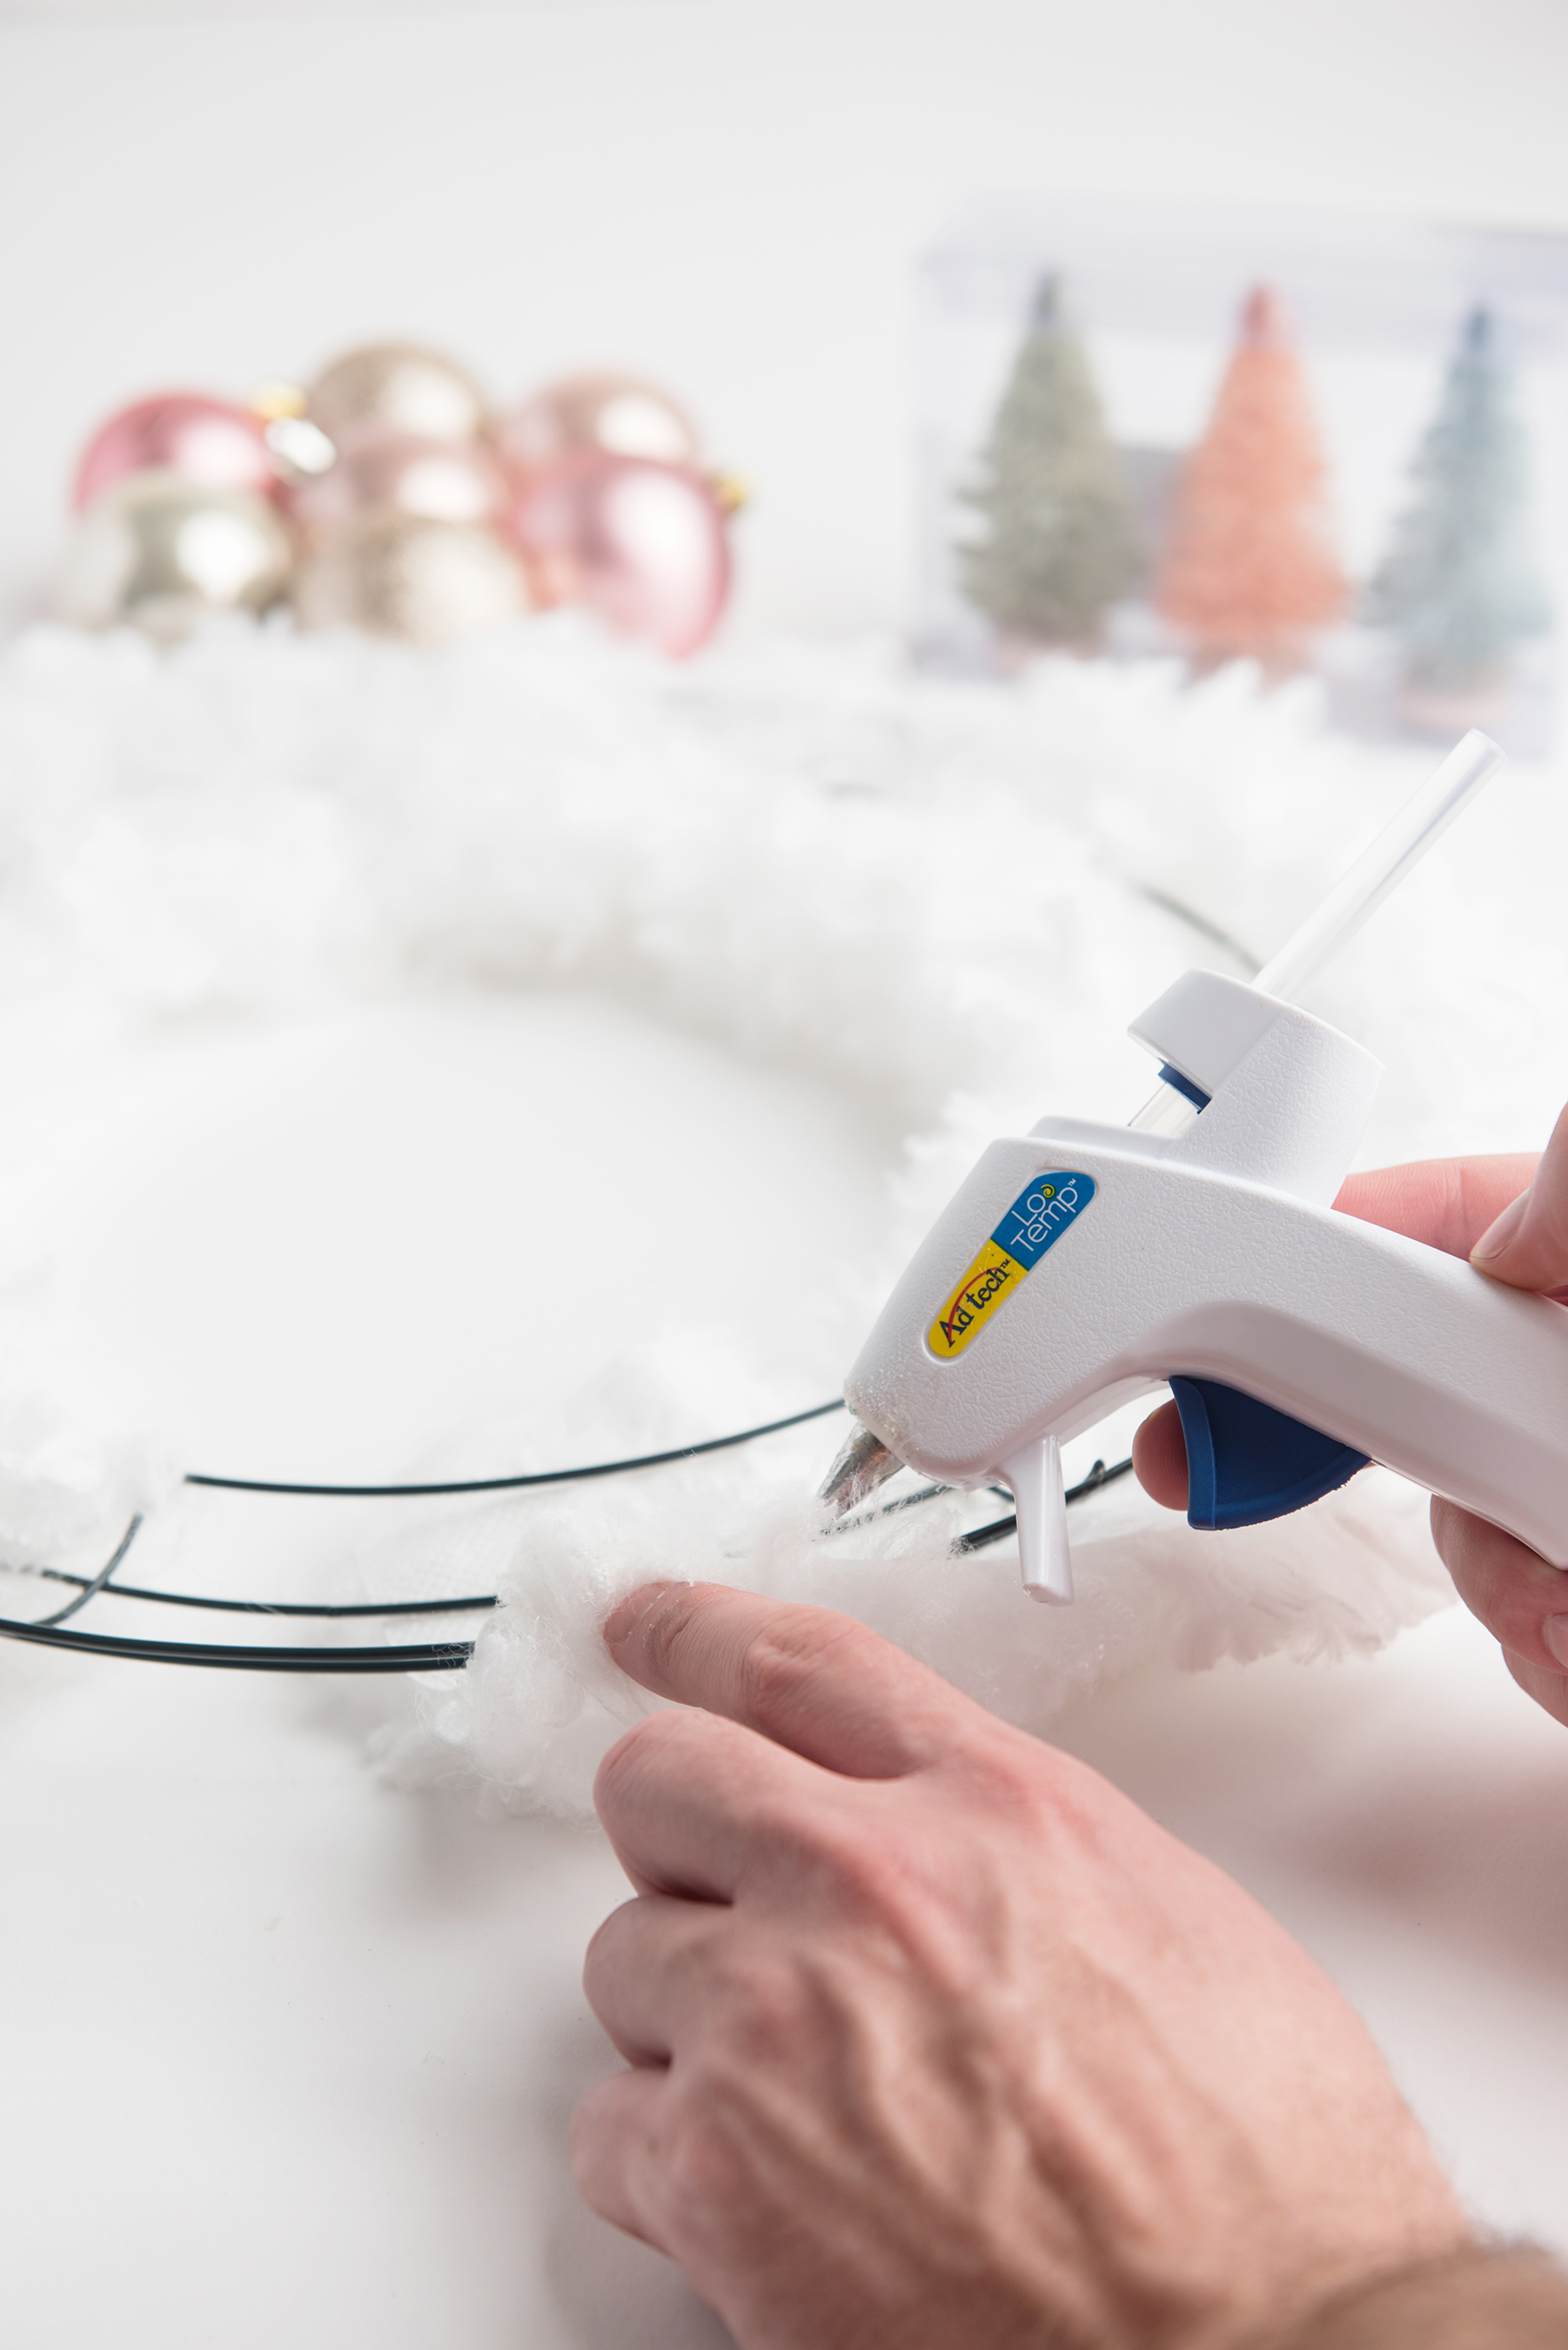
Lay the torn duster panel where you want it and lay wired wreath form on top exposing the back.
Using the hot glue gun, start by pulling the corners of the duster panels tight and hot glueing each corner around a prong of the wreath.
© Aimée Geroux | https://extremecouponingmom.ca
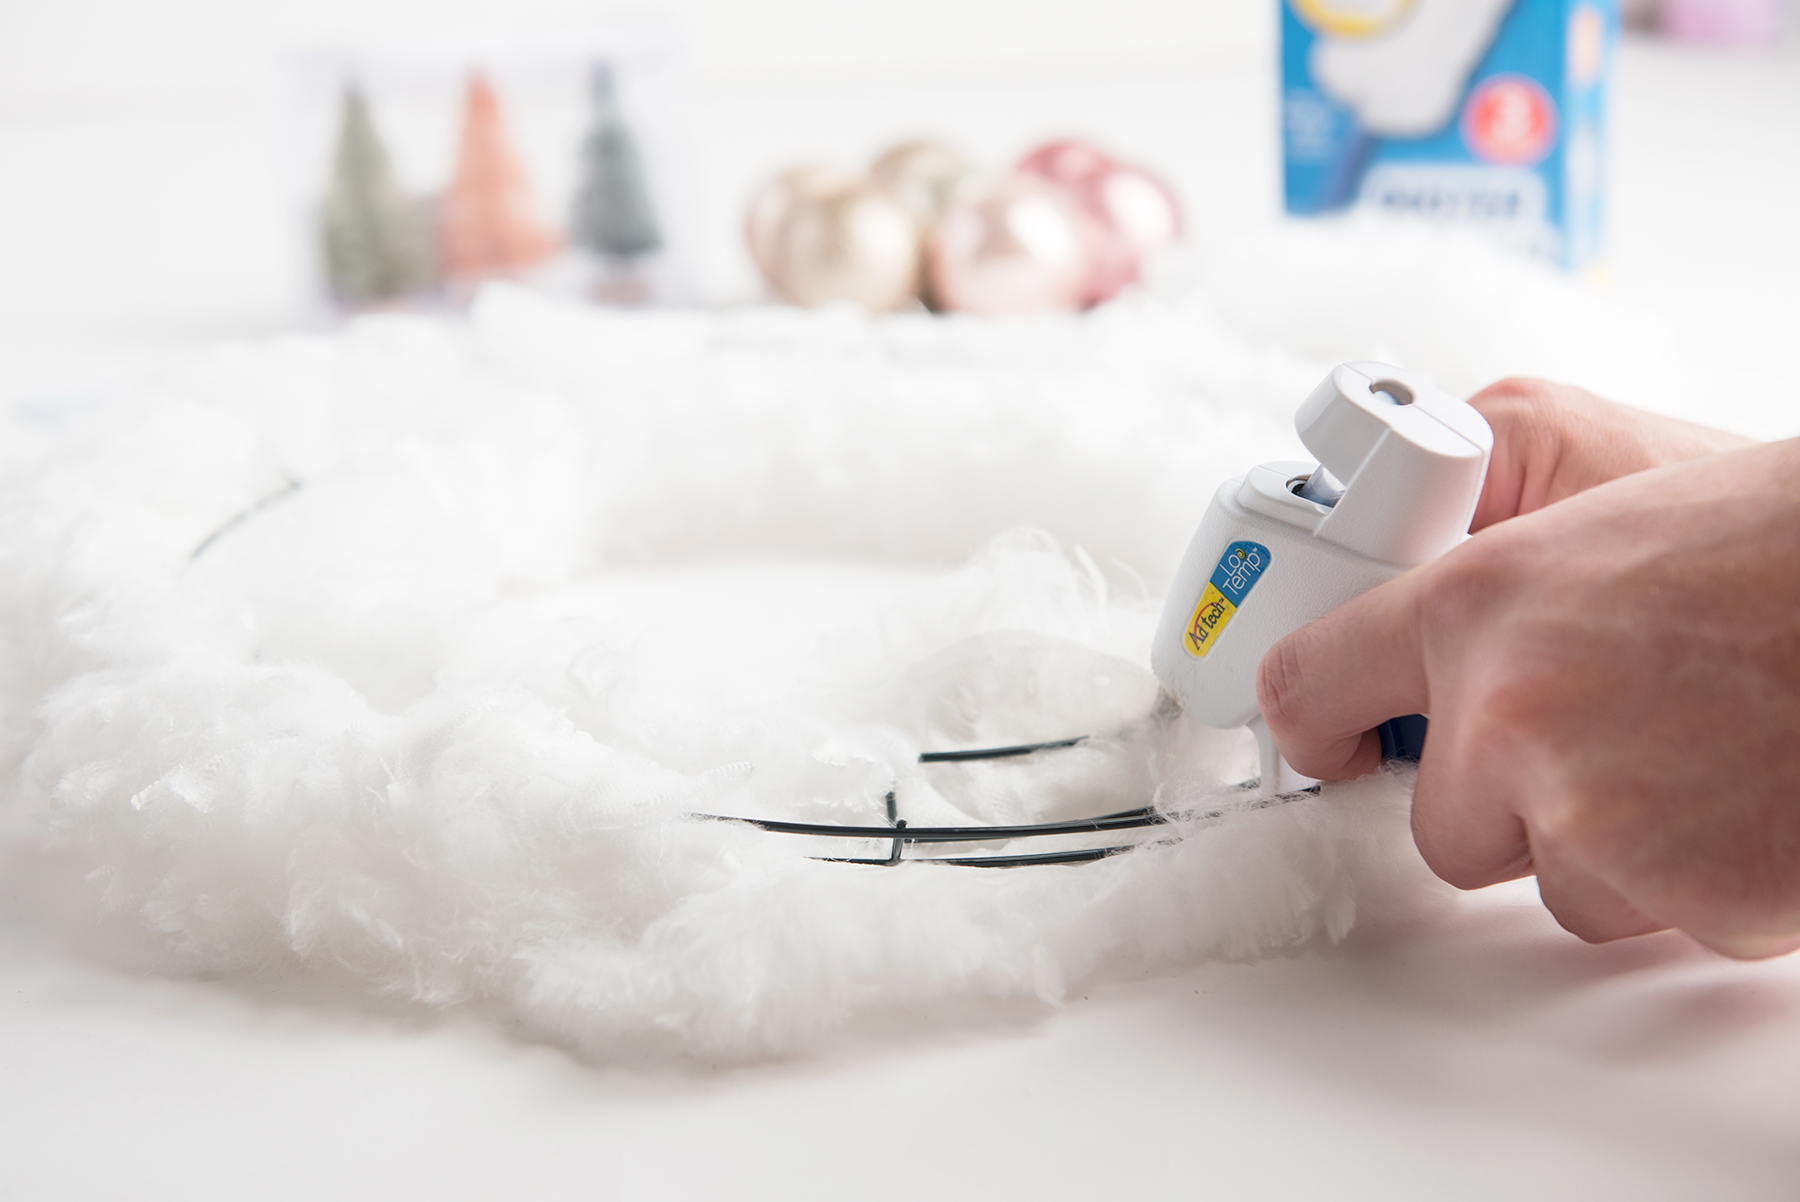
Continue to do this around the entire wreath by overlapping the dusters slightly each time.
If the cheesecloth material of the duster is exposed, tuck it underneath and hot glue it down.
Also if you are noticing any sparse spots once finished, glue some extra surrounding fluff down in that spot.
© Aimée Geroux | https://extremecouponingmom.ca
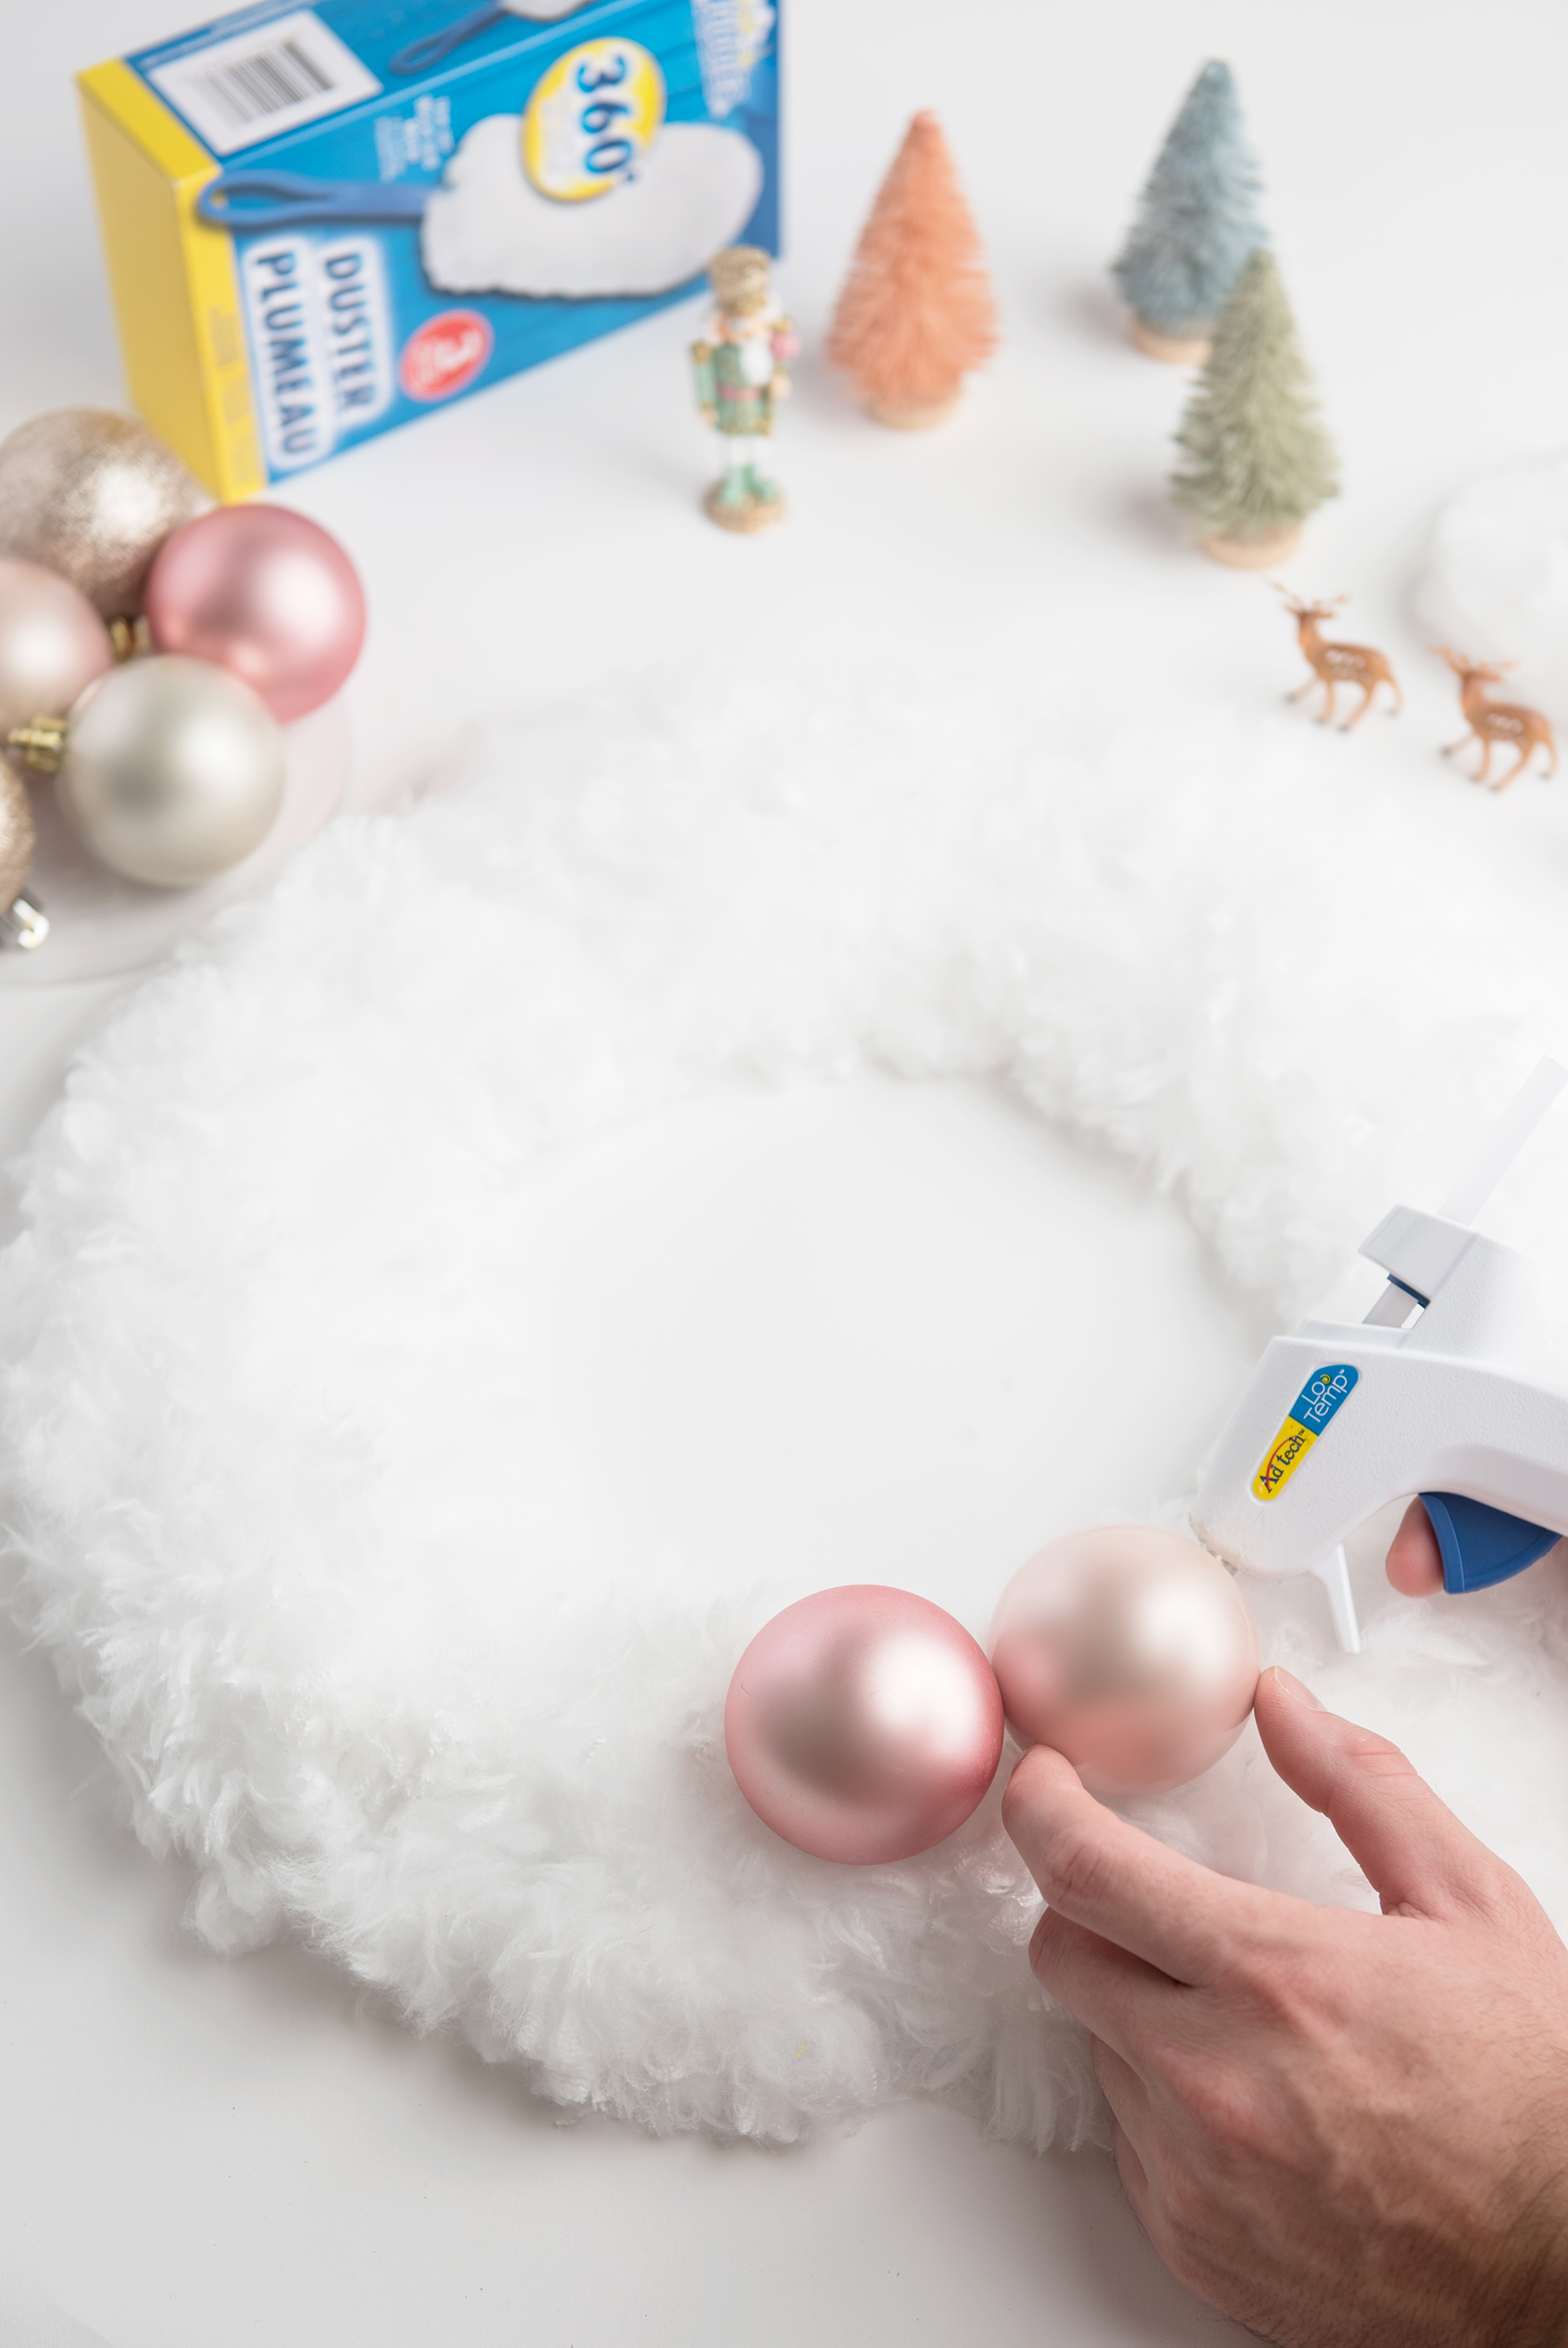
Once finished, hot glue on your ornaments and embellishments however you please.
If glueing ornaments, it may help to cut a small hole in the fluff and insert the tip or the ornament downwards and glue.
For bottle brush trees, it helps to use the inside ledge of the wreath form (the most inner prong) as a stable surface to glue things onto.

© Aimée Geroux | https://extremecouponingmom.ca
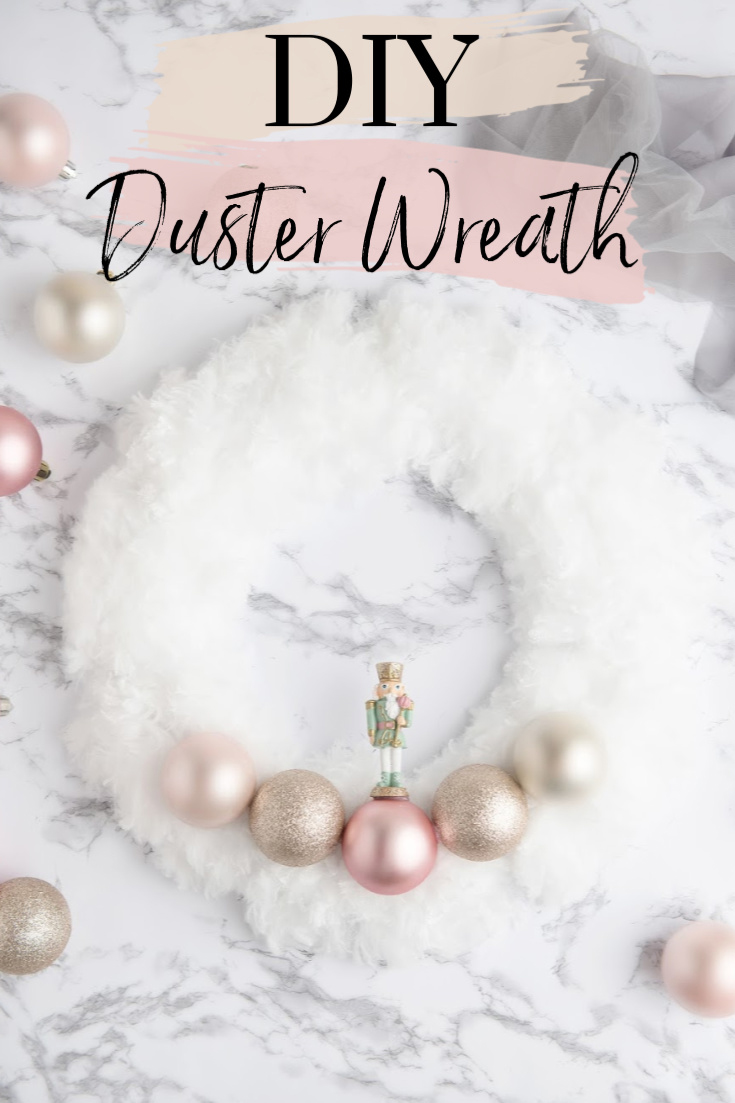
That’s it, your DIY Christmas Duster Wreath is done.
Hang it up and enjoy this easy and inexpensive Christmas wreath!
DIY Christmas Duster Wreath

Materials
- 12" Wired wreath form
- 8 Dusters (dollar store - usually come 2 per box)
- Ornaments
- Christmas embellishments
Tools
- Hot glue gun
Instructions
- If your duster is a 360 duster, start off by inserting thumbs into the pocket where the duster handle will normally be attached. Use both thumbs and gently tear up ONE side of the duster to open. The seems will easily pop as you work your way up. It's important to only pop open one side so it leaves us with a larger panel to work with. If you are using a normal duster refill you won't need to open it up and can move to the next step.
- Lay the torn duster panel where you want it and lay wired wreath form on top exposing the back.
- Using the hot glue gun, start by pulling the corners of the duster panels tight and hot glueing each corner around a prong of the wreath.
- Continue to do this around the entire wreath by overlapping the dusters slightly each time. If the cheesecloth material of the duster is exposed, tuck it underneath and hot glue it down. Also if you are noticing any sparse spots once finished, glue some extra surrounding fluff down in that spot.
- Once finished, hot glue on your ornaments and embellishments however you please. If glueing ornaments, it may help to cut a small hole in the fluff and insert the tip or the ornament downwards and glue. For bottle brush trees, it helps to use the inside ledge of the wreath form (the most inner prong) as a stable surface to glue things onto.
- That’s it, your DIY Christmas Duster Wreath is done. Hang it up and enjoy this easy and inexpensive Christmas wreath!
© Aimée Geroux | https://extremecouponingmom.ca
More Christmas DIY Fun
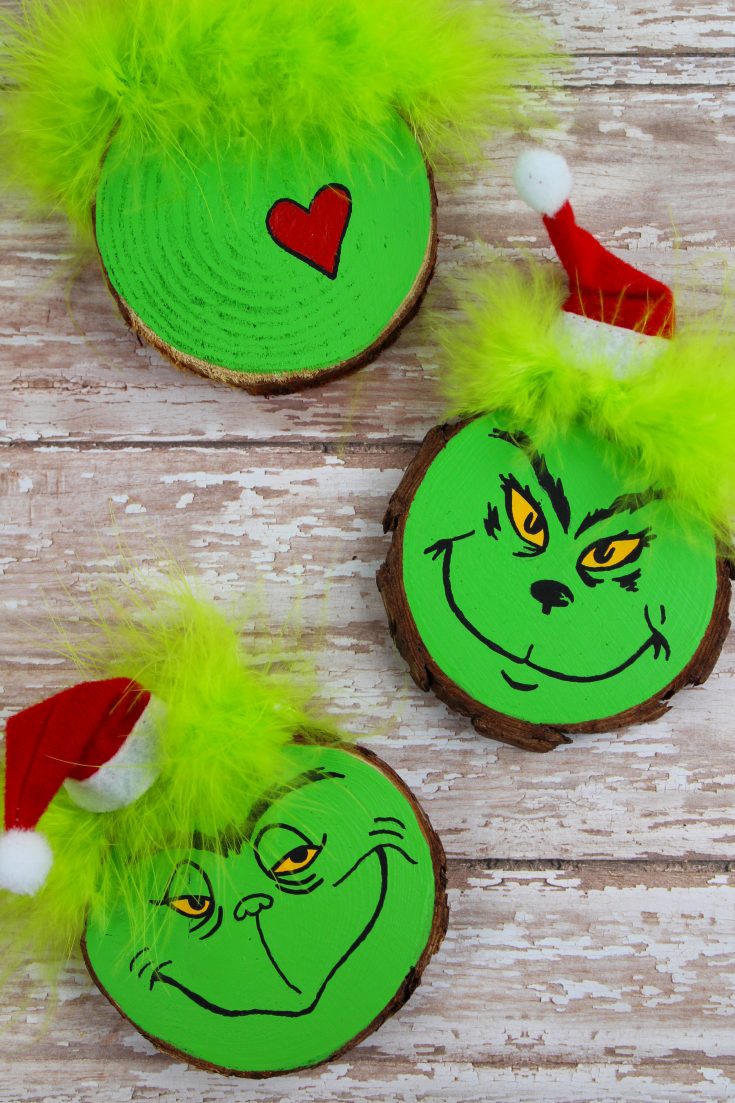
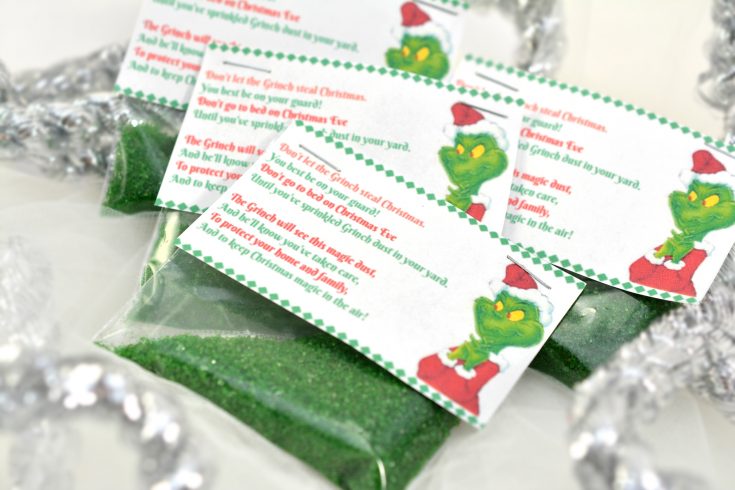
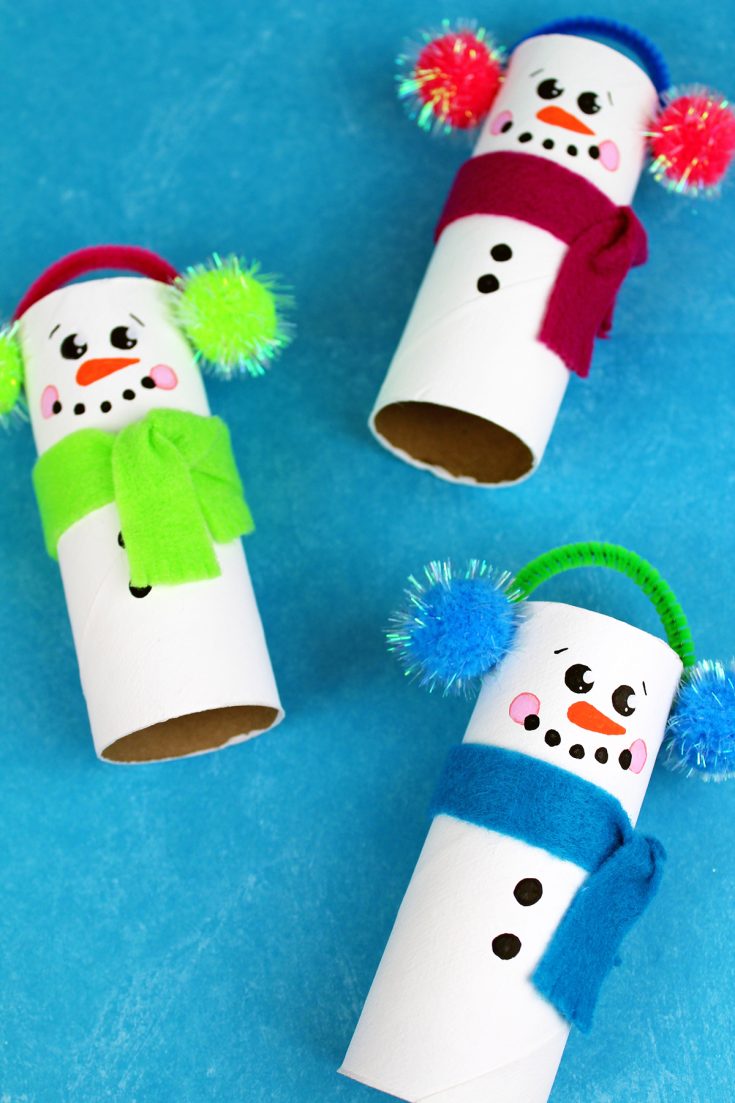
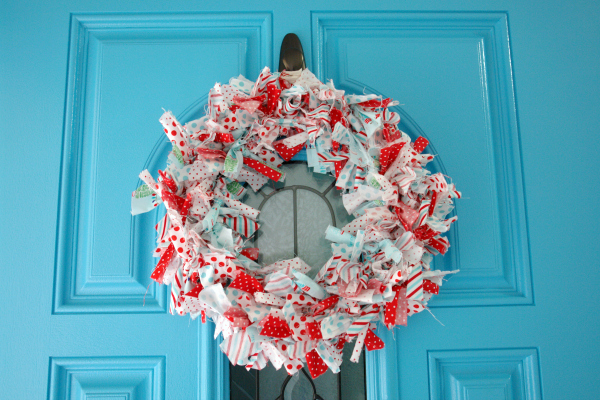
Check out these other fun Christmas DIY projects and crafts you can easily make!
© Aimée Geroux | https://extremecouponingmom.ca
- Printable Kids Summer Bucket List - June 4, 2025
- Save On Summer Family Fun - June 4, 2025
- Homemade Strawberry Lemonade Popsicles - June 3, 2025





Leave a Reply