DIY Blackhead Face Mask
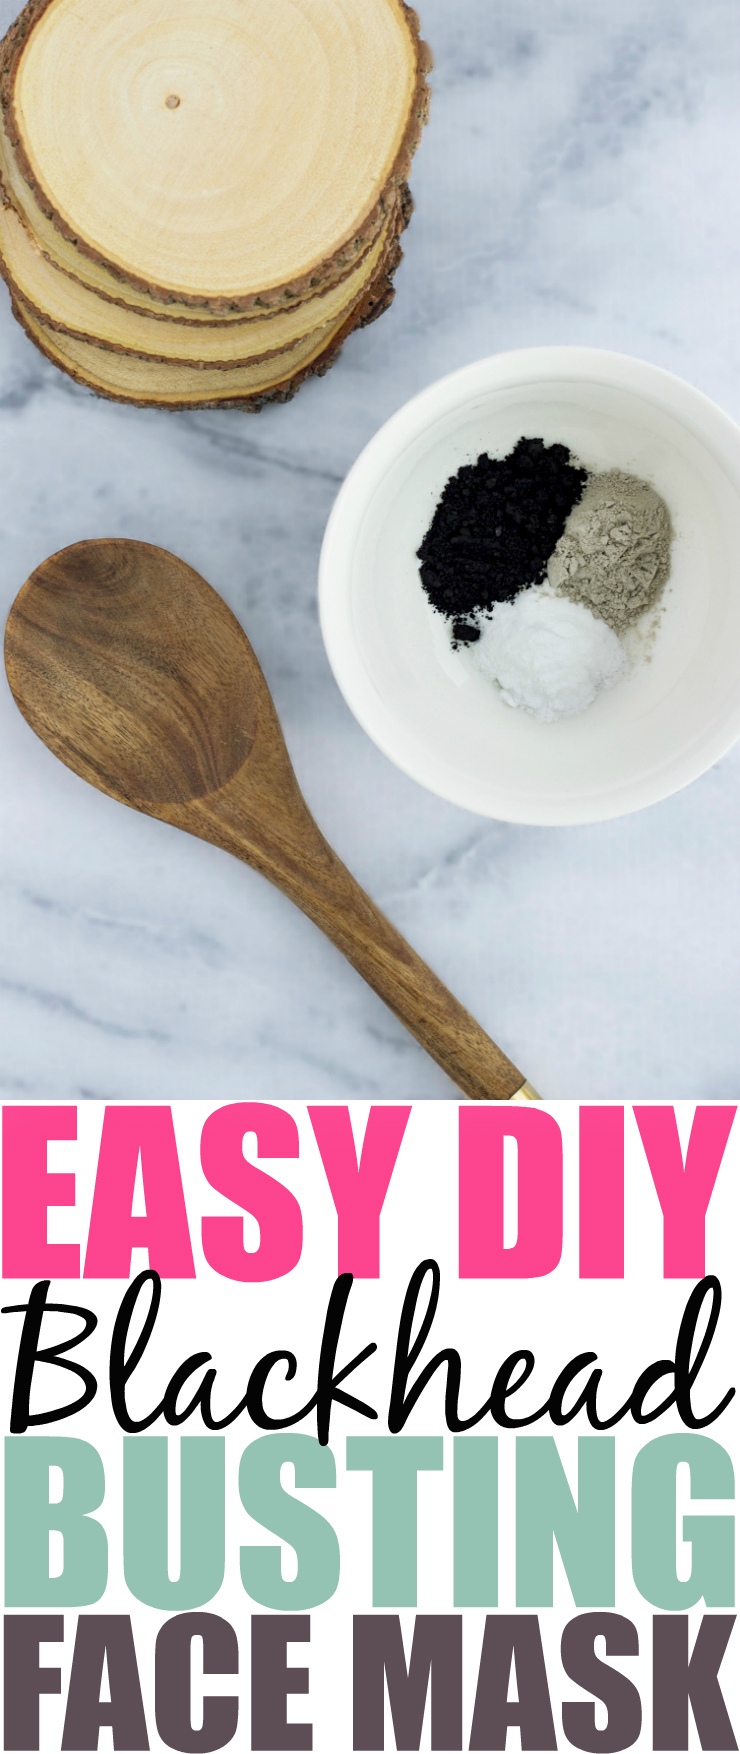 Over the past few years I have focused more on my skin care. After Bellla’s birth my skin went crazy, more crazy than with my other two children.
I am still not sure why my skin got so angry. Maybe it was because I was now in my 30’s, maybe I wasn’t taking care of my skin enough, or maybe her early birth threw my hormones more out of whack than they would have been if she was born at term.
Either way I knew I had to do something. I was constantly breaking out with horrible hormonal acne on the lower right side of my face.
The worst part was that hormonal acne was leaving dark scars in its path. It was making my extremely self-conscious, and I would not leave the house without slapping on tons of makeup.
Changing My Skin Care Routine
I spent so much time and money on trying to find products that would help my skin. It was incredibly frustrating, and most of the products I tried made my skin worse.
I was at my wits end. It wasn’t just my ego that was taking a hit, my bank account was feeling the sting too. This was when I turned to making my own products to cleanse and care for my skin.
The first thing I did was make a facial cleanser that doubled as a make-up remover too. That was the only thing I used on my face for two months, and it totally cleared up my hormonal acne.
Once I got my skin under control I wanted to work on deep cleansing treatments as well as spot treatments for those pesky monthly pimples we ladies get! To do this I started making my own facial masks.
As someone with sensitive skin, knowing what was in my masks was very important for me. Many of the over-the-counter products I tried are full of things that would just irritate my sensitive skin, even those that were made for sensitive skin.
With that said, I can use either Marcelle or Garnier Micellar water in a pinch and neither break me out. I keep them on hand for when I am too lazy or busy to make my facial cleanser.
DIY Blackhead Face Mask
Looking to deep cleanse your pores and rid them of pesky blackheads? Add this DIY Blackhead Face Mask to your beauty routine and you will have clearer pores in no time!
Check out the quick 3-step process to making and using this mask below and then get the full ingredient list and instructions in my recipe card below!
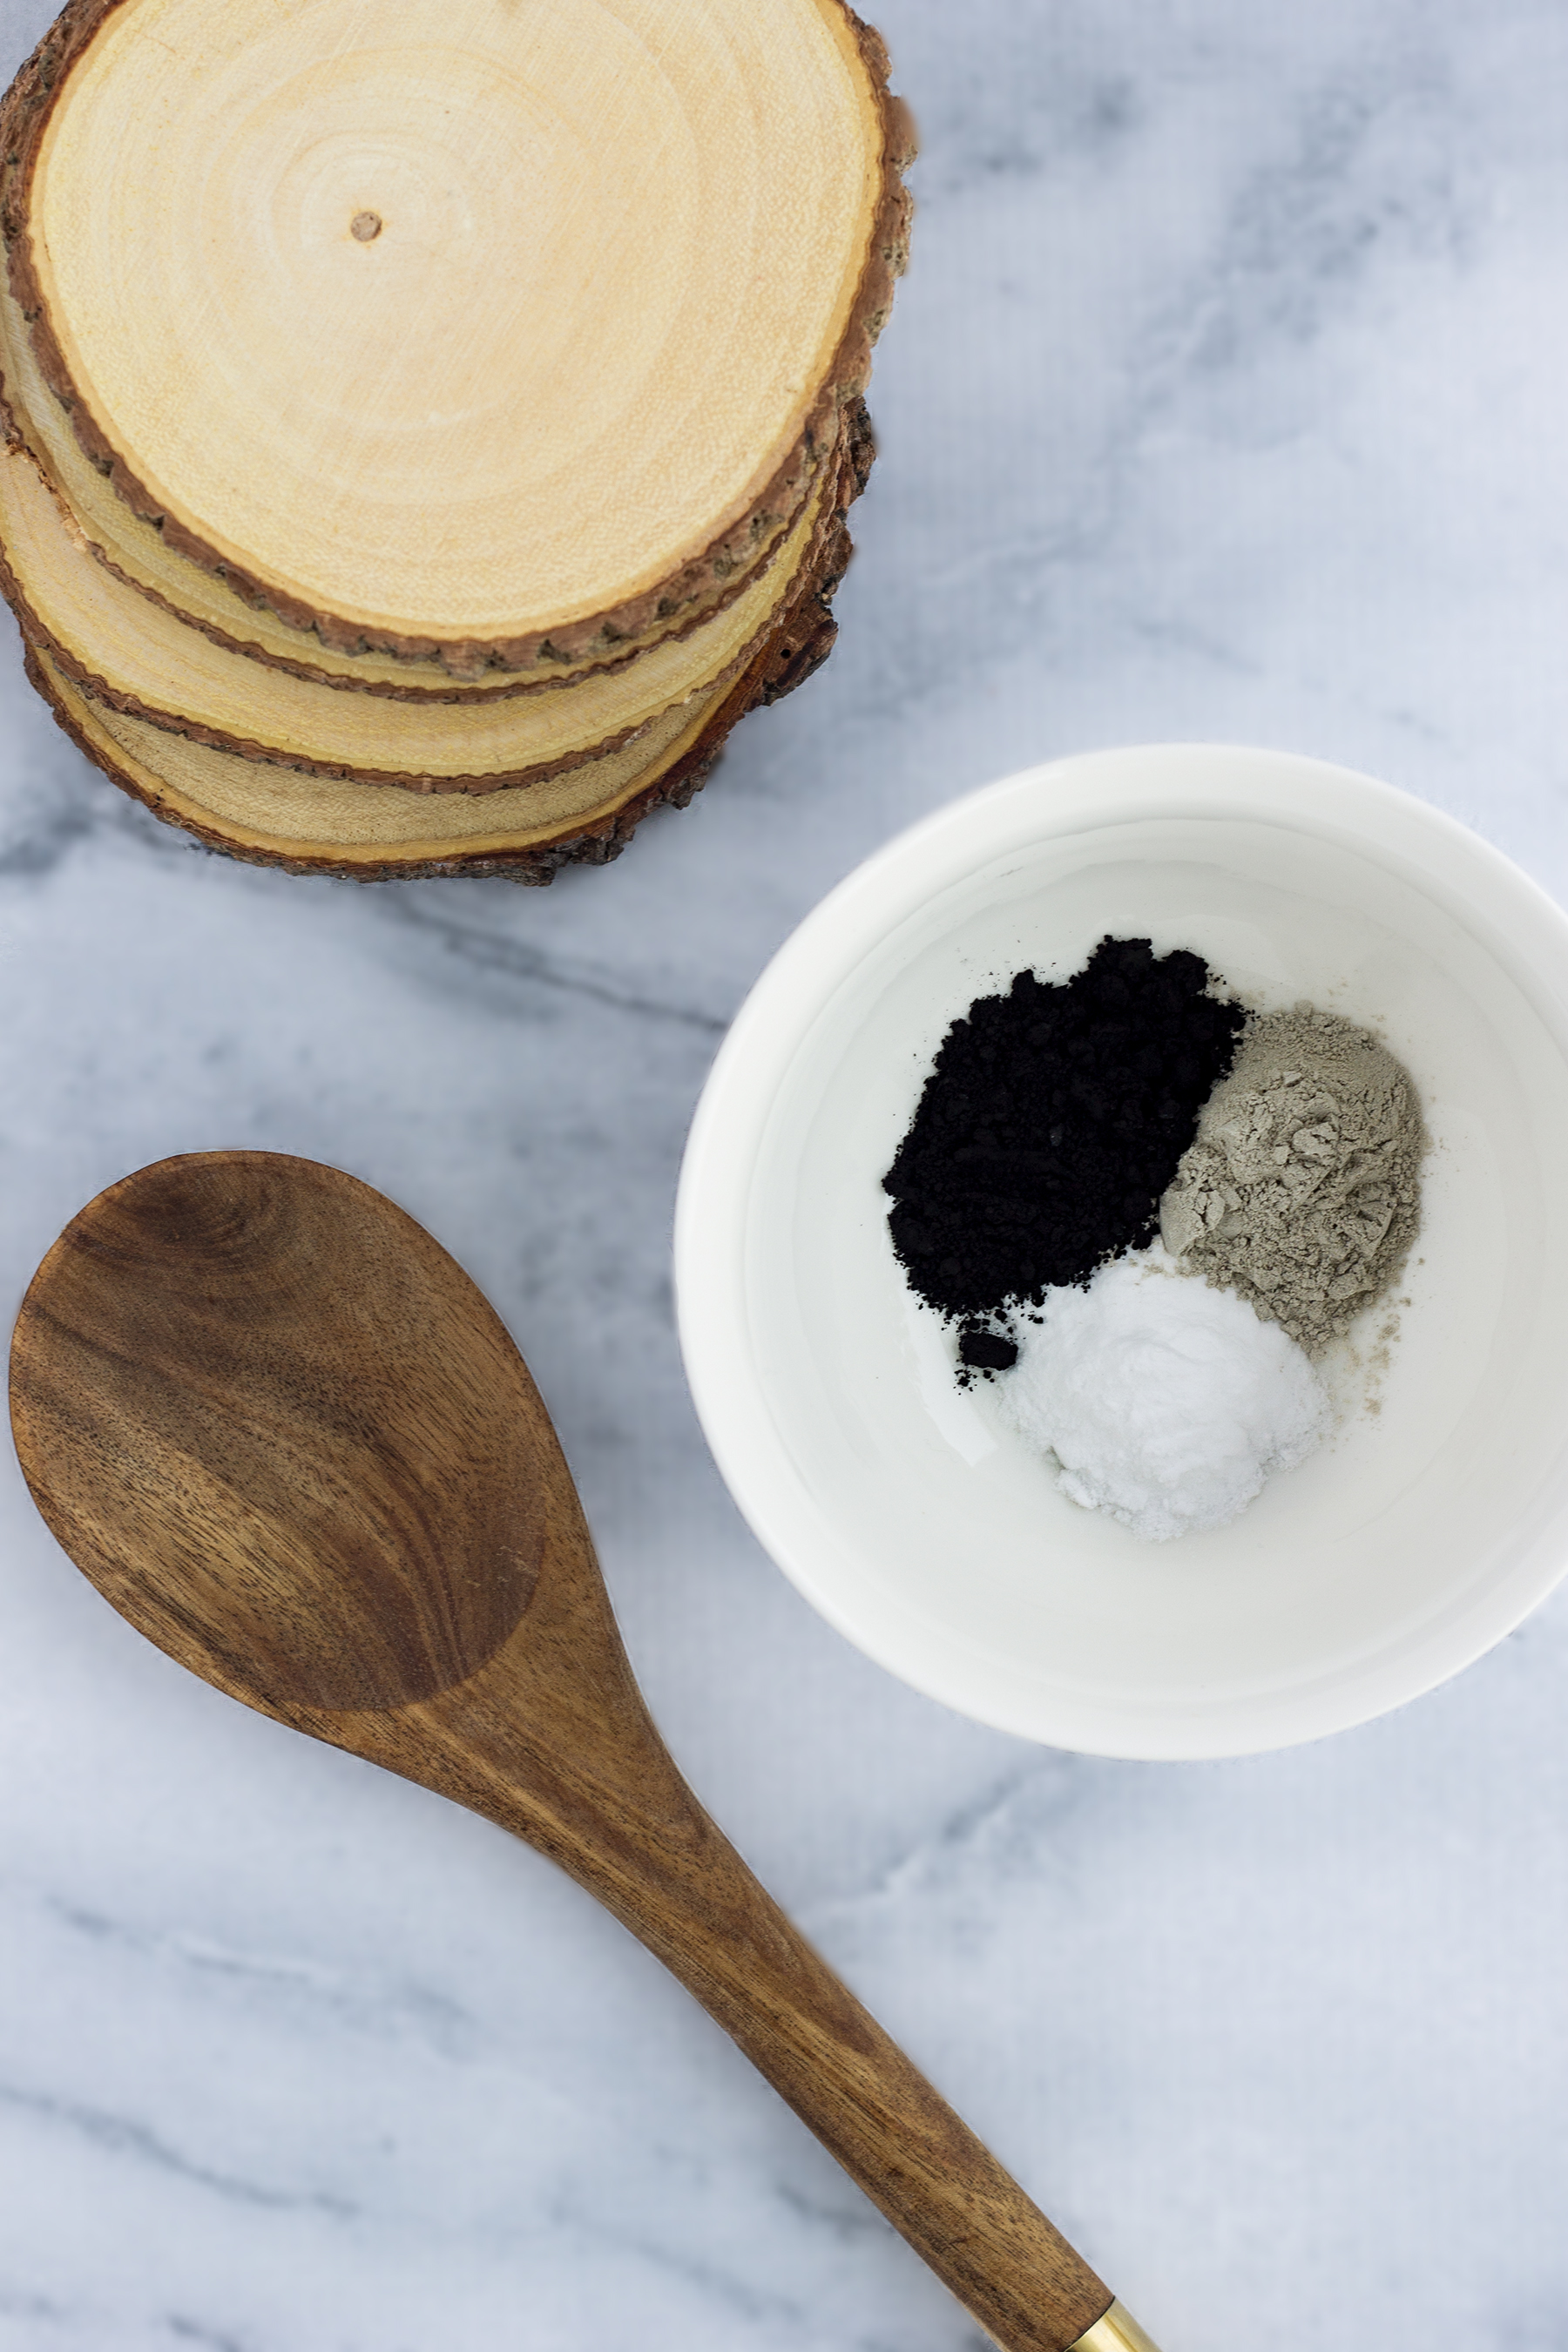
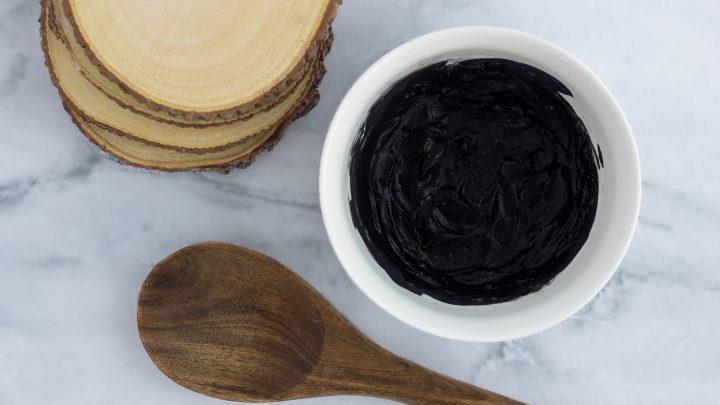
Place your activated charcoal, bentonite clay, and baking soda into a non-metal bowl and mix.
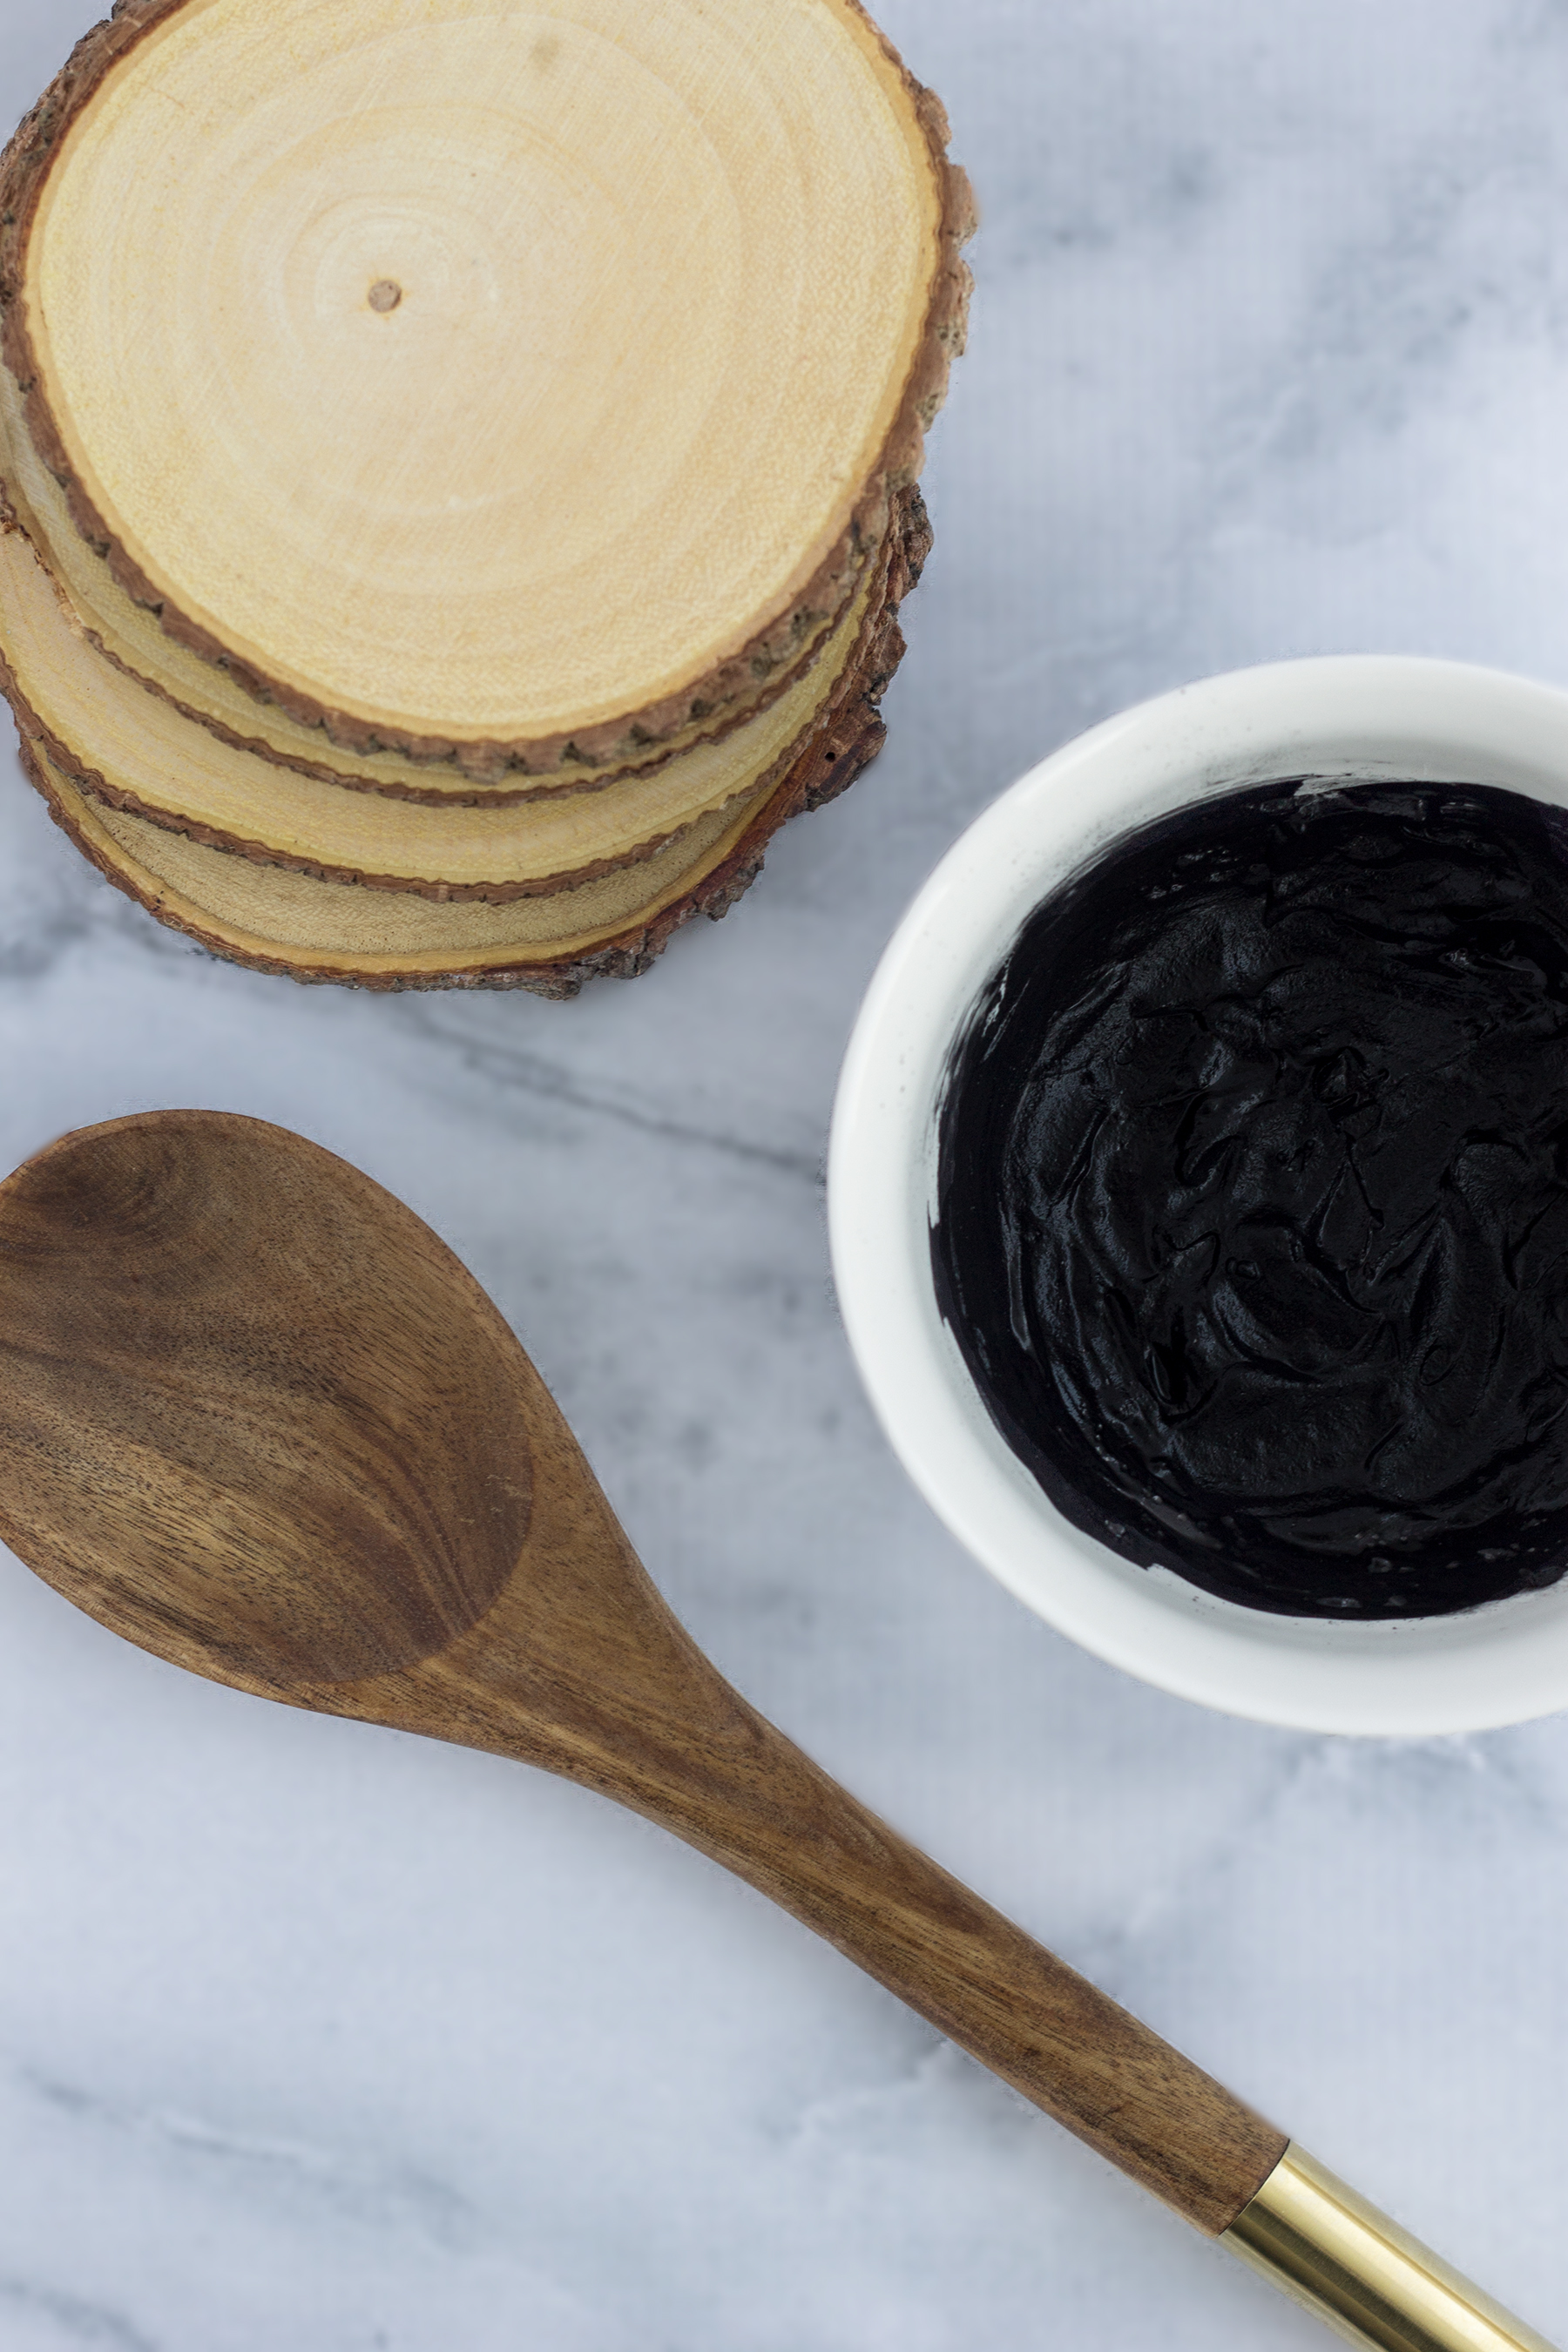
Using a non-metal spoon or whisk, add in several drops of water or witch hazel. Mix well until you form a paste.
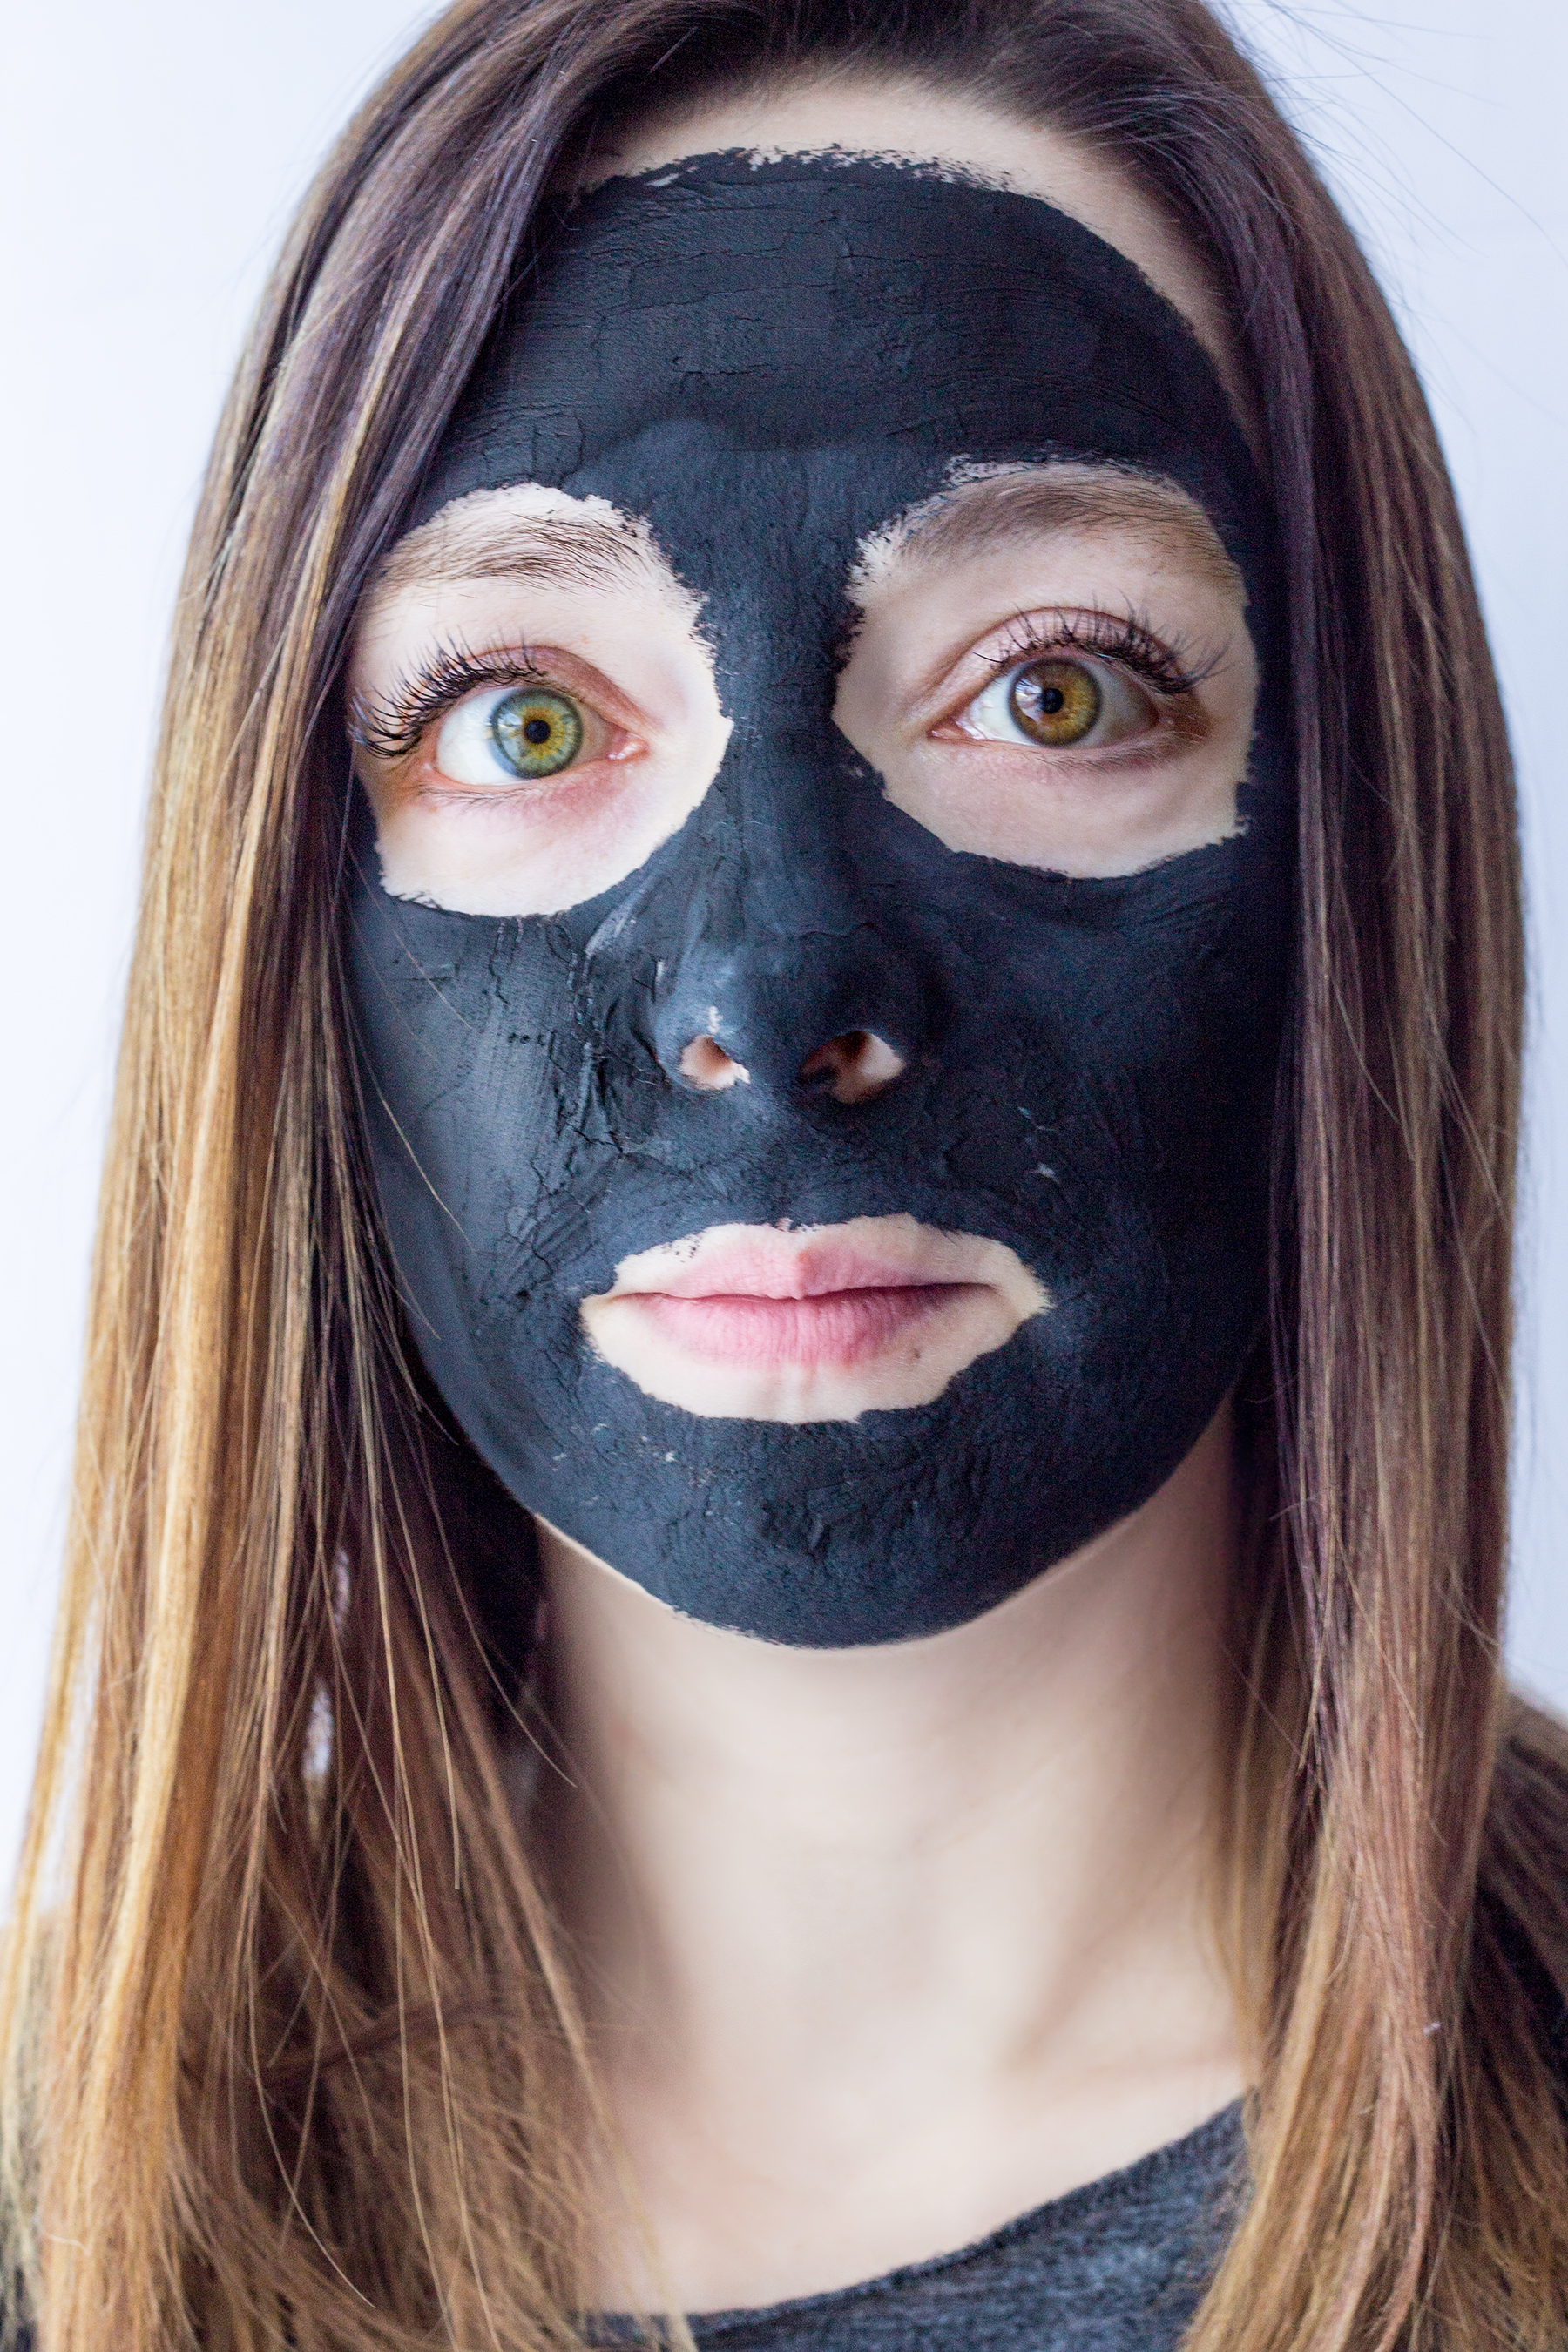
Apply your mask to your whole face or just on problem areas, avoiding the eyes. Let your mask dry and leave on for 10-15 minutes before washing off.

Sorry for the crappy after photo, my oldest was done helping take photos of me with my DSLR, so I had to take a selfie with my iPhone!
Your face may be a bit pink after your mask, but don’t worry, that is just because the Bentonite Clay increases blood flow. It will go away within 30 minutes or so.
Blackhead Face Mask Benefits
If you are wondering what the benefits to this DIY Blackhead Face Mask are, check them out below!
Activated Charcoal
- Draws out dirt
- Deep cleans
- Clears pores
- Shrinks pores
- Gentle exfoliation
- Balances oil
- Improves skin tone
- Tightens skin
Baking Soda
- Mild antiseptic
- Anti-inflamatory
- Opens pores
- Eliminates black heads
- Reduces acne
- Helps heal scars
- Smooths skin
- Brings the glow
Bentonite Clay
- Draws out dirt
- Absorbs toxins
- Clears pores
- Reduces appearances of scars
- Helps regenerate skin tissue
- Natural exfoliation
Witch Hazel (optional)
- 100% natural astringent
- cleanses
- soothes
- treats skin irritations
Where I Buy Bentonite Clay
It should come as no surprise that I get my Bentonite Clay on Amazon. I love the ease of online shopping and never have to worry about tracking down a product.
Two of my favourite brands on Amazon are Aztec Secret Indian Healing Clay, and Anjou Bentonite Clay.
Activated Charcoal Powder will pull toxins from metals so please ensure you do not use any metals to mix or measure your mask.
DIY Blackhead Face Mask
Instructions
- Add your dry powders into a glass mixing bowl and mix together.
- Slowly add in several drops of water or witch hazel, mixing with a non-metal spoon, until a paste forms.
- Apply your mask to your face, avoiding your eyes, and allow to dry.
- Leave your mask on for 10-15 minutes after it has dried. If you have non-sensitive skin you may leave it on longer if you wish.
- Wash your mask off using warm water and a disposable or dark cloth.
- Splash face with cold water to close your pores and pat dry.
Notes
Activated Charcoal Powder will pull toxins from metals so please ensure you do not use any metals to mix or measure your mask.
Your face will be pink, this is because the clay increases blood flow, it will go away within 30 minutes.
Check out my Beauty DIY section for masks, scrubs, bath bombs, and more!
- Williams Sonoma Canada Boxing Day Sale - December 26, 2025
- Warby Parker Boxing Day Sale - December 26, 2025
- Psycho Bunny Canada Boxing Day Sale - December 26, 2025


Leave a Reply