© Aimée Geroux | https://extremecouponingmom.ca
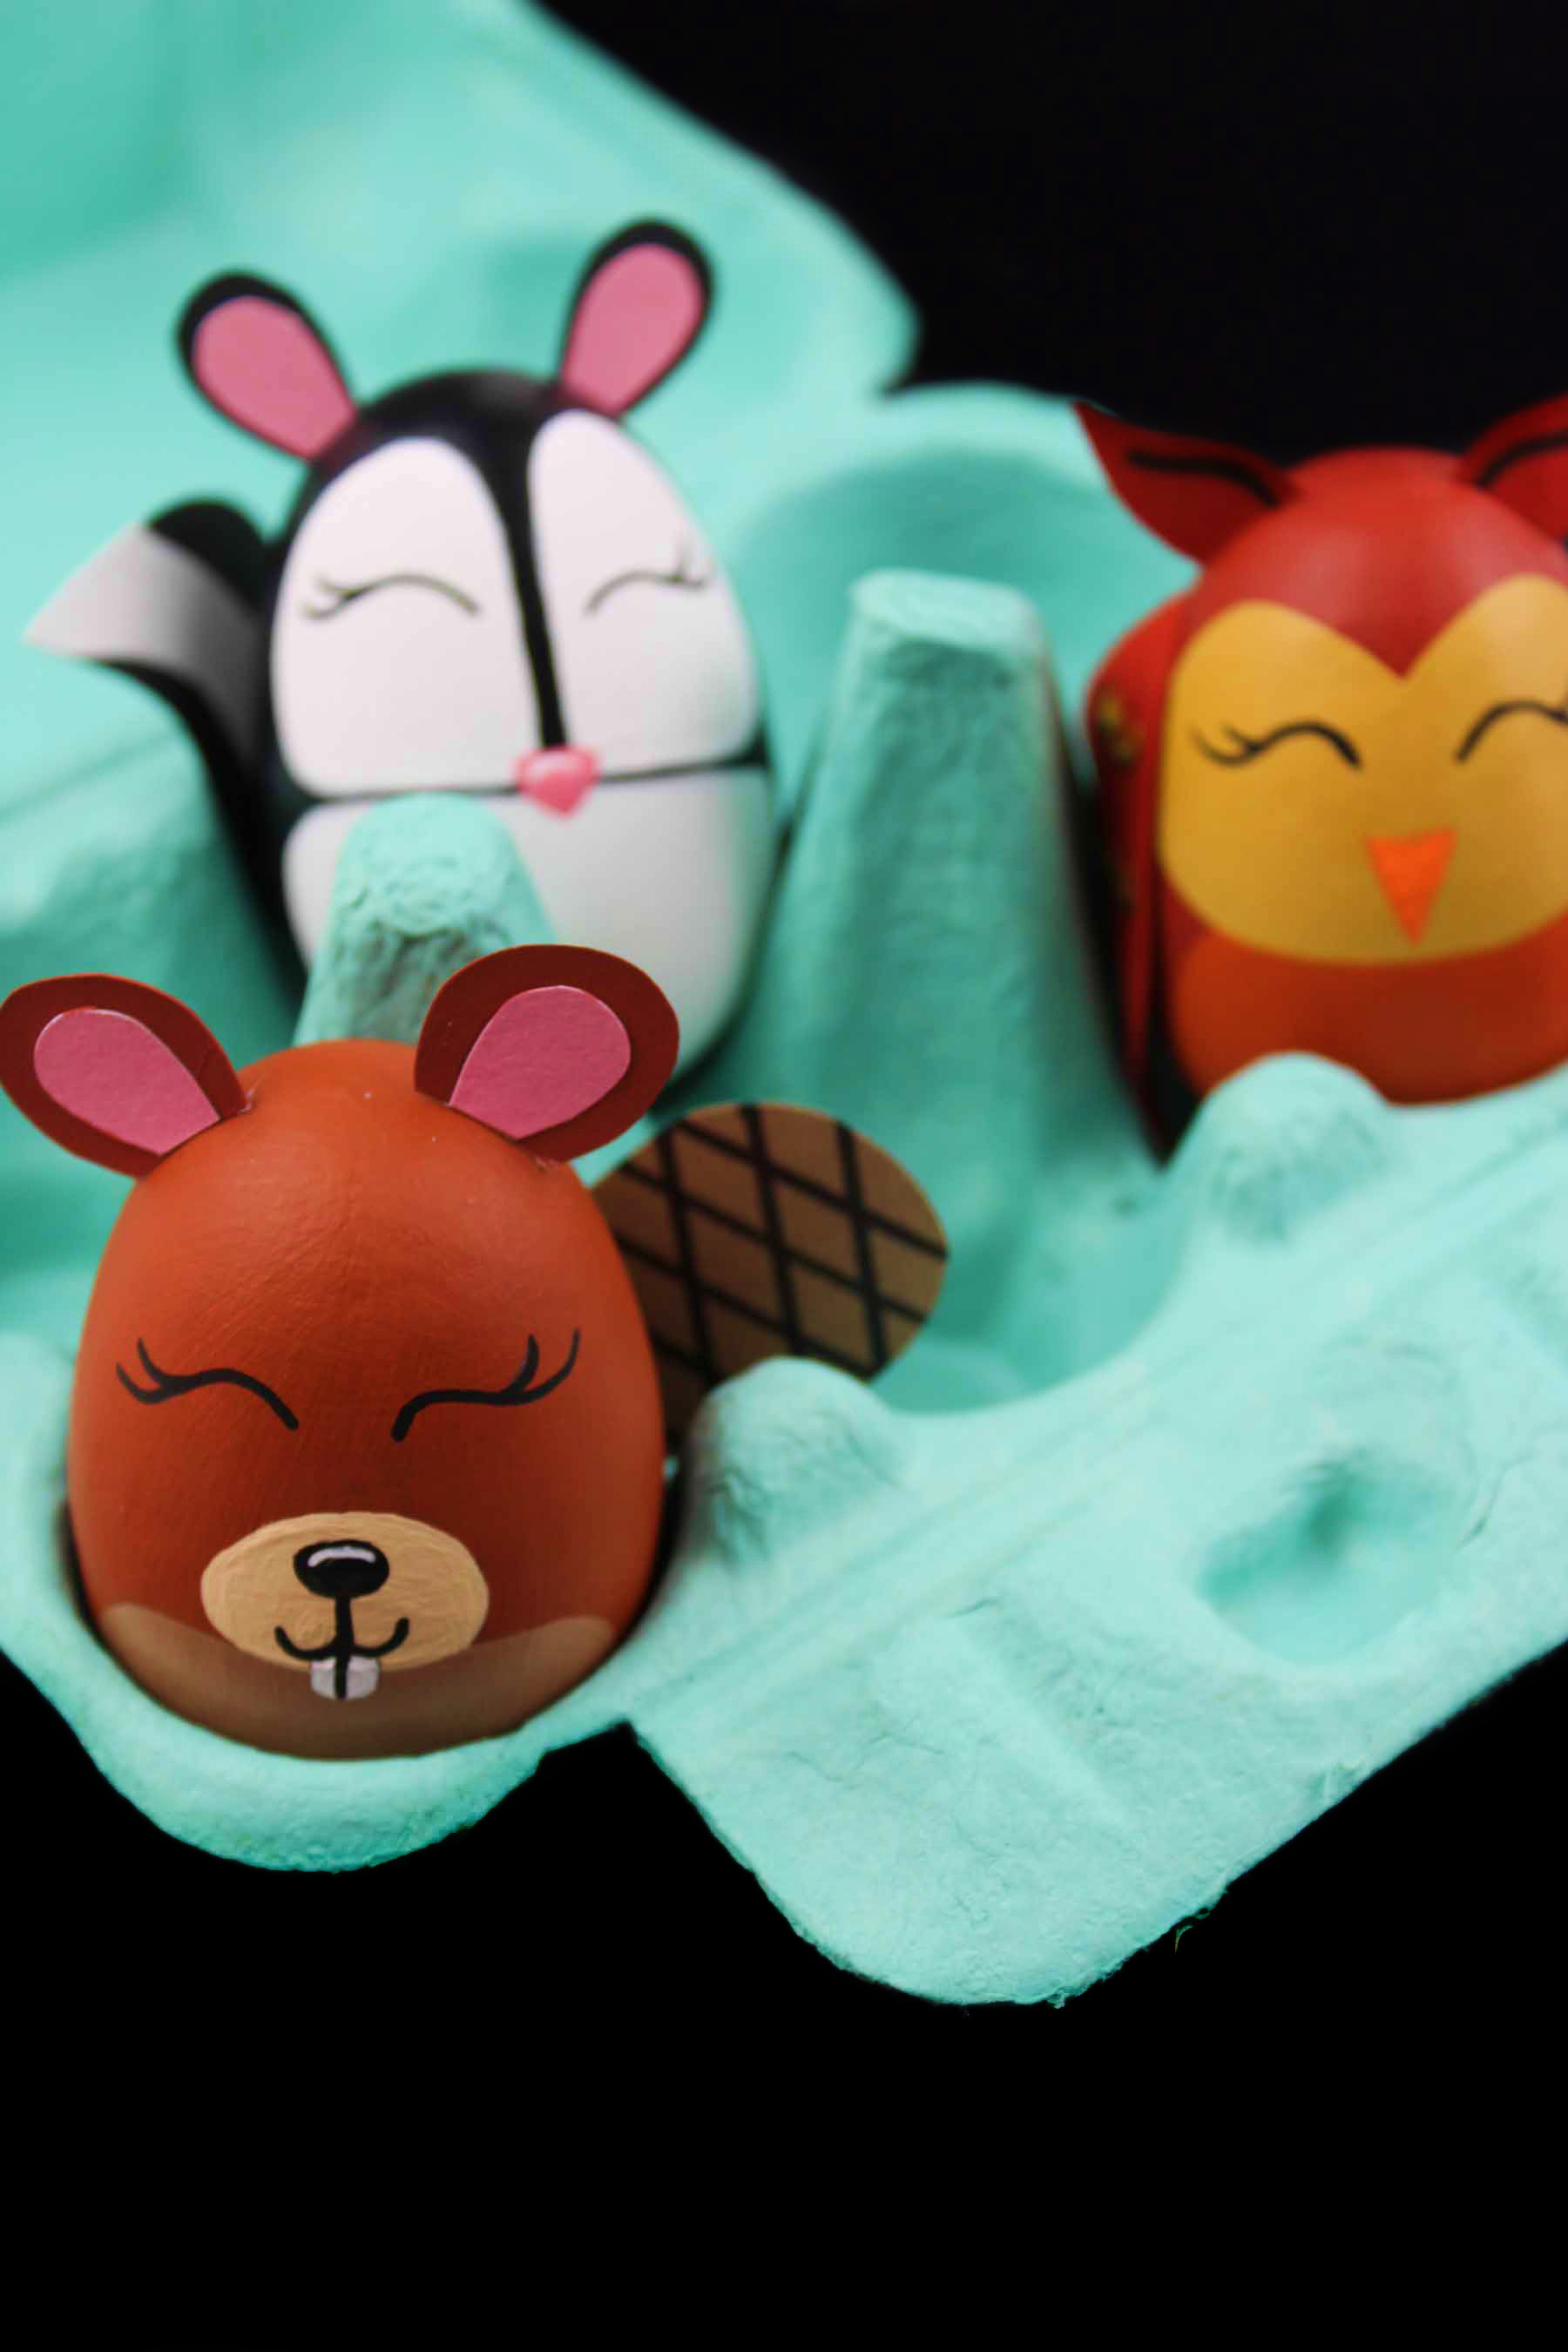
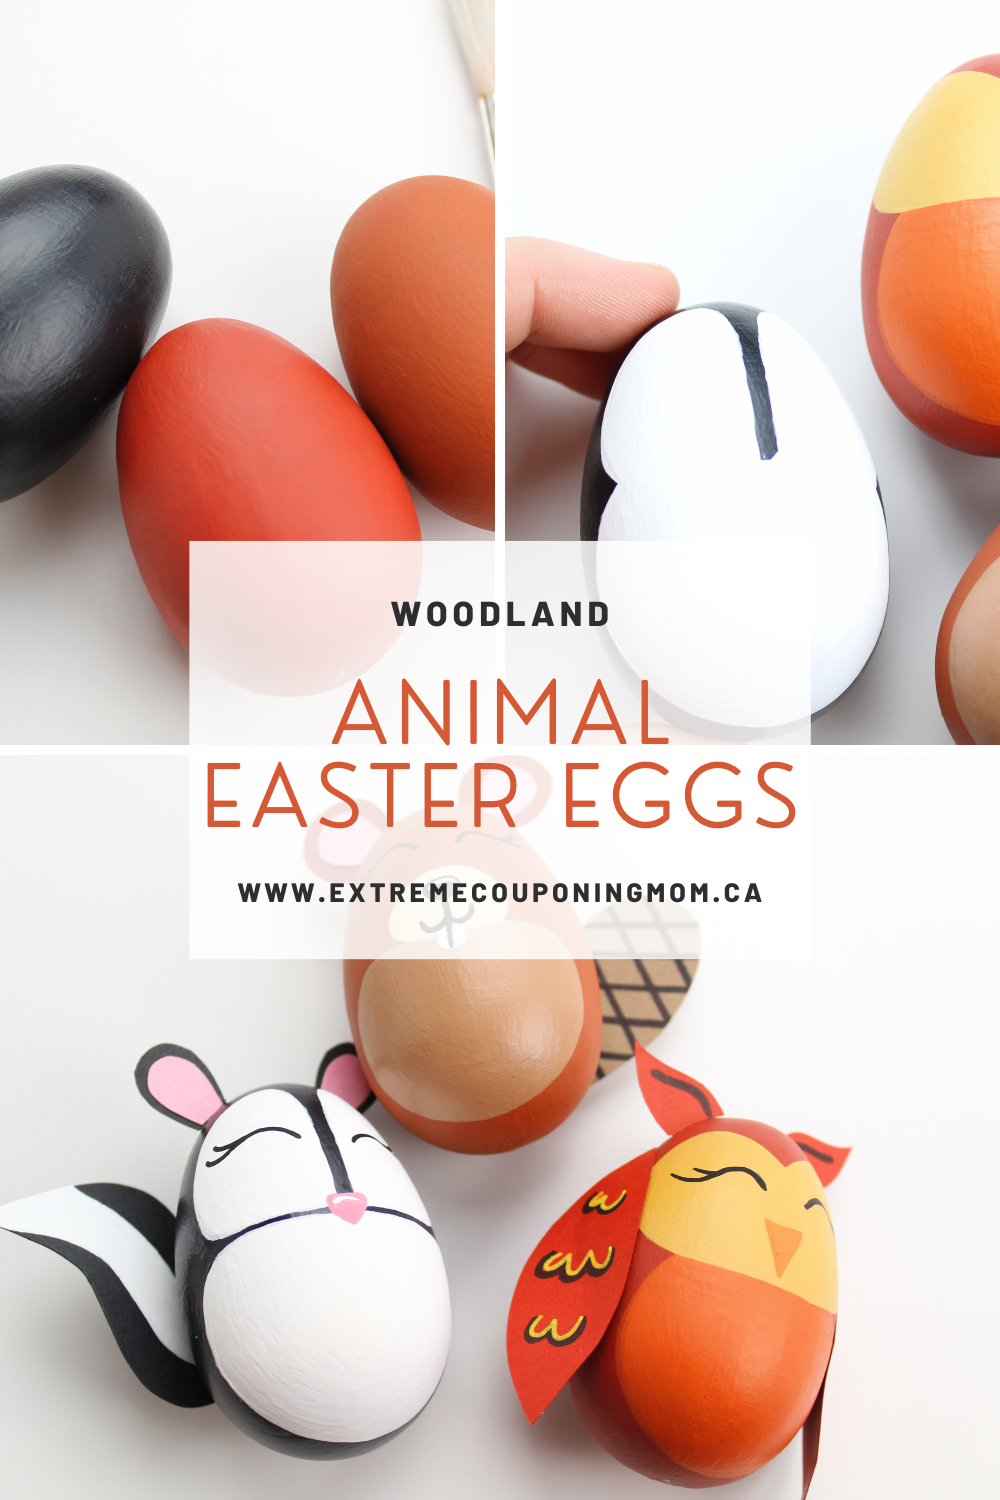
How cute are these Woodland Animal Easter Eggs?
Easter will be here before you know so why not start planning some fun Easter crafts with the kids.
© Aimée Geroux | https://extremecouponingmom.ca
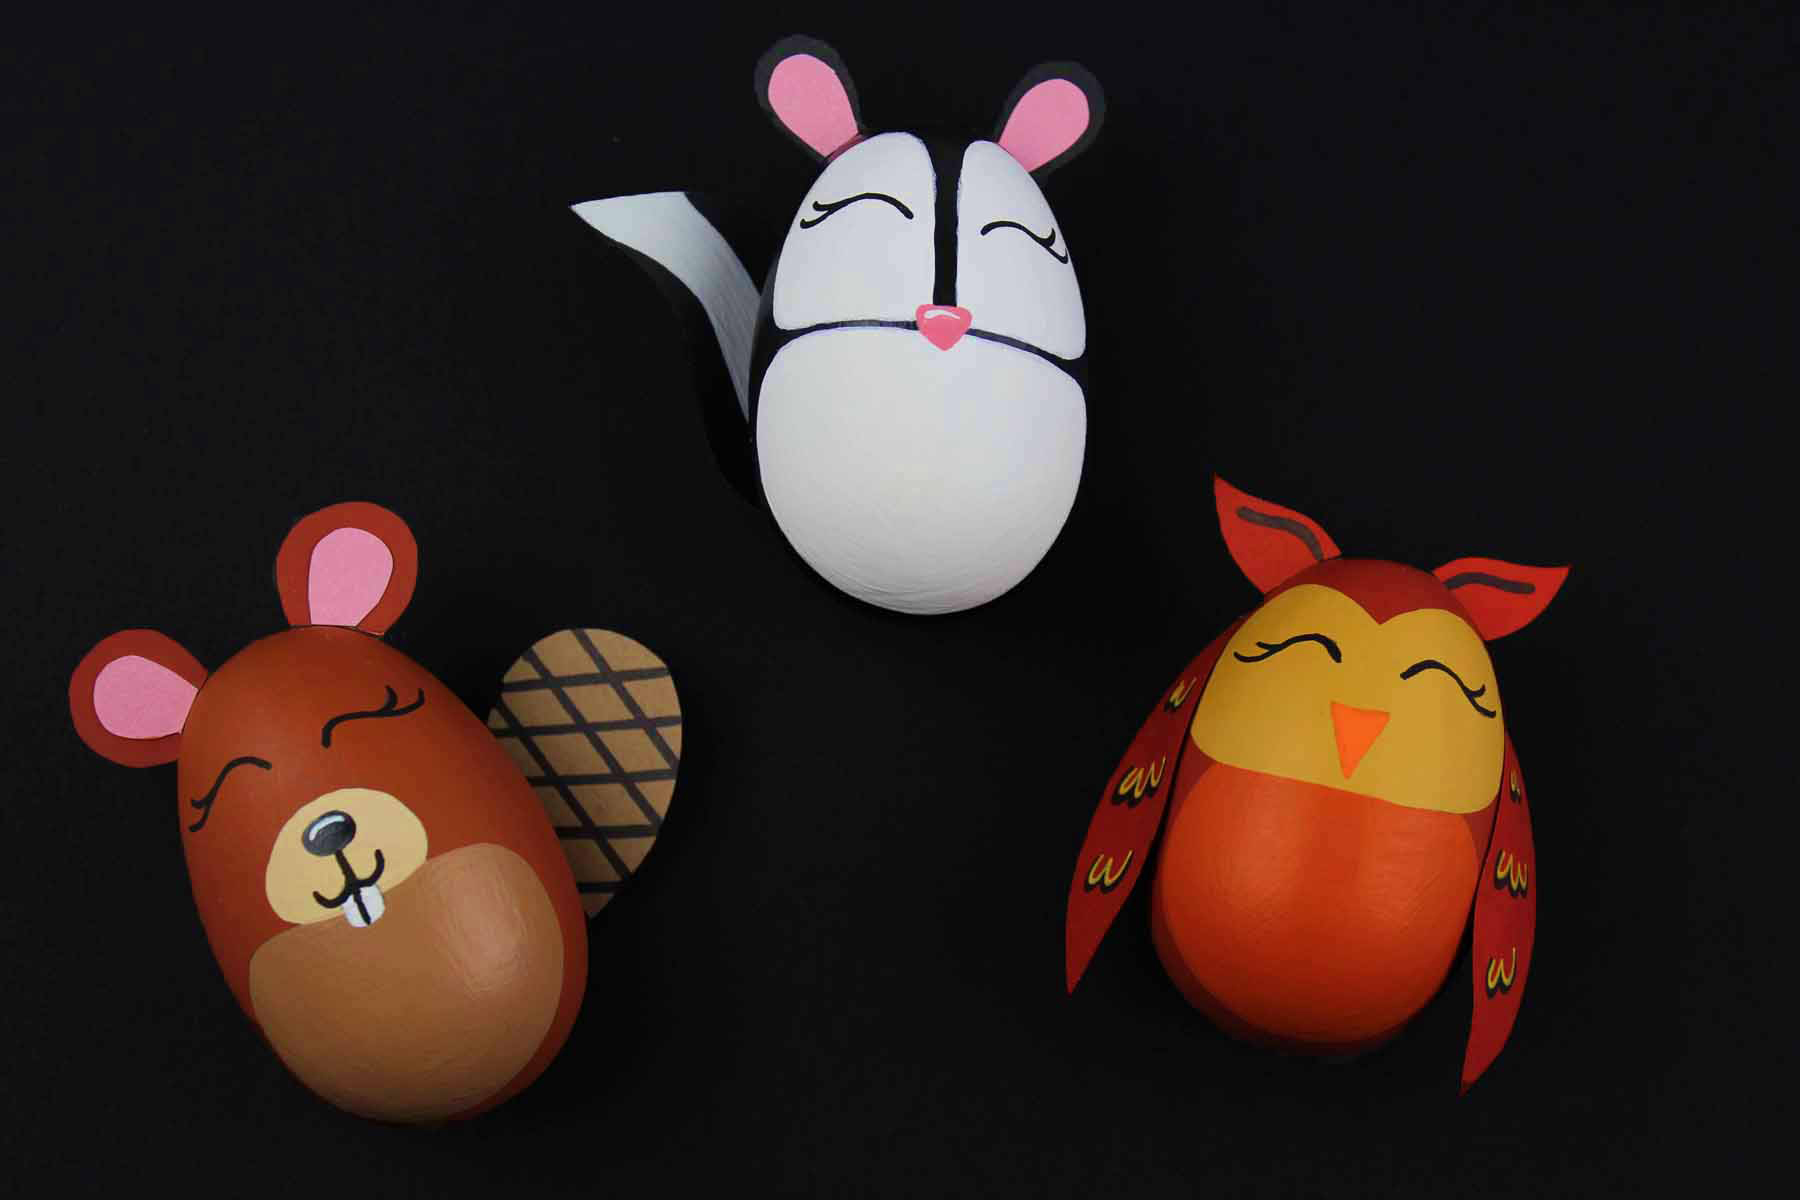
Woodland Animal Easter Eggs
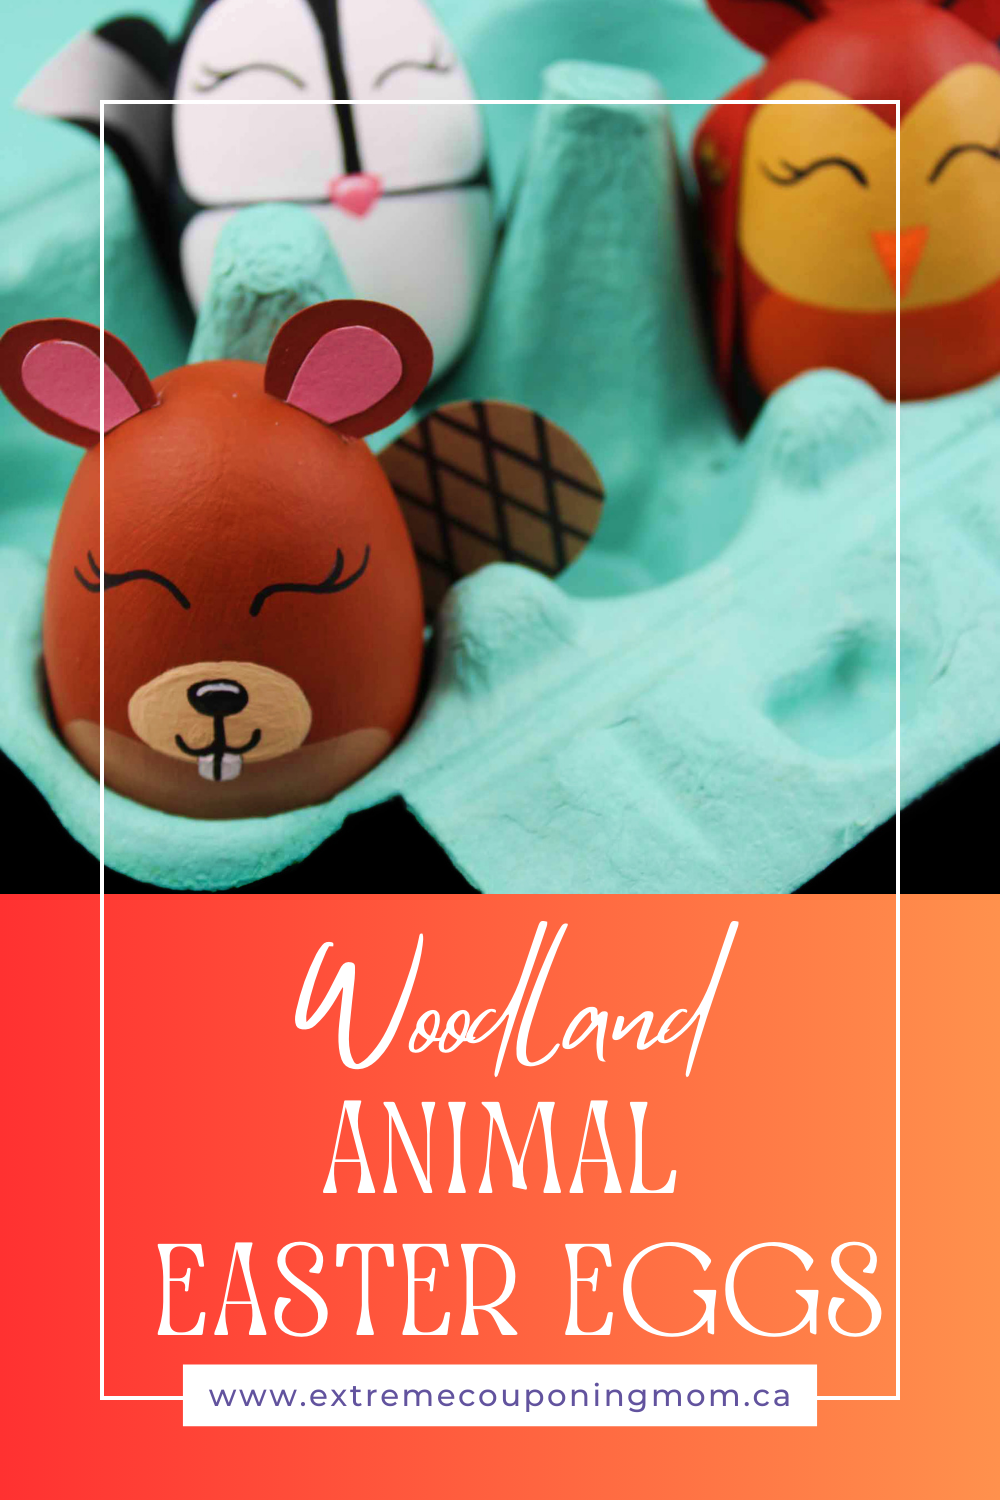
These Woodland Animal Easter Eggs are so cute and would make the perfect decoration for Easter!
Make some time on the weekend to get crafty with the kids for Easter.
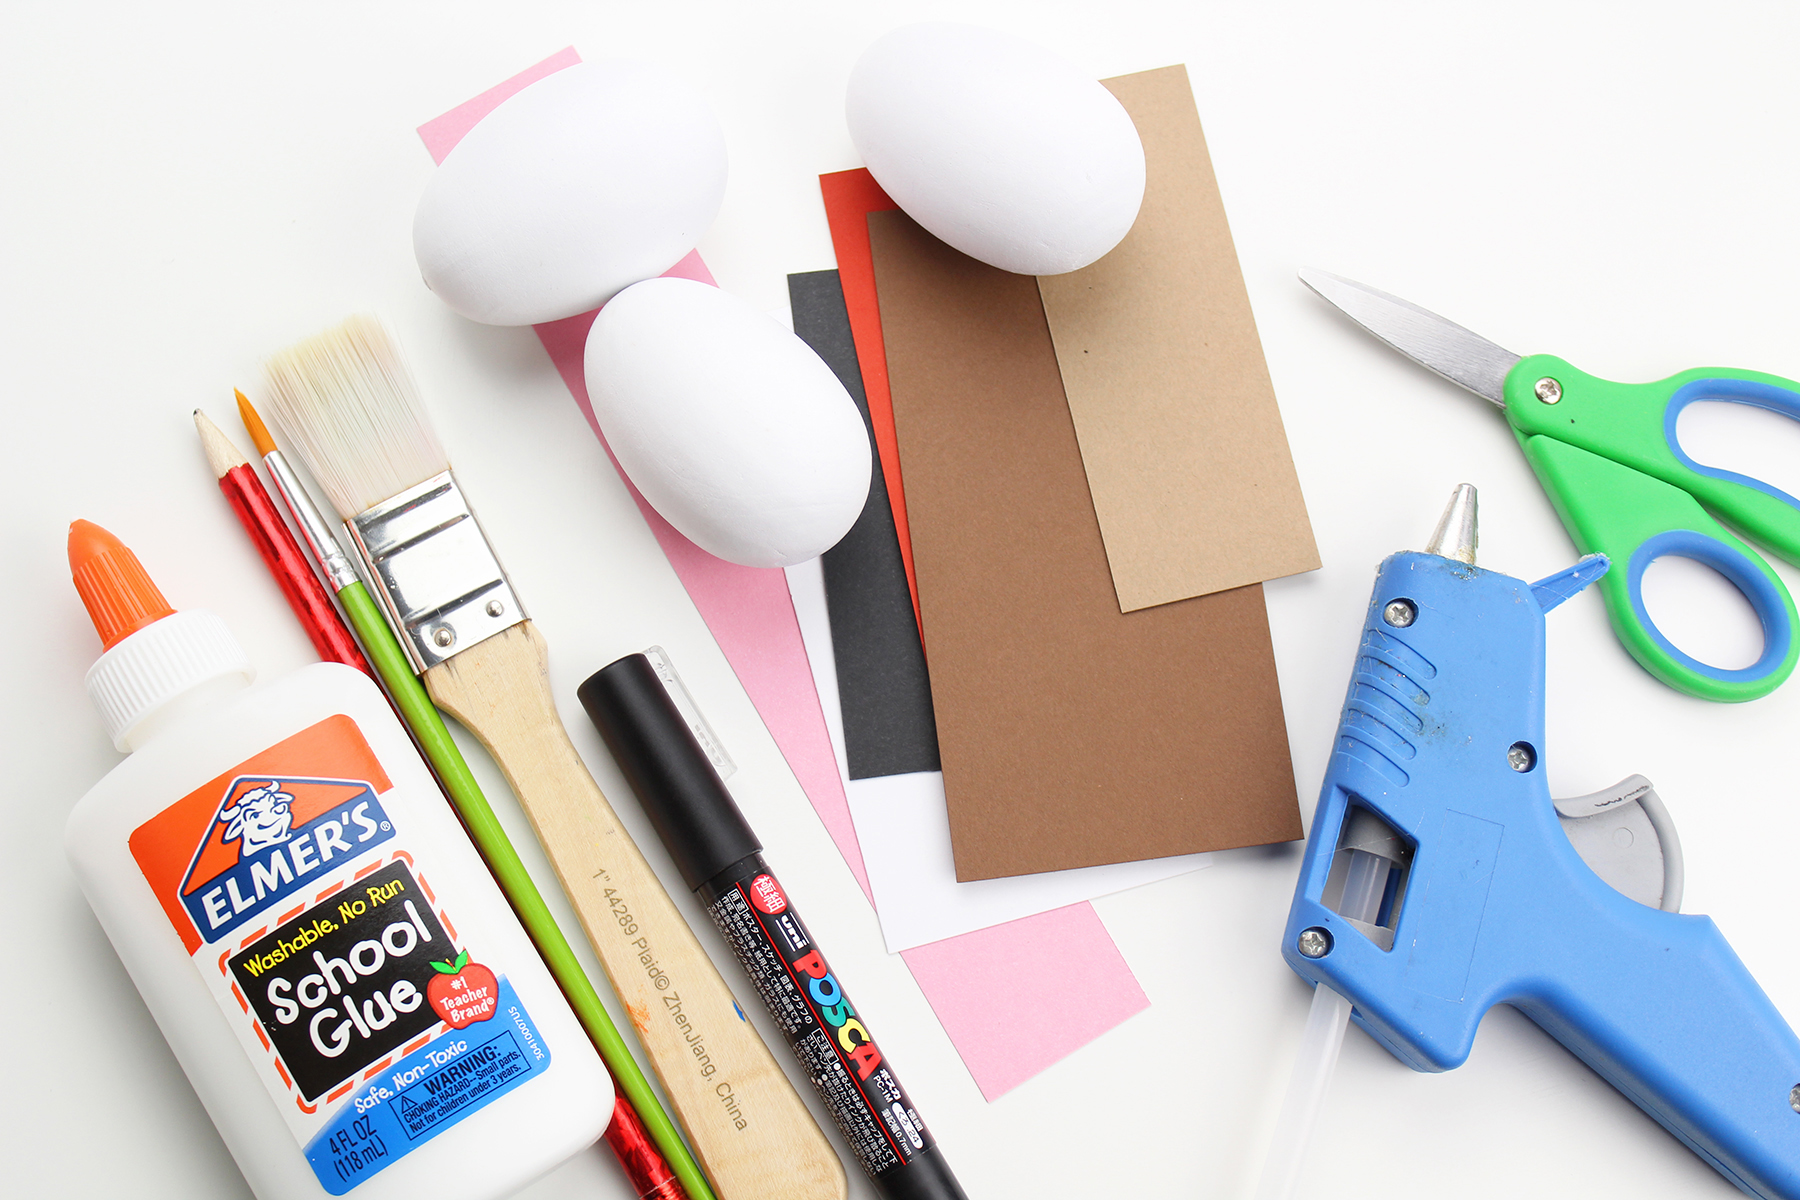
What You’ll Need:
- Wooden or Paper Mache Eggs
- Acrylic Paint
- Paintbrush
- Cardstock
- Glue
- Hot Glue
- Pencil
- Black Paint Pen or Permanent Marker
- Scissors
How To Make Some Woodland Animal Easter Eggs
Follow along with the step-by-step process photos below.
© Aimée Geroux | https://extremecouponingmom.ca
Gather all the supplies you will need.
© Aimée Geroux | https://extremecouponingmom.ca
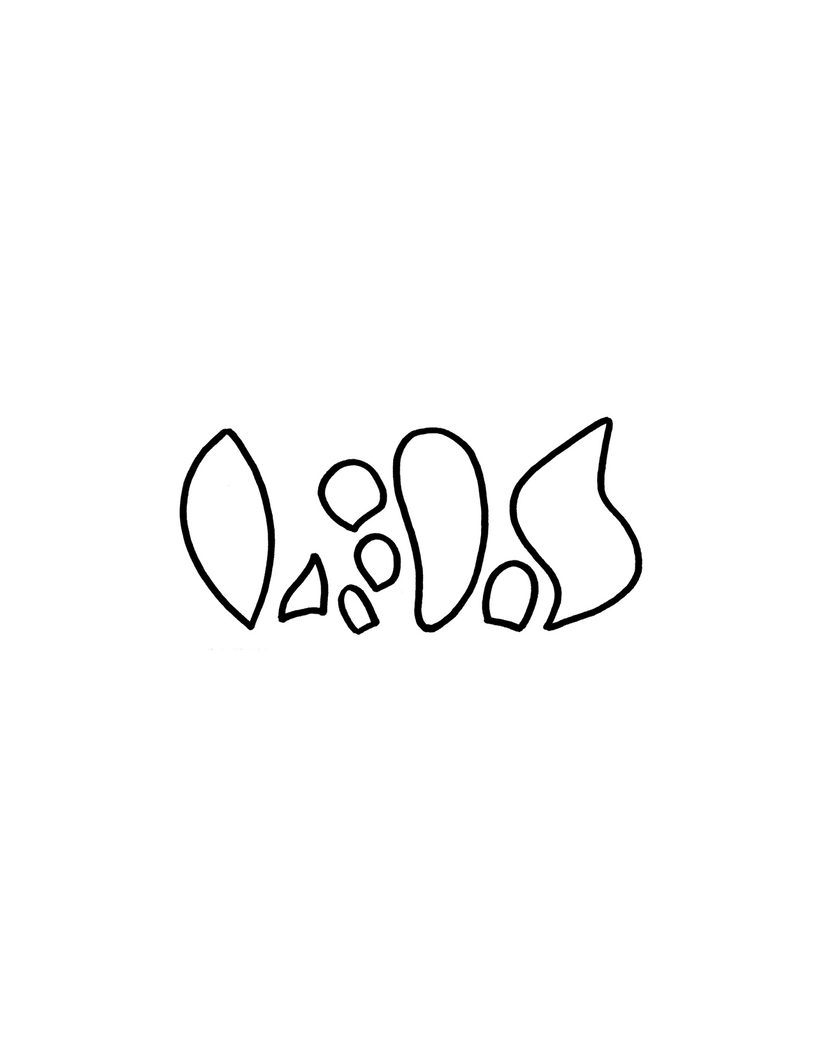
Download the template and print it out.
© Aimée Geroux | https://extremecouponingmom.ca
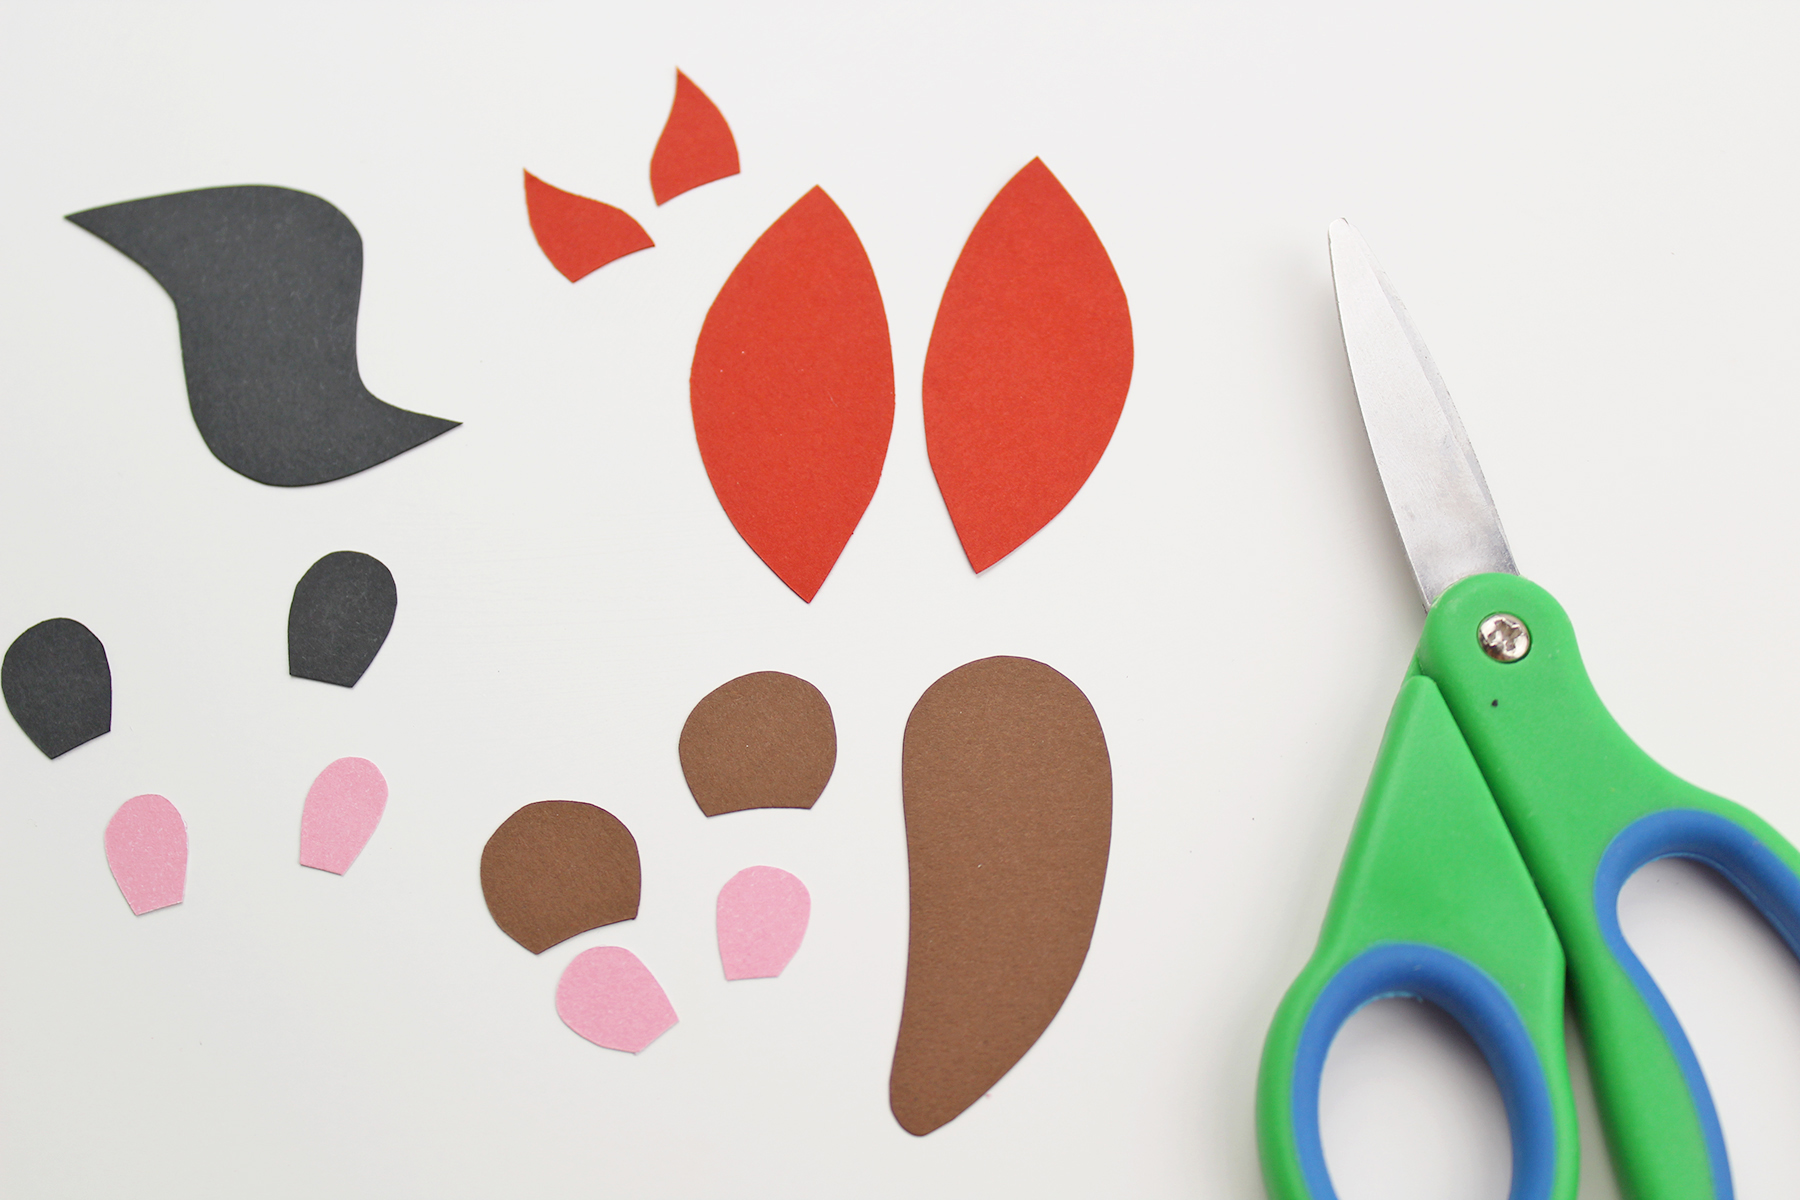
Cut the templates out, trace them onto your coloured cardstock and cut each piece out.
© Aimée Geroux | https://extremecouponingmom.ca
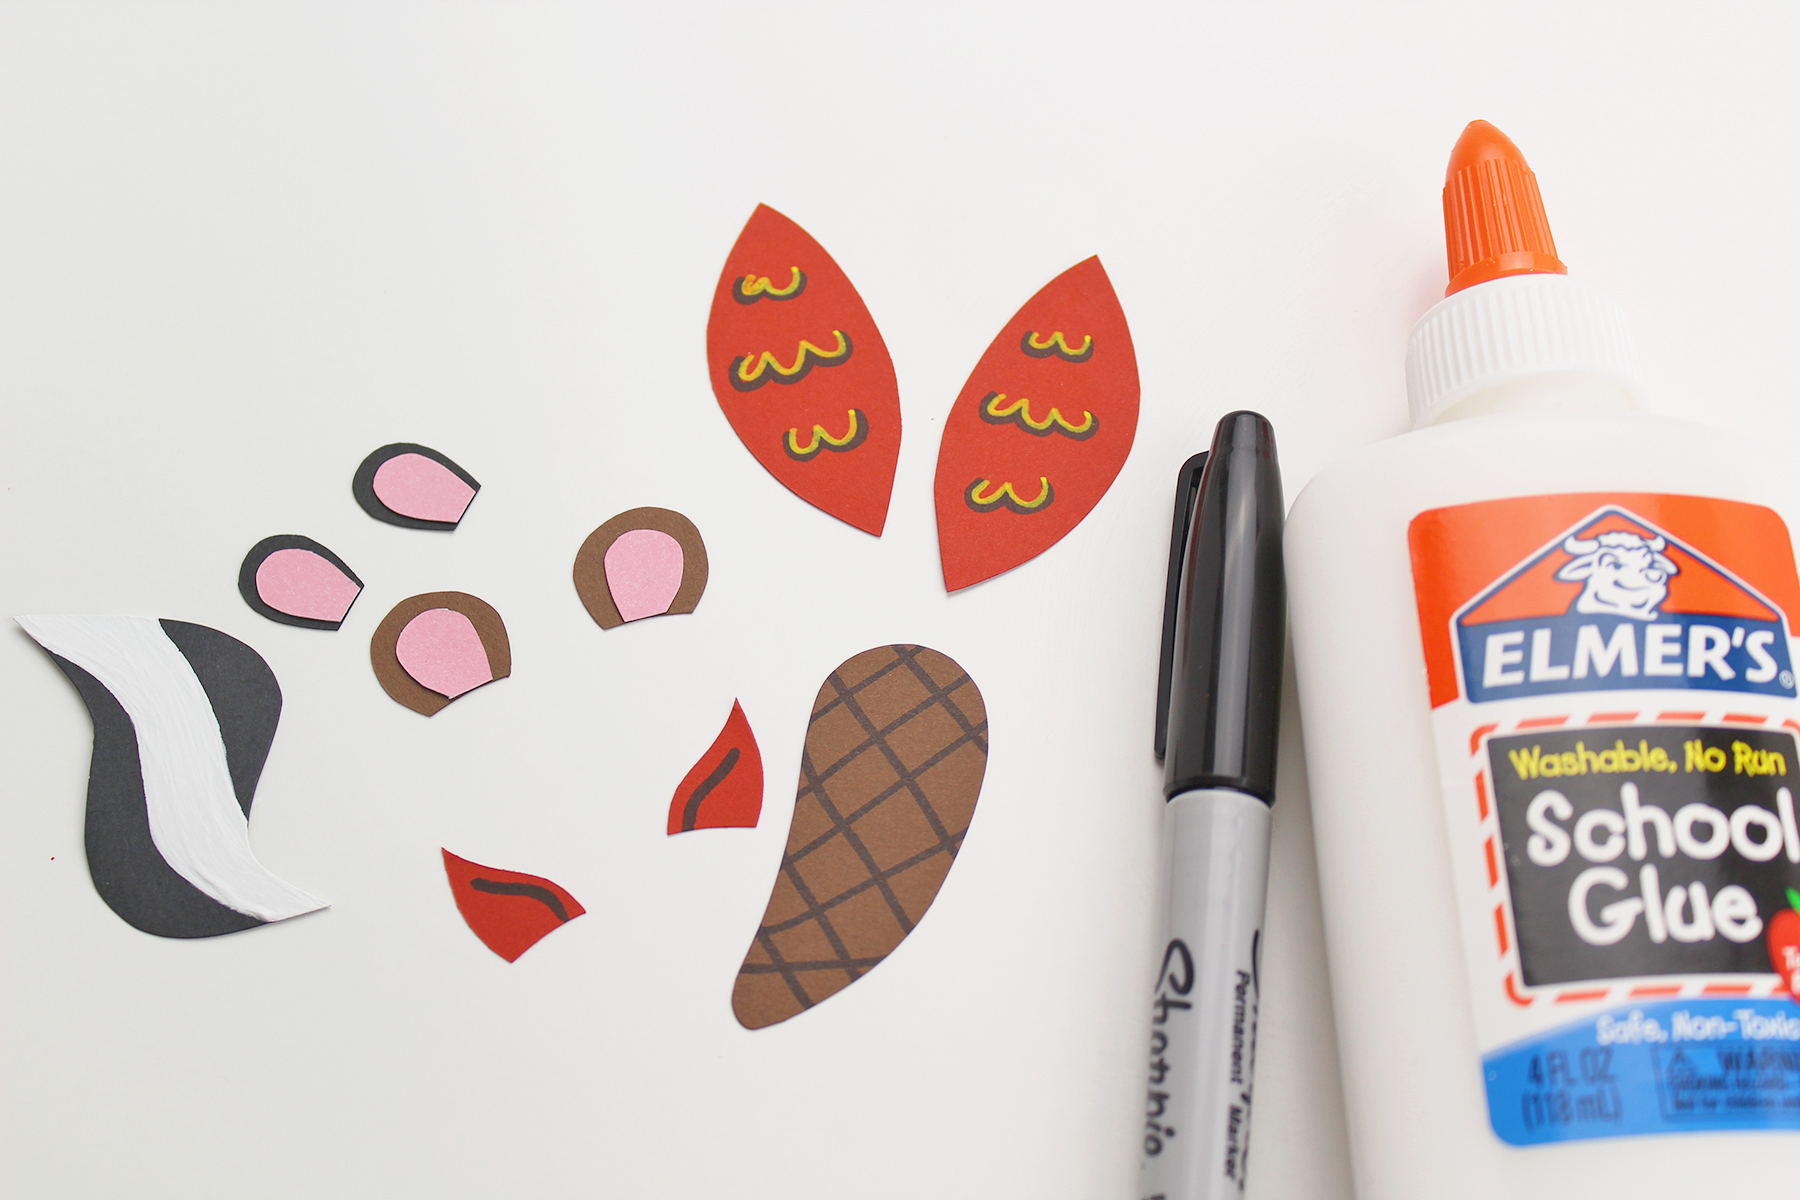
Glue the pieces of the ears together and set aside.
Paint a stripe down the skunk’s tail, draw lines on the beaver’s tail and draw wavy lines onto the owl’s wings. Set aside.
© Aimée Geroux | https://extremecouponingmom.ca
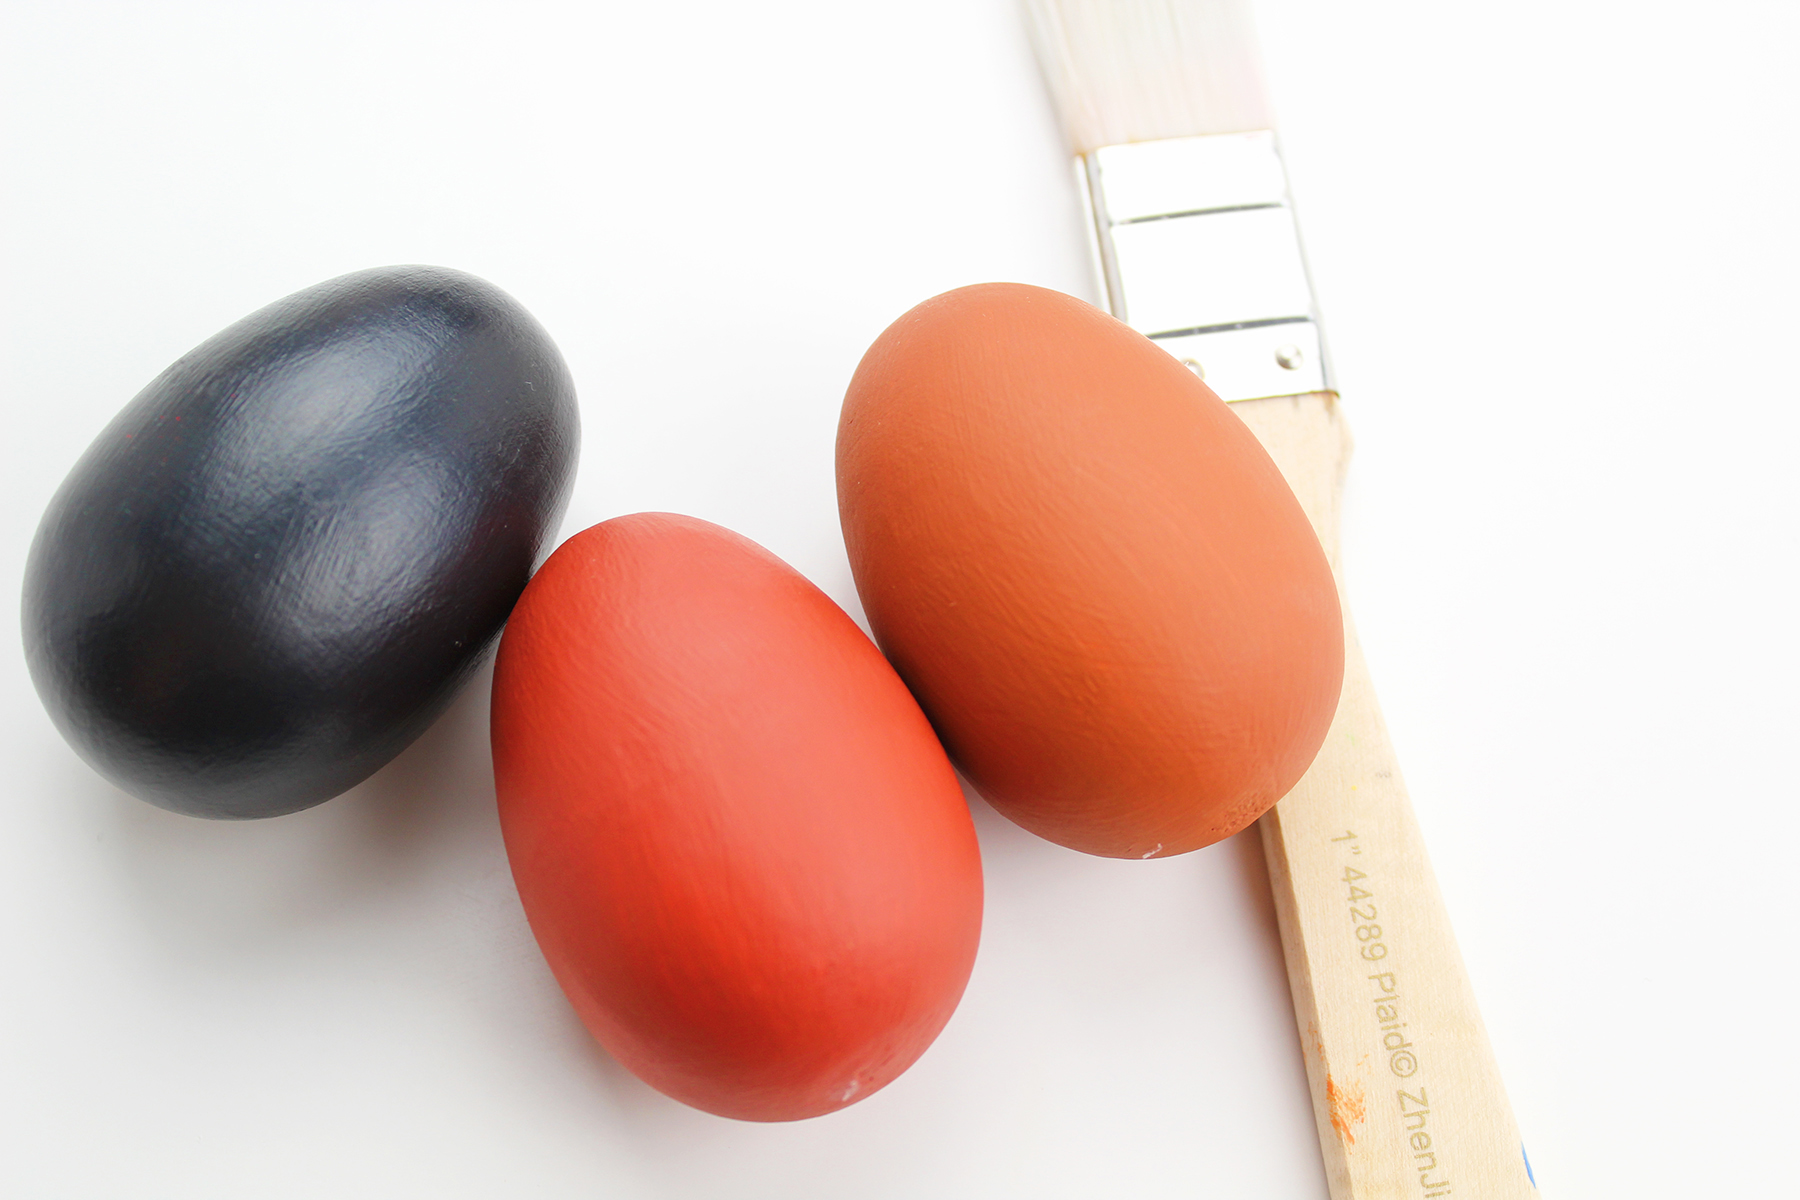
Paint the wooden eggs. You will need to give each egg 2-3 coats of paint. Allow the paint to dry completely.
© Aimée Geroux | https://extremecouponingmom.ca
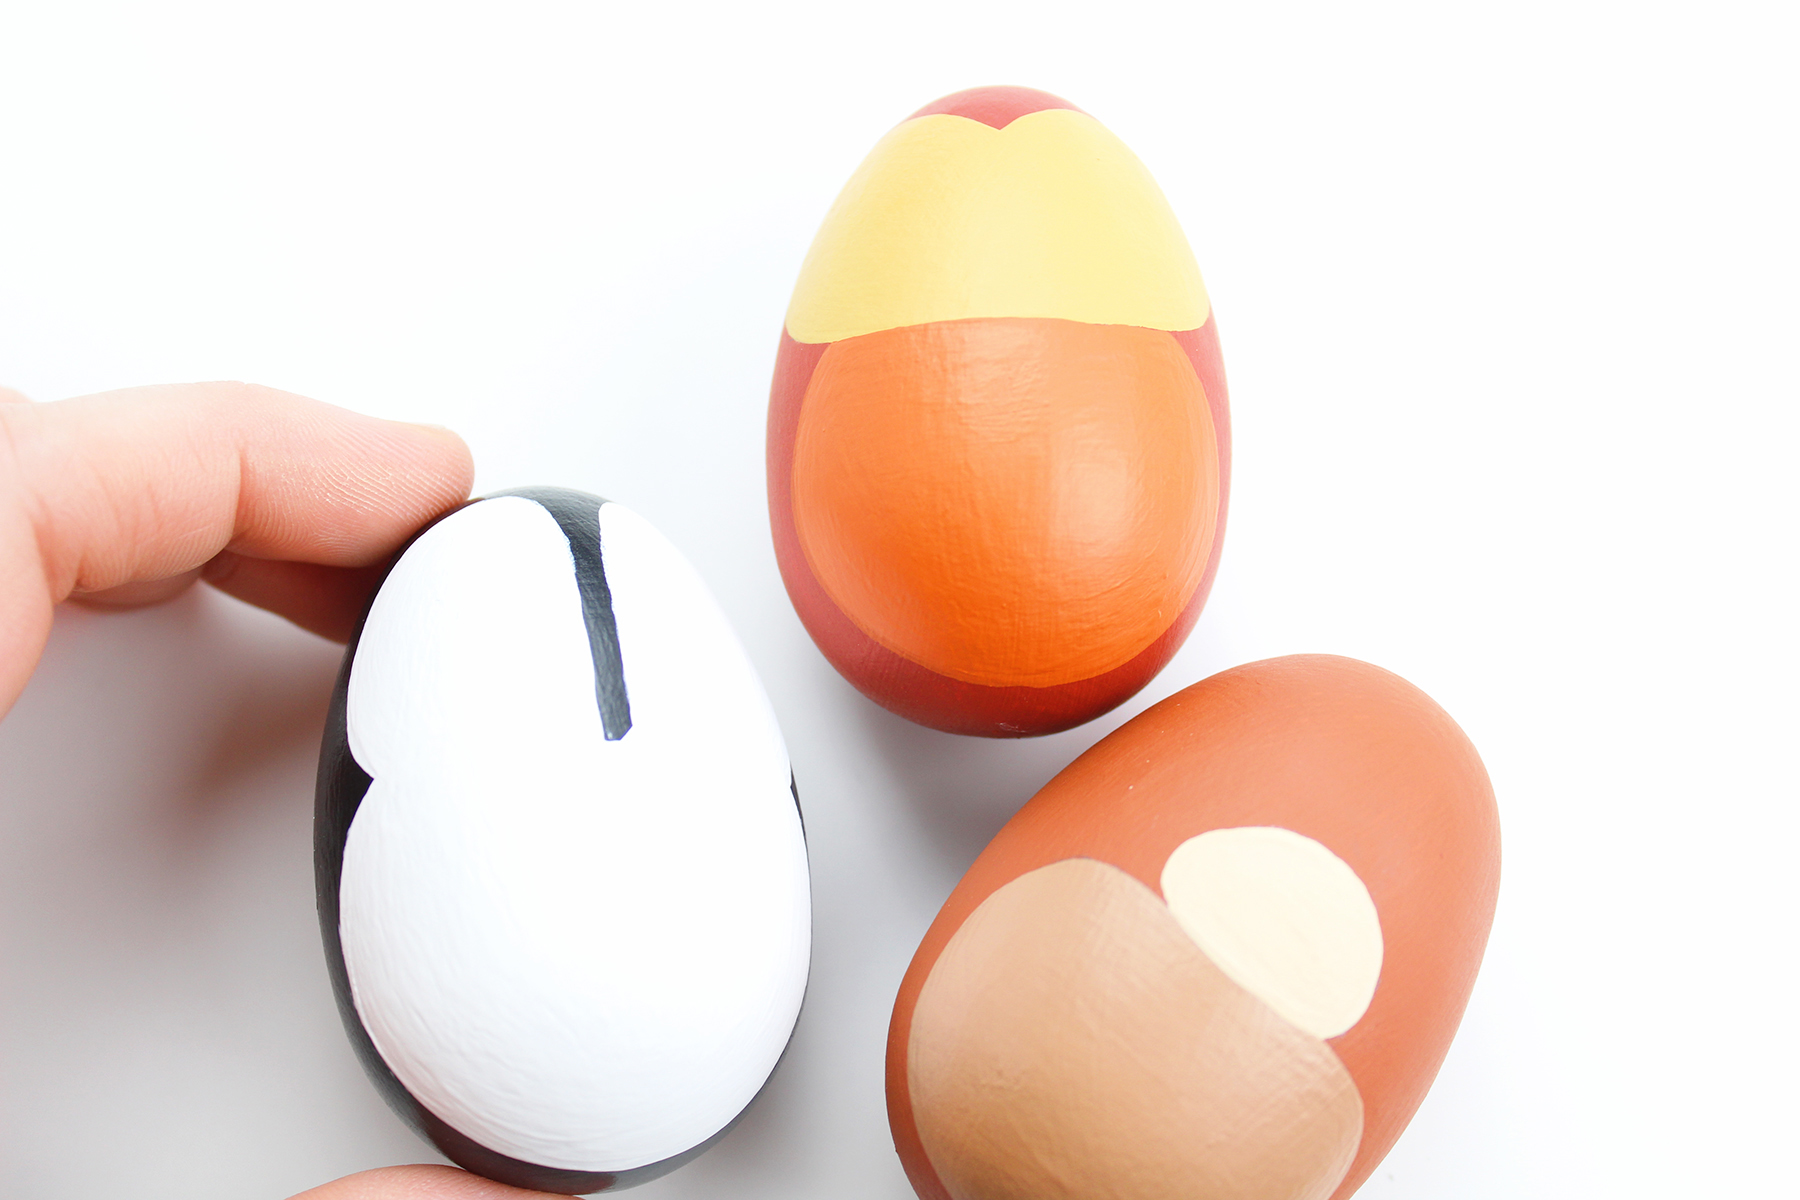
Next, paint a face and stomach onto each egg.
This will require 1-2 coats of paint.
Allow the paint to dry completely.
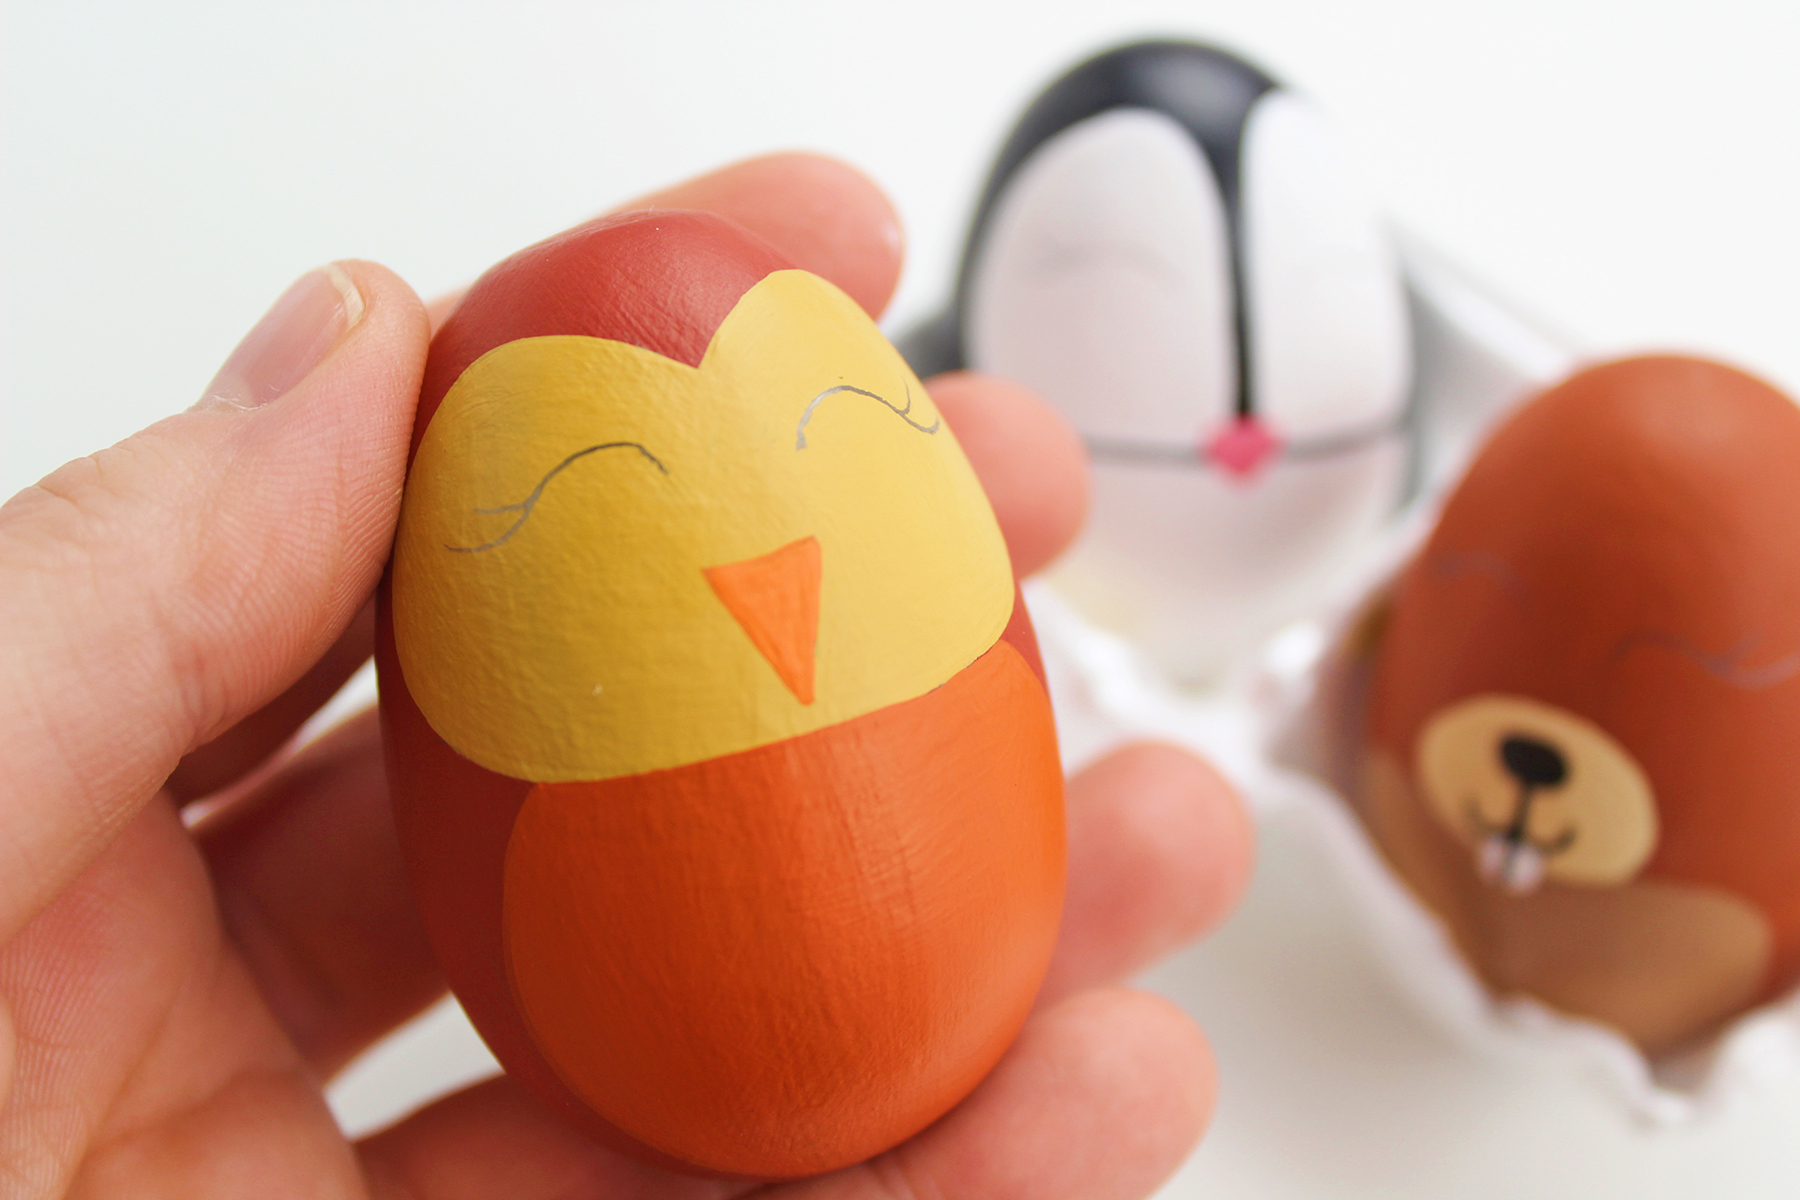
© Aimée Geroux | https://extremecouponingmom.ca
Paint a nose/beak onto each of the eggs.
Paint a white line on top of each nose to give it dimension.
Next, paint a small set of teeth onto the beaver and use a black paint pen or permanent marker to draw a line down the middle of the teeth.
Use a pencil to draw eyes and a mouth onto the eggs.
When you are satisfied with how the eyes and mouths look, trace over them with a black paint pen or permanent marker.
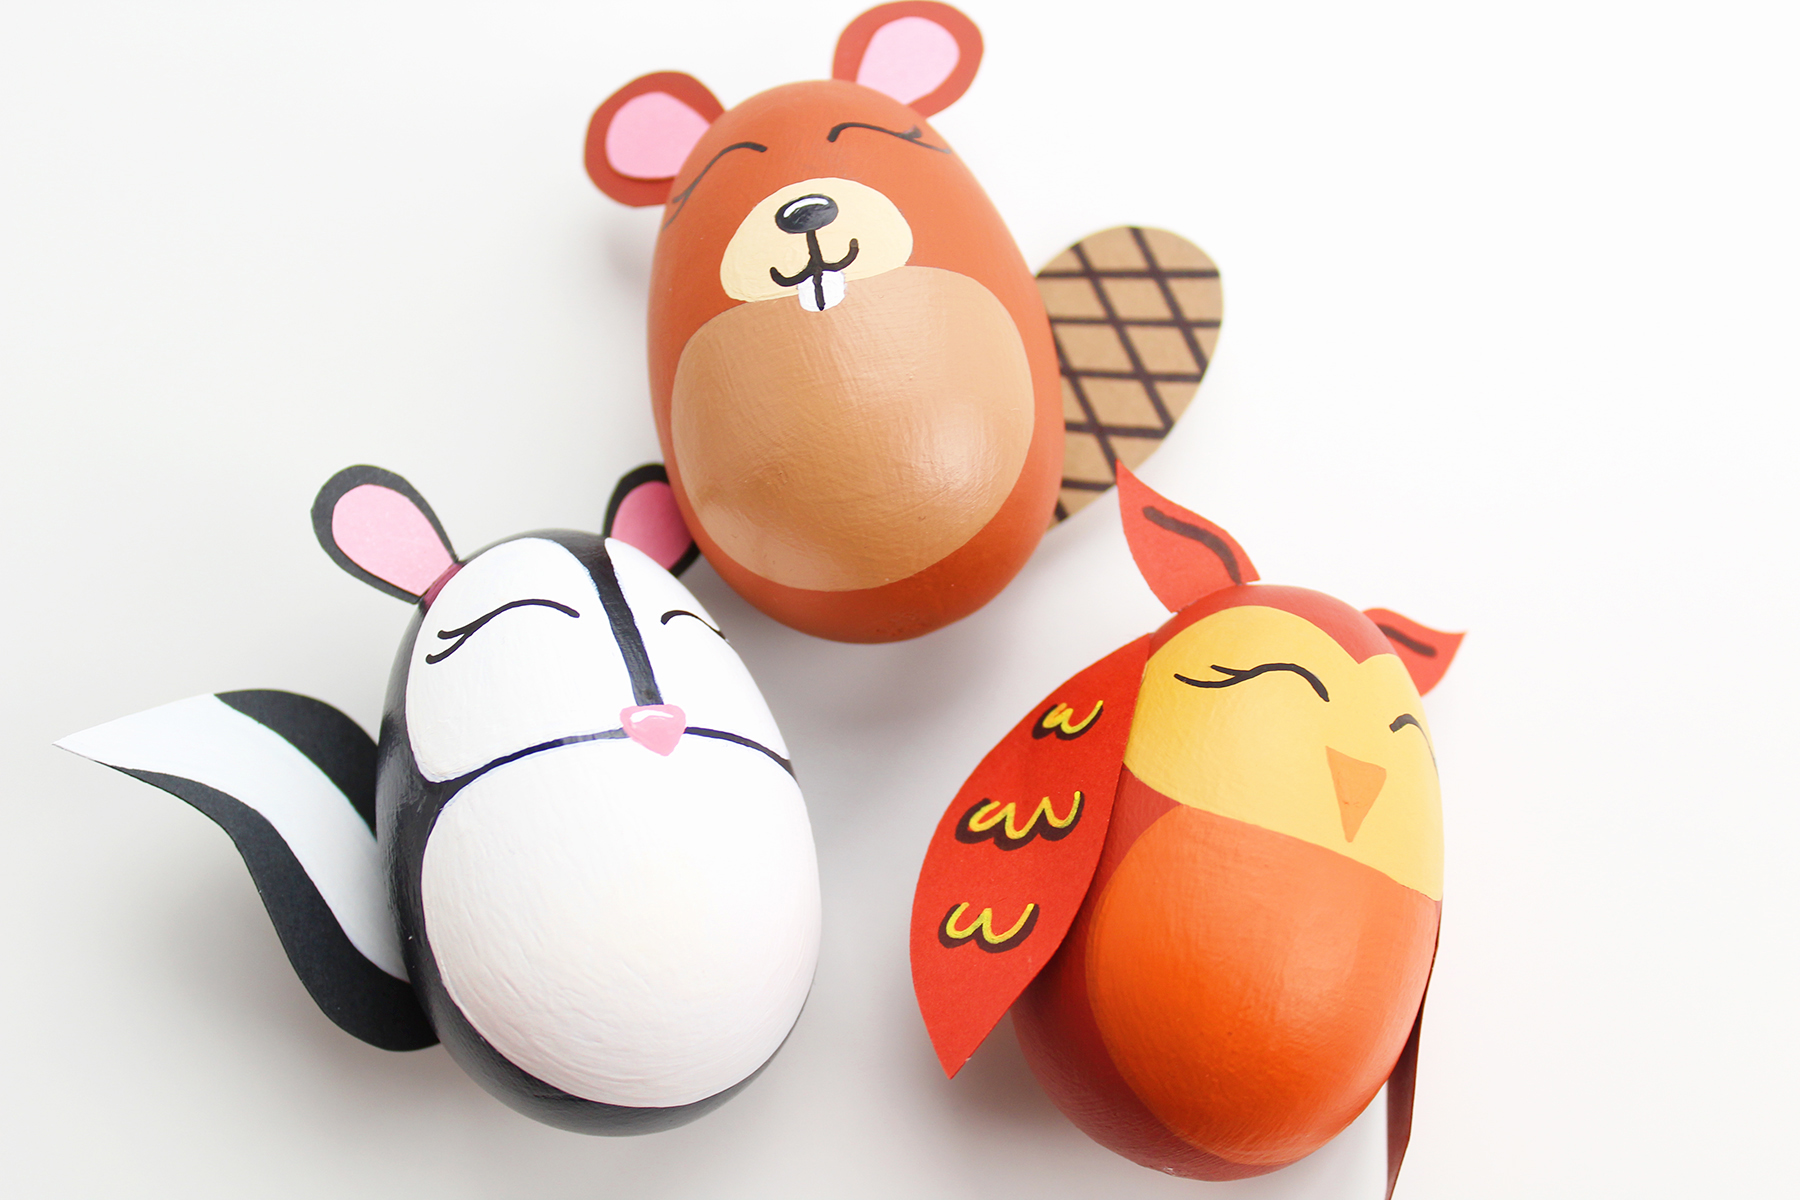
© Aimée Geroux | https://extremecouponingmom.ca
Glue the ears on top of the eggs, the tails on the back slightly sticking out to the front and the owl’s wings on each side of the egg.

© Aimée Geroux | https://extremecouponingmom.ca
Your eggs are finished and ready to be displayed!
DIY Woodland Animal Easter Eggs
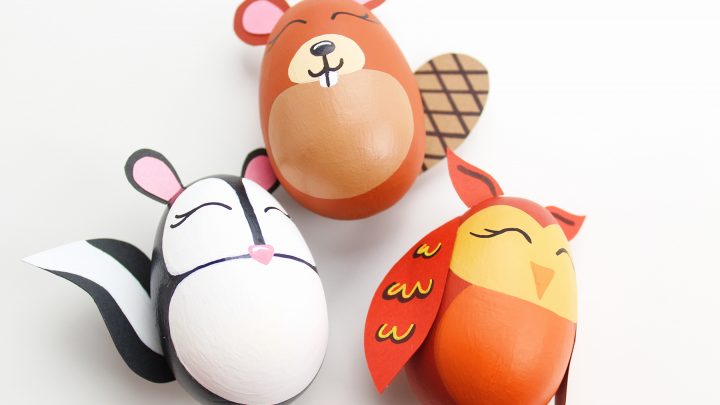
These Woodland Animal Easter Eggs are so cute and would make the perfect decoration for Easter!
Materials
- Wooden or Paper Mache Eggs
- Acrylic Paint
- Cardstock
- Elmer's Glue
- Hot Glue Sticks
- Pencil
- Black Paint Pen or Permanent Marker
- Template
Tools
- Scissors
- Hot Glue Gun
- Paintbrush
Instructions
- Paint the wooden eggs. You will need to give each egg 2-3 coats of paint. Allow the paint to dry completely.
- Download the template and print out.
- Cut the template out and trace onto your coloured cardstock. Cut each piece out.
- Glue the pieces of the ears together with Elmer's Glue and set aside.
- Paint a stripe down the skunk’s tail, draw lines on the beaver’s tail and draw wavy lines onto the owl’s wings. Set aside.
- Next, paint a face and stomach onto each egg. This will require 1-2 coats of paint. Allow the paint to dry completely.
- Paint a nose/beak onto each of the eggs. Paint a white line on top of each nose to give it dimension.
- Next, paint a small set of teeth onto the beaver and use a black paint pen or permanent marker to draw a line down the middle of the teeth.
- Use a pencil to draw eyes and a mouth onto the eggs.
- When you are satisfied with how the eyes and mouths look, trace over them with a black paint pen or permanent marker.
- Using a hot glue gun, glue the ears on top of the eggs, the tails on the back slightly sticking out to the front and the owl’s wings on each side of the egg.
©Aimée Geroux | https://extremecouponingmom.ca
More Easter Fun!
Check out these other Easter crafts, recipes and activities for a fun Easter!
©Aimée Geroux | https://extremecouponingmom.ca
- Printable Kids Summer Bucket List - June 4, 2025
- Save On Summer Family Fun - June 4, 2025
- Homemade Strawberry Lemonade Popsicles - June 3, 2025




Leave a Reply