Old MacDonald Had A Farm Printable Puzzle
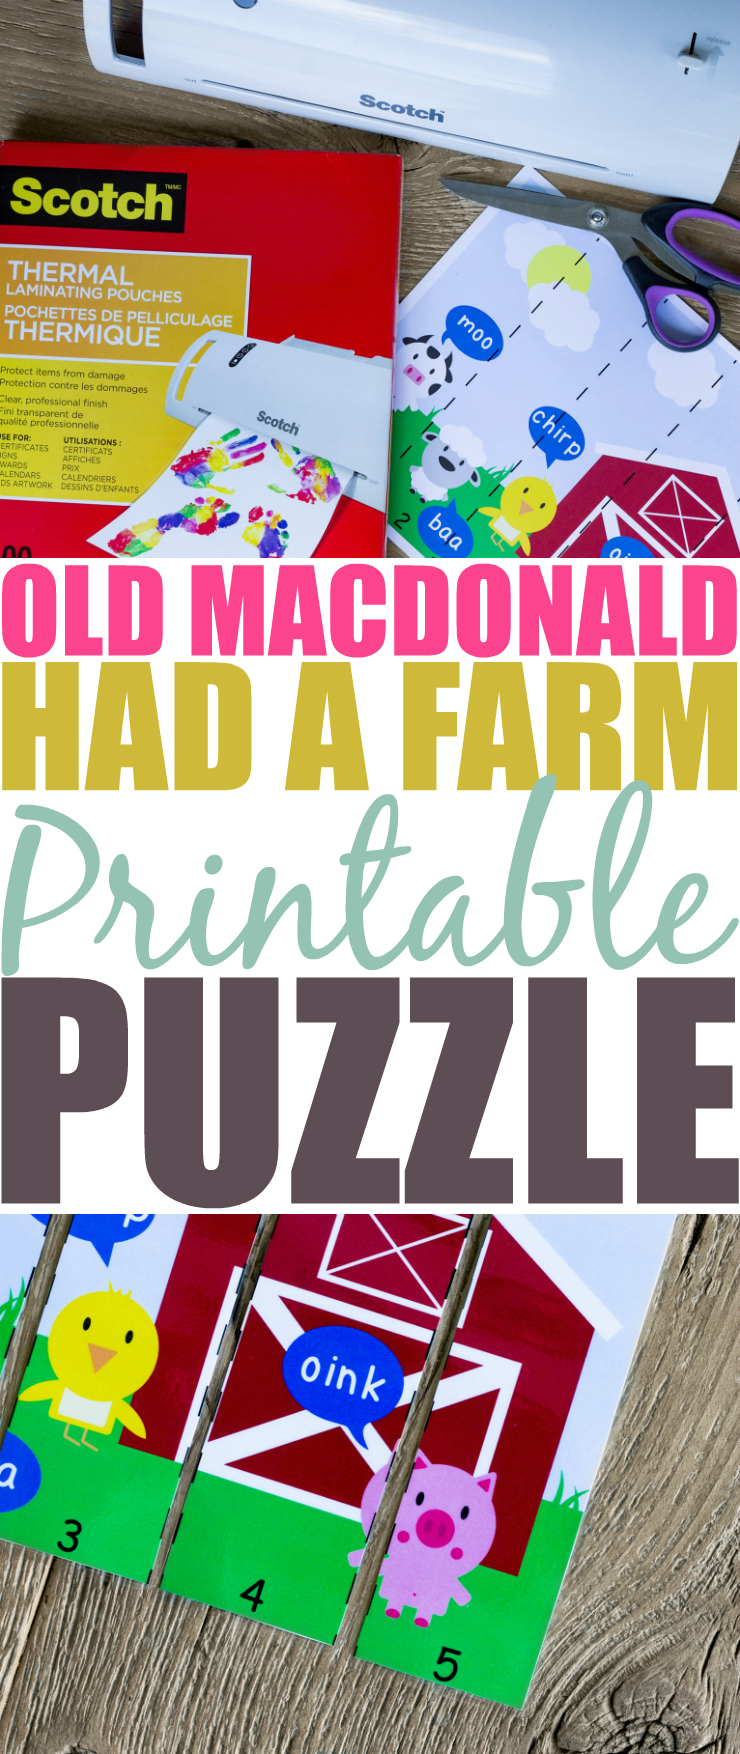 Old MacDonald had a farm e-i-e-i-o! If your little ones love puzzles you are in for a treat!
Today I am sharing one of Bella’s favourites. She loves animals and her first animal sound she learned was a cows moo!
Puzzles are a great way to incorporate learning in a fun way. The puzzles I will be sharing have 5 pieces and each are numbered 1 through 5. This will help little ones learn to count and learn order.
Old MacDonald Had A Farm Printable Puzzle
My farm printable puzzle is super cute and your little one will enjoy putting together their new puzzle.
If you want your puzzle to be durable and last I suggest laminating it. This will protect it from bending, water, food, or chewing if you little ones is in that stage!
Below I will share step-by-step instructions on how to create a durable puzzle using my free printable.
Download and print the farm puzzle
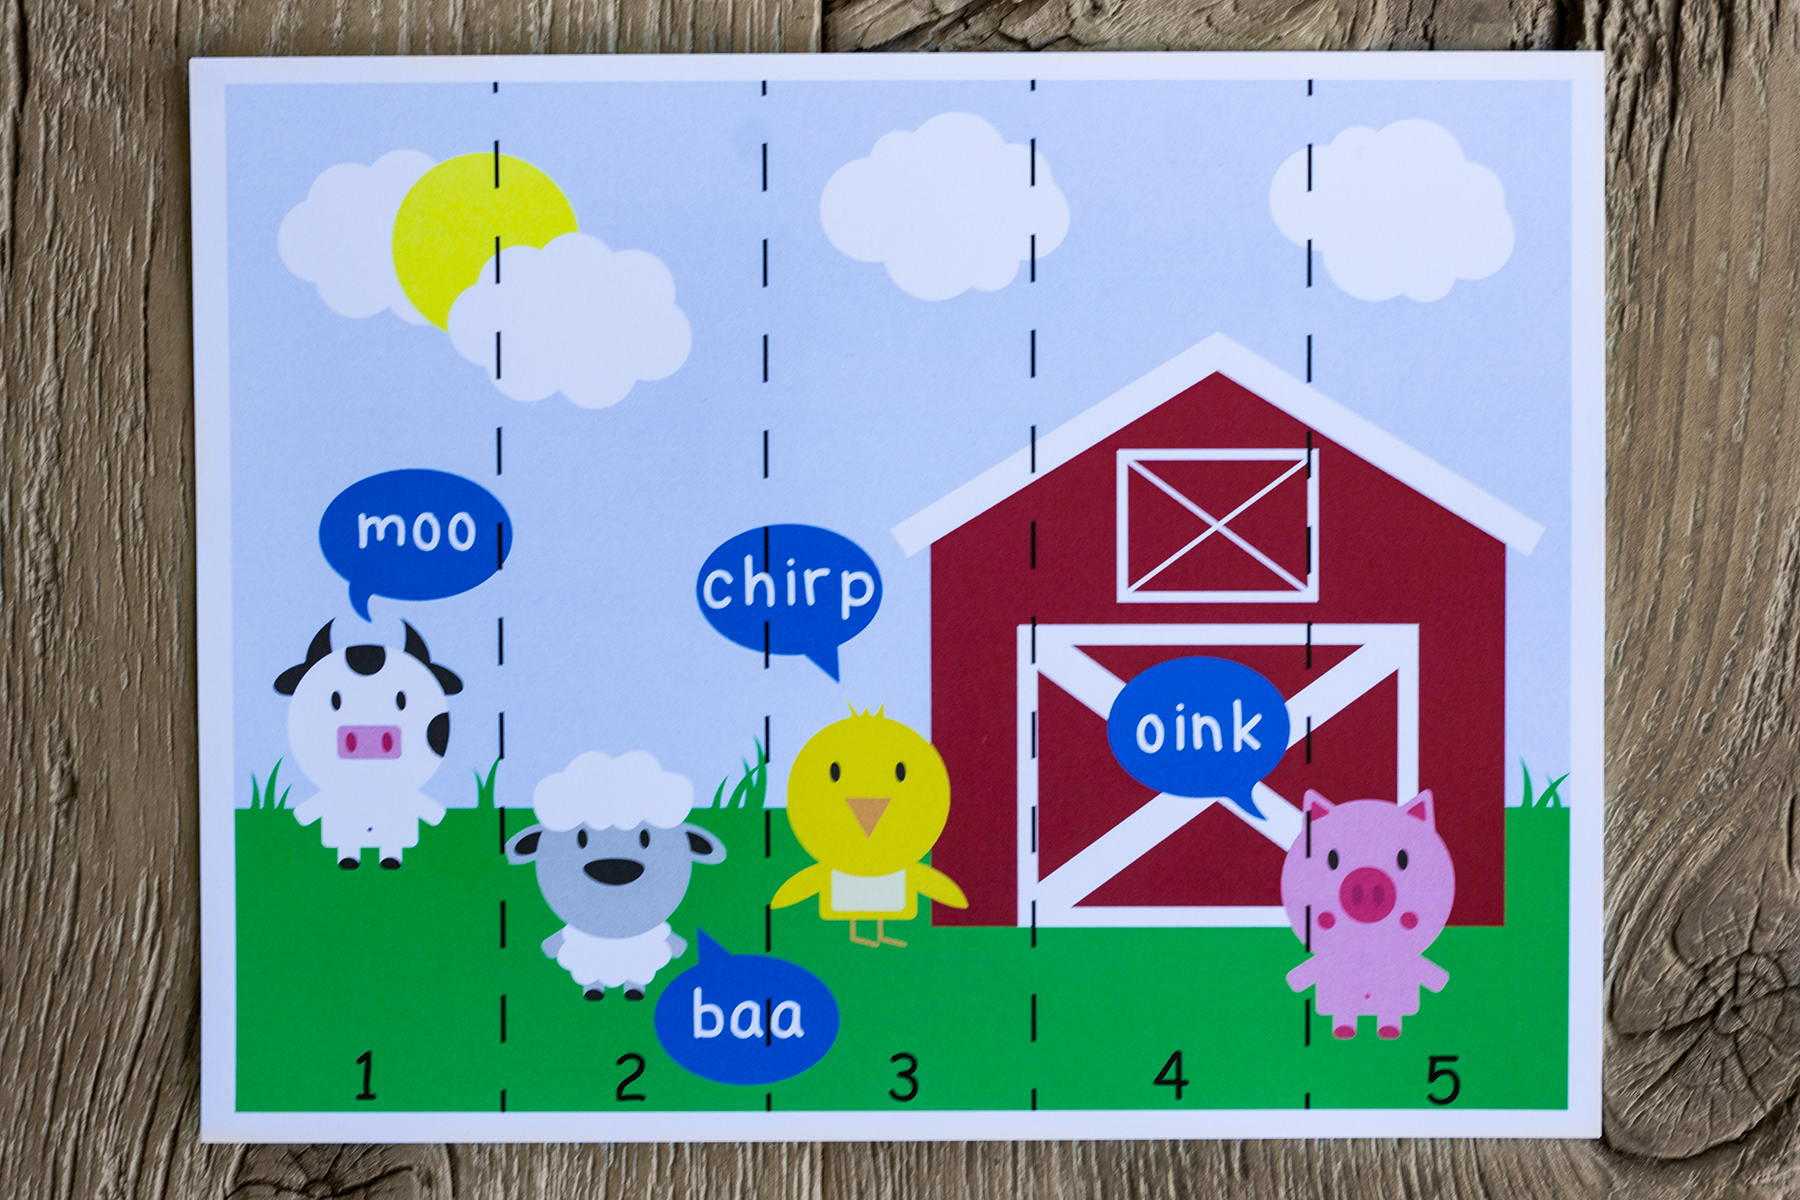
If you don’t have a printer you can download it to a USB stick and take it to Staples or another printing place.
Get all your supplies together
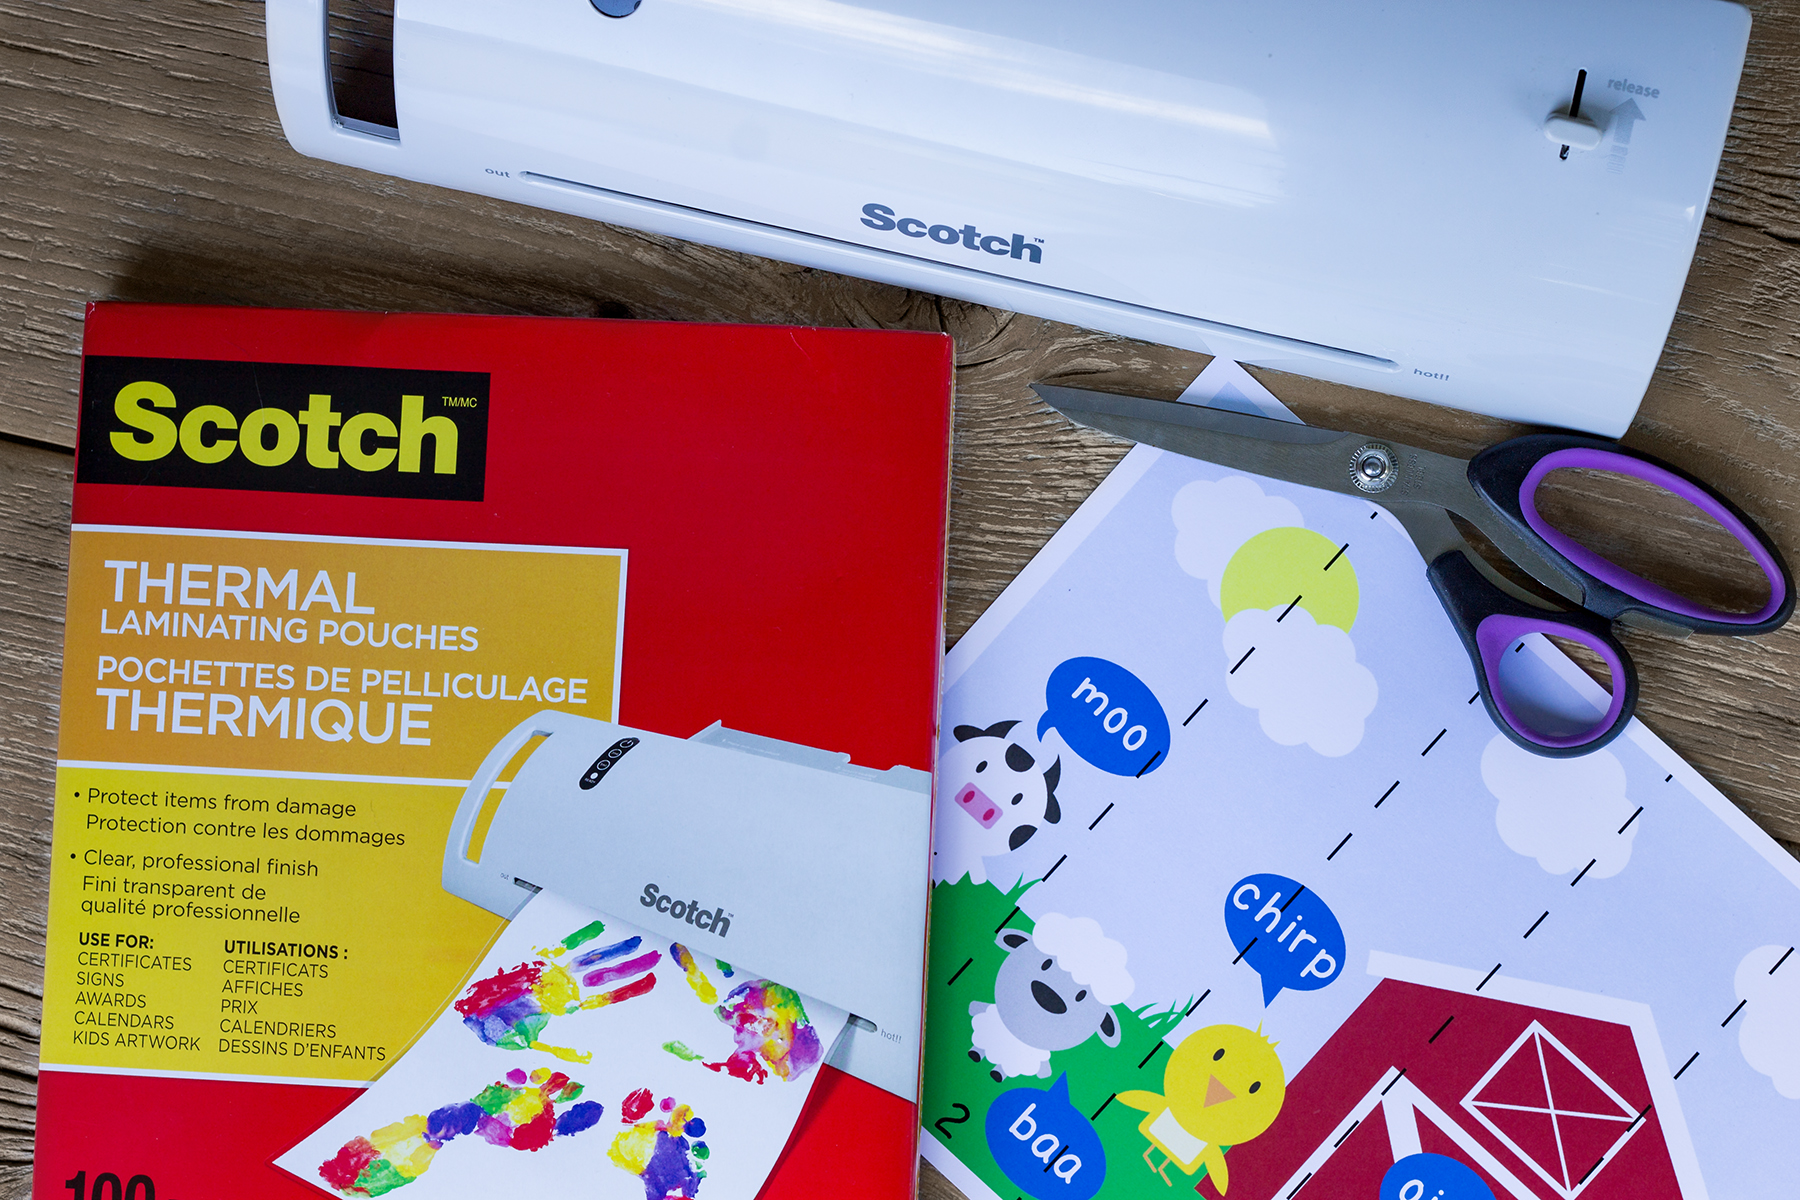
You need a pair of good scissors for cutting the puzzle, laminator, and thermal pouches. Turn on your laminator to allow it to heat up. Mine has two options, 3 mil and 5 mil, I select 5 mil.
Amazon is where I bought my laminator and pouches. They have the best deal on laminating pouches, cheaper than Walmart (I checked), so buy them from Amazon if you don’t have any at home!
Trim and cut your puzzle pieces
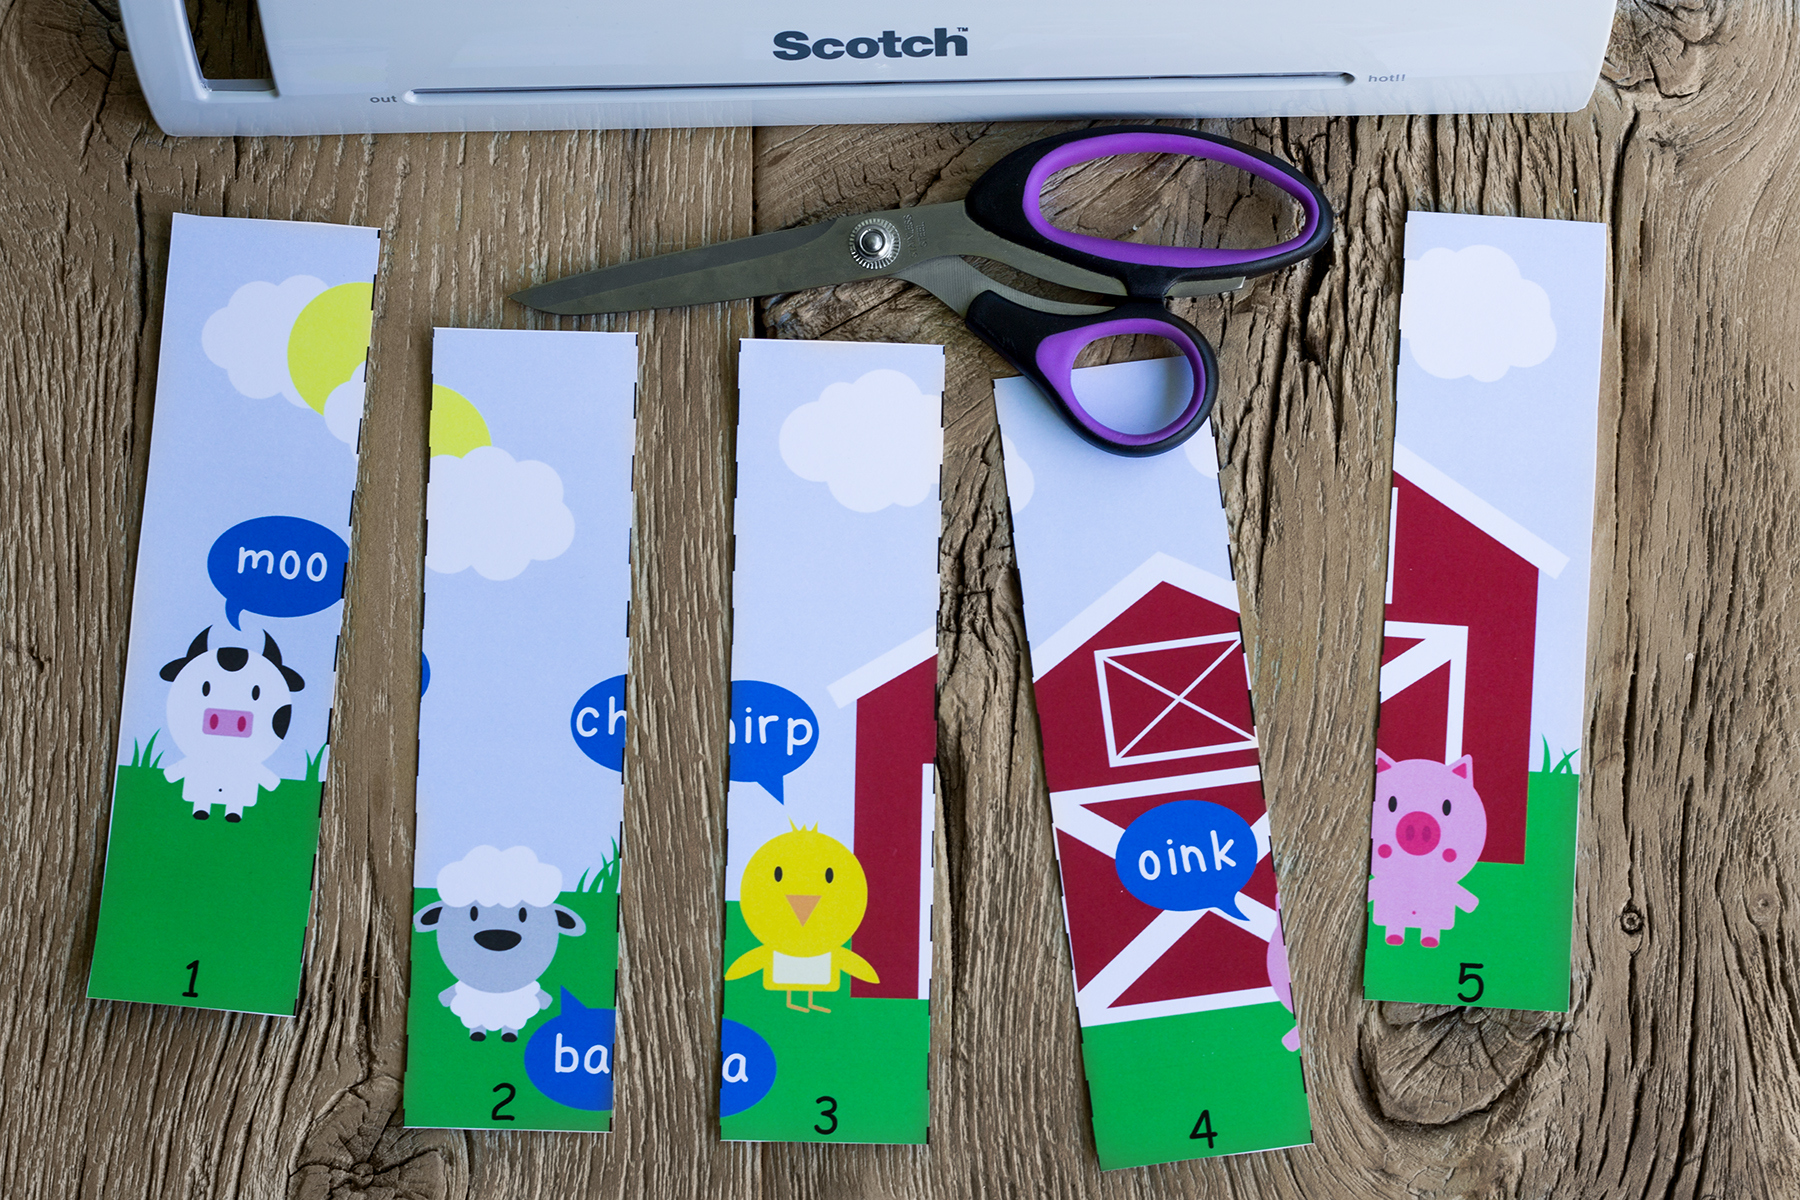
While your machine heats up, cut off the white border and then cut each piece.
Put your pieces in the thermal pouch
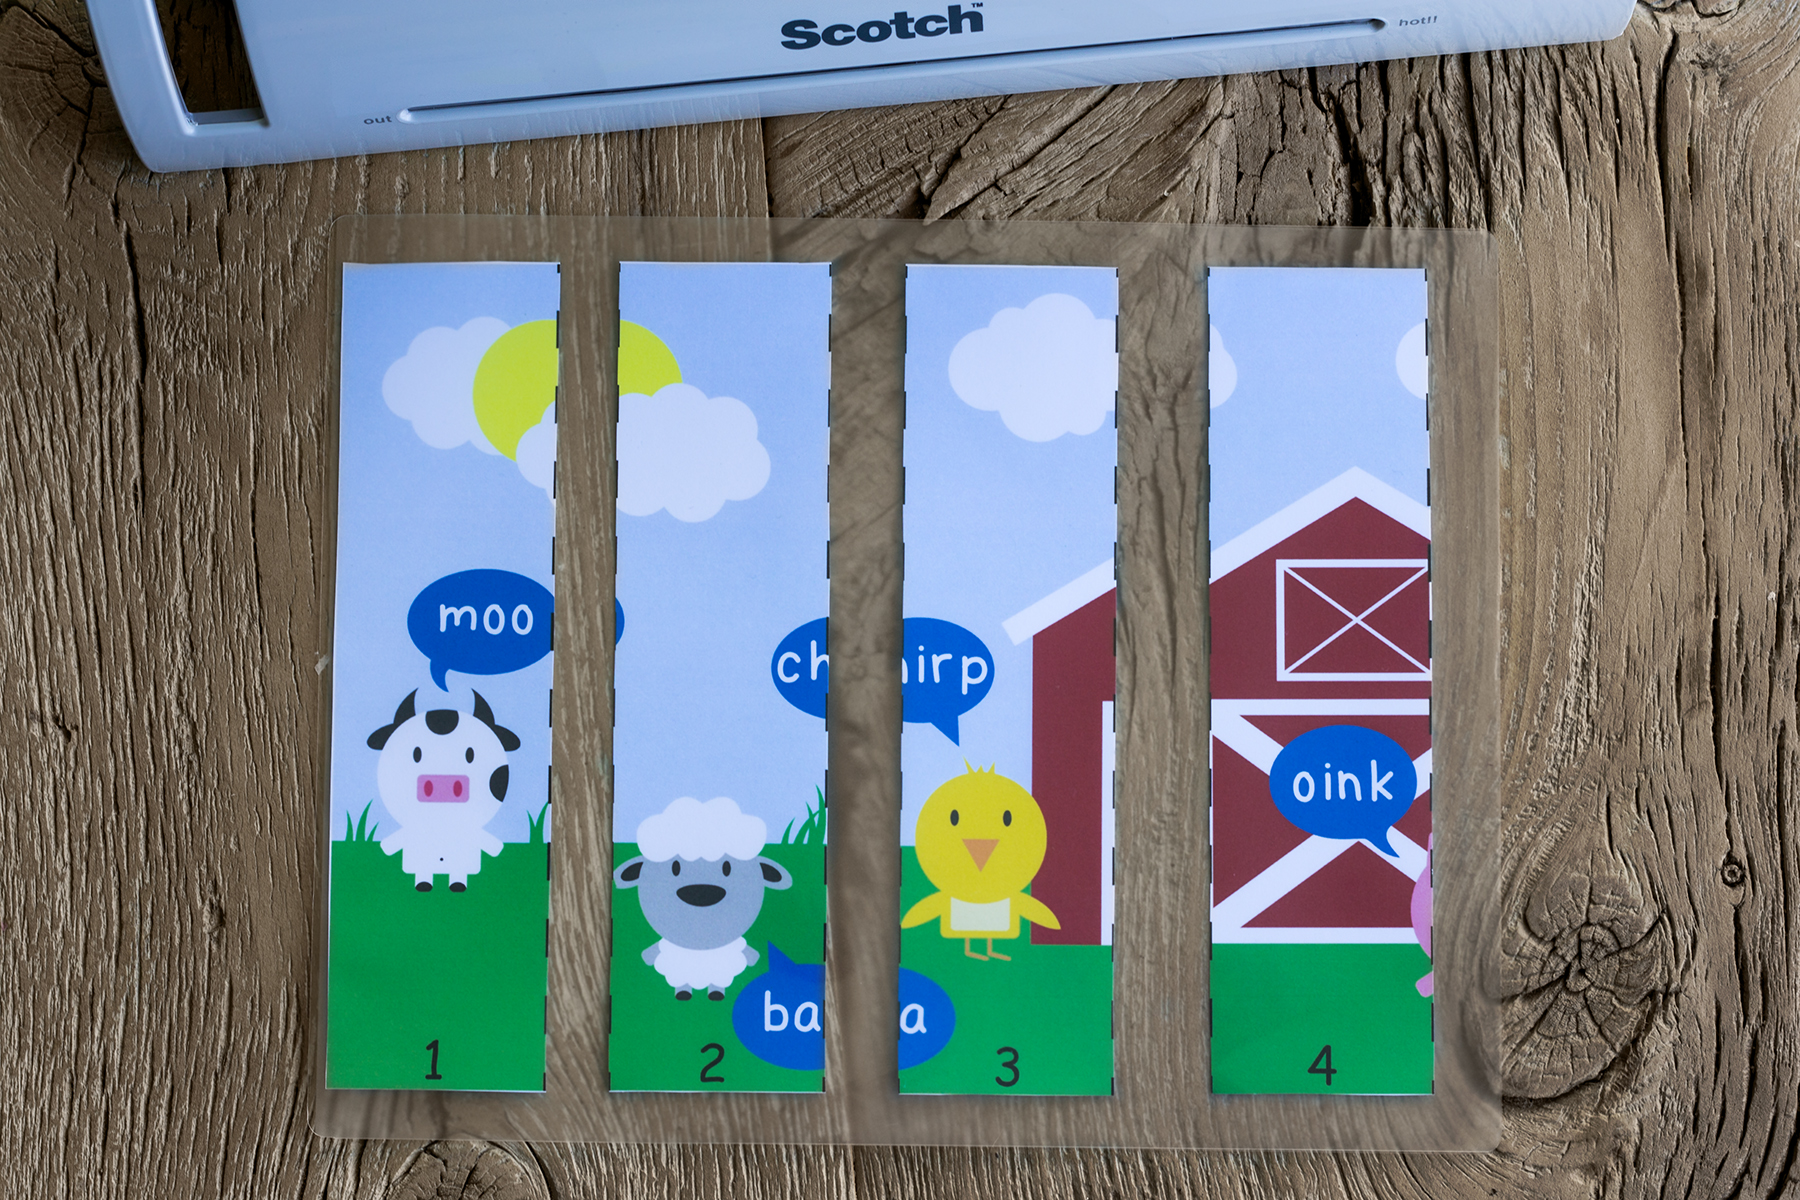
Line up your pieces in the thermal pouch. Leave room between each piece as it’s needed to seal them and allow for trimming. I fit 4 pieces per thermal sheet.
Since I did all 5 puzzles at once, I set aside the number 5’s from each and did them at the end in two more pouches.
Laminate your puzzle
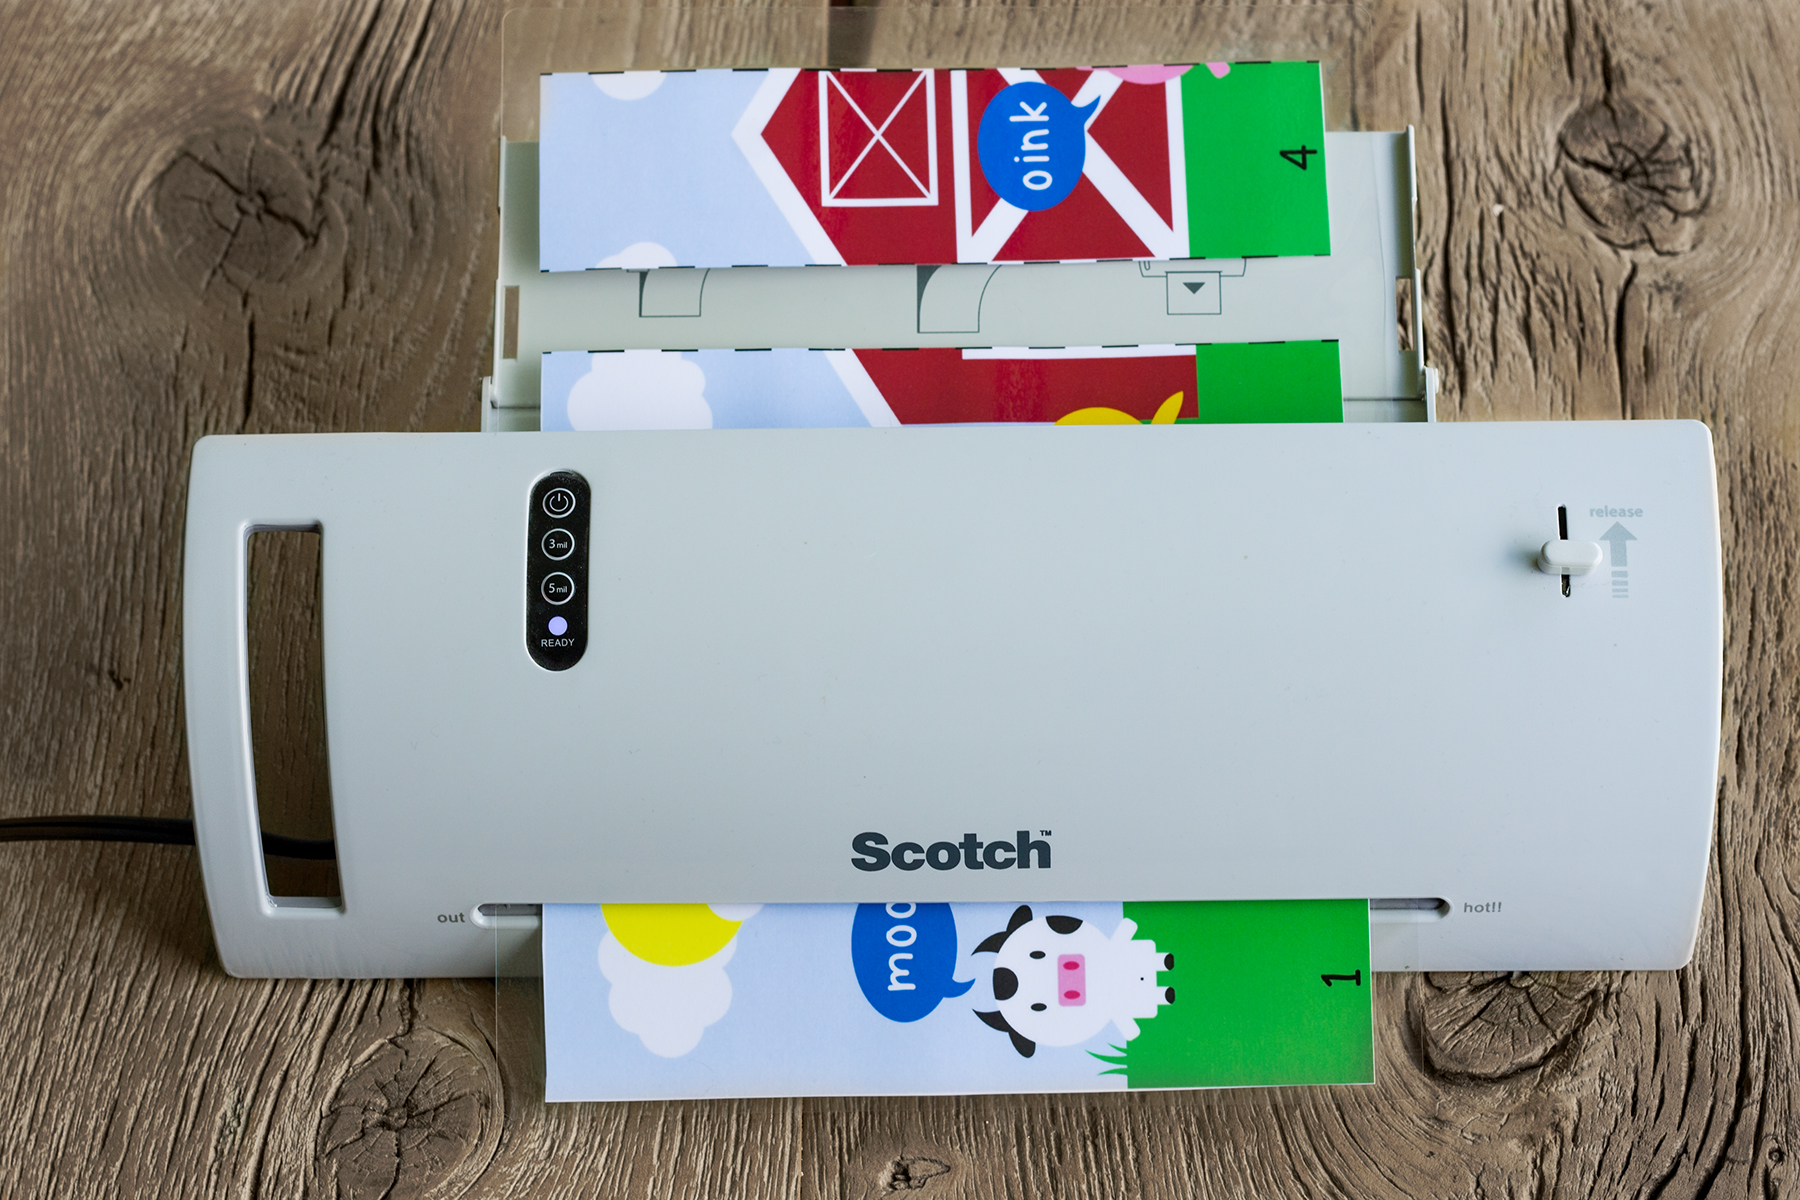
Carefully lift your pouch up and place it into your machine once it is hot. Hold the end gently until the last puzzle piece is headed down into the laminator to avoid having pieces shift.
Separate your puzzle pieces
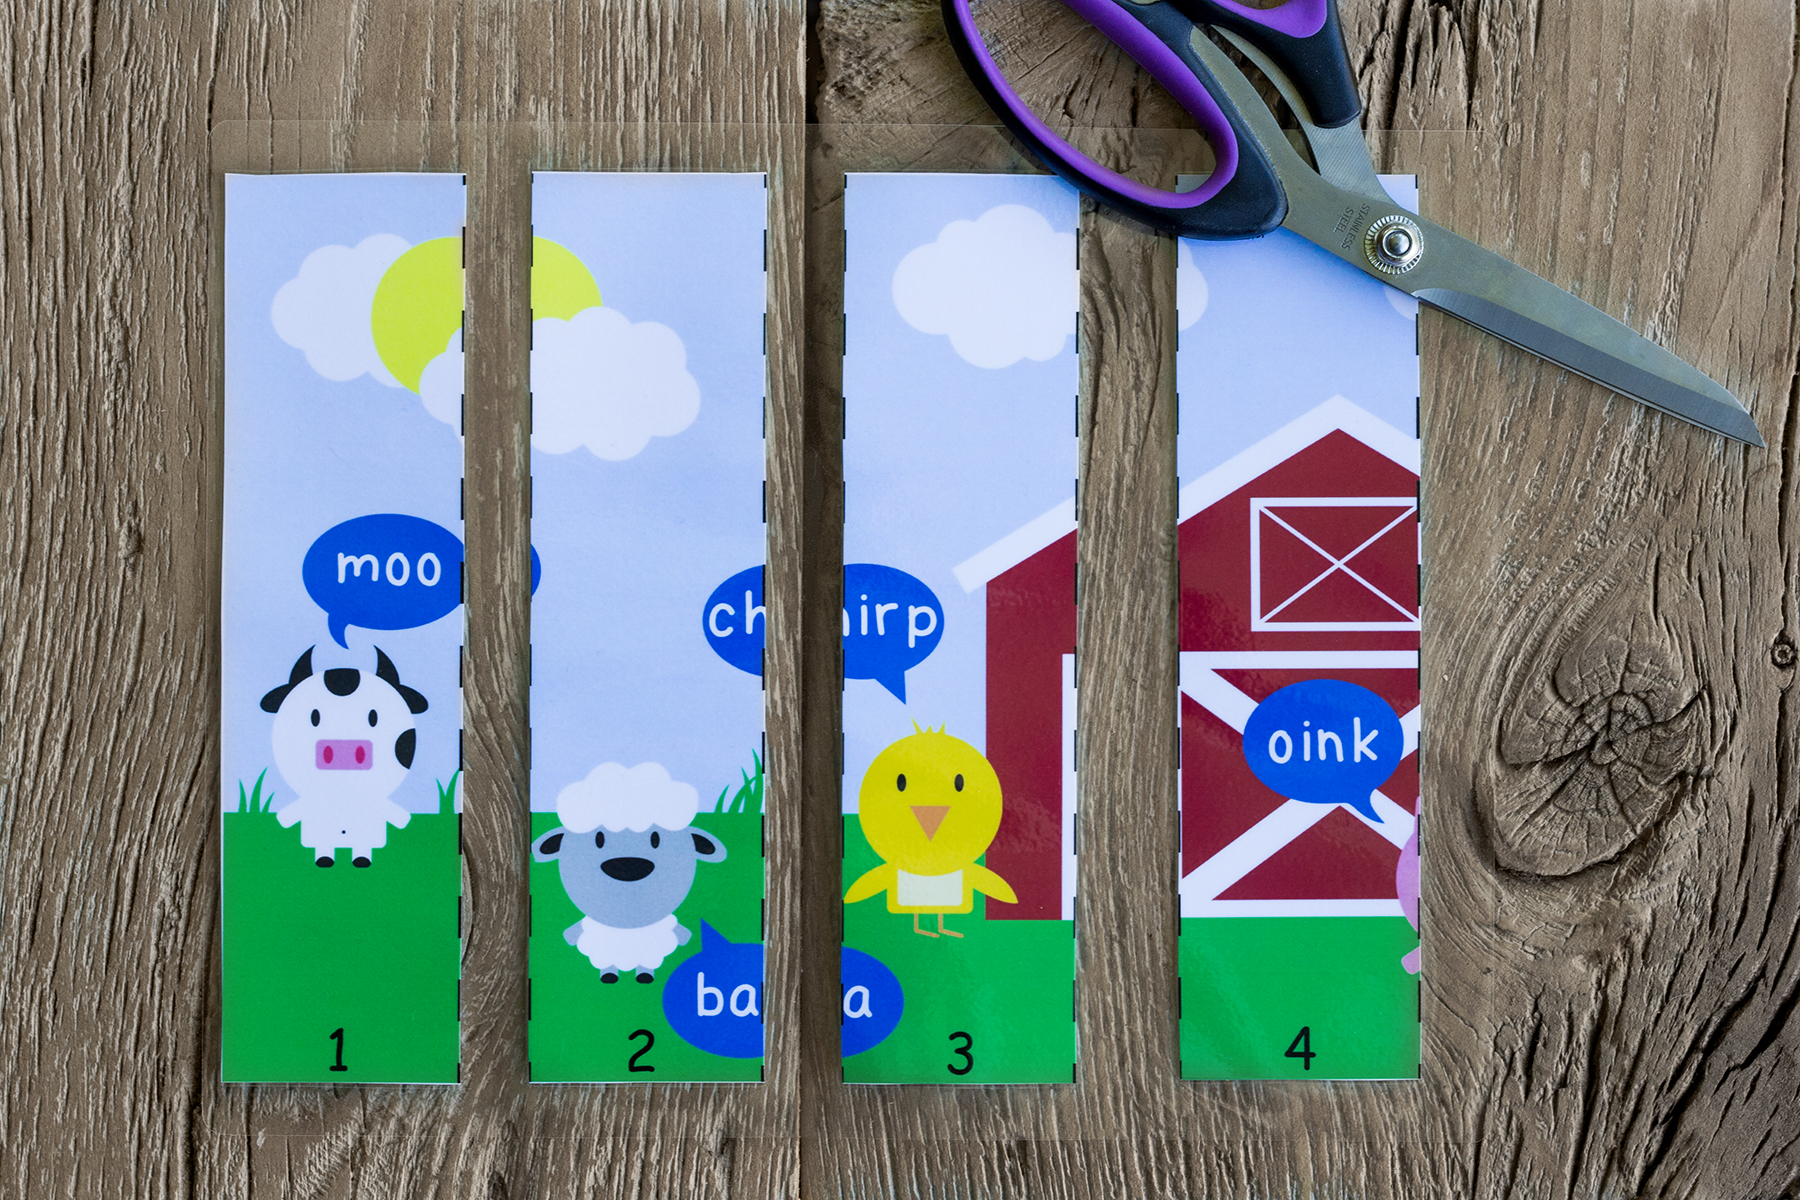
After your puzzle is laminated, cut the pieces out. Cut down the middle between each piece.
Trim and round edges
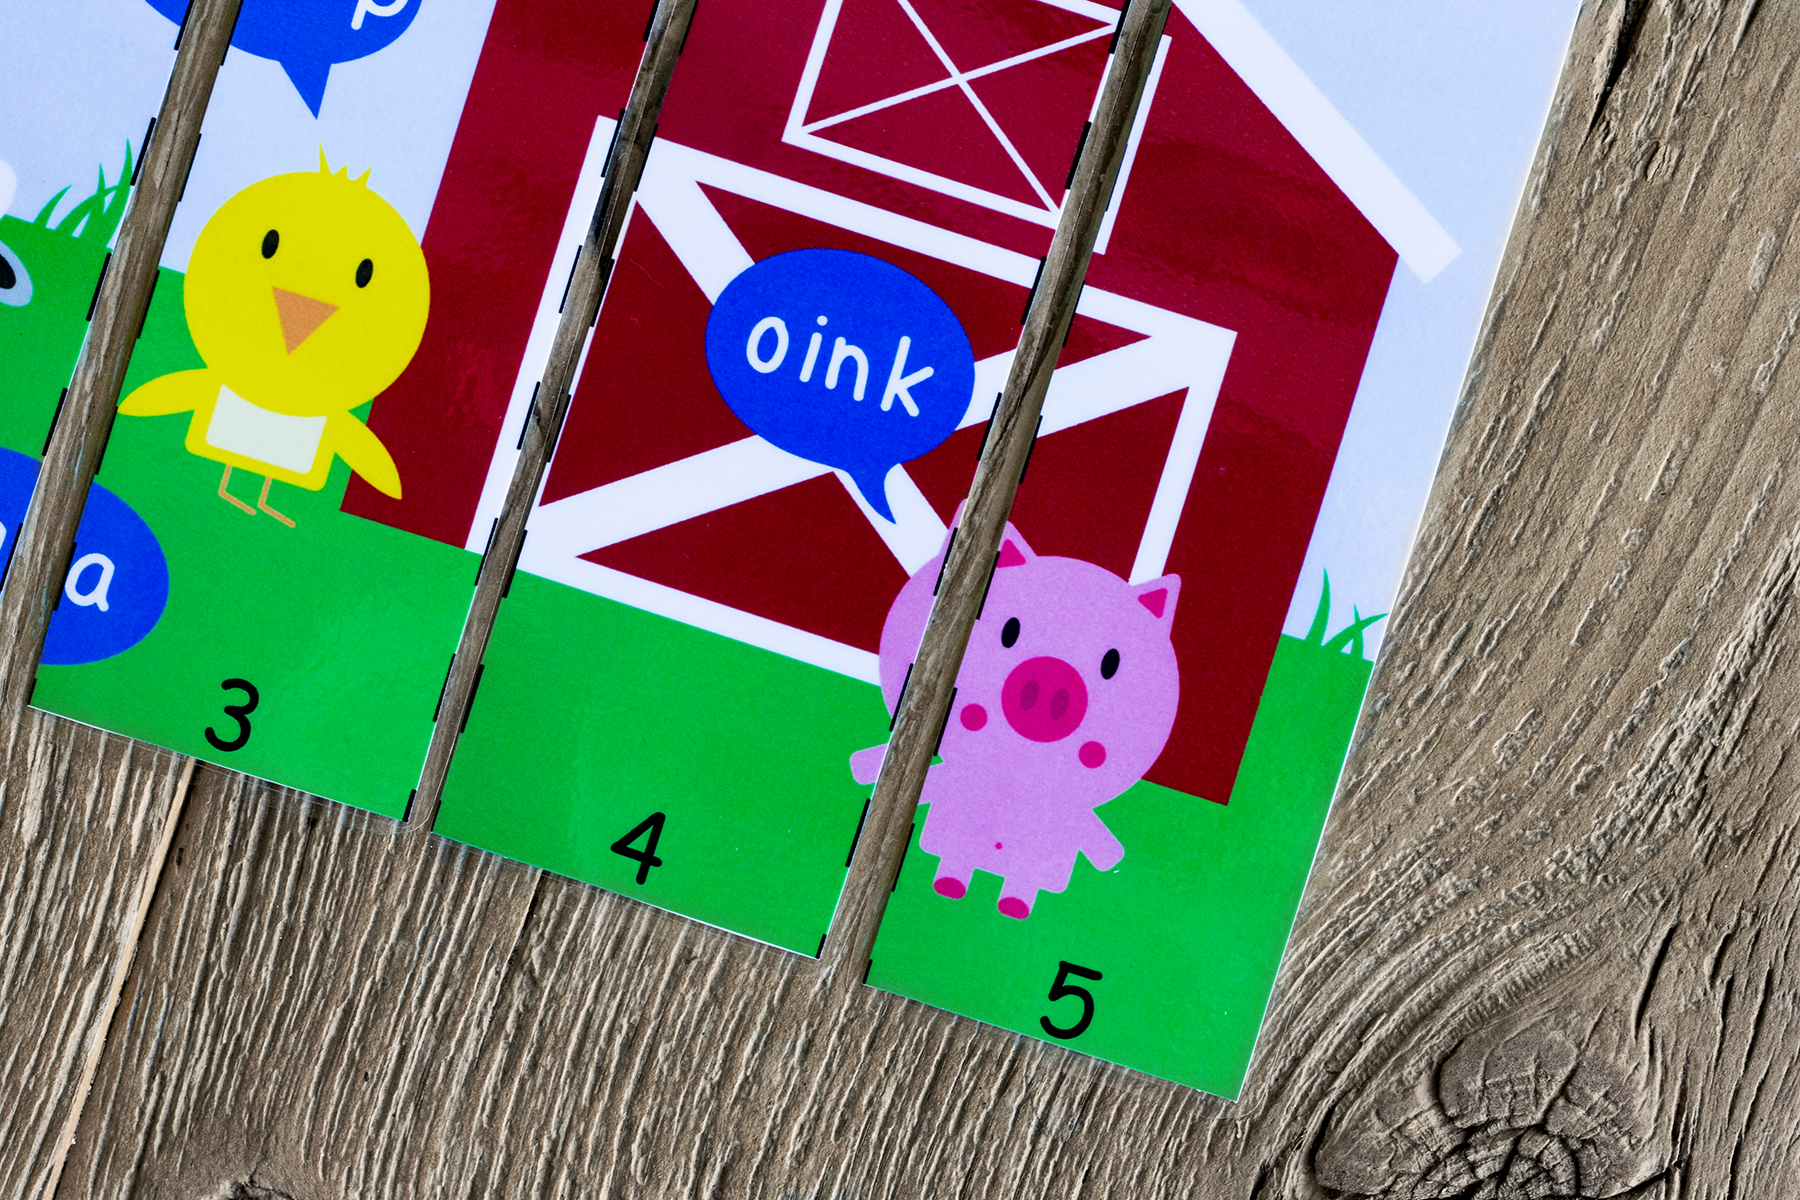
Next, trim and round the edges of your puzzle pieces. Rounding the corners will make them not pokey!
Be vigilant in cutting as there is a small border around the edge of the paper that is not sealed.
You will be able to tell the difference between where the sealed part of the pouch is and the slim amount of unsealed area right next to the paper edges.
Trim down as close to the unsealed border as you can while still leaving a bit of the sealed area.
Let the learning fun begin
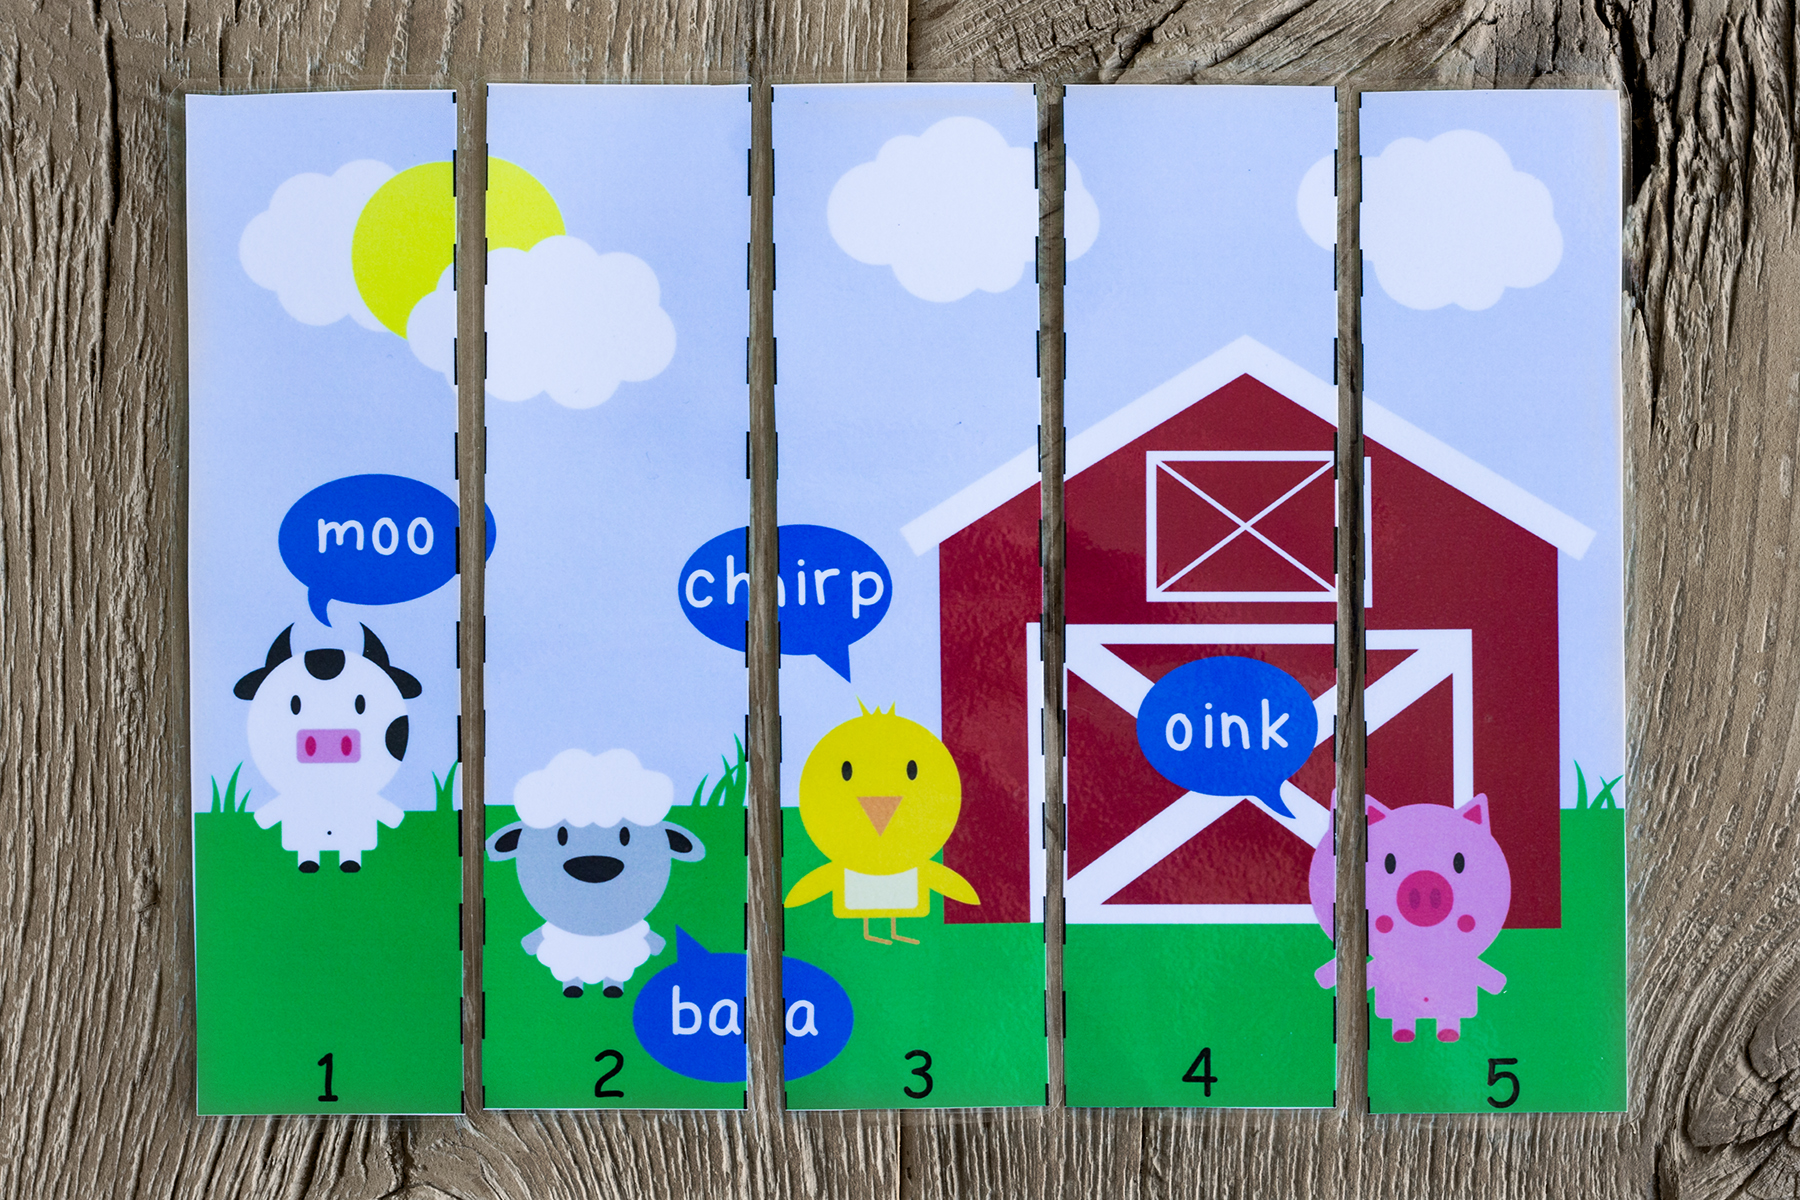
Your puzzle is now ready for your little one to enjoy!
Stay tuned as I will be sharing 4 more printable puzzles soon.
DOWNLOAD YOUR FREE AT THE FARM PRINTABLE PUZZLE
For more great free printables, learning fun, and crafts, head over to the Kids Corner section of the blog!
- Williams Sonoma Canada Cyber Monday Sale - December 1, 2025
- Knix Canada Cyber Monday Sale - December 1, 2025
- KitchenAid Canada Cyber Monday Sale - December 1, 2025


kathy downey says
Thanks so neat,thanks for sharing
Elizabeth Matthiesen says
What a marvellous idea, love the laminating of the puzzle too, that will make it last a long time. 🙂