DIY Unicorn Headbands
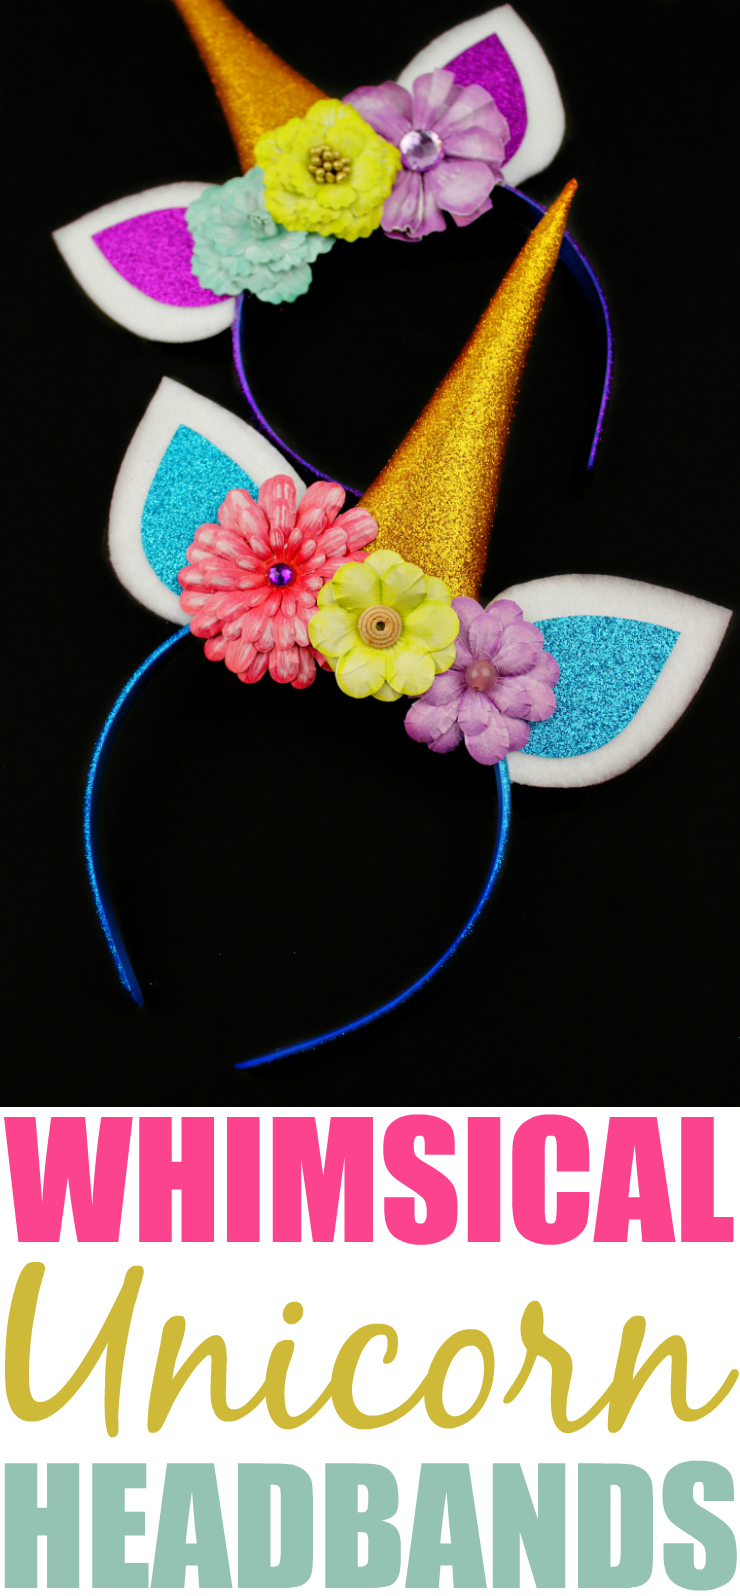 One thing all three of my daughters have always enjoyed is getting crafty.
Bella is currently obsessed with drawing people, rocket ships, and signing all her artwork. While most of the time it is on paper, there have been a few moments where she has drawn on my tv stand, coffee table, and walls.
She is also in love with unicorns right now, and the other day I found the perfect unicorn dress for $6 at H&M for her.
After she was done freaking out about her new dress, she told me she needs a unicorn horn to match.
Making her a unicorn headband was super easy, and she enjoyed helping along the way.
DIY Unicorn Headbands
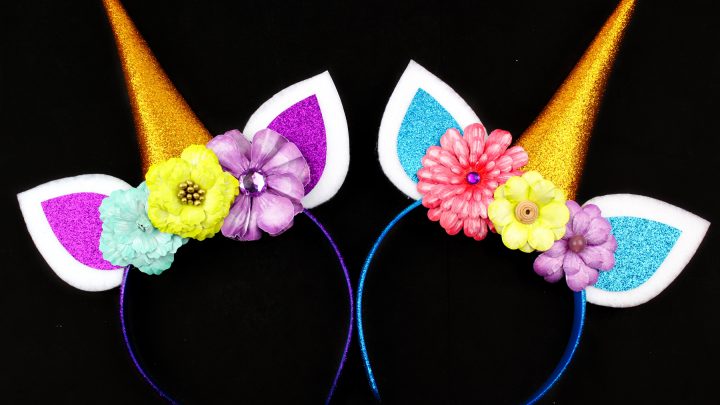
These DIY Unicorn Headbands are an easy craft to do with your little one, or maybe as the party hat for a unicorn themed birthday party!
Follow along with the step-by-step instructions with photos below, and then you can print off the instructions and supply list below.
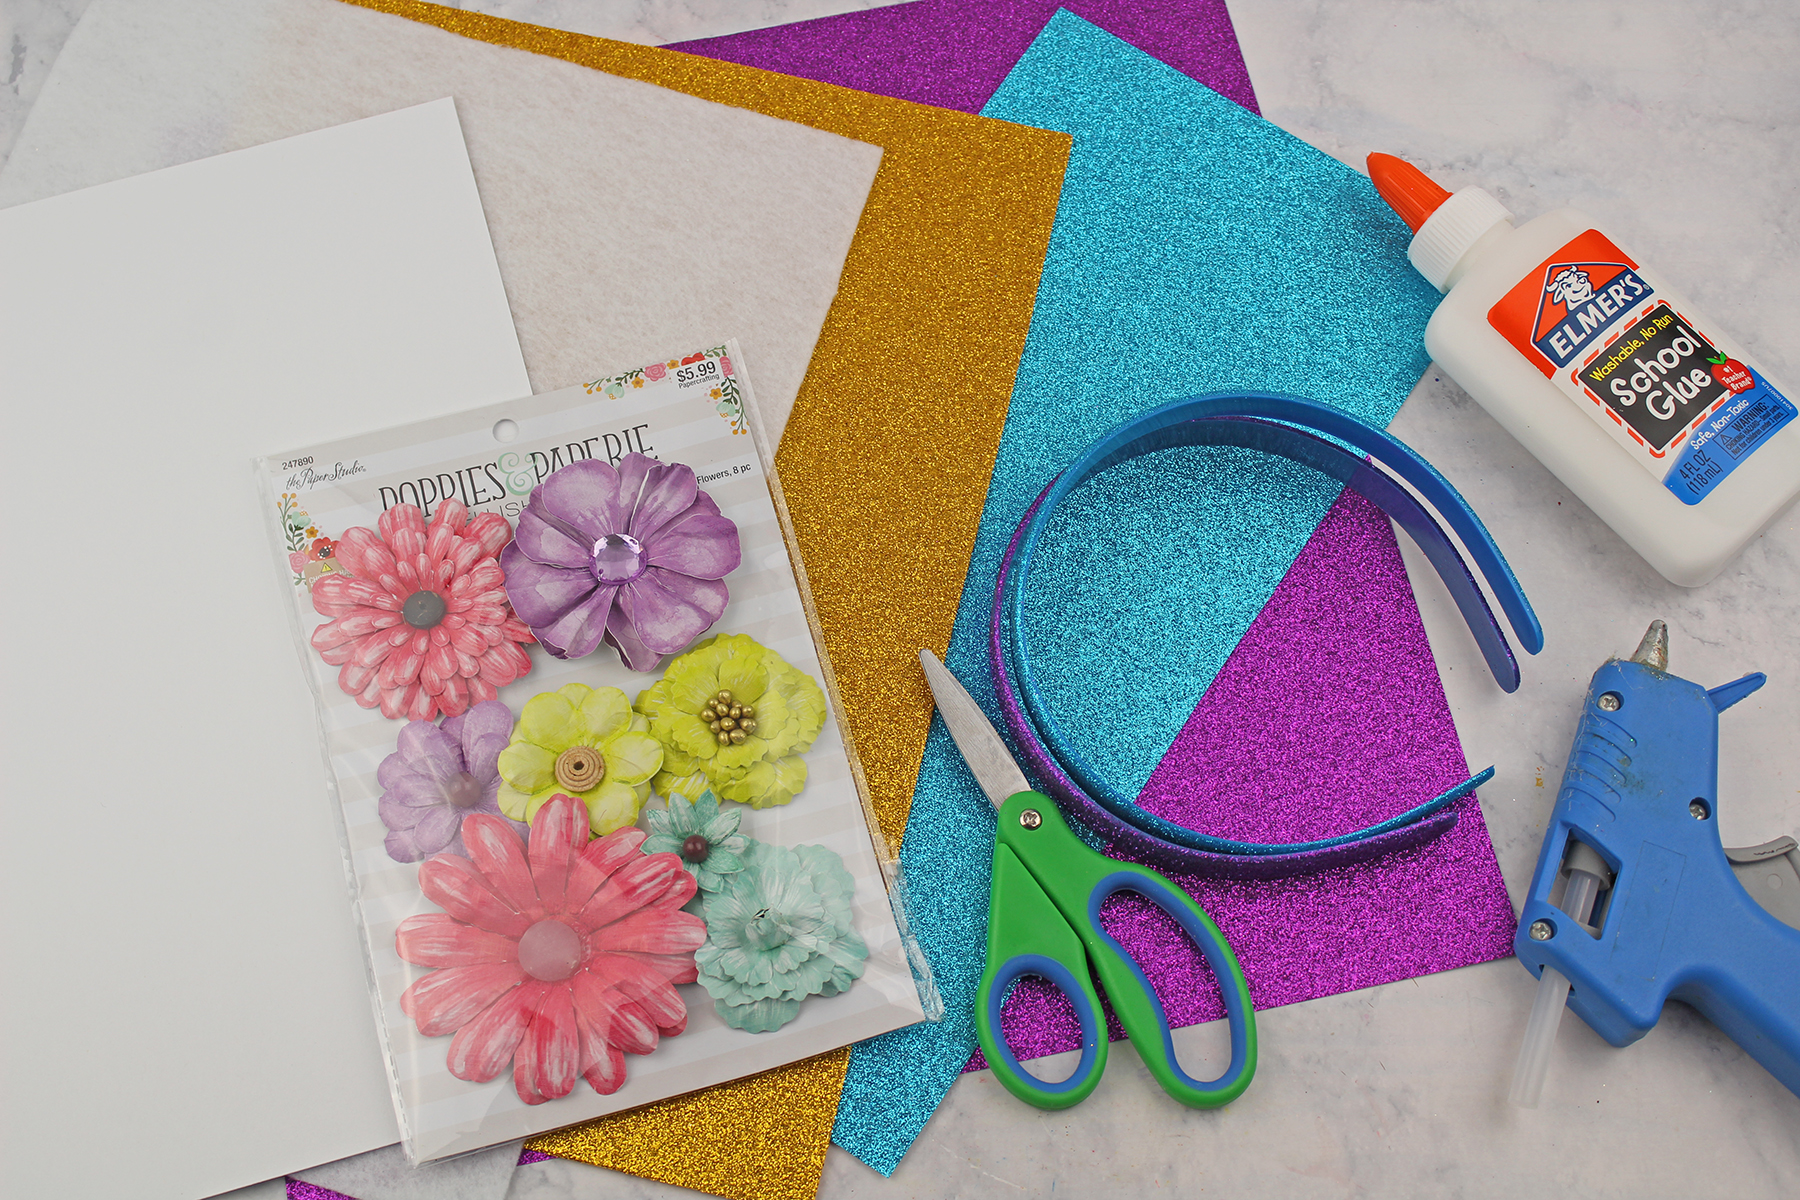
Gather all your supplies.
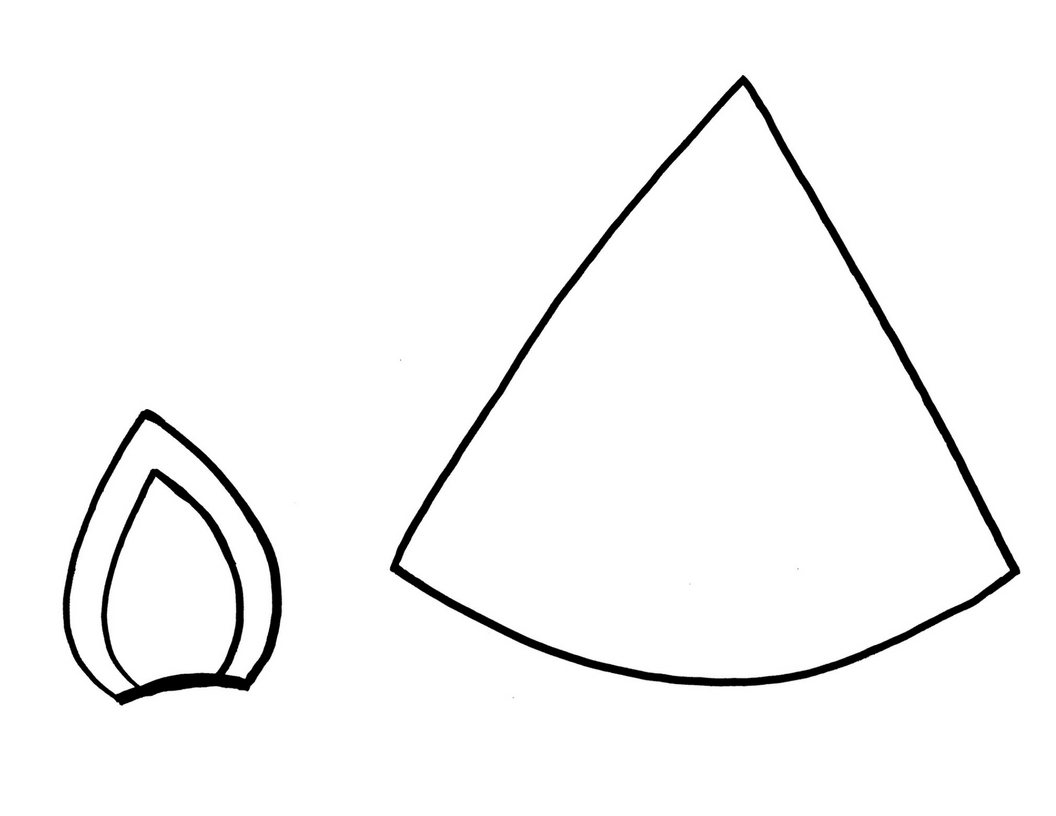
Print out the unicorn horn and ears template.
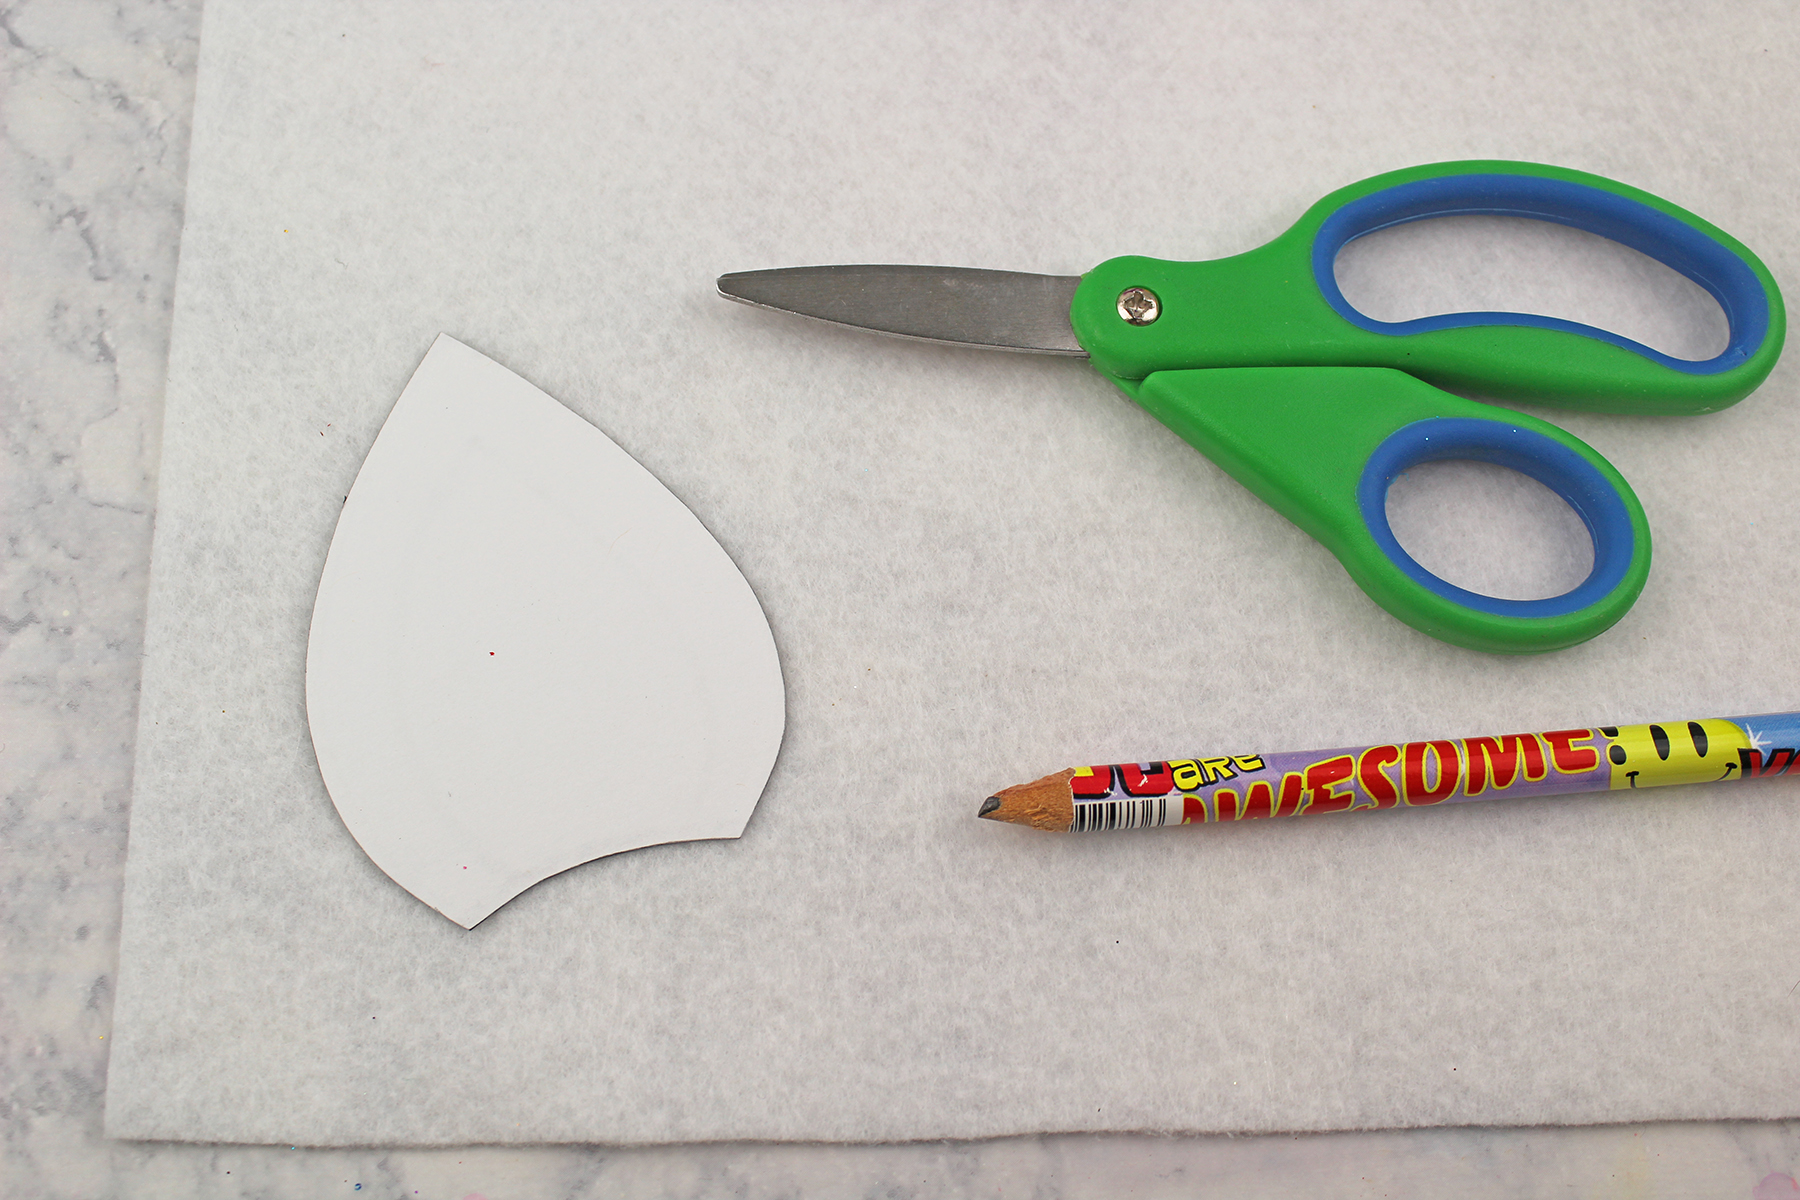
Trace the ear template onto white felt and cut out. Do this two times making sure to flip it over for the second ear.
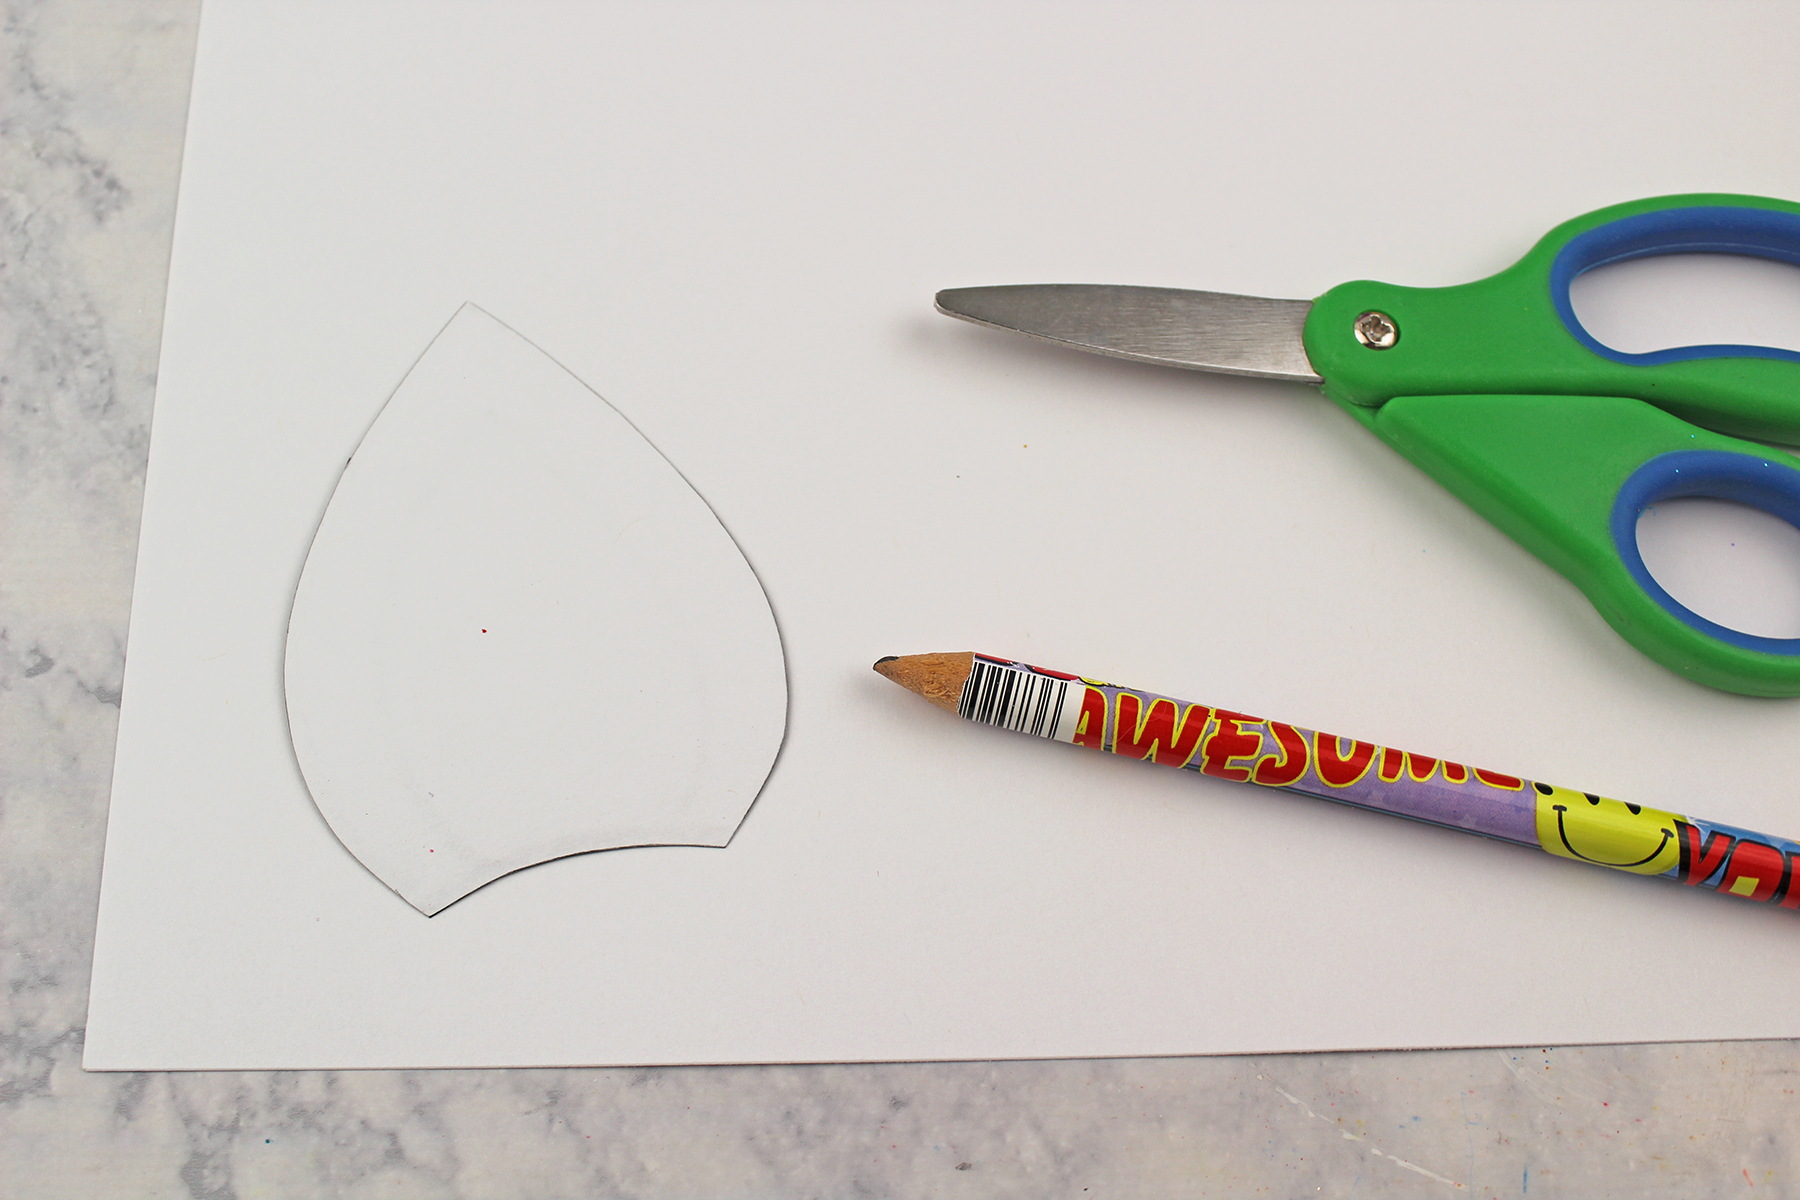
Trace the ear template onto white cardstock and cut out. Do this two times making sure to flip it over for the second ear.
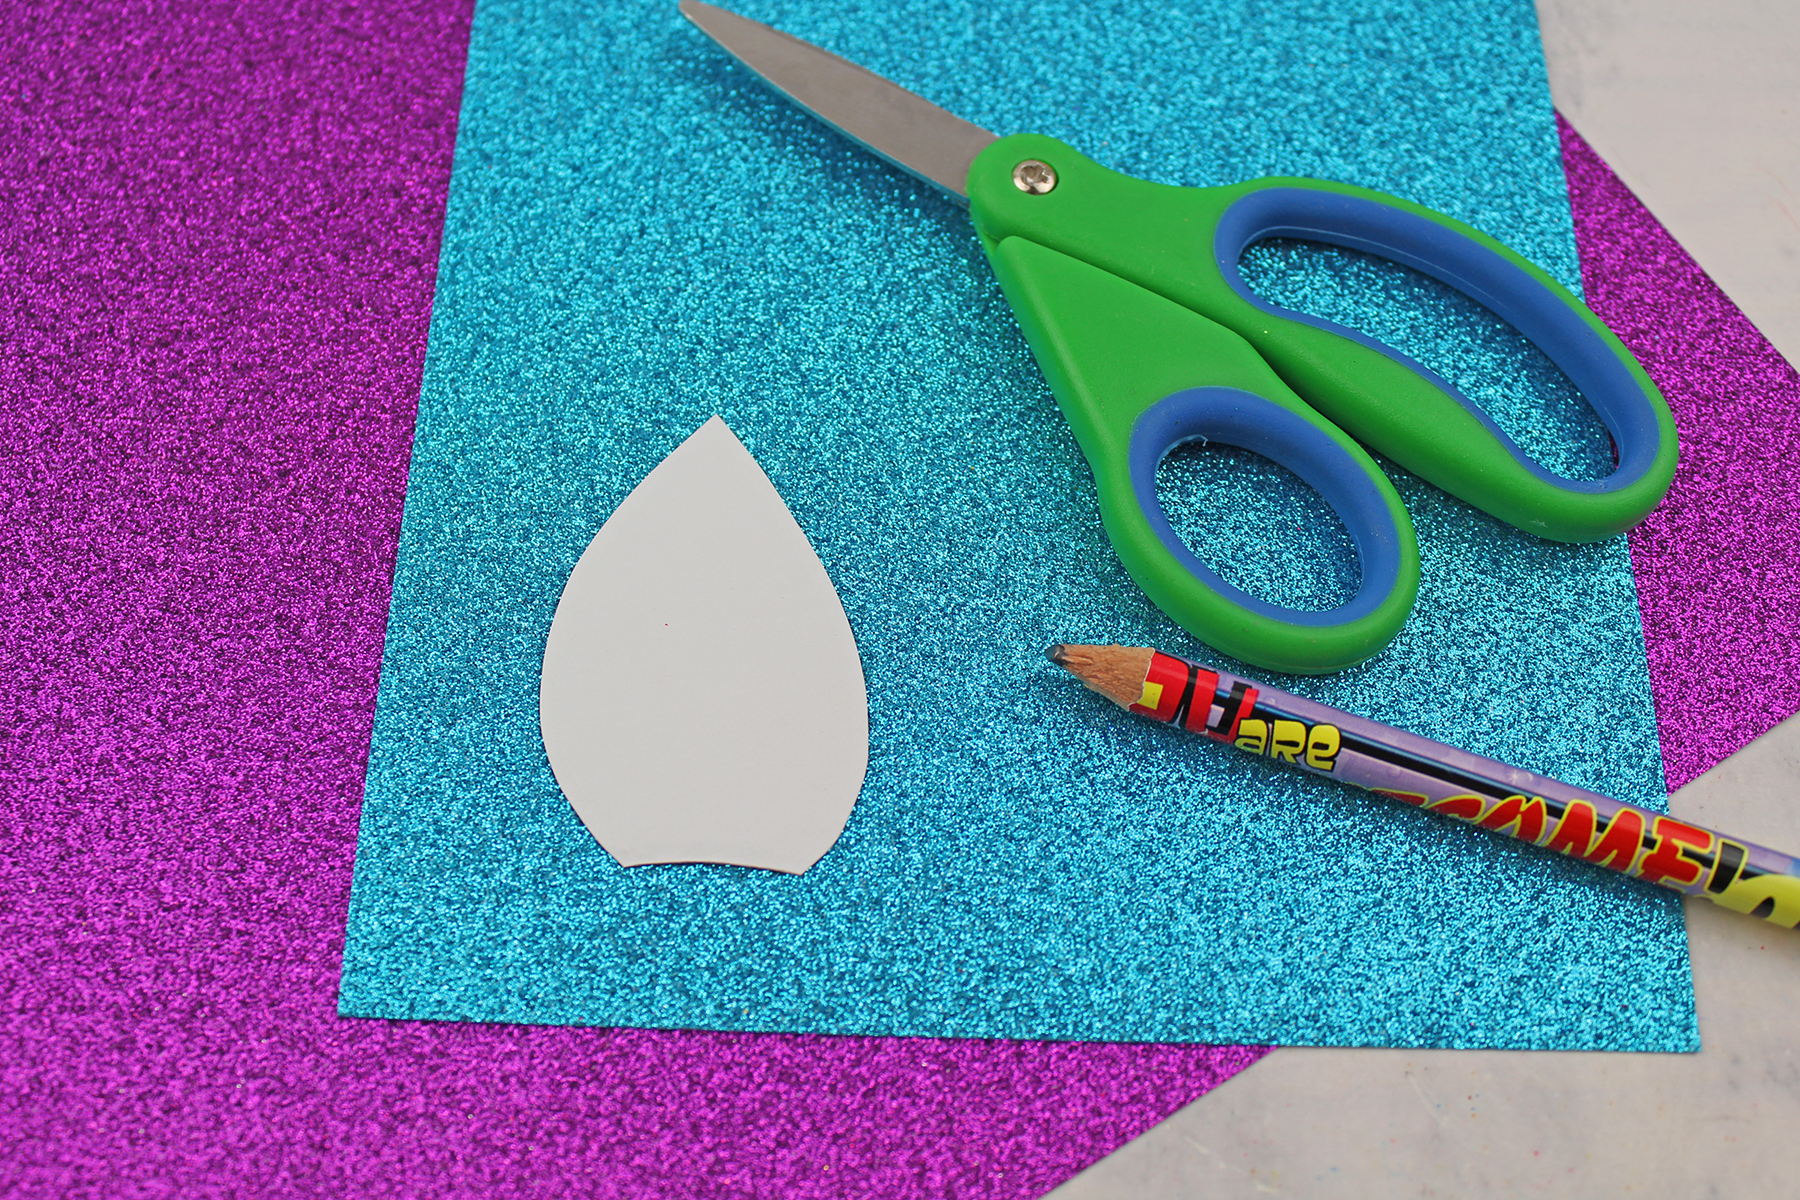
Cut out the inner piece of the ear template. Trace onto the glitter cardstock and cut out. Do this two times making sure to flip it over for the second ear.
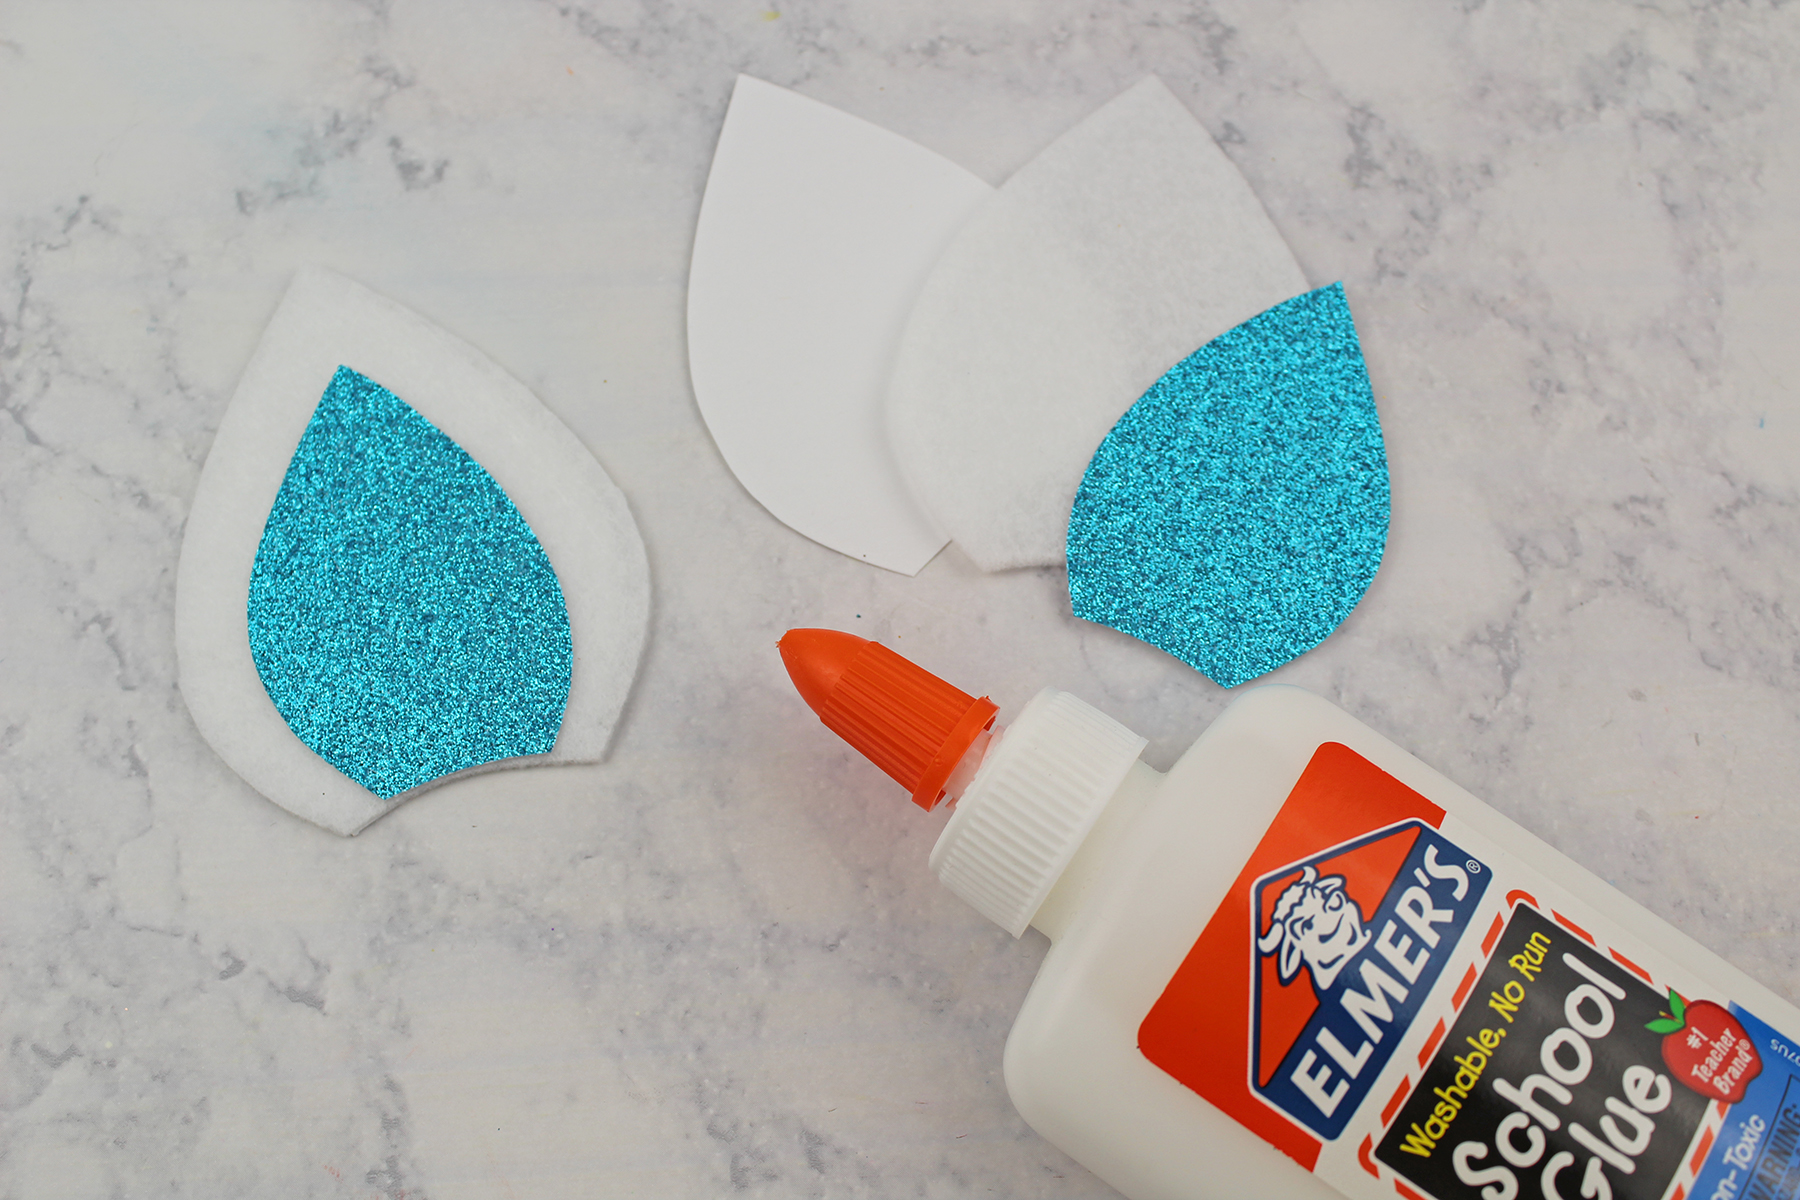
Glue the white felt onto the white cardstock and then glue the glitter cardstock on top of the white felt.
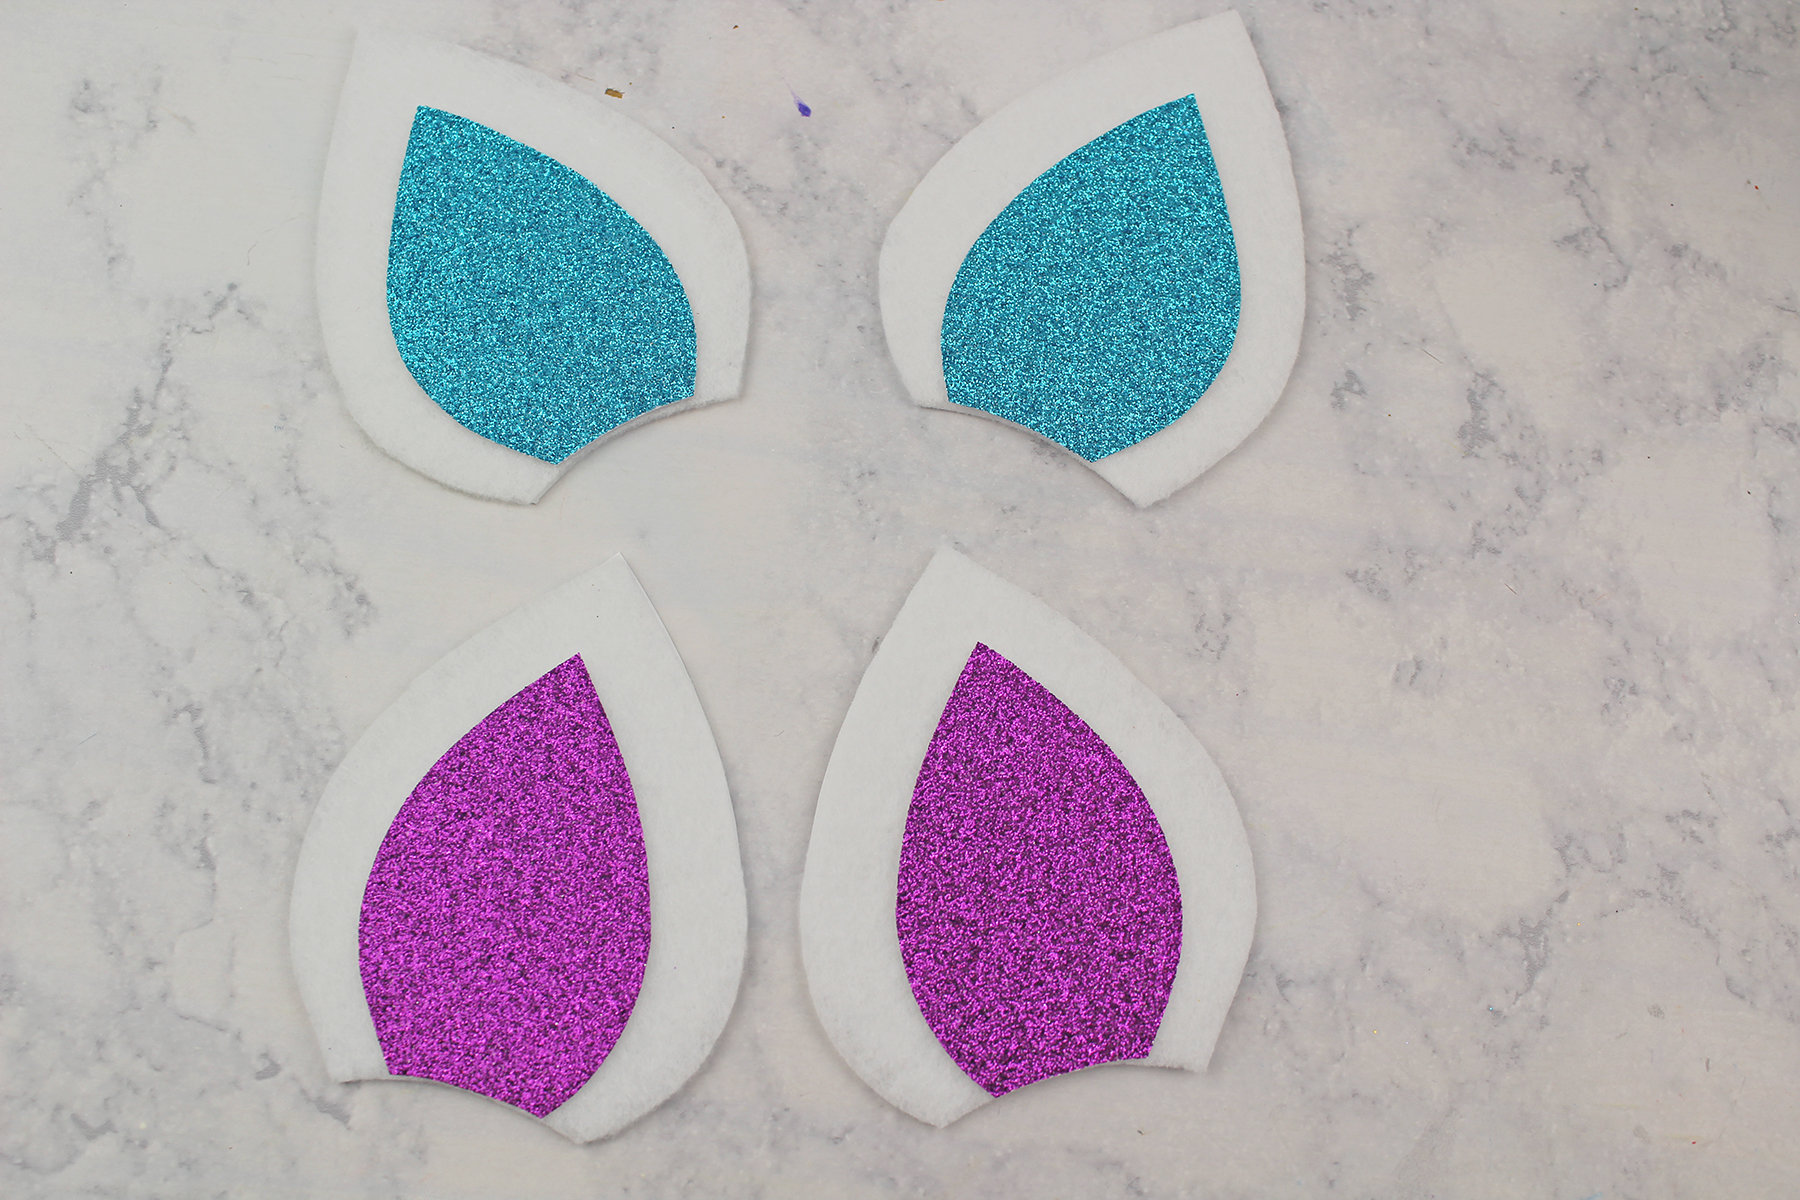
Repeat until you have assembled all of your unicorn ears.
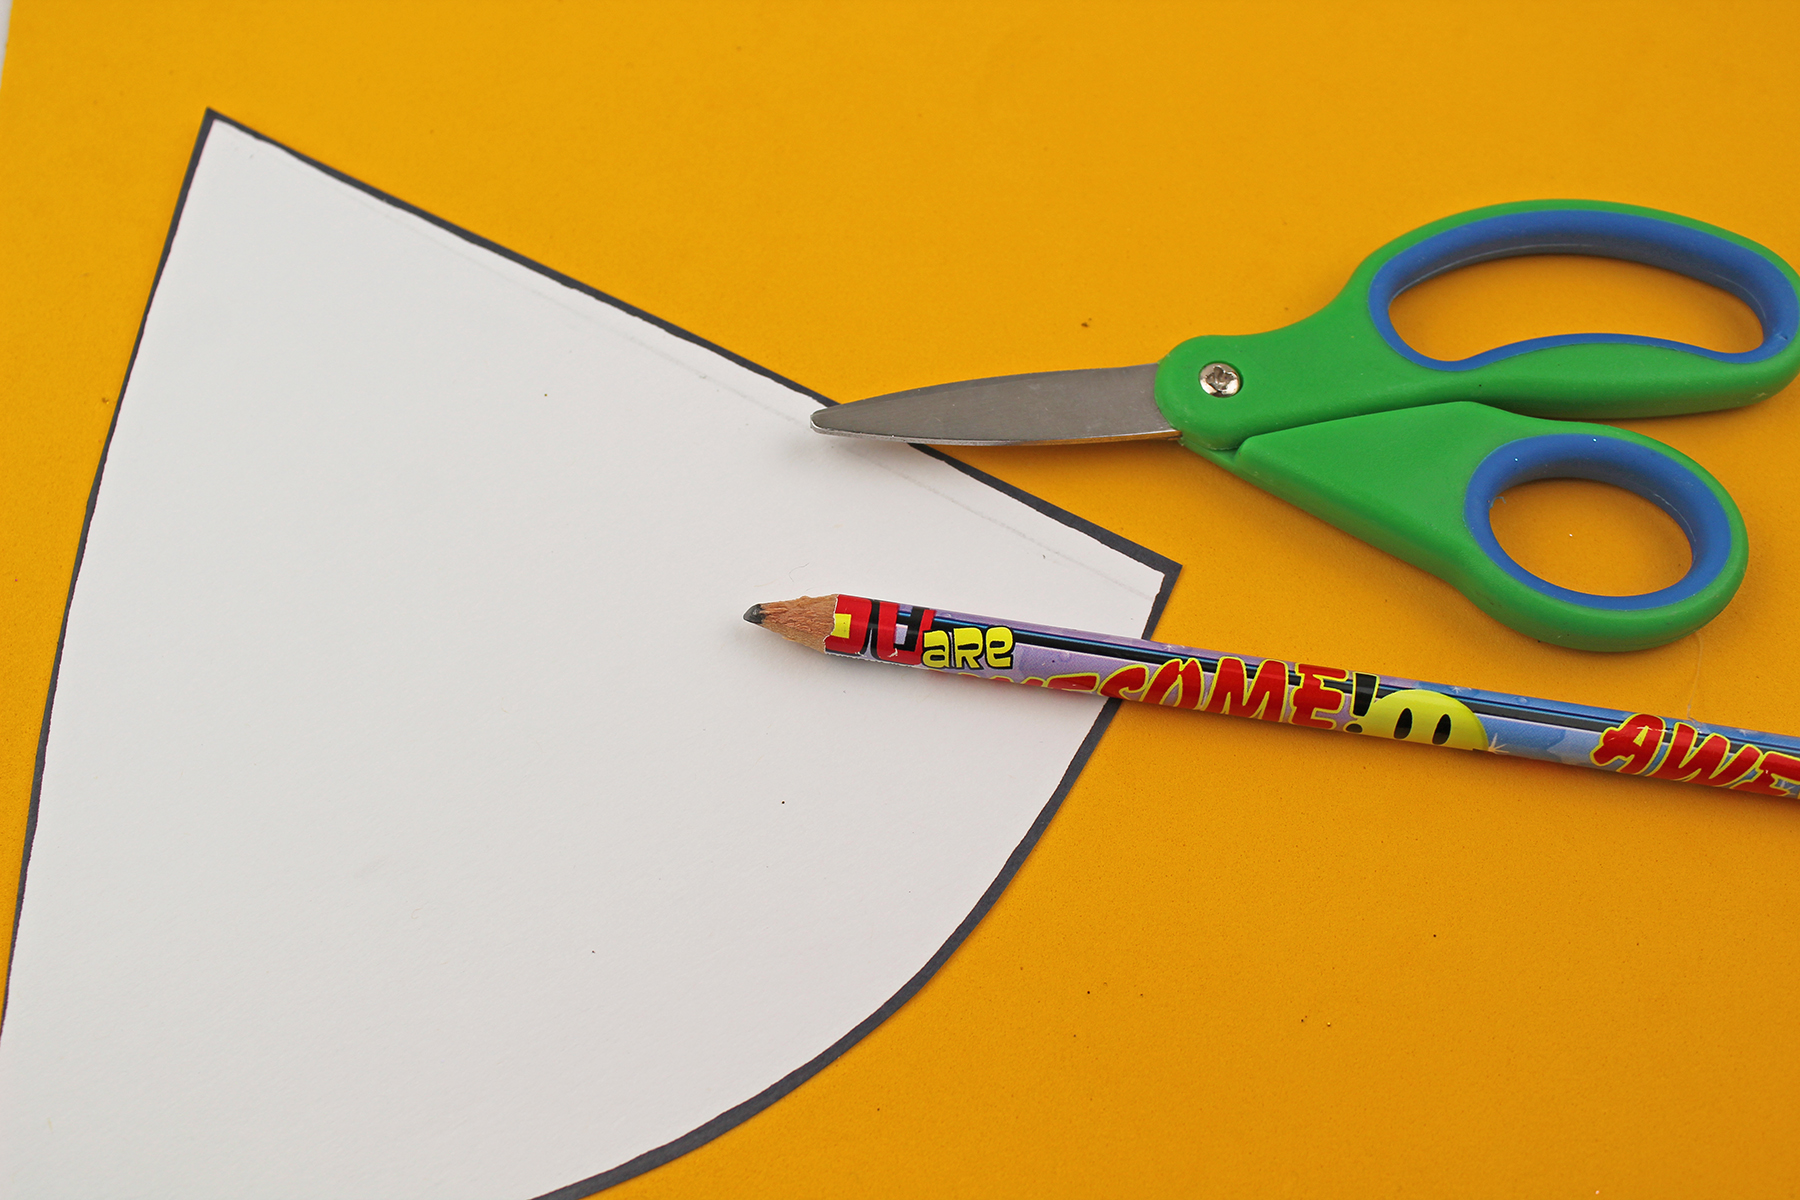
Turn the gold glitter foam over, trace the unicorn horn template onto it, and then cut the horn out.
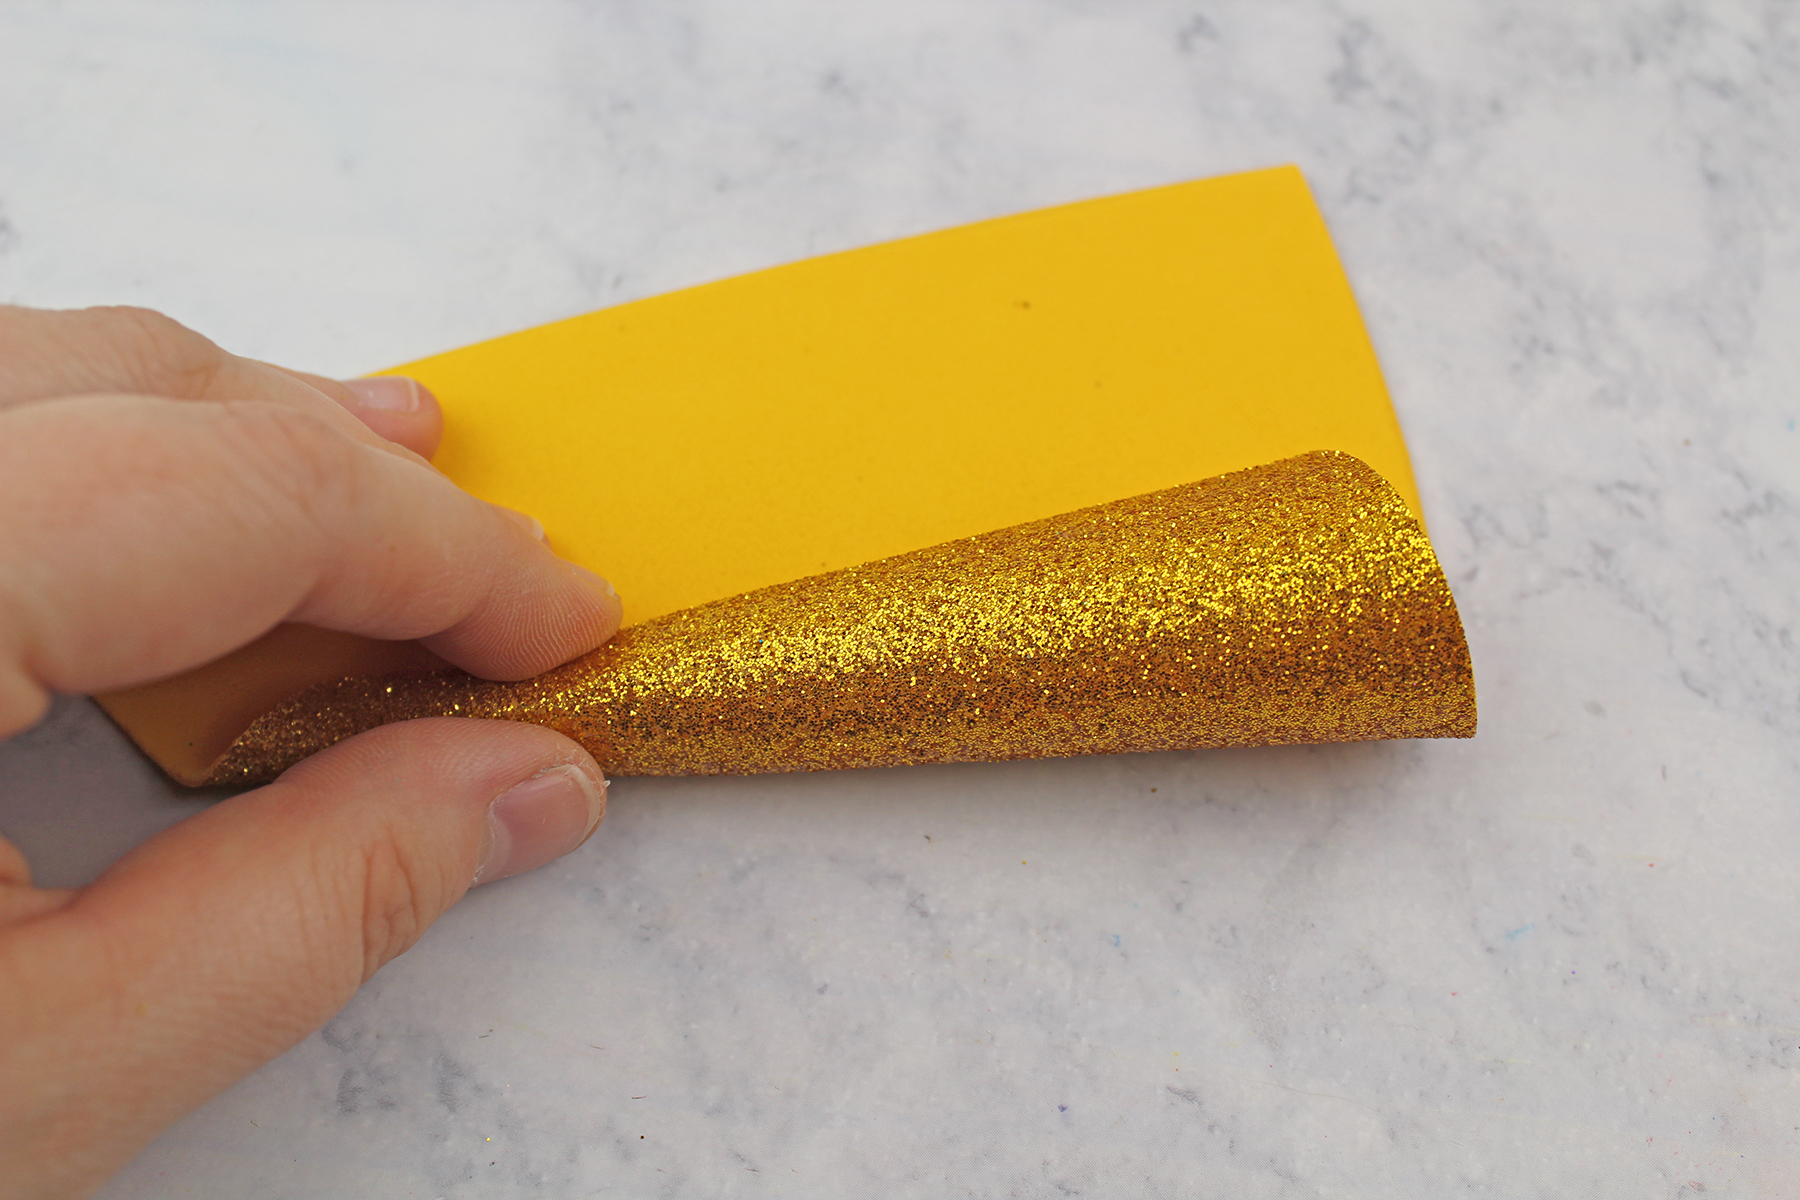
Starting from the straight end, start curling the horn in.
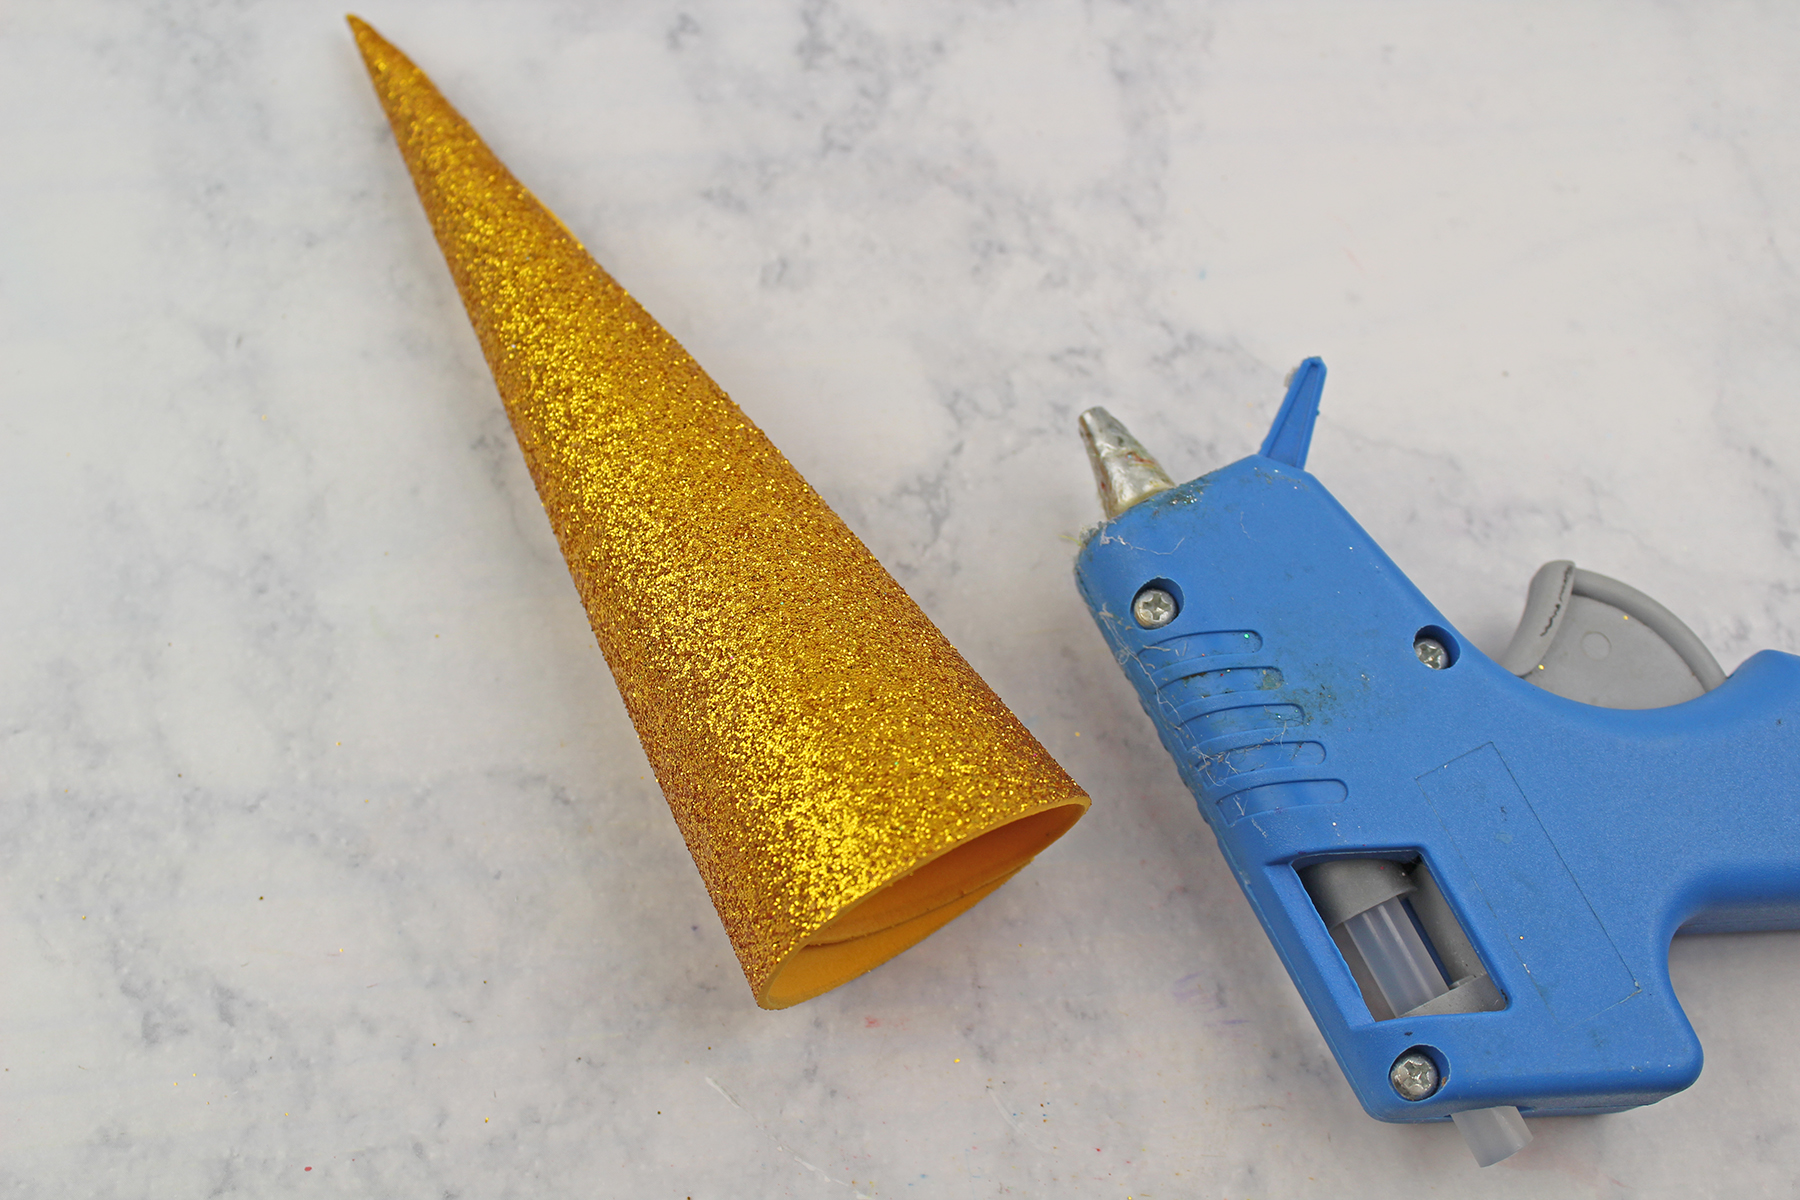
Once the horn is formed, glue the shape into place by running hot glue down the back seam.
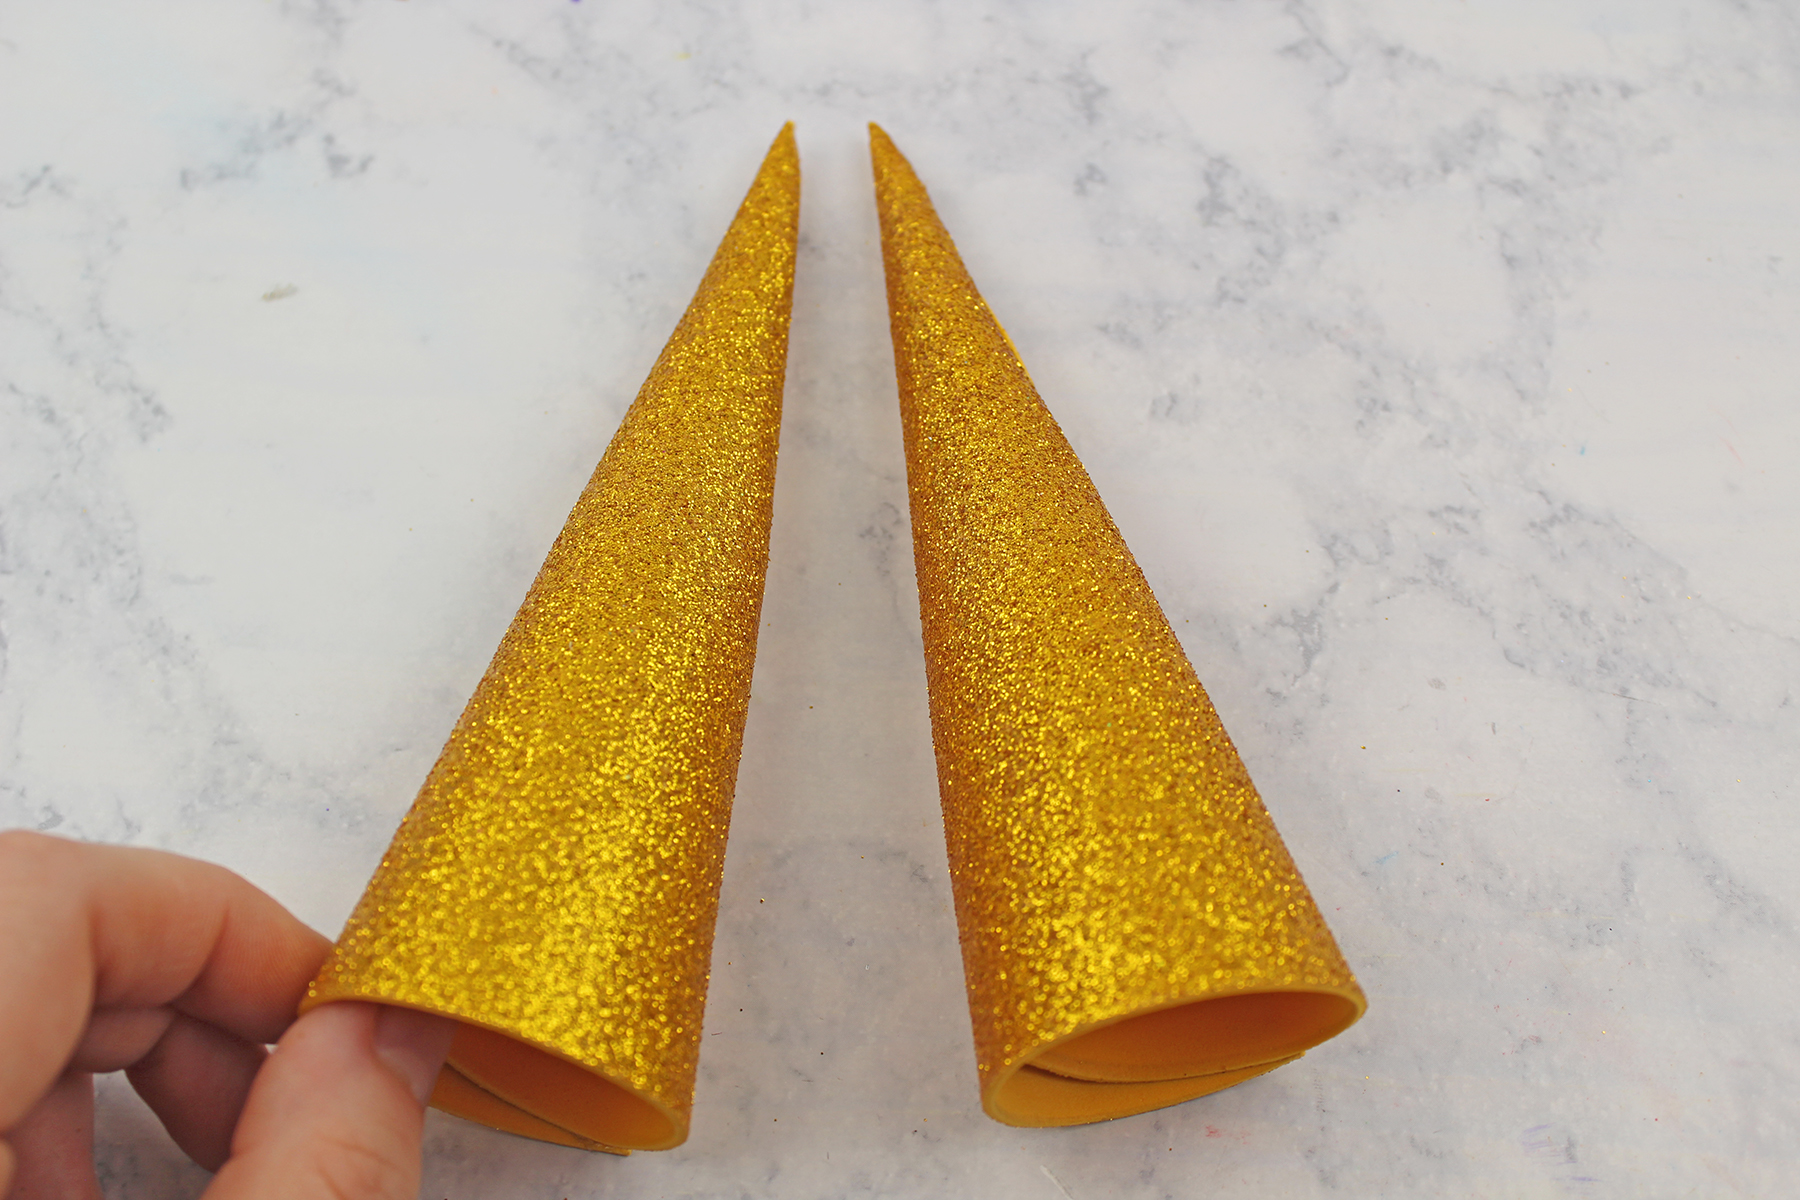
Repeat until you have finished making all of your unicorn horns.
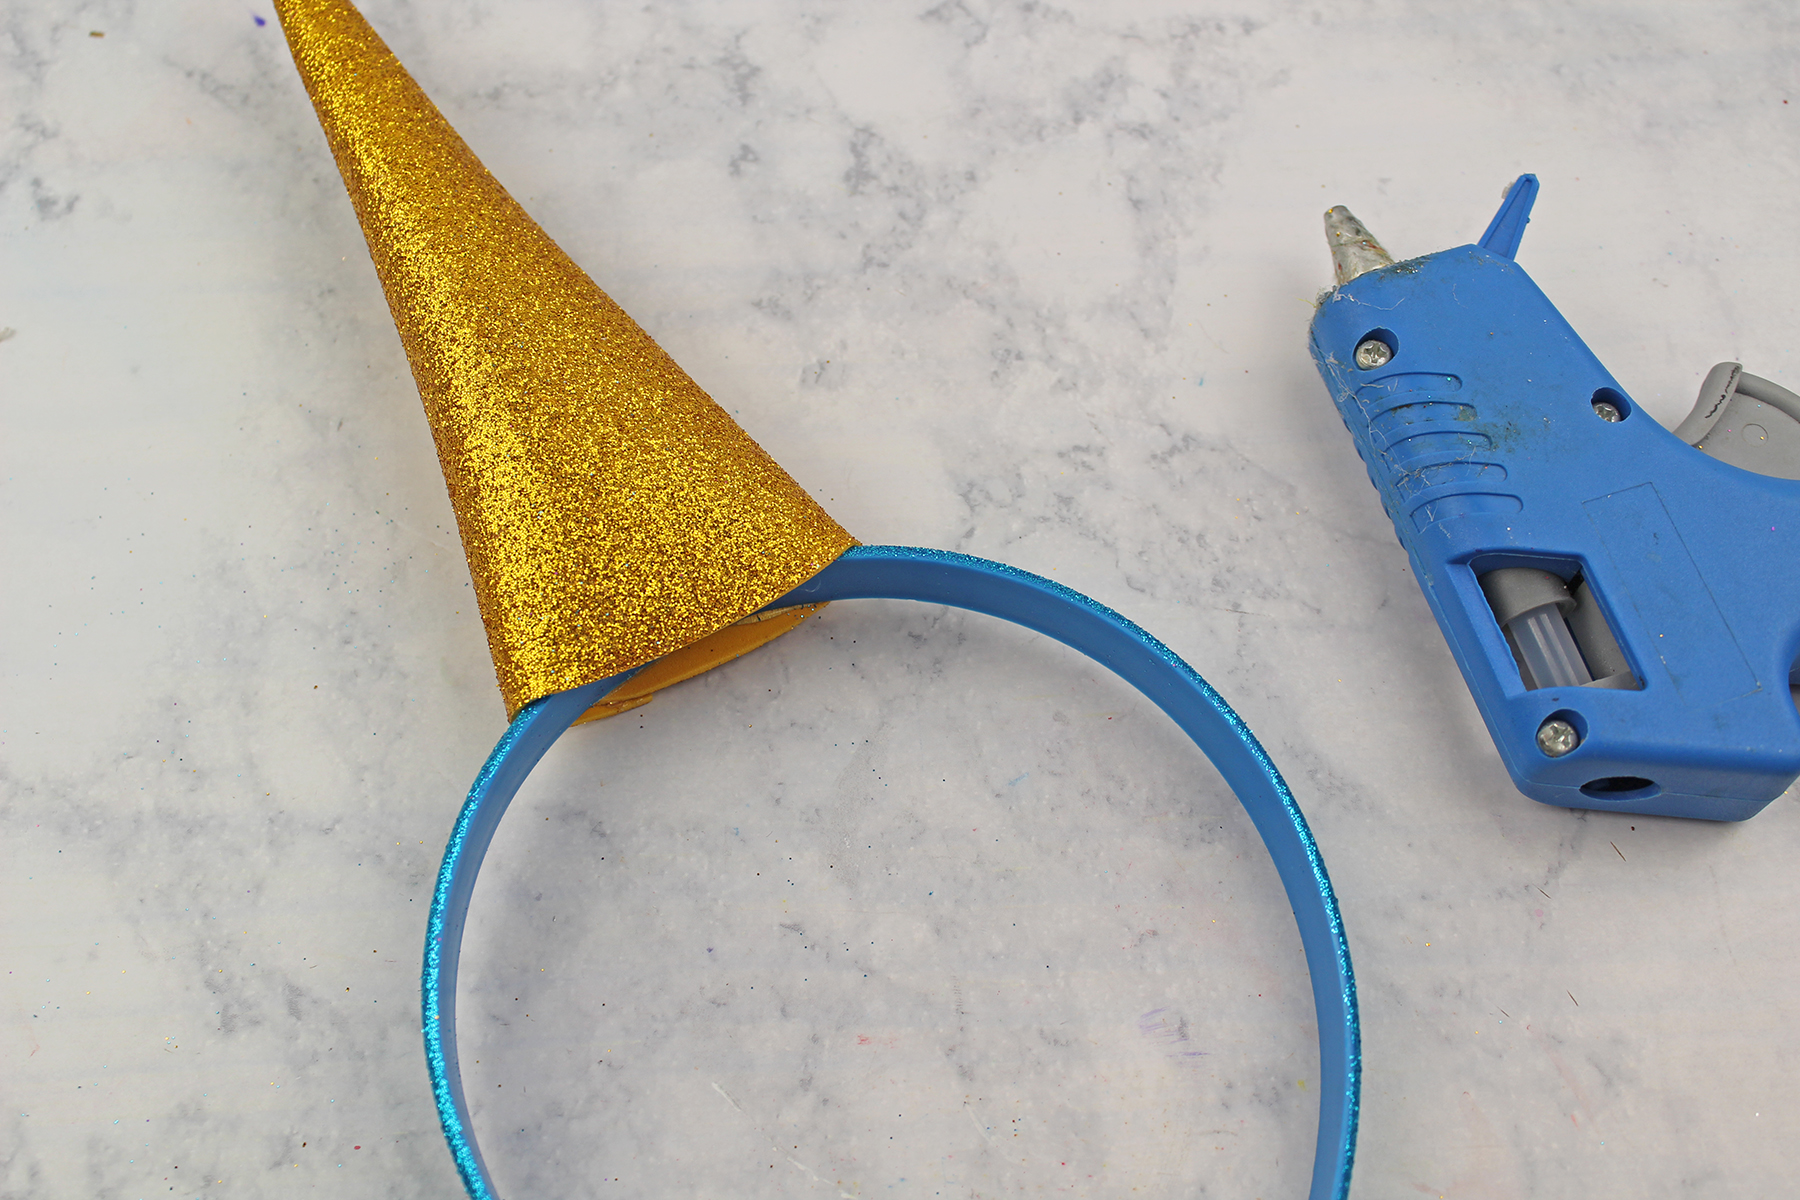
Glue the horns onto the headbands.
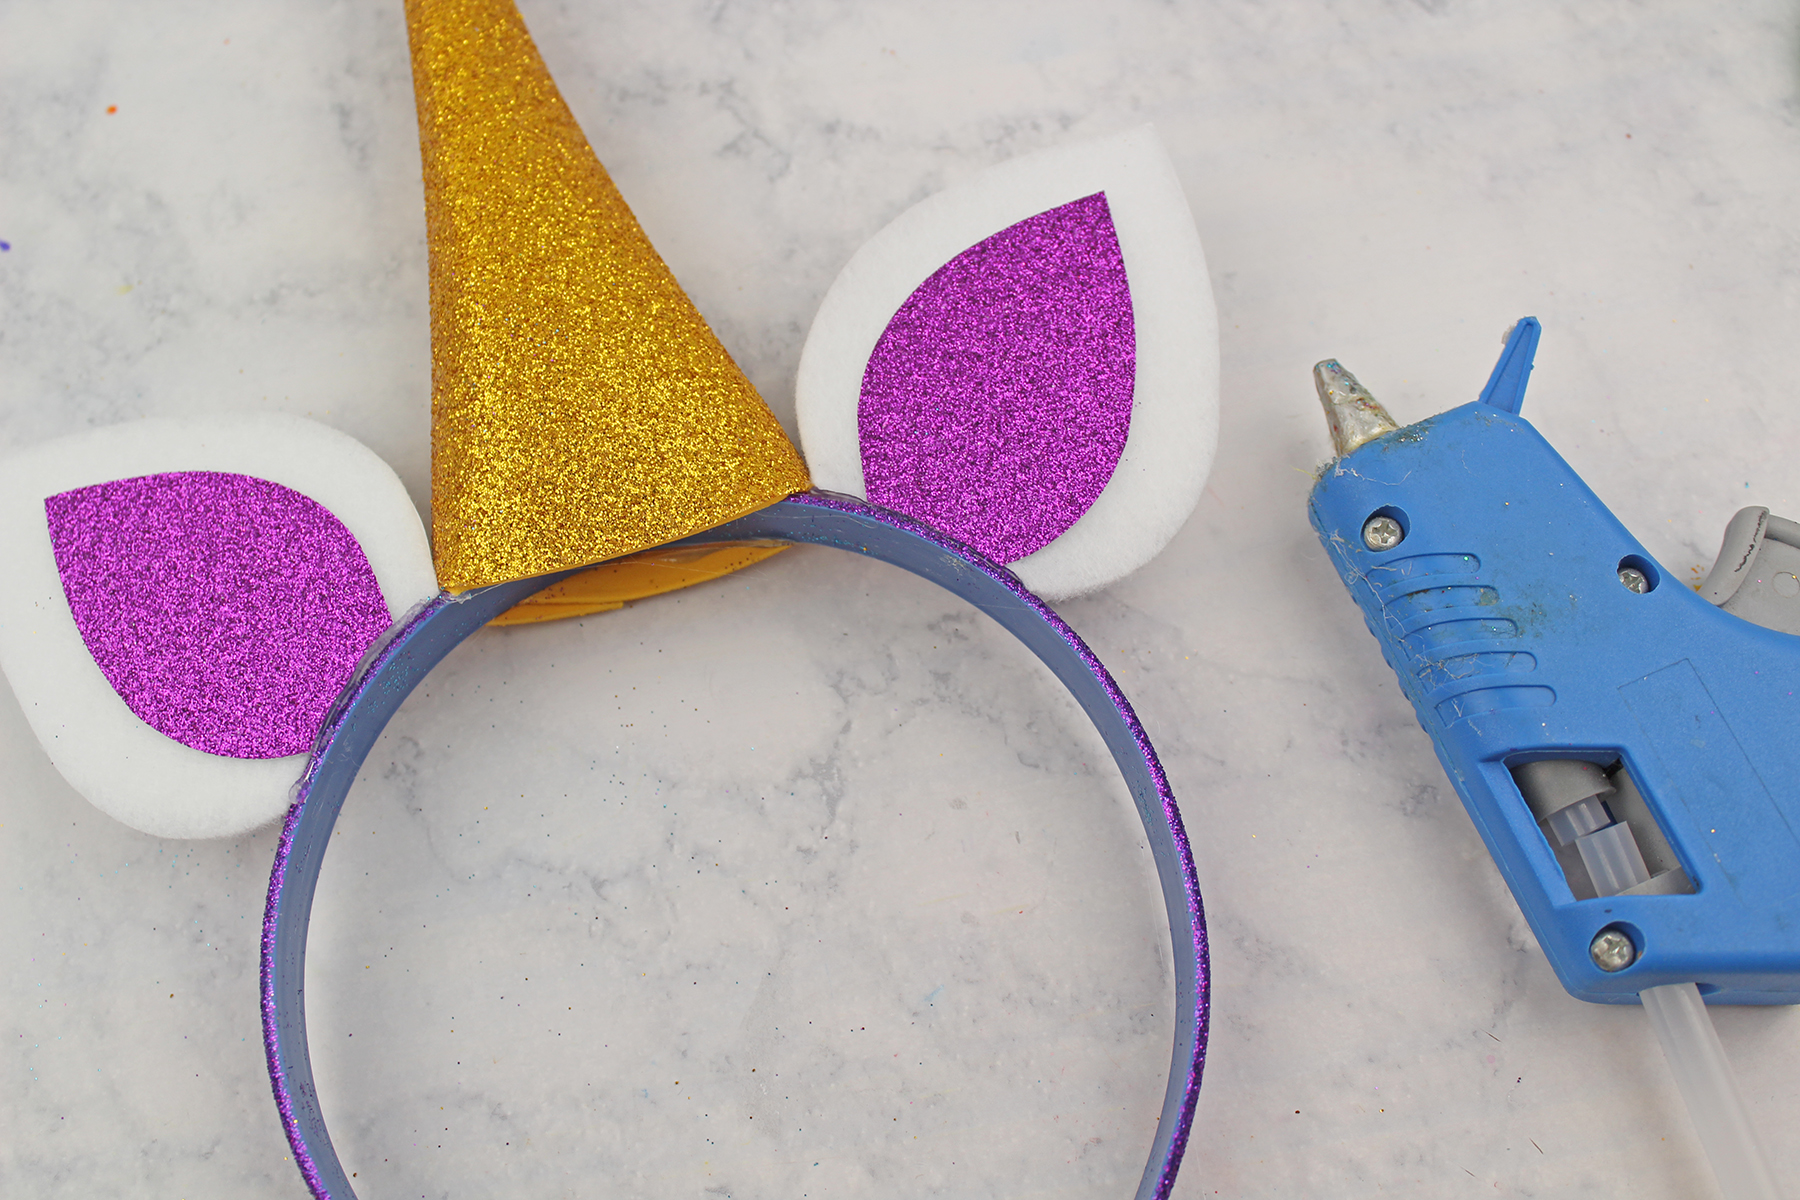
Next, glue the ears onto the headband on either side of the horn.
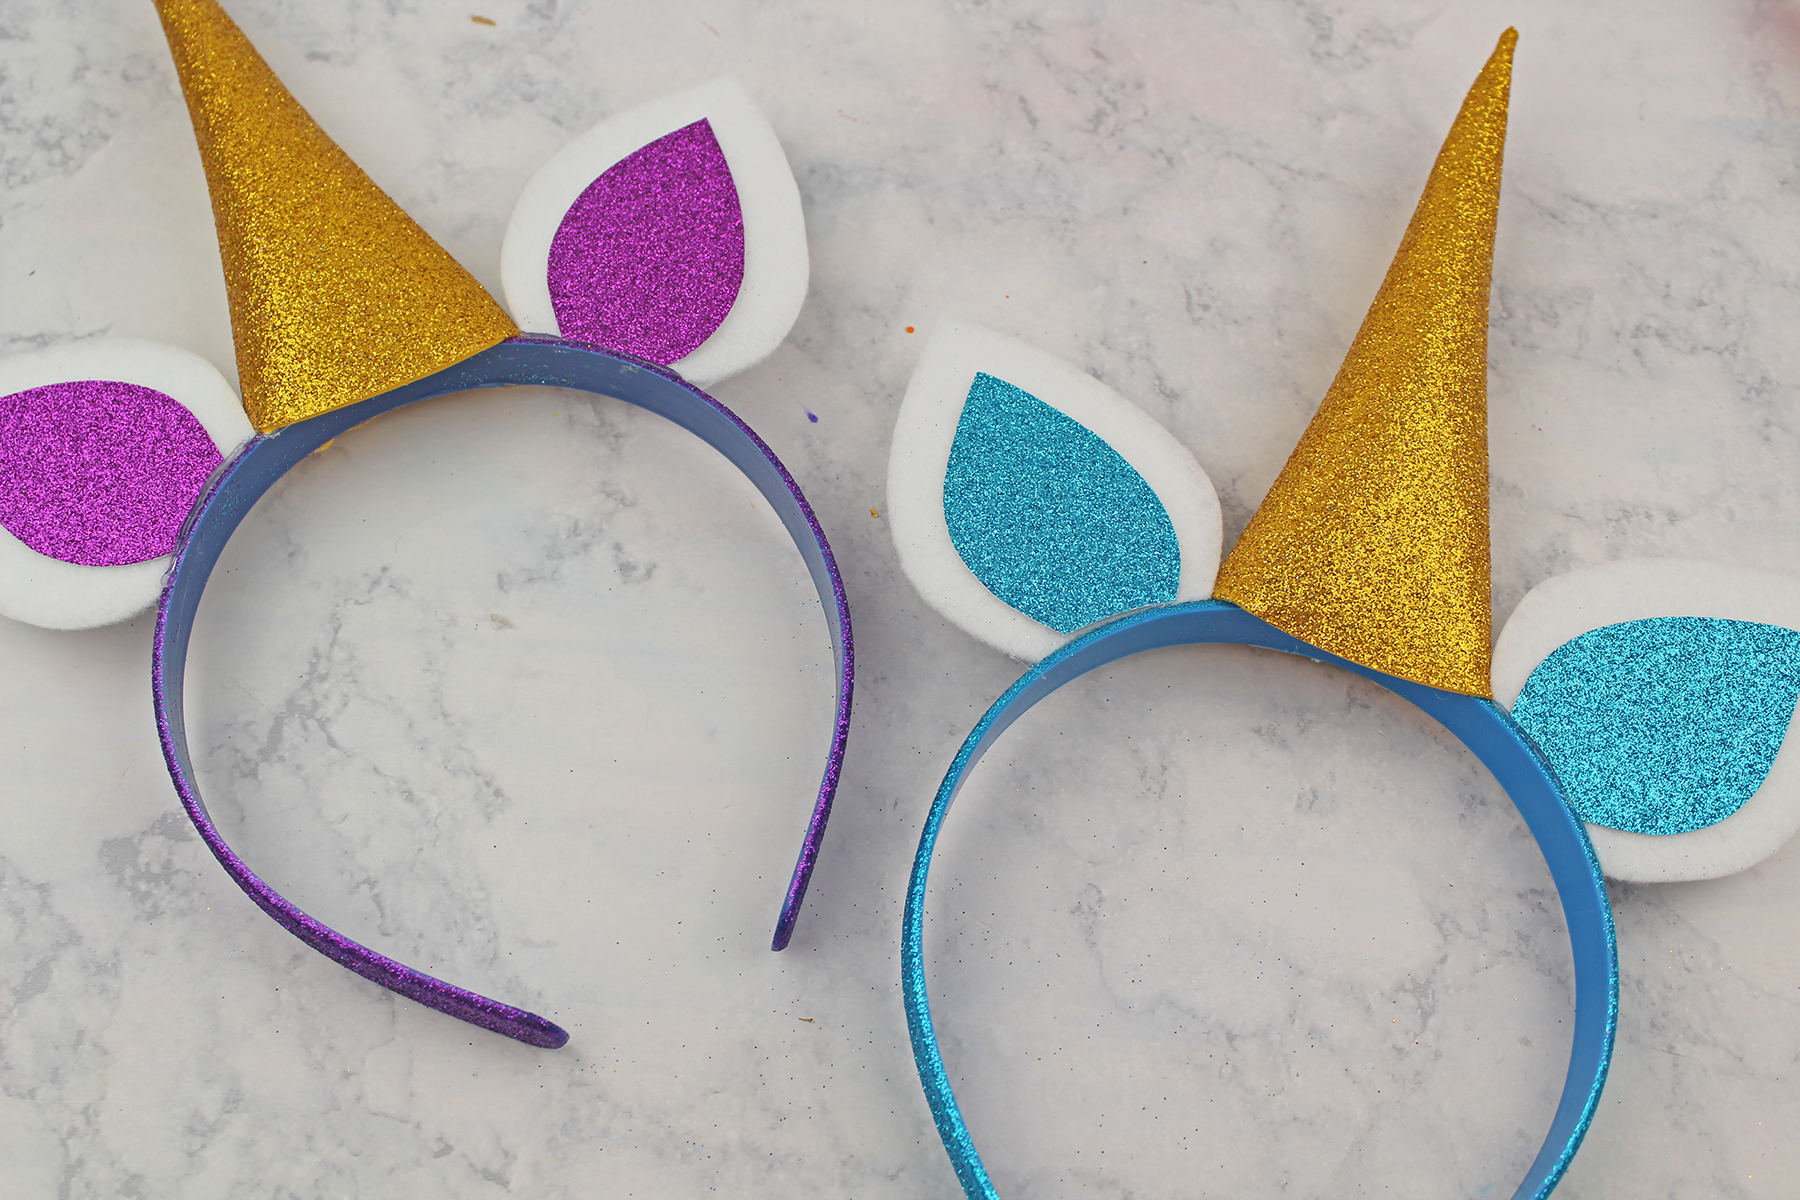
Repeat until you have glued all your ears onto your headbands.
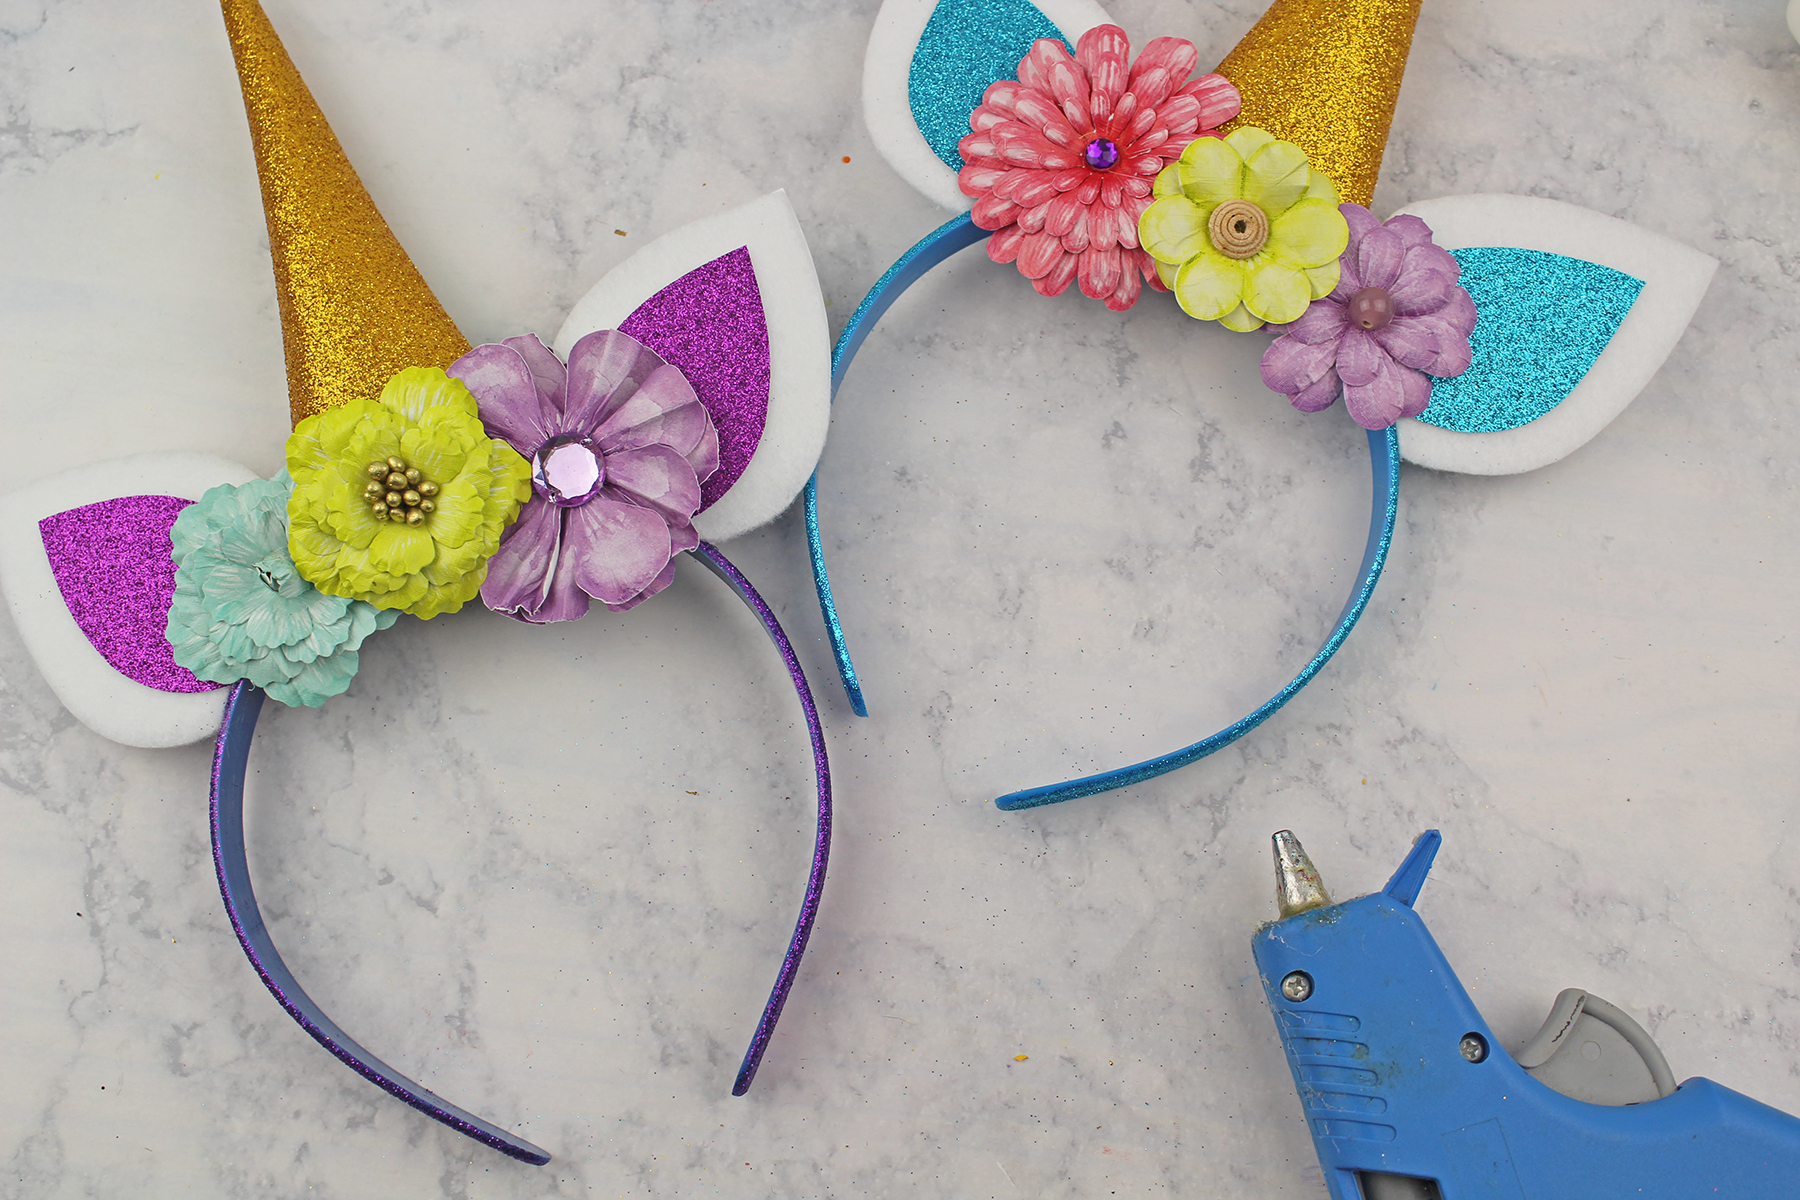
Glue colourful flowers onto the headband slightly covering the horn and ears.
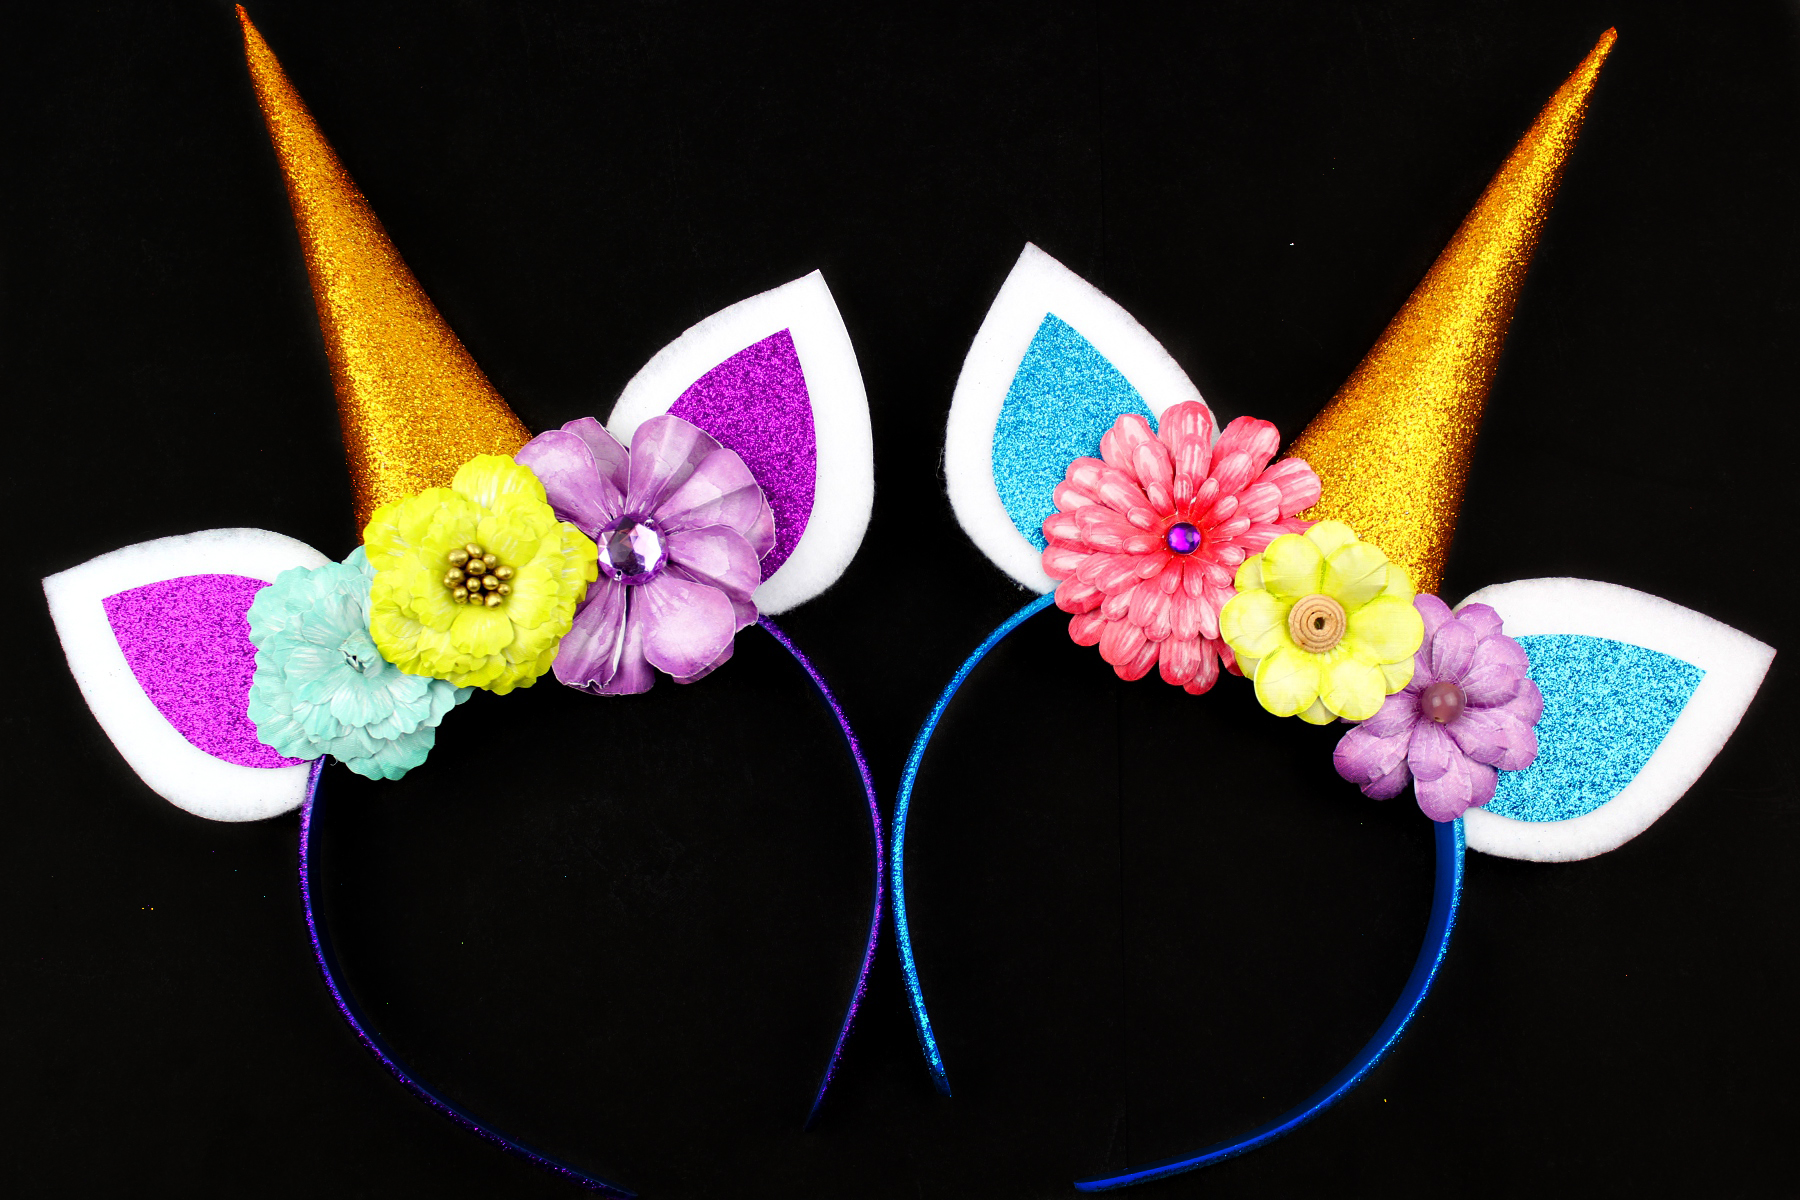
Let your unicorn headbands dry before wearing!
PRINT THE UNICORN EARS & HORN TEMPLATE
DIY Unicorn Headbands
Ingredients
- Gold Glitter Foam
- Glitter Cardstock
- White Cardstock
- White Felt
- Glue
- Glue Gun
- Scissors
- Headband
- Flowers
Instructions
- Download, print, and cut out the unicorn template.
- Trace the ear template onto white felt and white cardstock. Do this two times making sure to flip it over for the second ear. Cut out.
- Cut out the inner piece of the ear template and trace onto the glitter cardstock. Do this two times making sure to flip it over for the second ear. Cut out.
- Glue the white felt onto the white cardstock and then glue the glitter cardstock on top of the white felt. (Refer to the photos)
- Turn the gold glitter foam over and trace the unicorn horn template onto it. Cut the horn out.
- Starting from the straight end, start curling the horn in. (Refer to the photos)
- Once the horn is formed, glue the shape into place by running hot glue down the back seam.
- Glue the horns onto the headbands.
- Next, glue the ears onto the headband on either side of the horn.
- Glue colourful flowers onto the headband slightly covering the horn and ears.
- Let your unicorn headbands fully dry before wearing.
- Williams Sonoma Canada Boxing Day Sale - December 26, 2025
- Warby Parker Boxing Day Sale - December 26, 2025
- Psycho Bunny Canada Boxing Day Sale - December 26, 2025


Leave a Reply