©Aimée Geroux | https://extremecouponingmom.ca
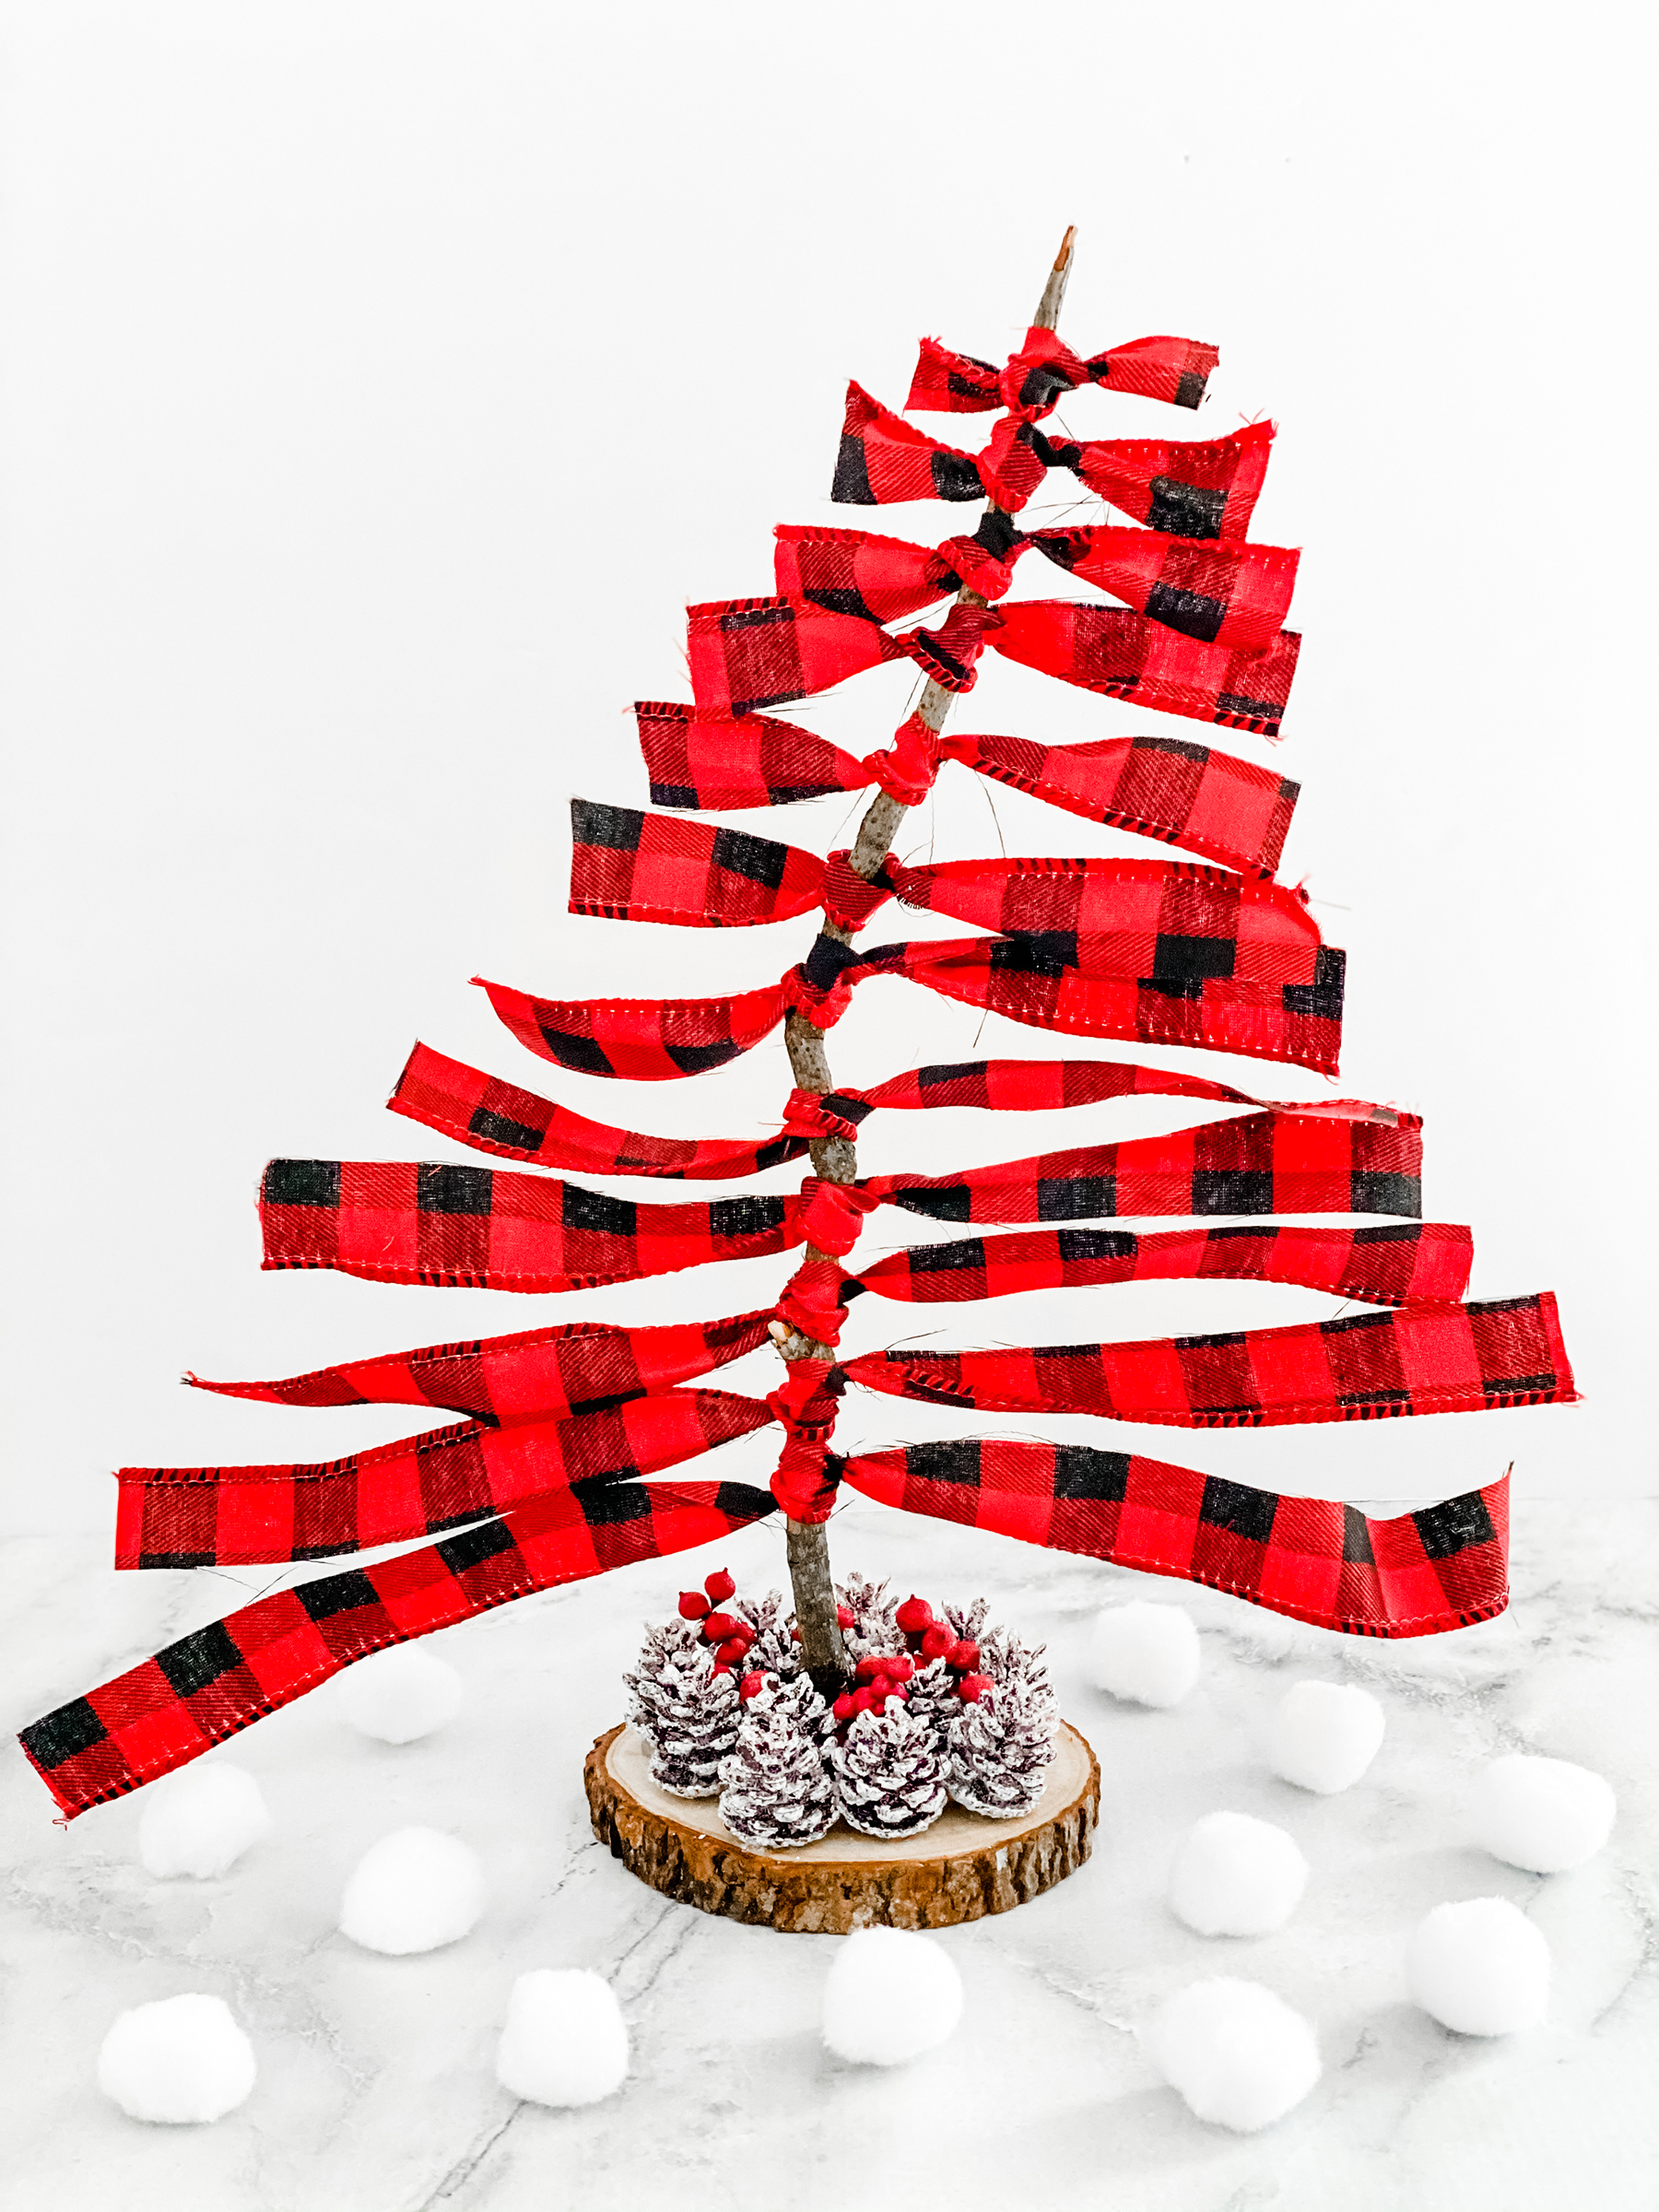
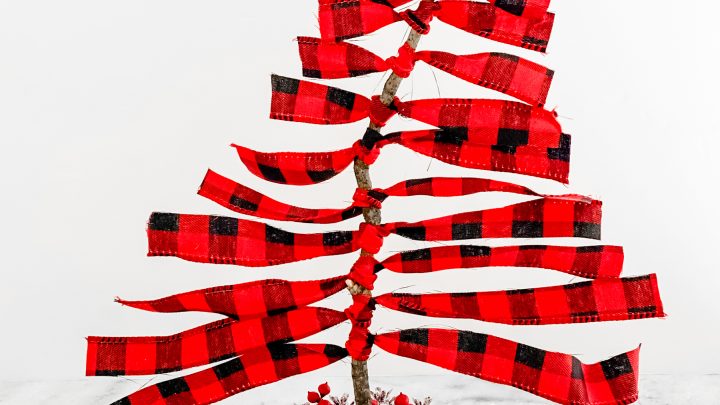
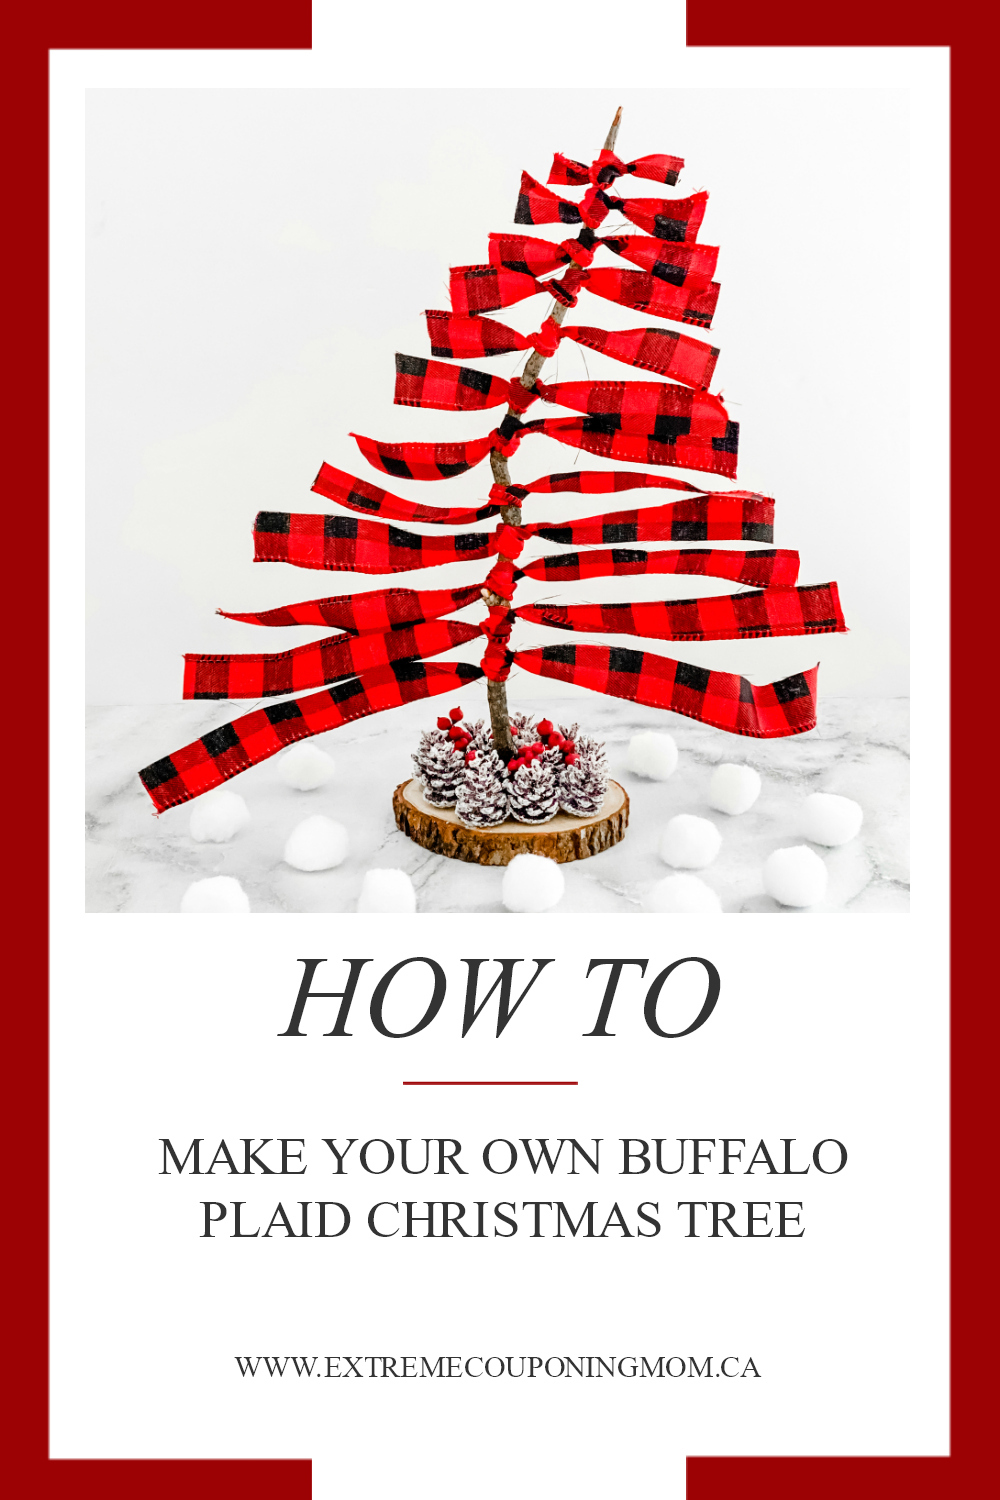
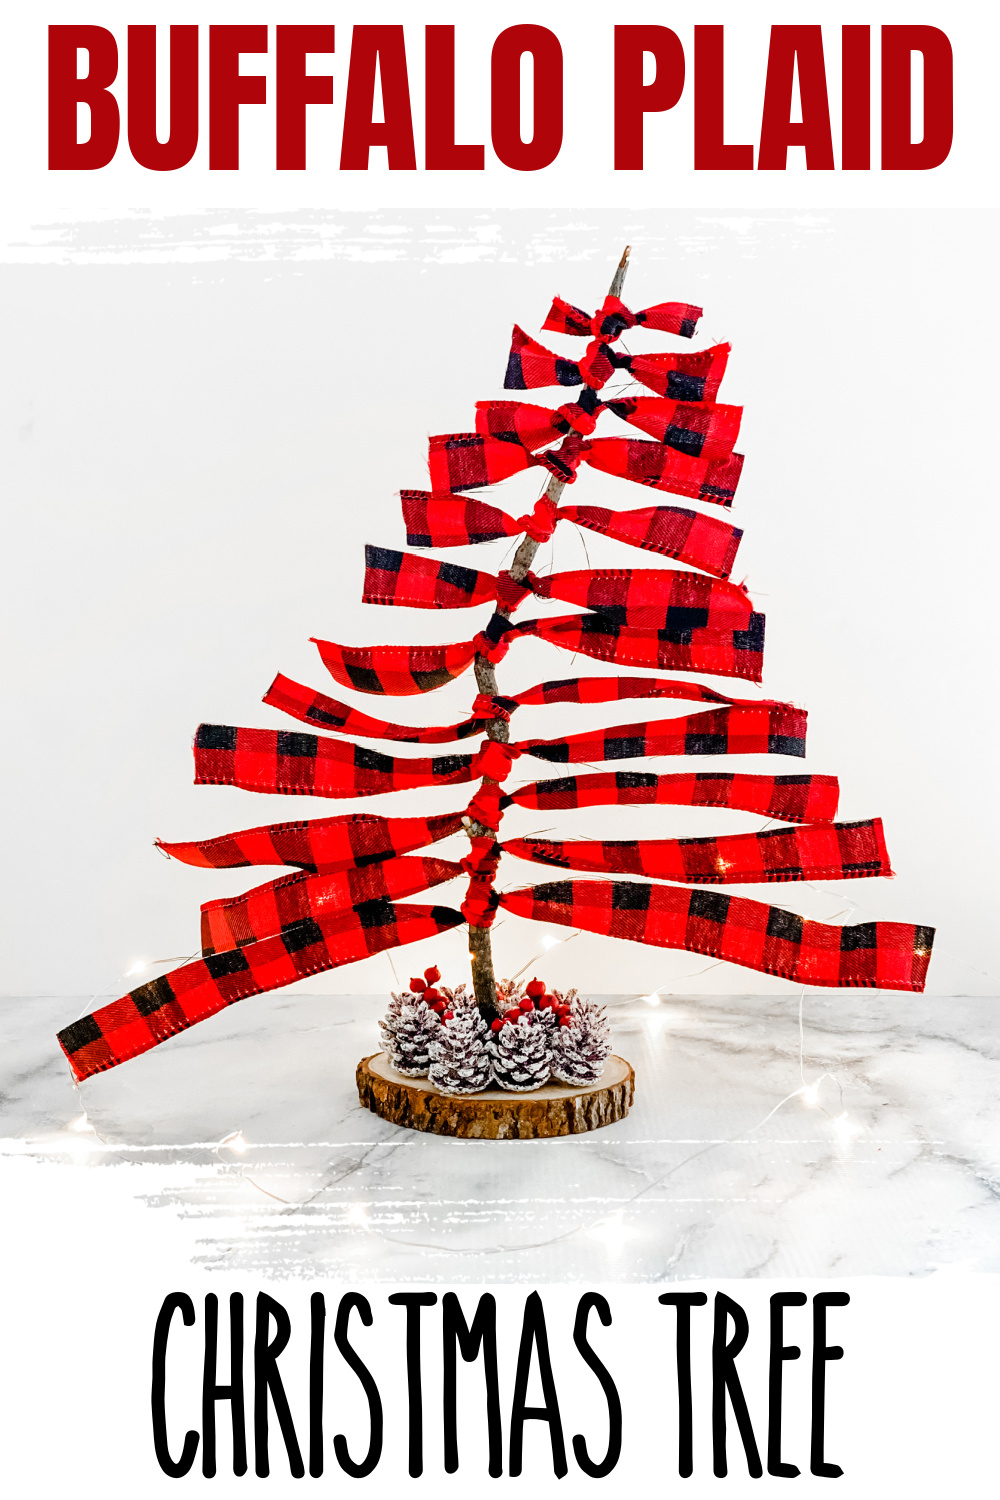
This Buffalo Plaid Christmas Tree Decor DIY is so simple to make and cost me a fraction of what I would have paid in a store.
If buffalo plaid isn’t your jam, you can totally customize this to match your Christmas decor theme!
My Christmas decor is a tree farm theme so I thought a buffalo plaid tree would be the perfect addition.
©Aimée Geroux | https://extremecouponingmom.ca
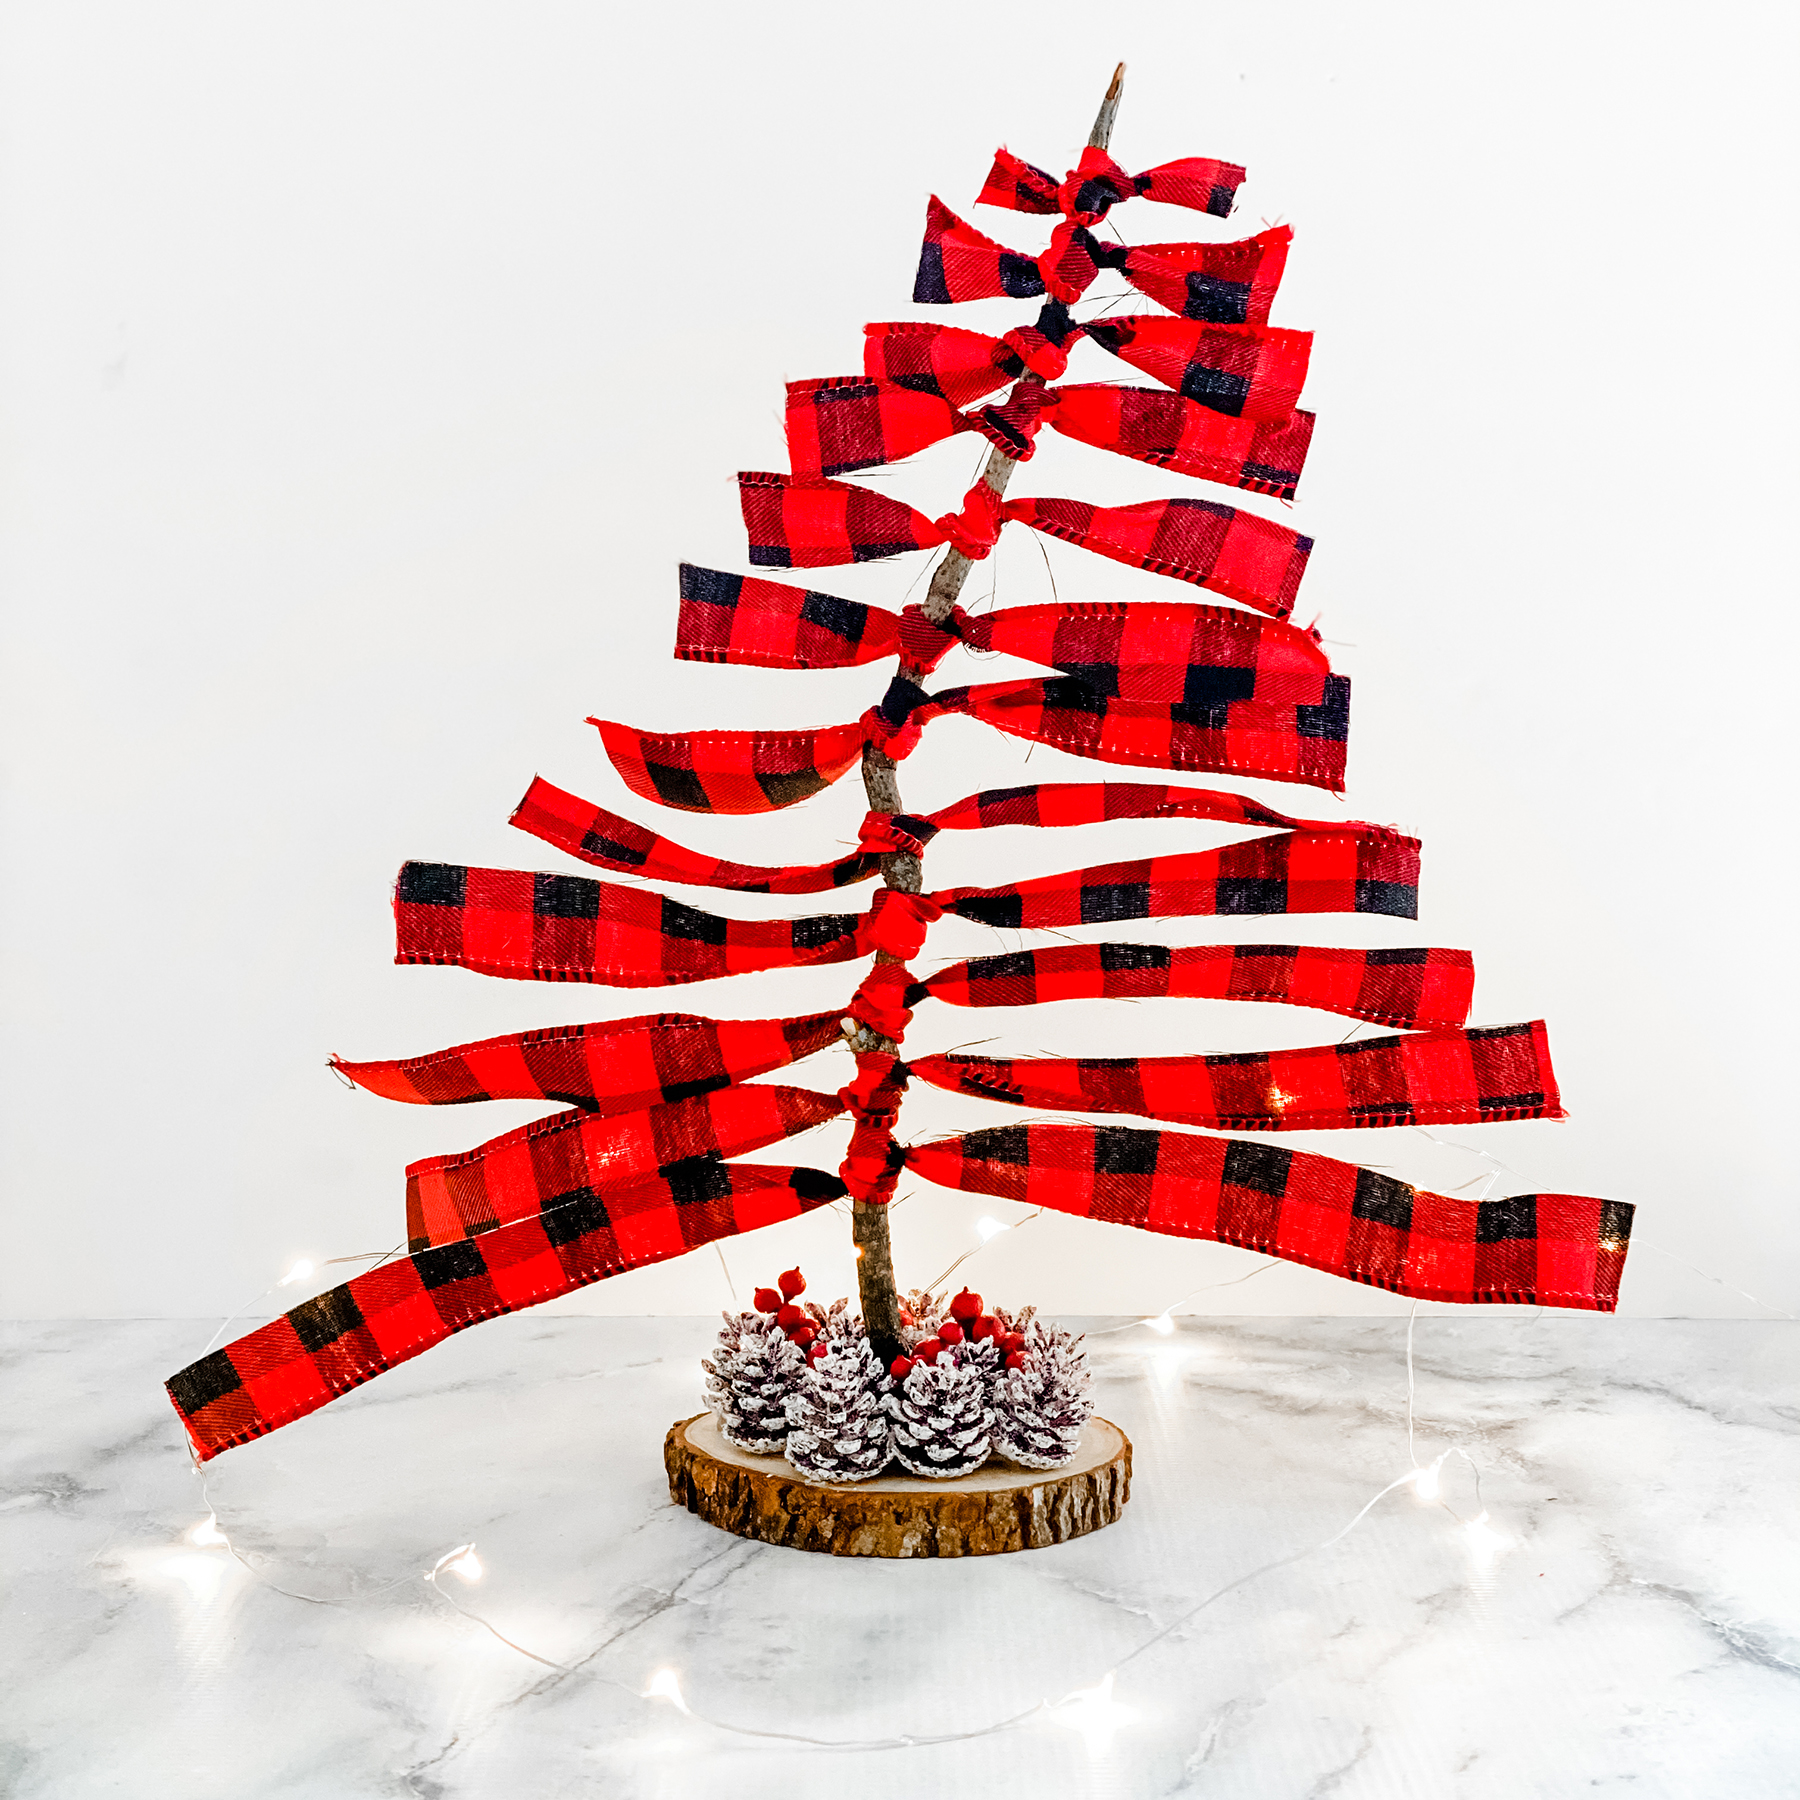
Buffalo Plaid Christmas Tree Decor DIY
If you are looking for a fun and easy holiday DIY you must make your very own Buffalo Plaid Christmas Tree!
Go for a nice walk to find some free sticks.
Gather different sizes because with smaller sticks you can make matching Christmas tree ornaments.
You would follow the same steps below but instead of glueing it onto a stand, you would glue a tied string to the top to make it hangable!
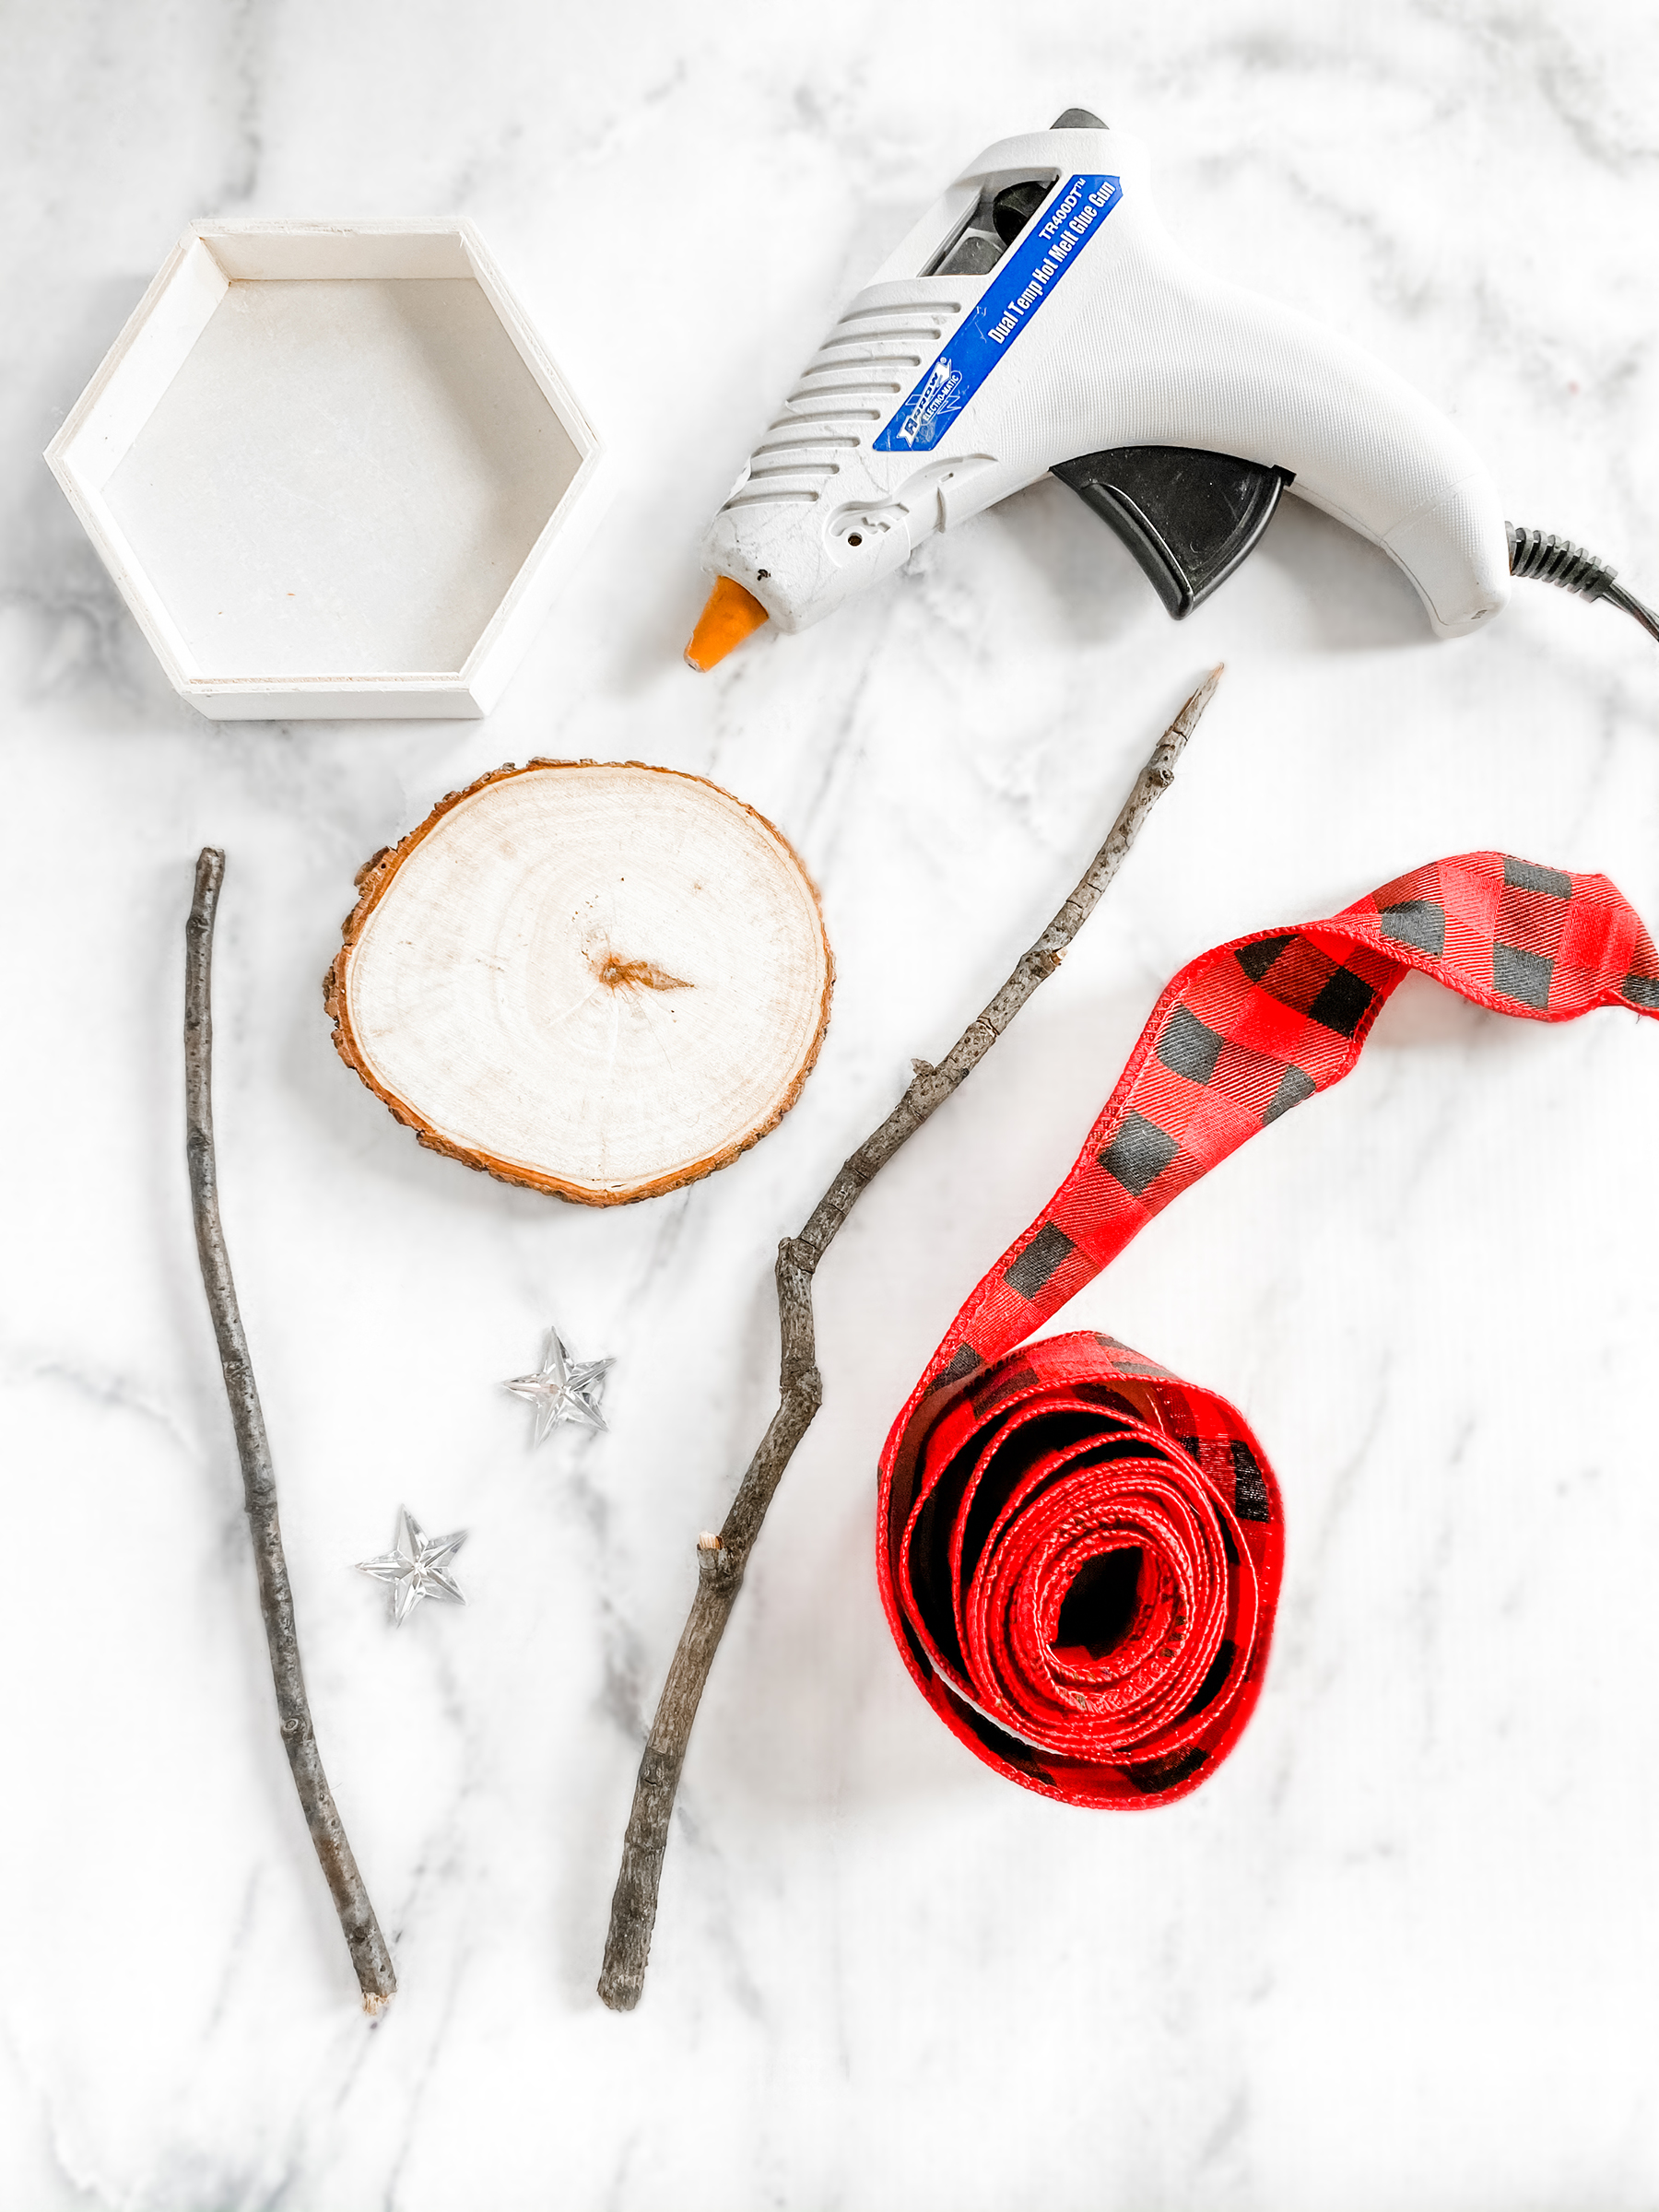
What You Will Need:
- Glue gun
- Hot glue stick
- Stick
- Base/stand
- Ribbon
- Embellishments
For my embellishments, I used some mini frosted pinecones and faux berries.
You can use whatever you want, for example, glue cotton balls around the base of the tree as snow.
Be creative!
How To Make A Christmas Duster Wreath
Follow along with the step-by-step visual instructions below and then find the printable instructions below!
©Aimée Geroux | https://extremecouponingmom.ca
Gather the supplies you will need to make the buffalo plaid Christmas tree.
©Aimée Geroux | https://extremecouponingmom.ca
Cut the bottom of the stick to make it as flat/level as possible.
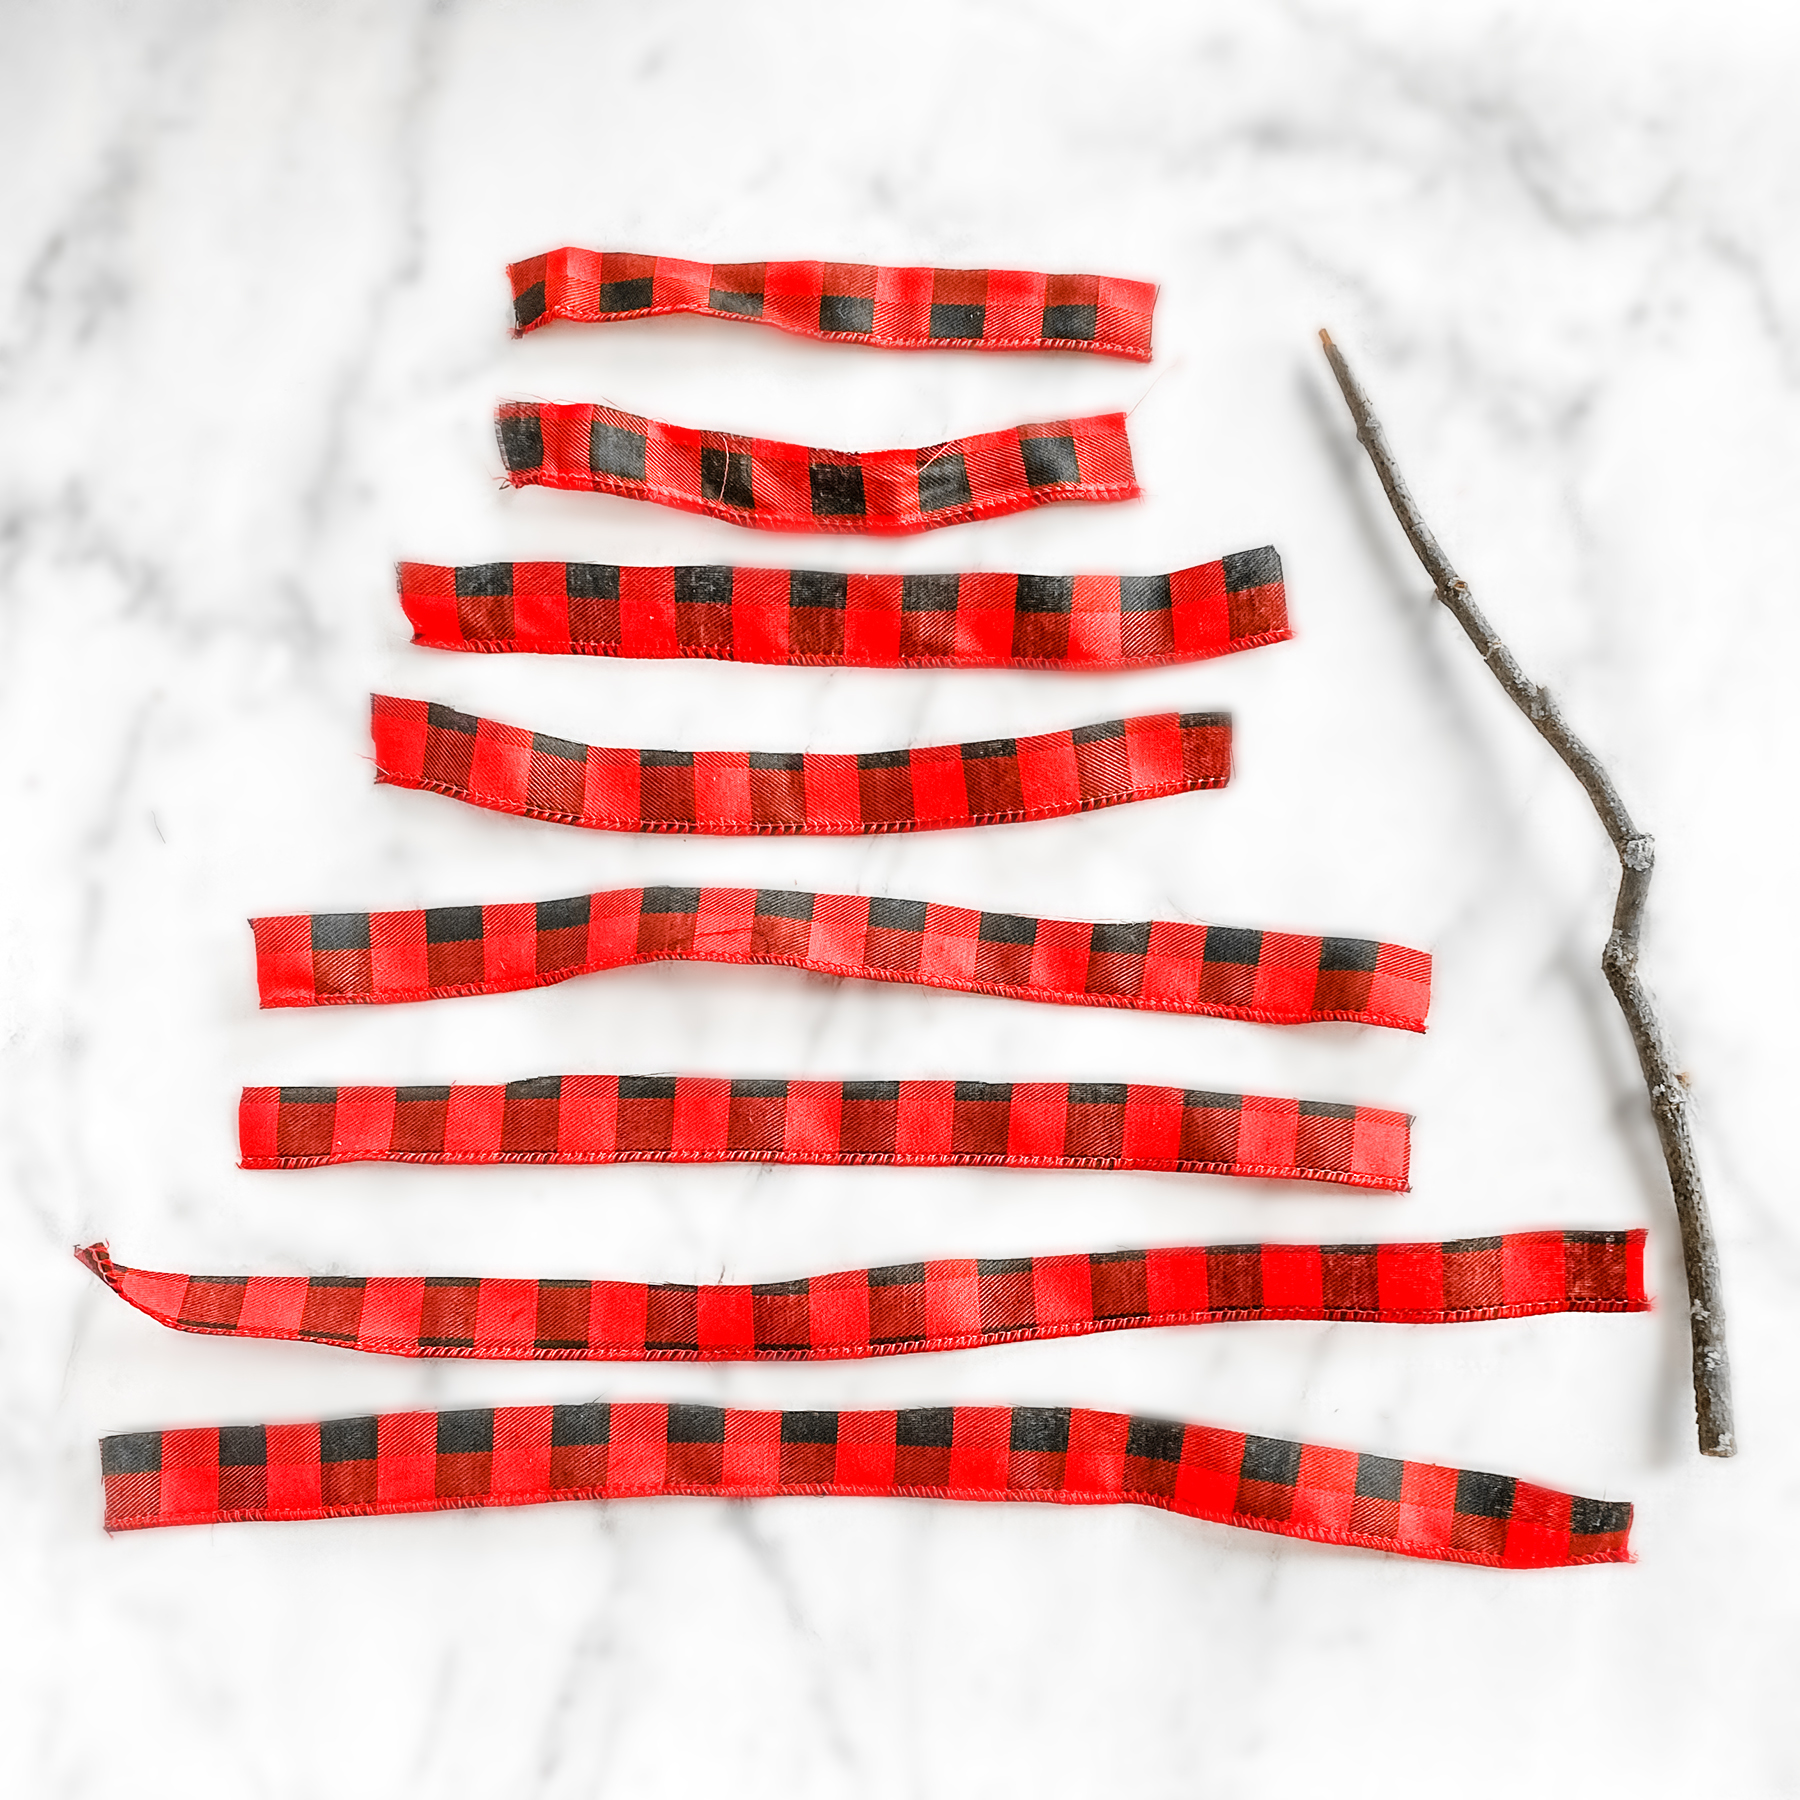
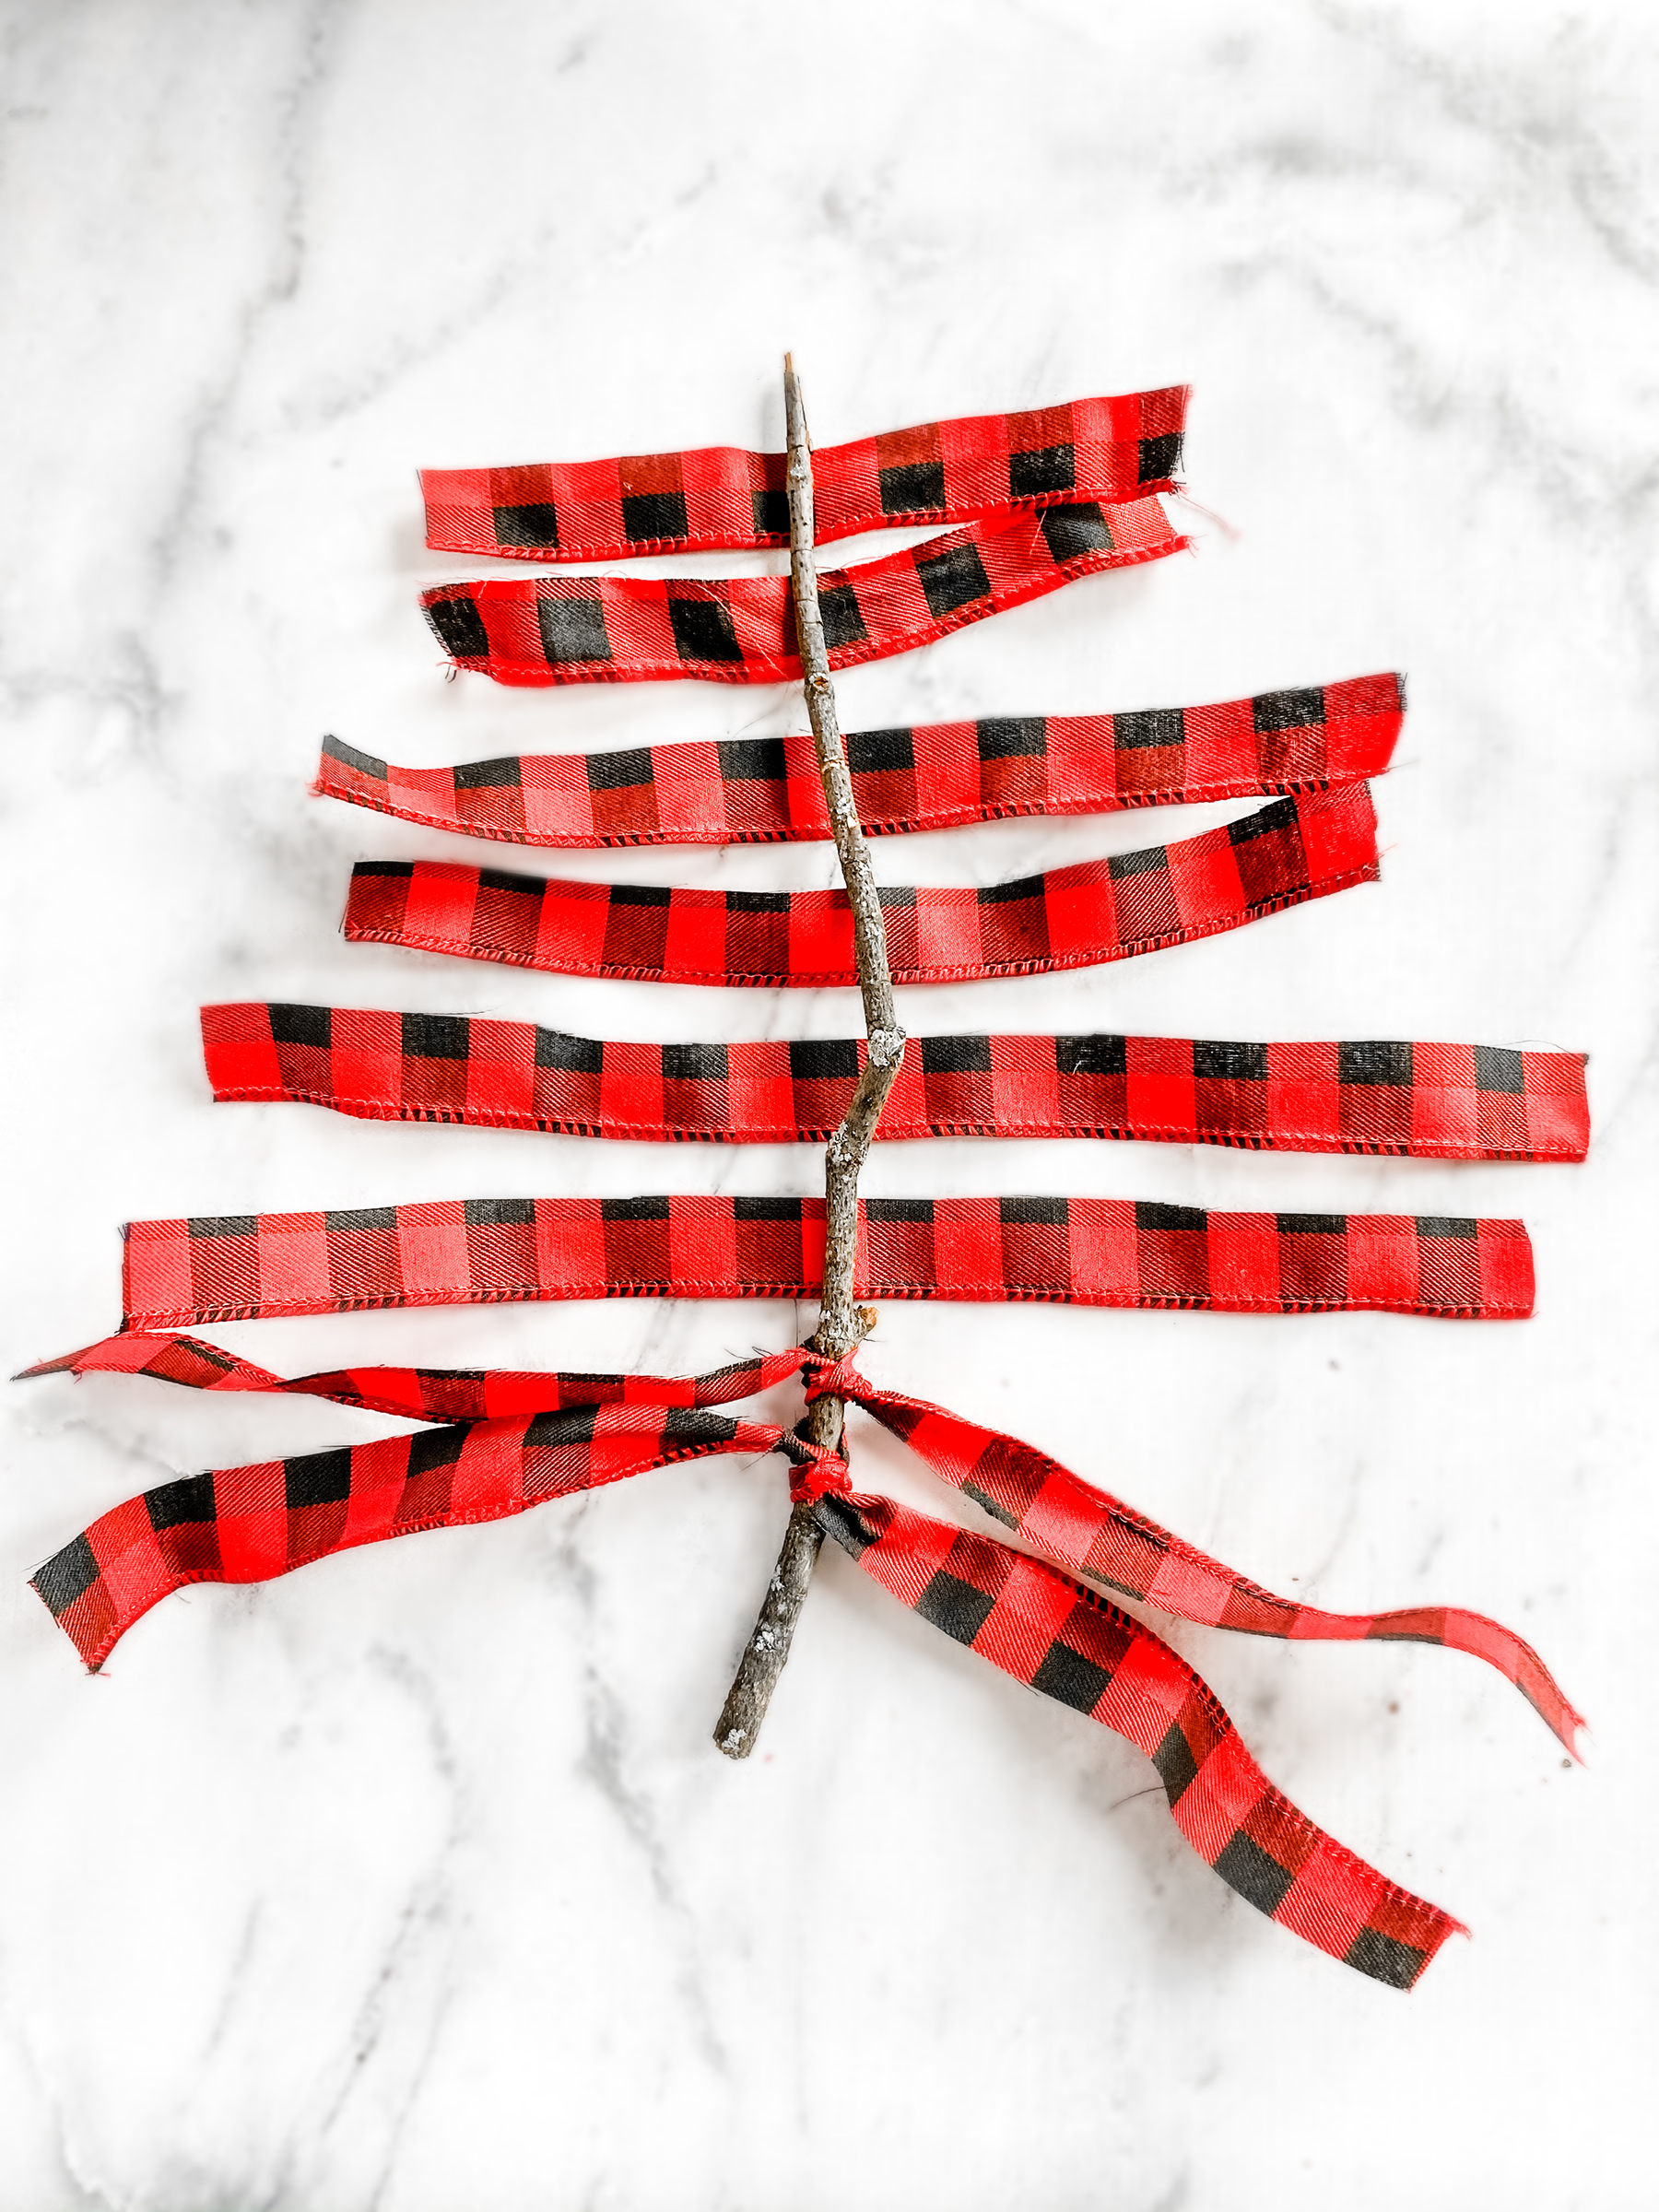
Next, cut strips of ribbon.
You will need to cut them bigger than you want them as once they are tied they become a bit smaller and you will need to trim some off later on.
I cut 8 pieces at first but then needed a few more, it will all depend on the height of your stick.
Also, my ribbon was a wider ribbon so I cut it down the middle doubling the amount of ribbon I had.
©Aimée Geroux | https://extremecouponingmom.ca
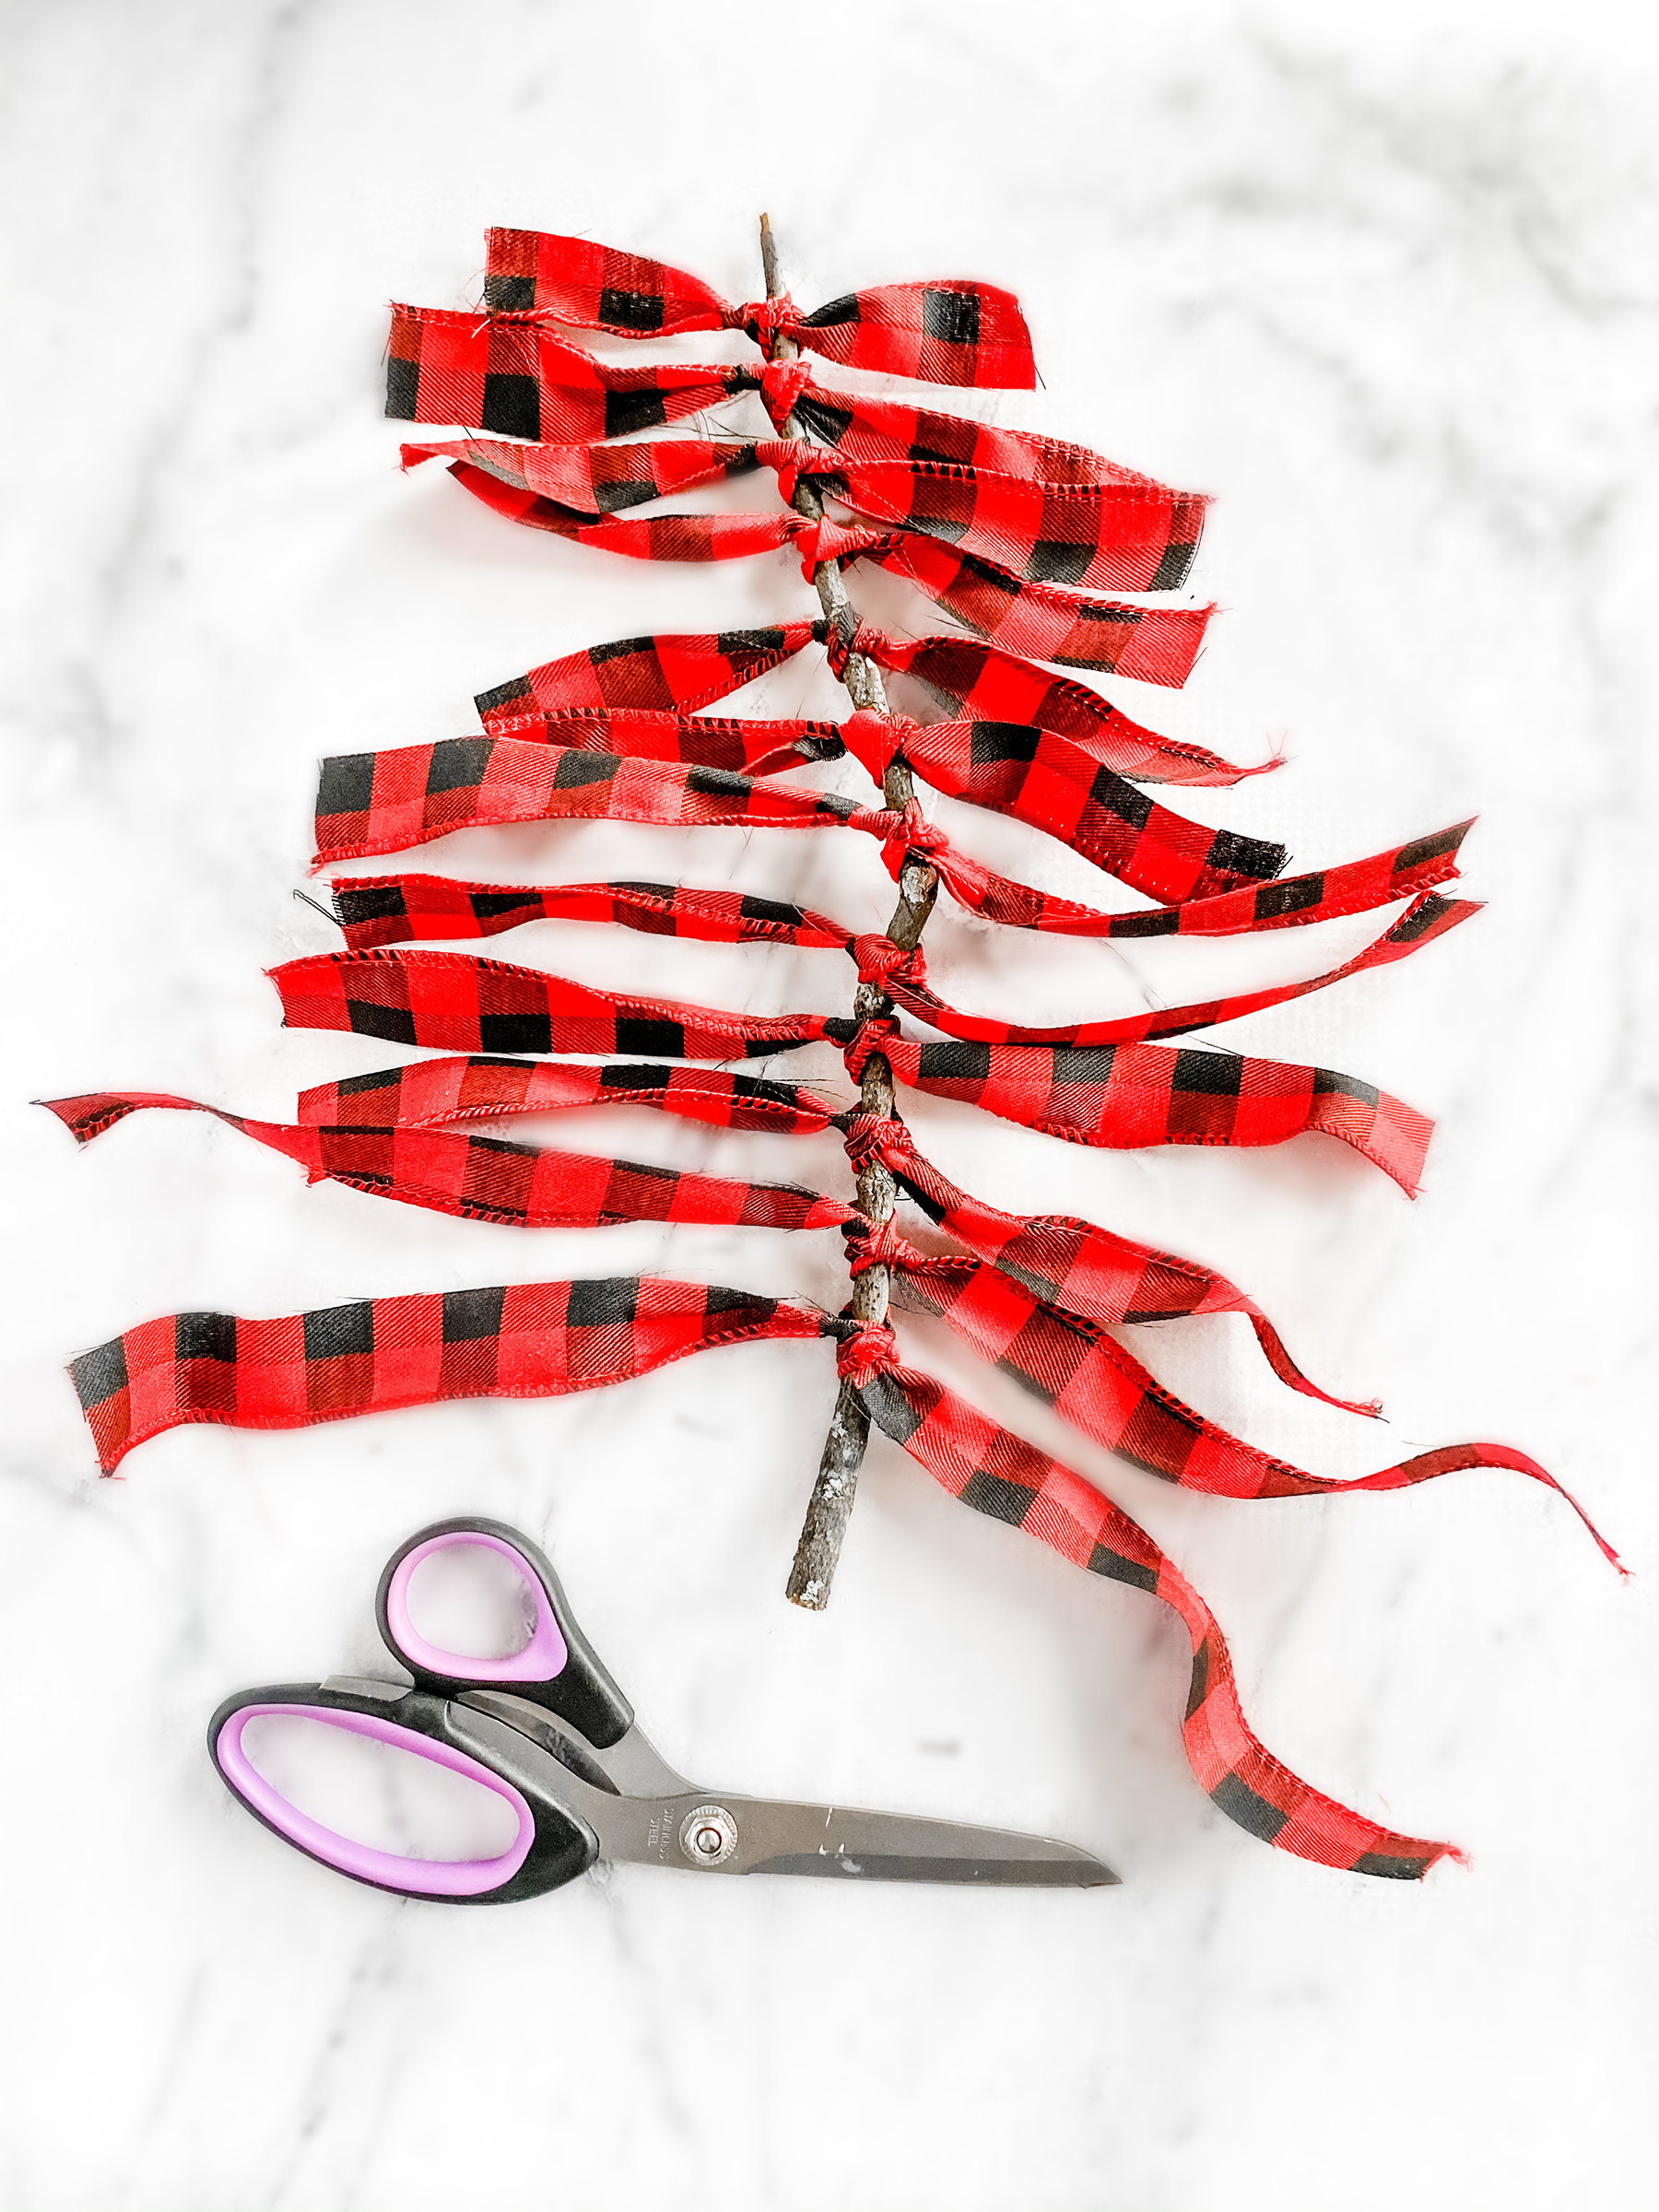
Begin tying the ribbon onto the stick.
©Aimée Geroux | https://extremecouponingmom.ca
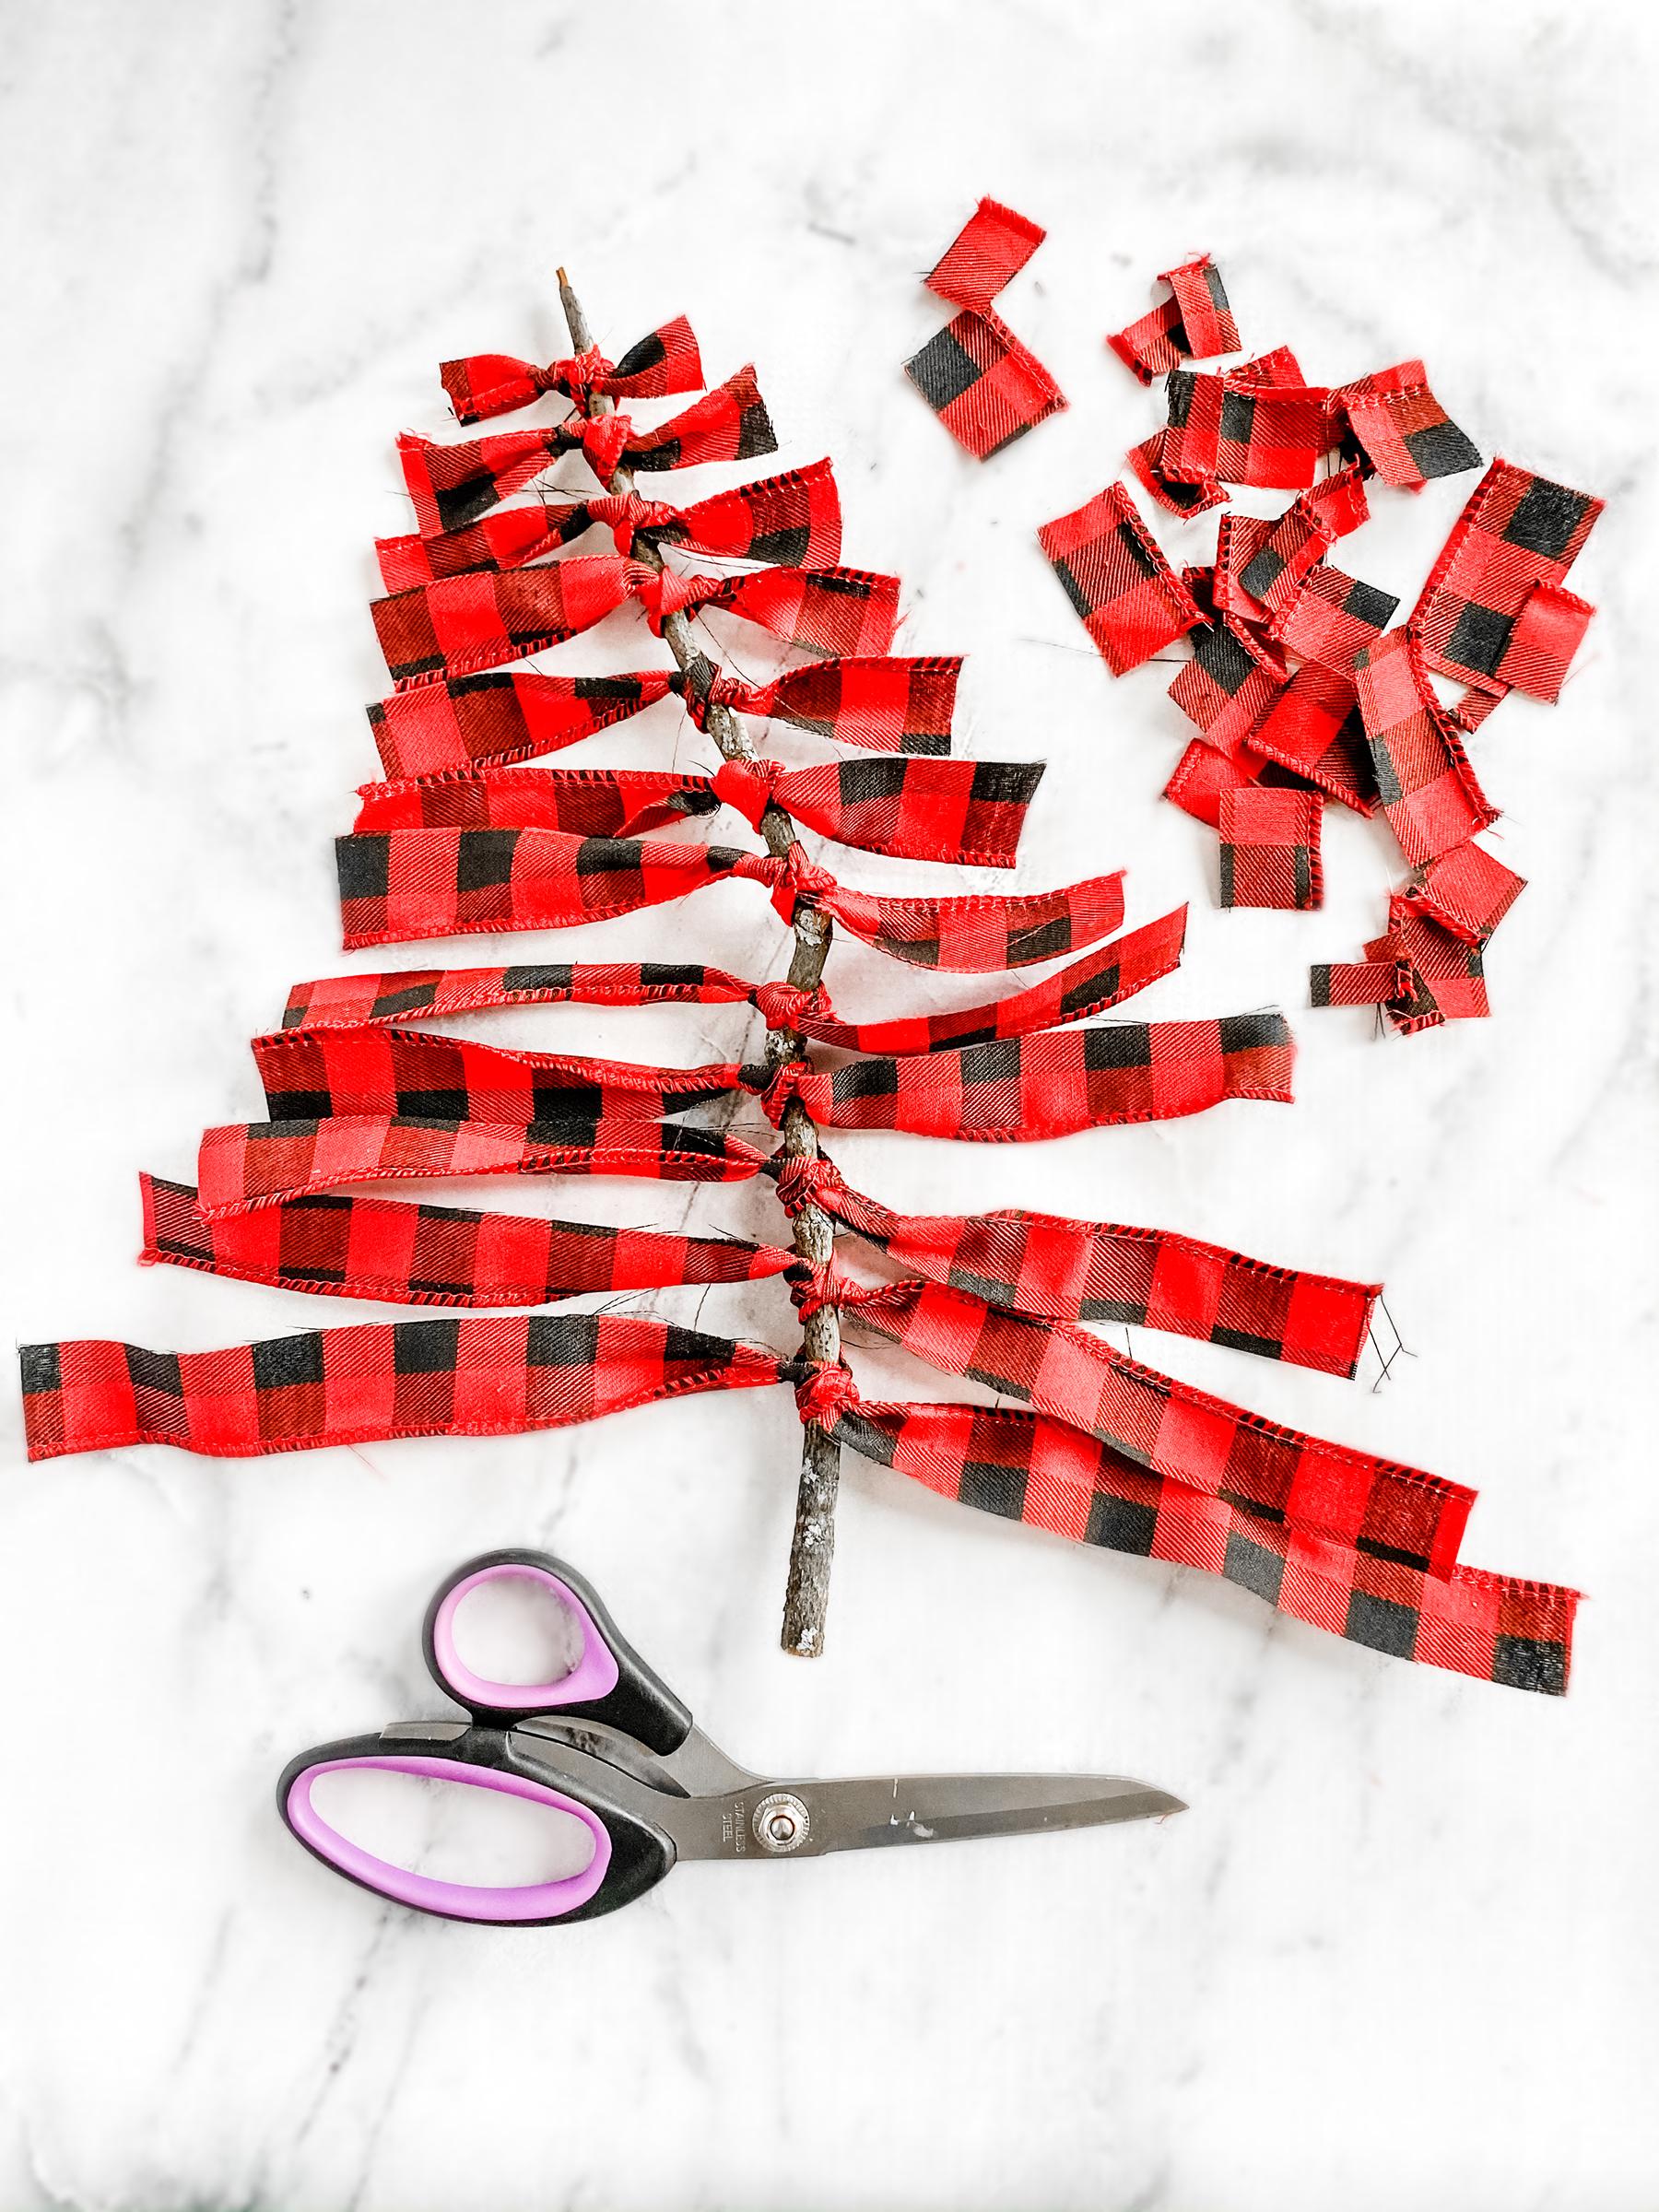
Continue until you have tied all your ribbon on.
You can slide them up and down to adjust the spacing between them if needed.
See, I ended up using 12 strips of ribbon.
©Aimée Geroux | https://extremecouponingmom.ca
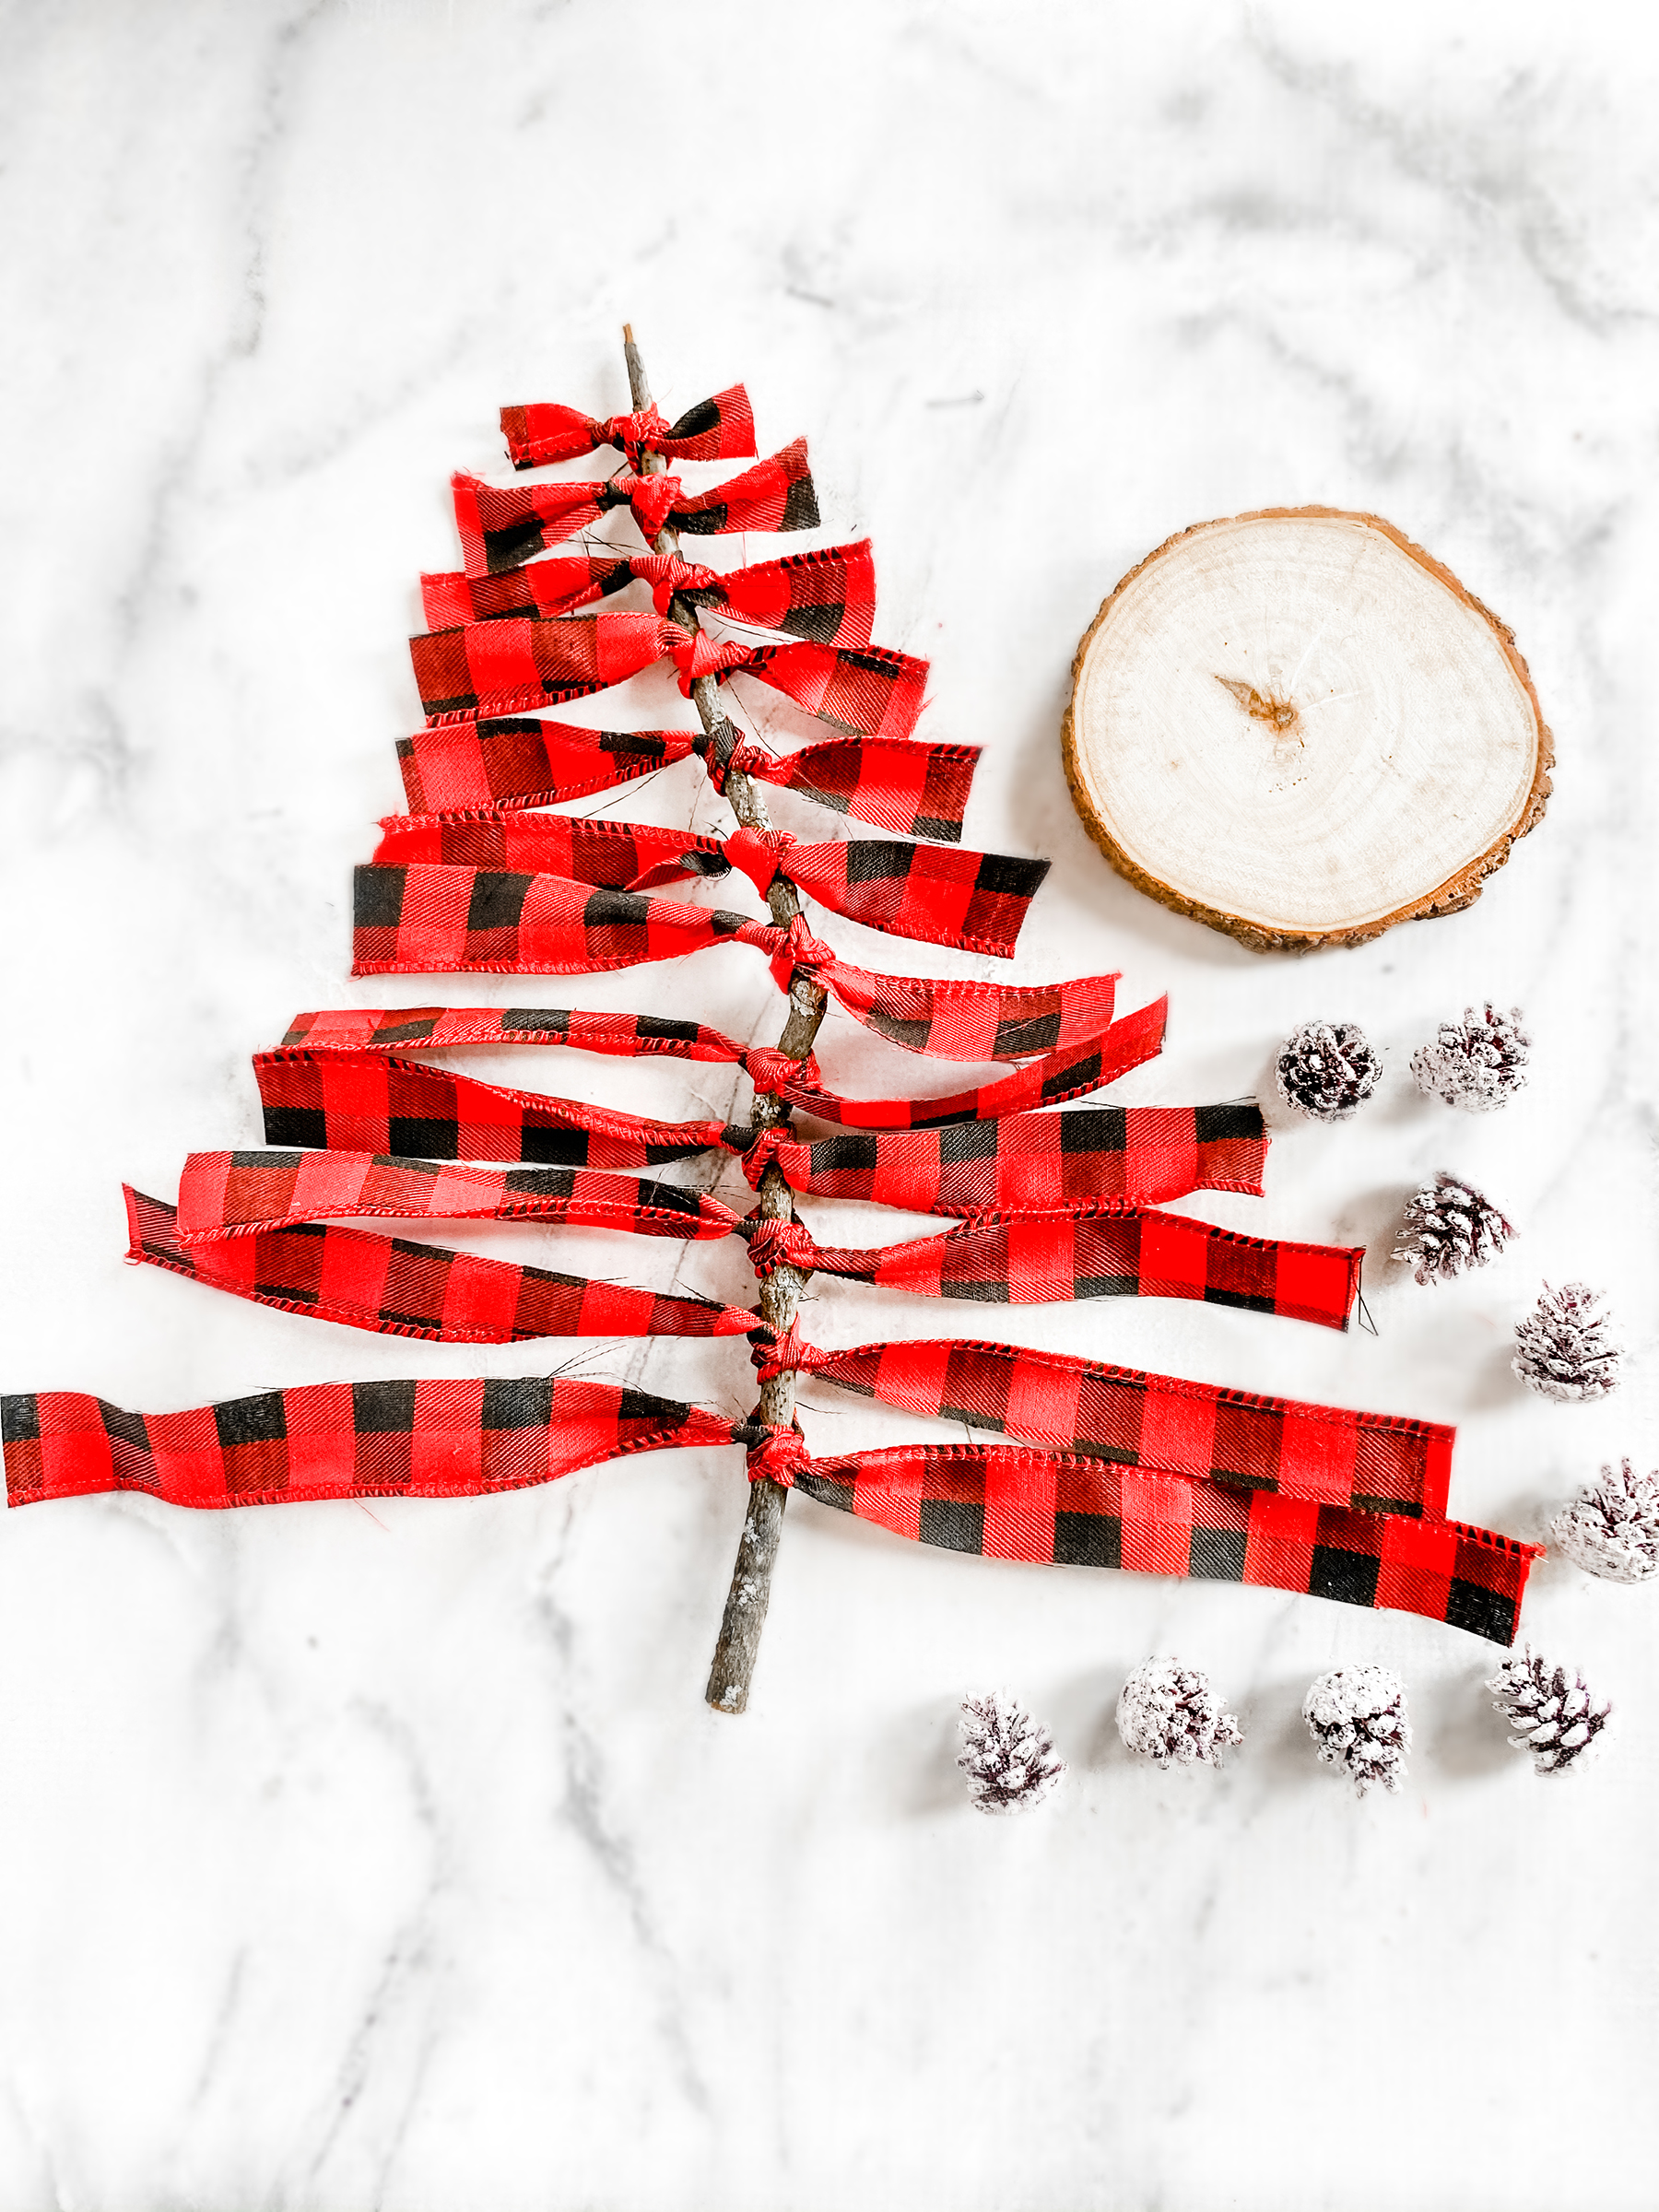
Once you are happy with how it looks it is time to trim.
Starting at the top, you want to trim a bit off both sides.
Each row should be a bit longer than the one above, you may need to trim a few times.
Take a little off at a time as you can always take more off, but you cannot put it back on!
©Aimée Geroux | https://extremecouponingmom.ca
Once you have trimmed your tree it is time to glue it onto the base.
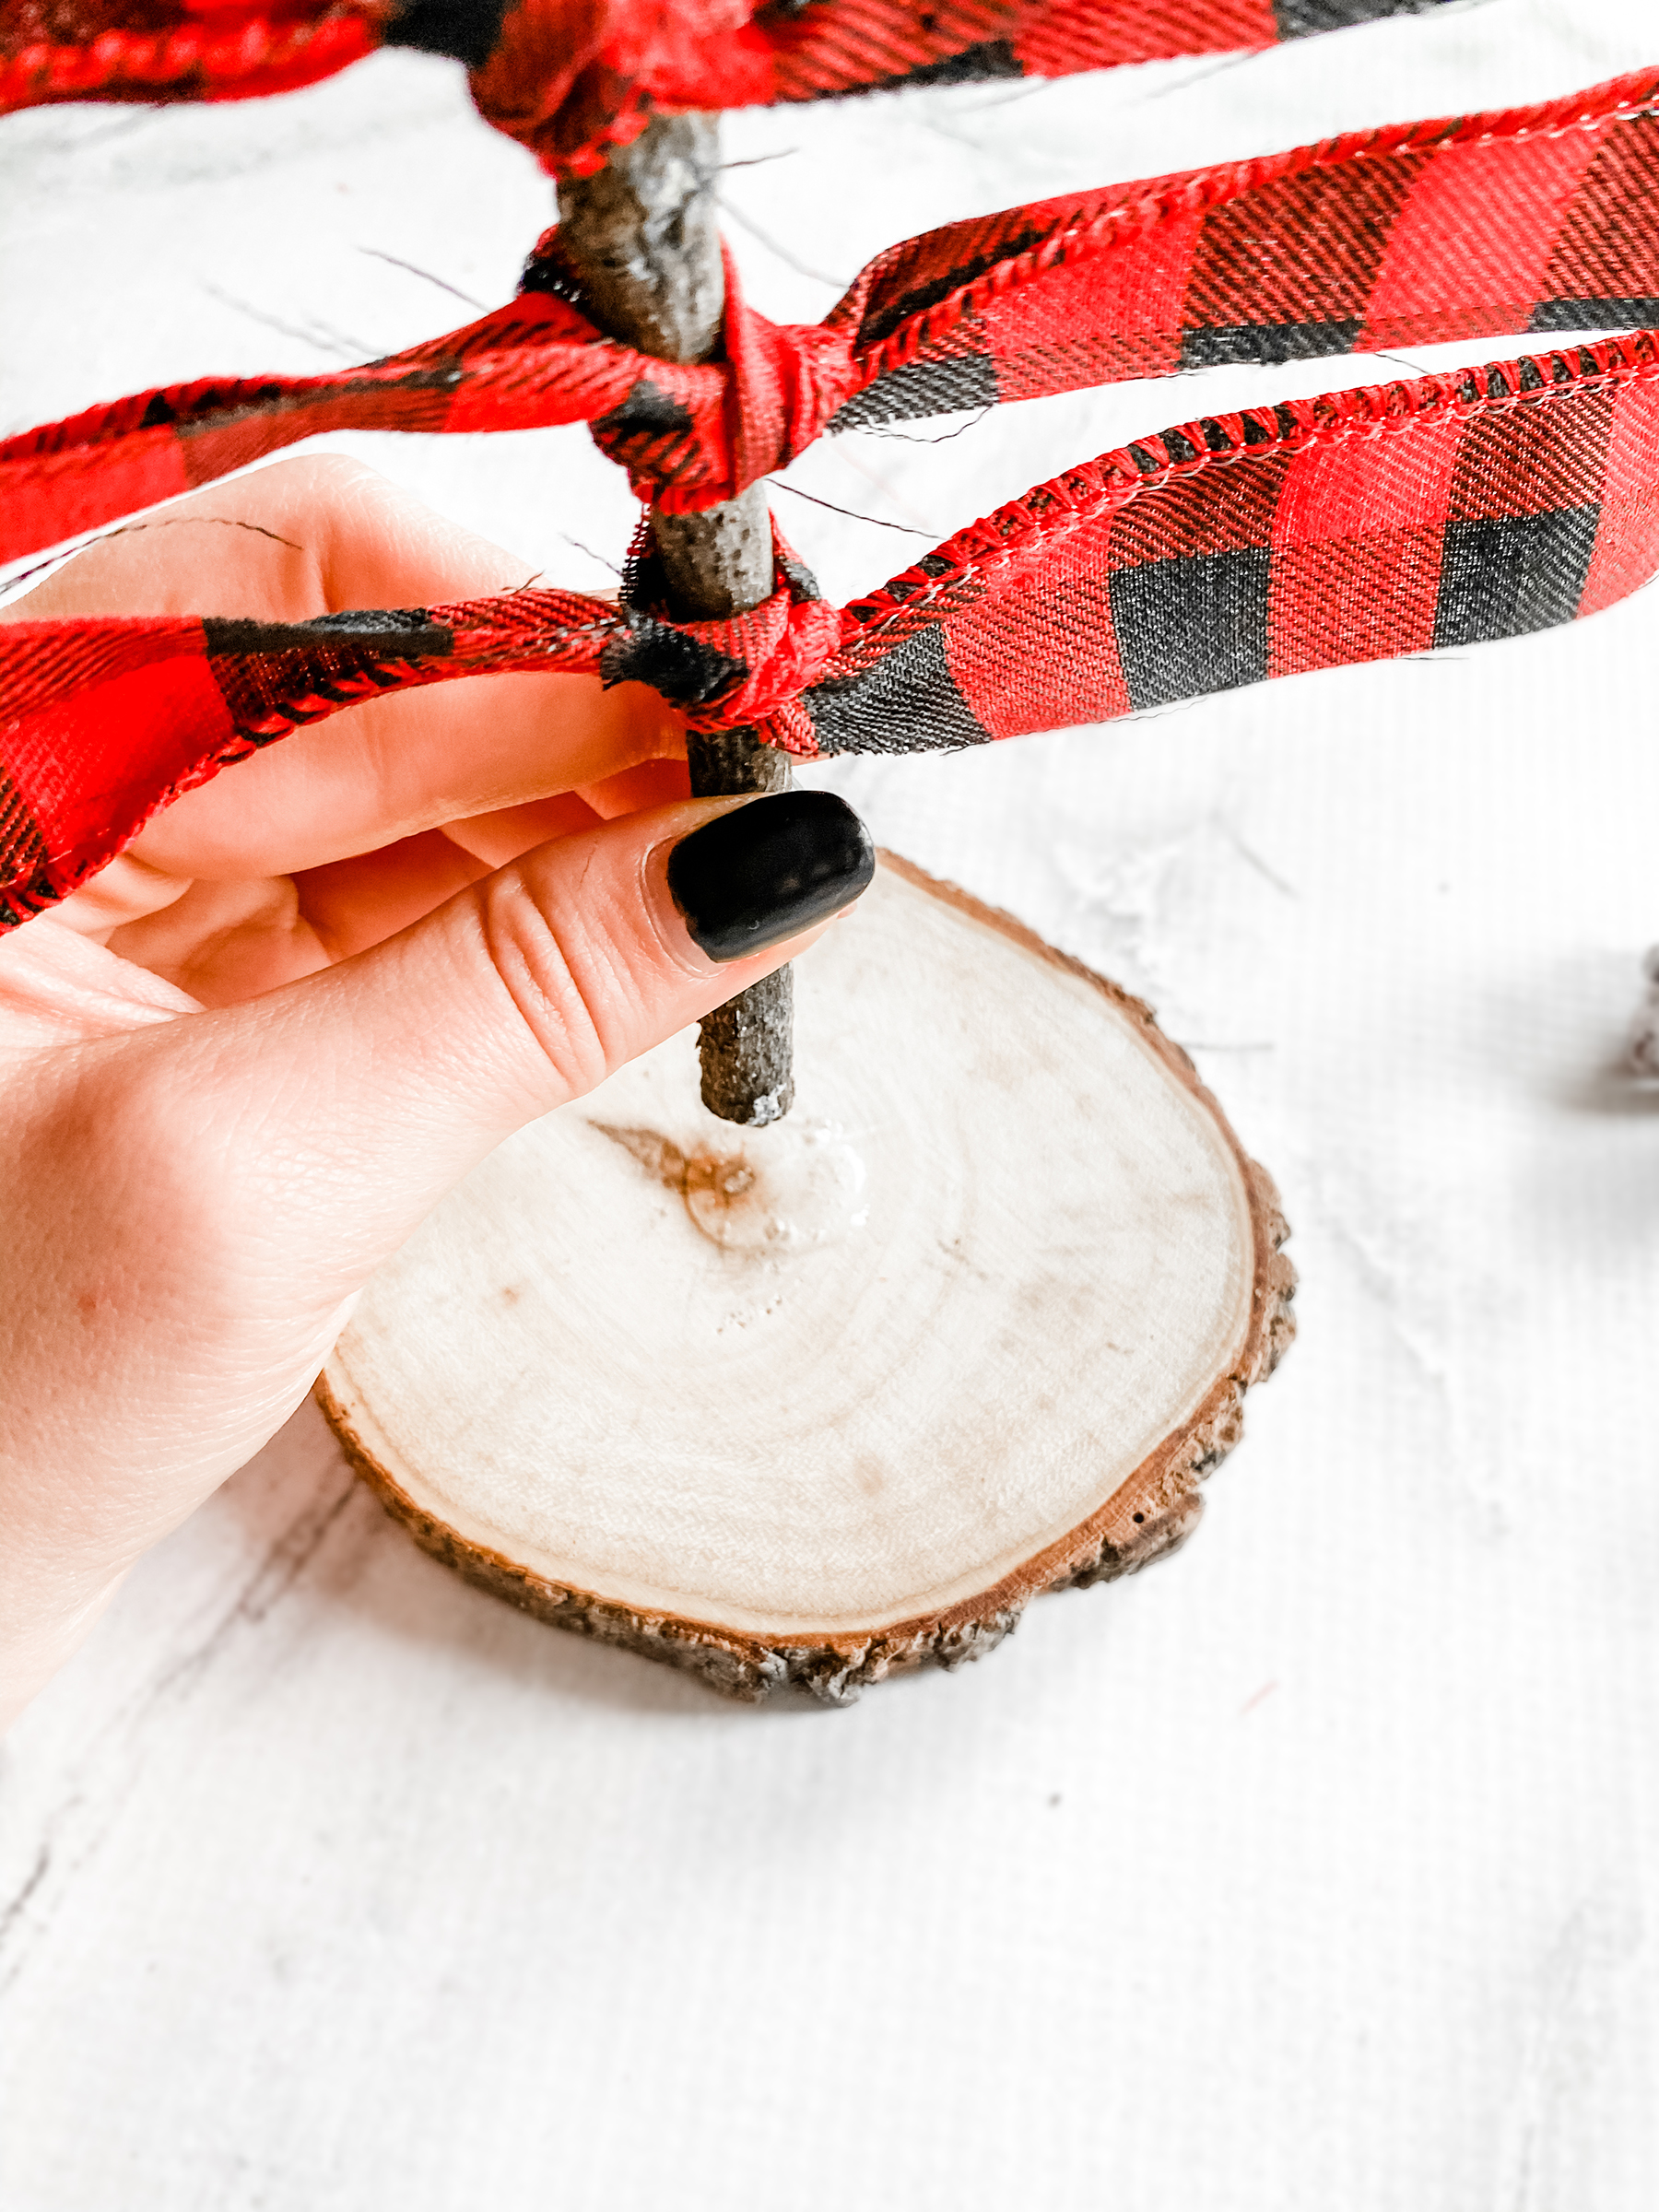
©Aimée Geroux | https://extremecouponingmom.ca
You can drill a small hole to glue it into for more stability.
I am lazy so I just glued it to the base and held it there until it dried some.
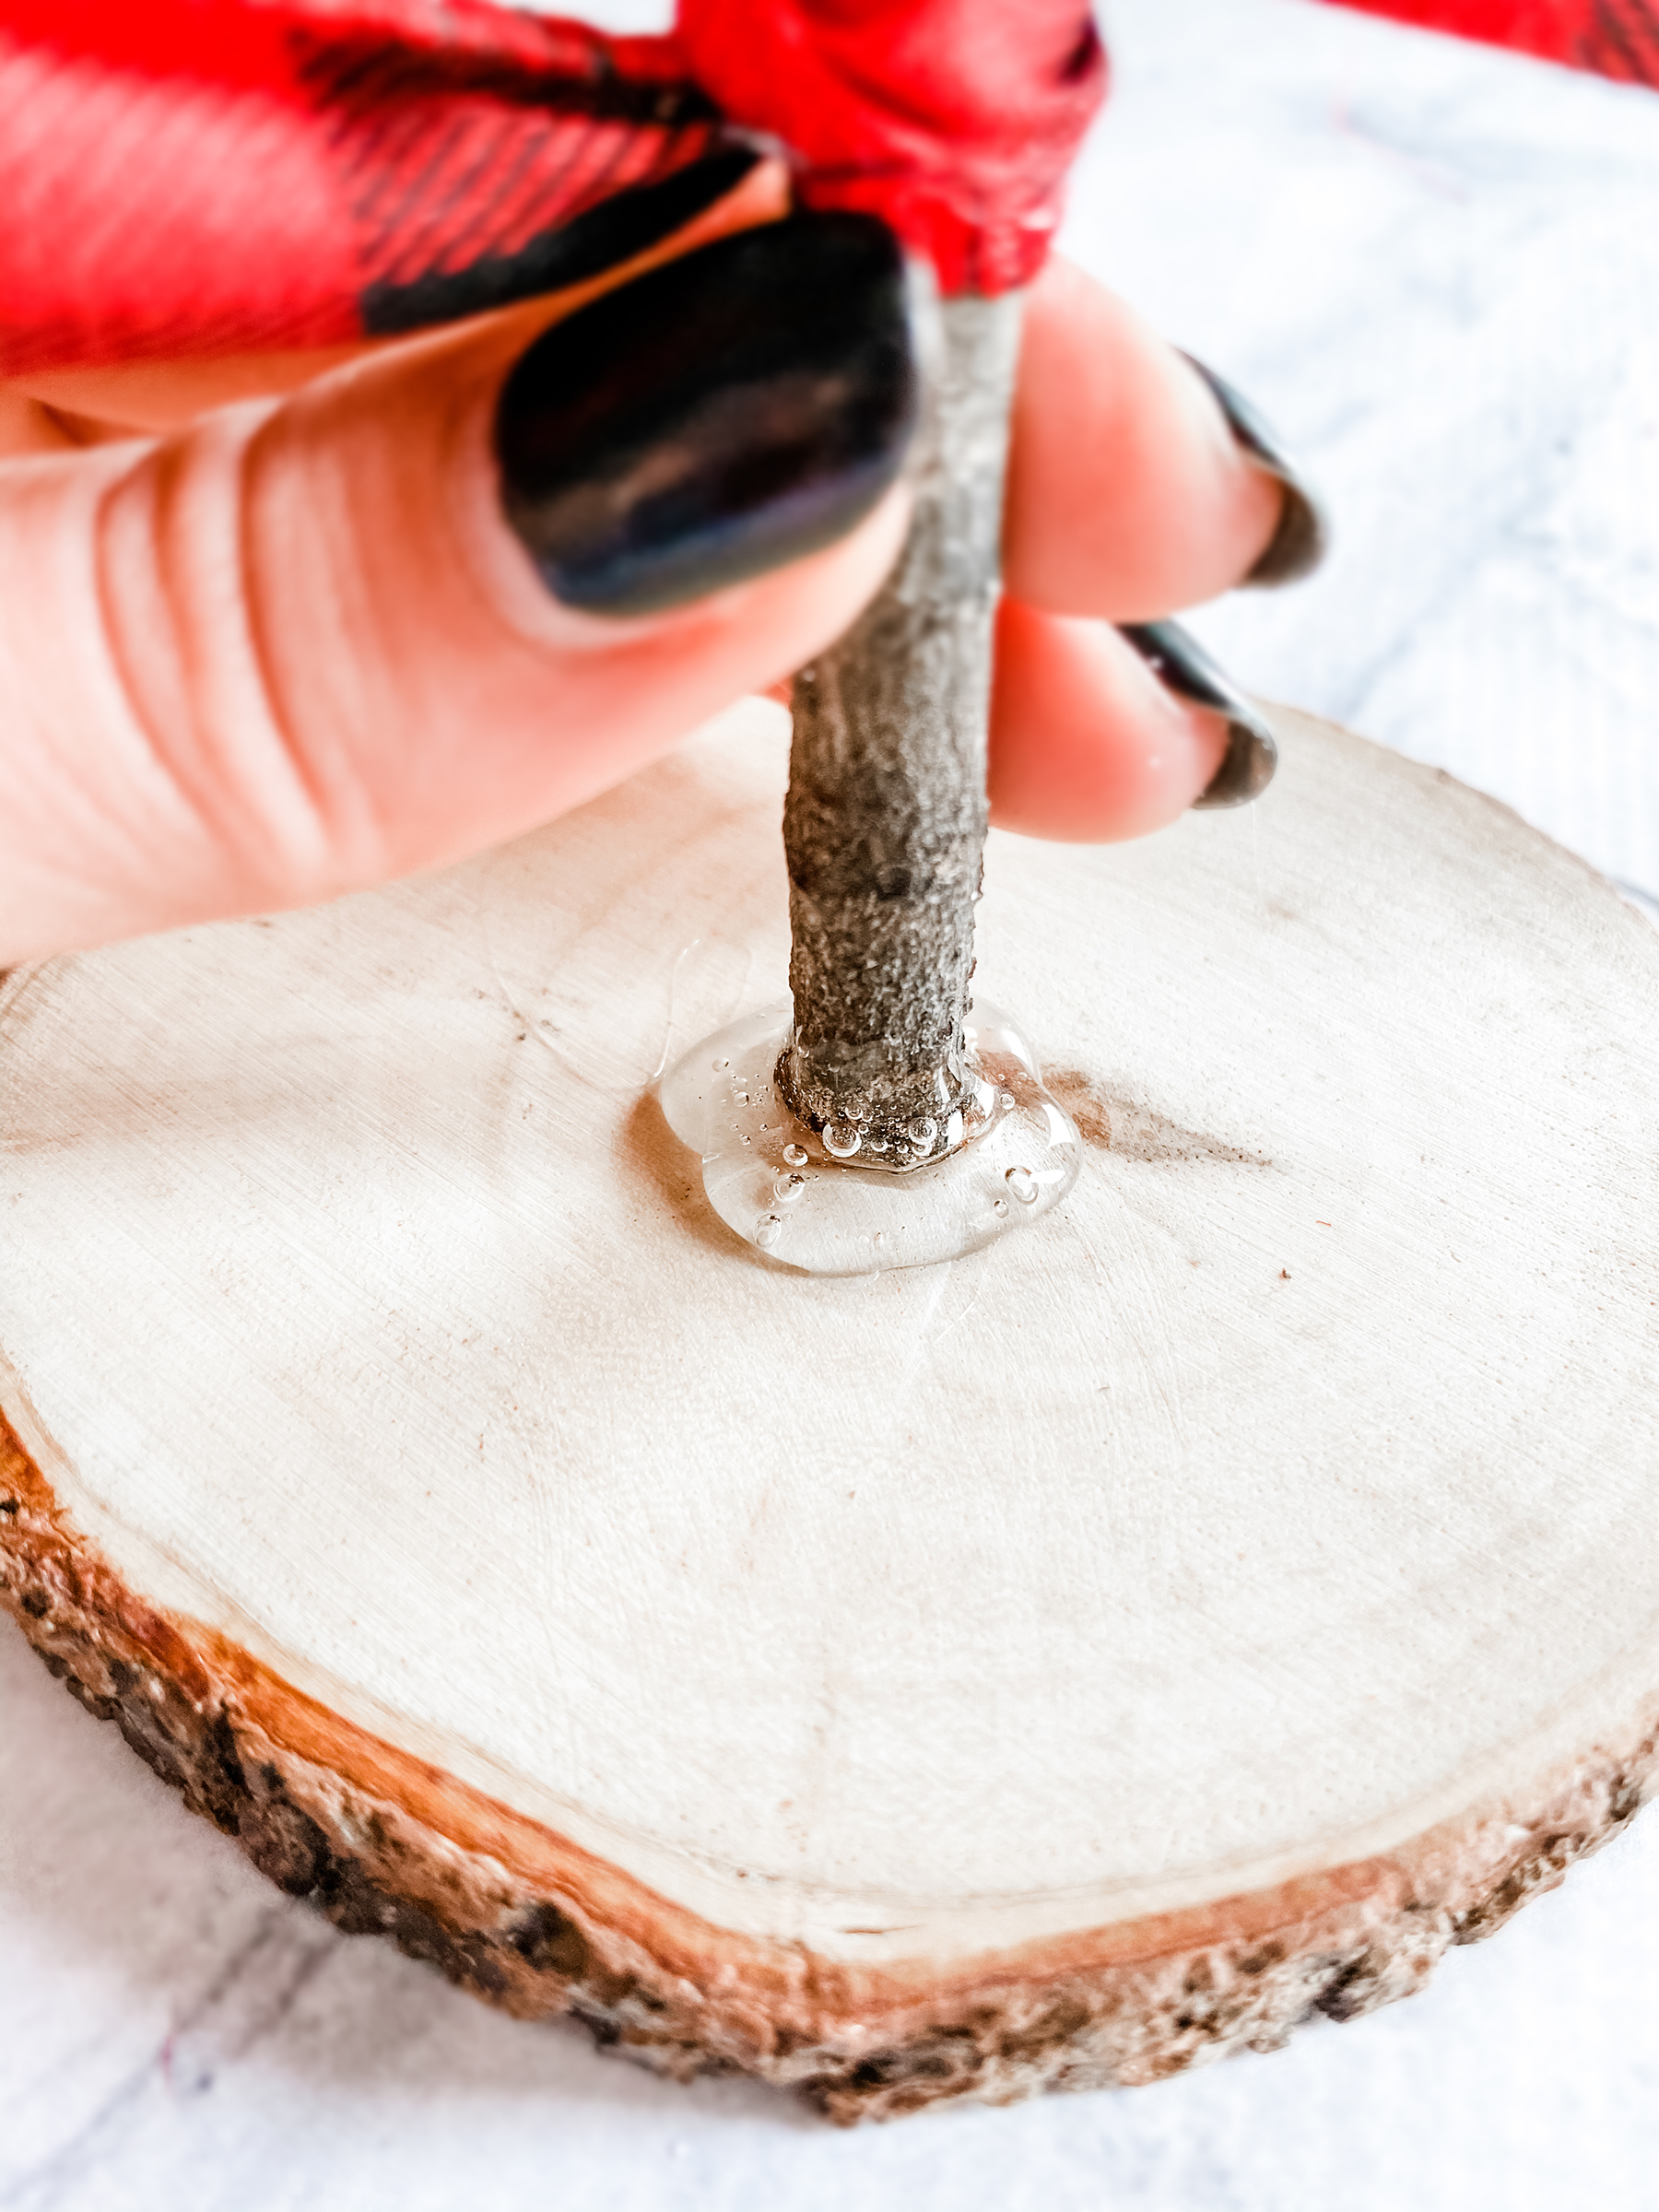
©Aimée Geroux | https://extremecouponingmom.ca
Sing a song while you wait for the glue to dry.
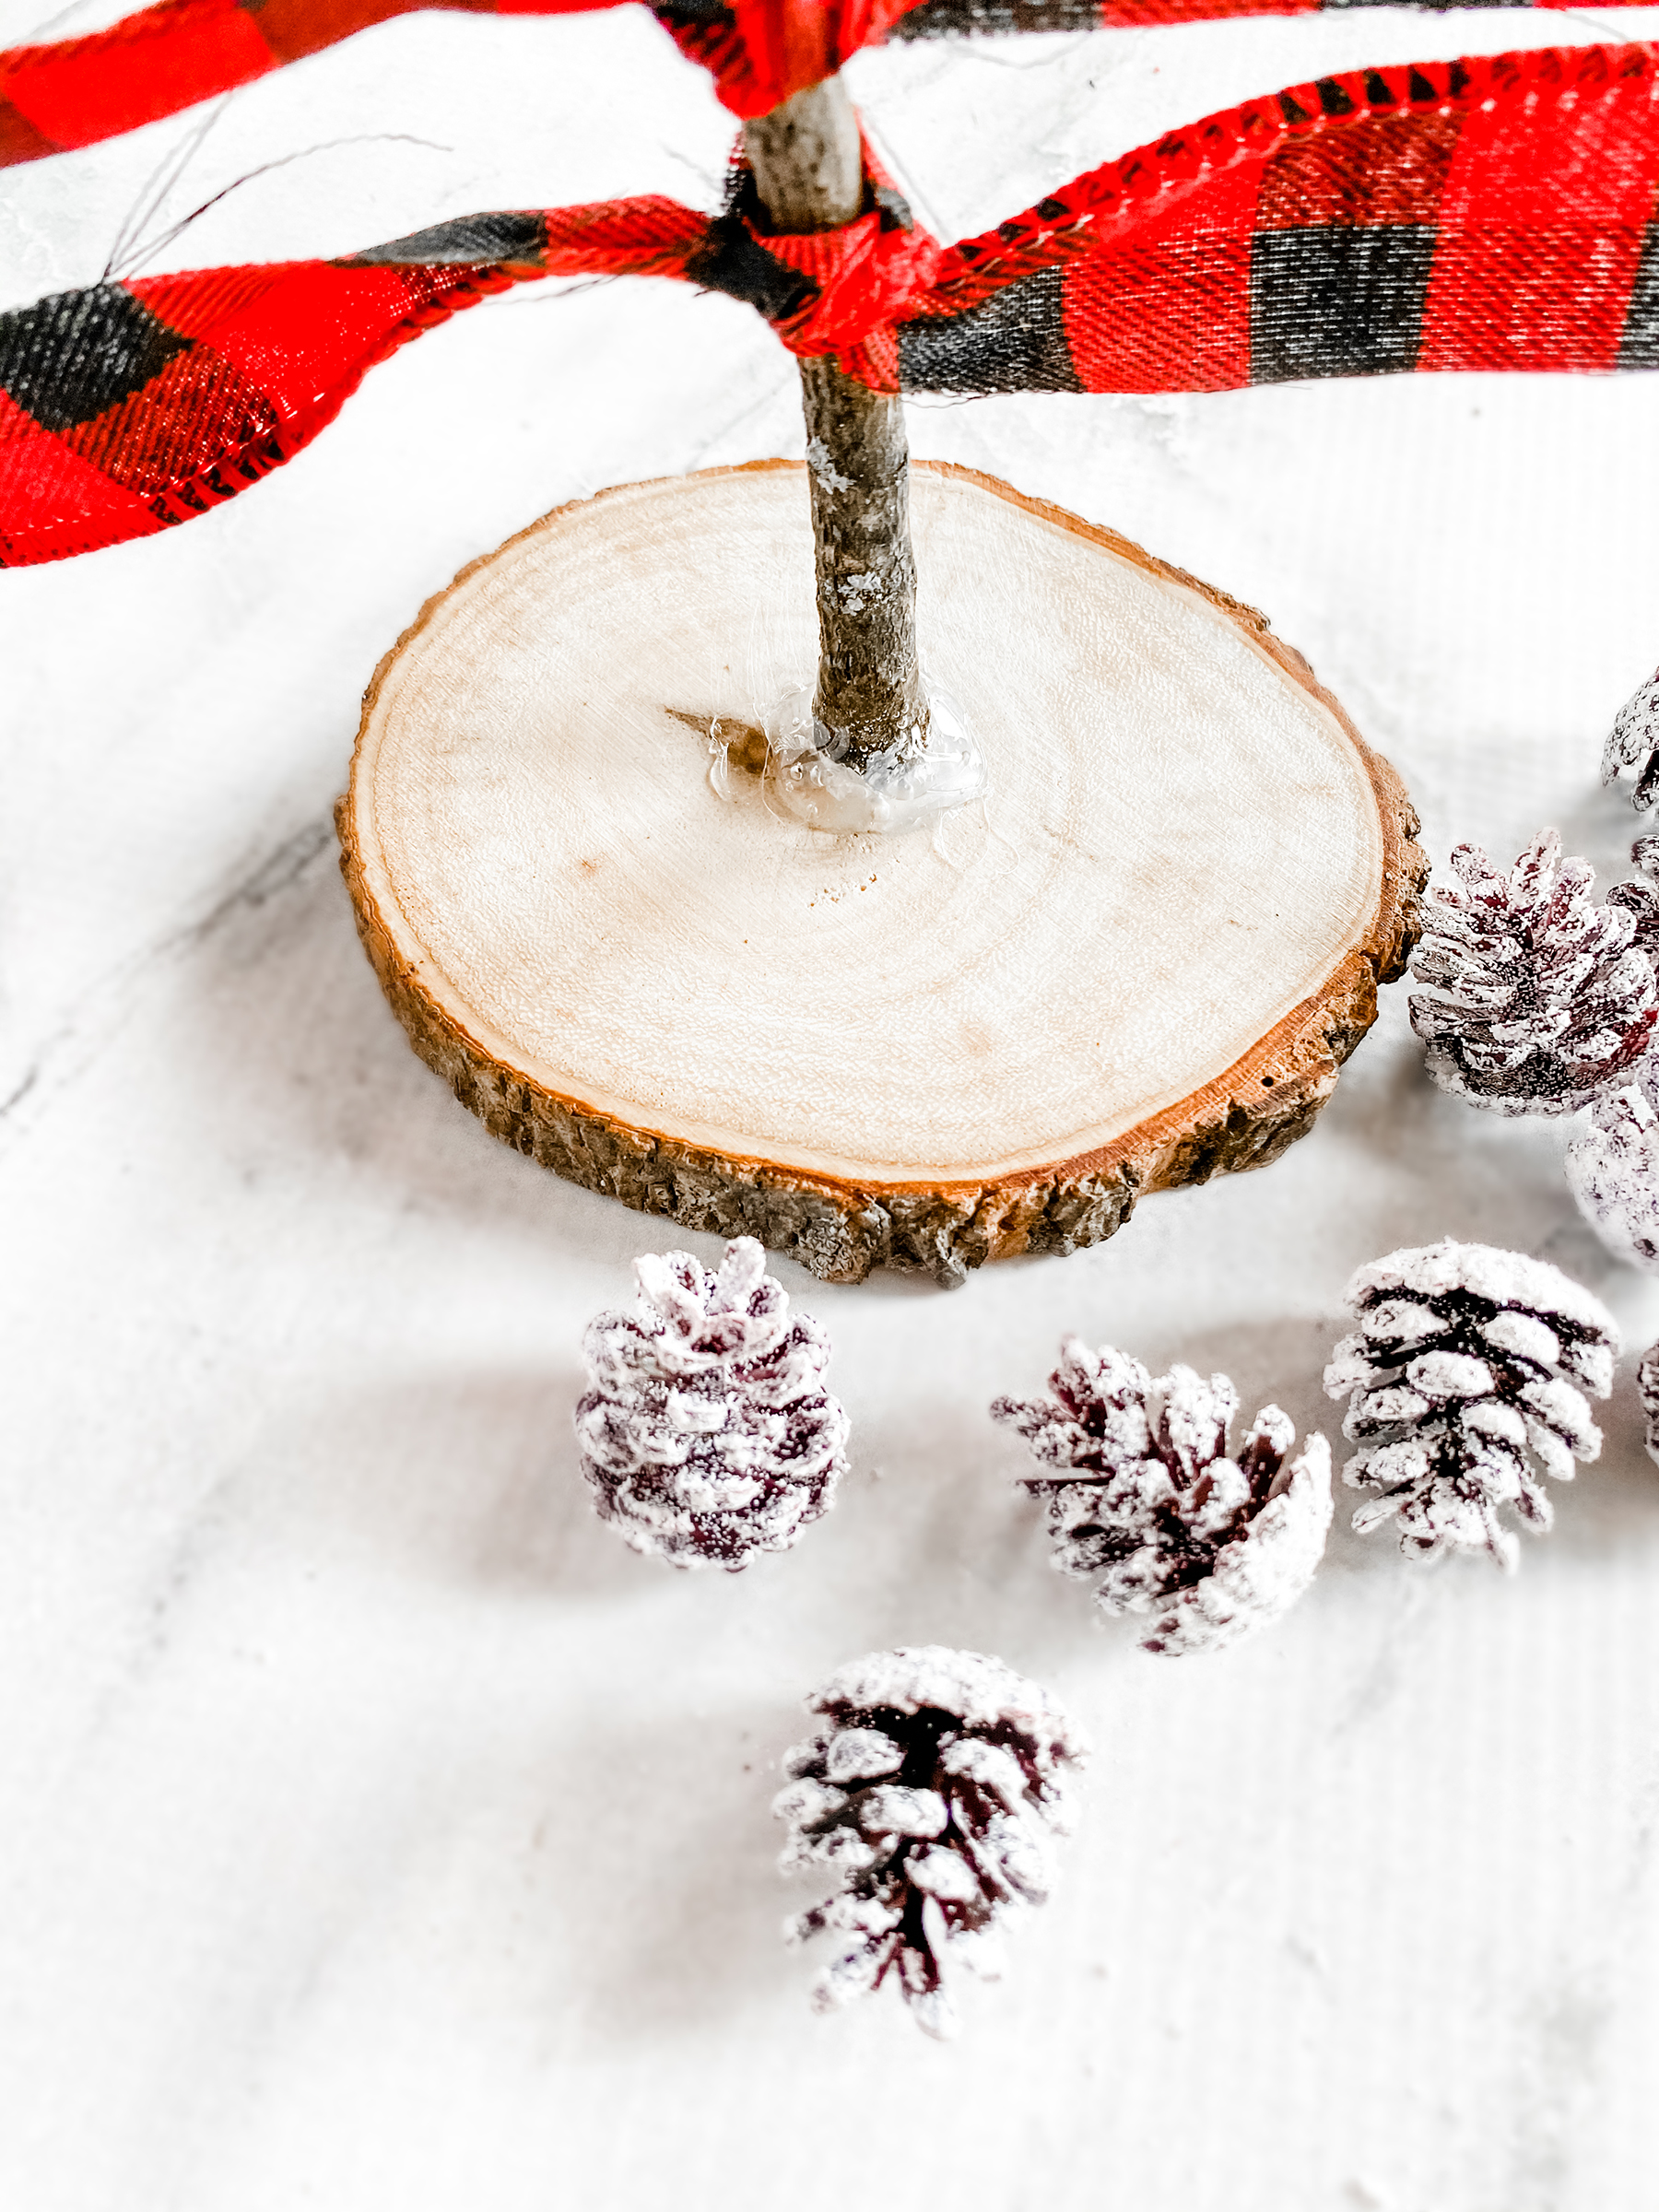
©Aimée Geroux | https://extremecouponingmom.ca
Then I glued up the stick a bit on all sides to create some stability.
Hold the stick in place until the glue dries, a few minutes.
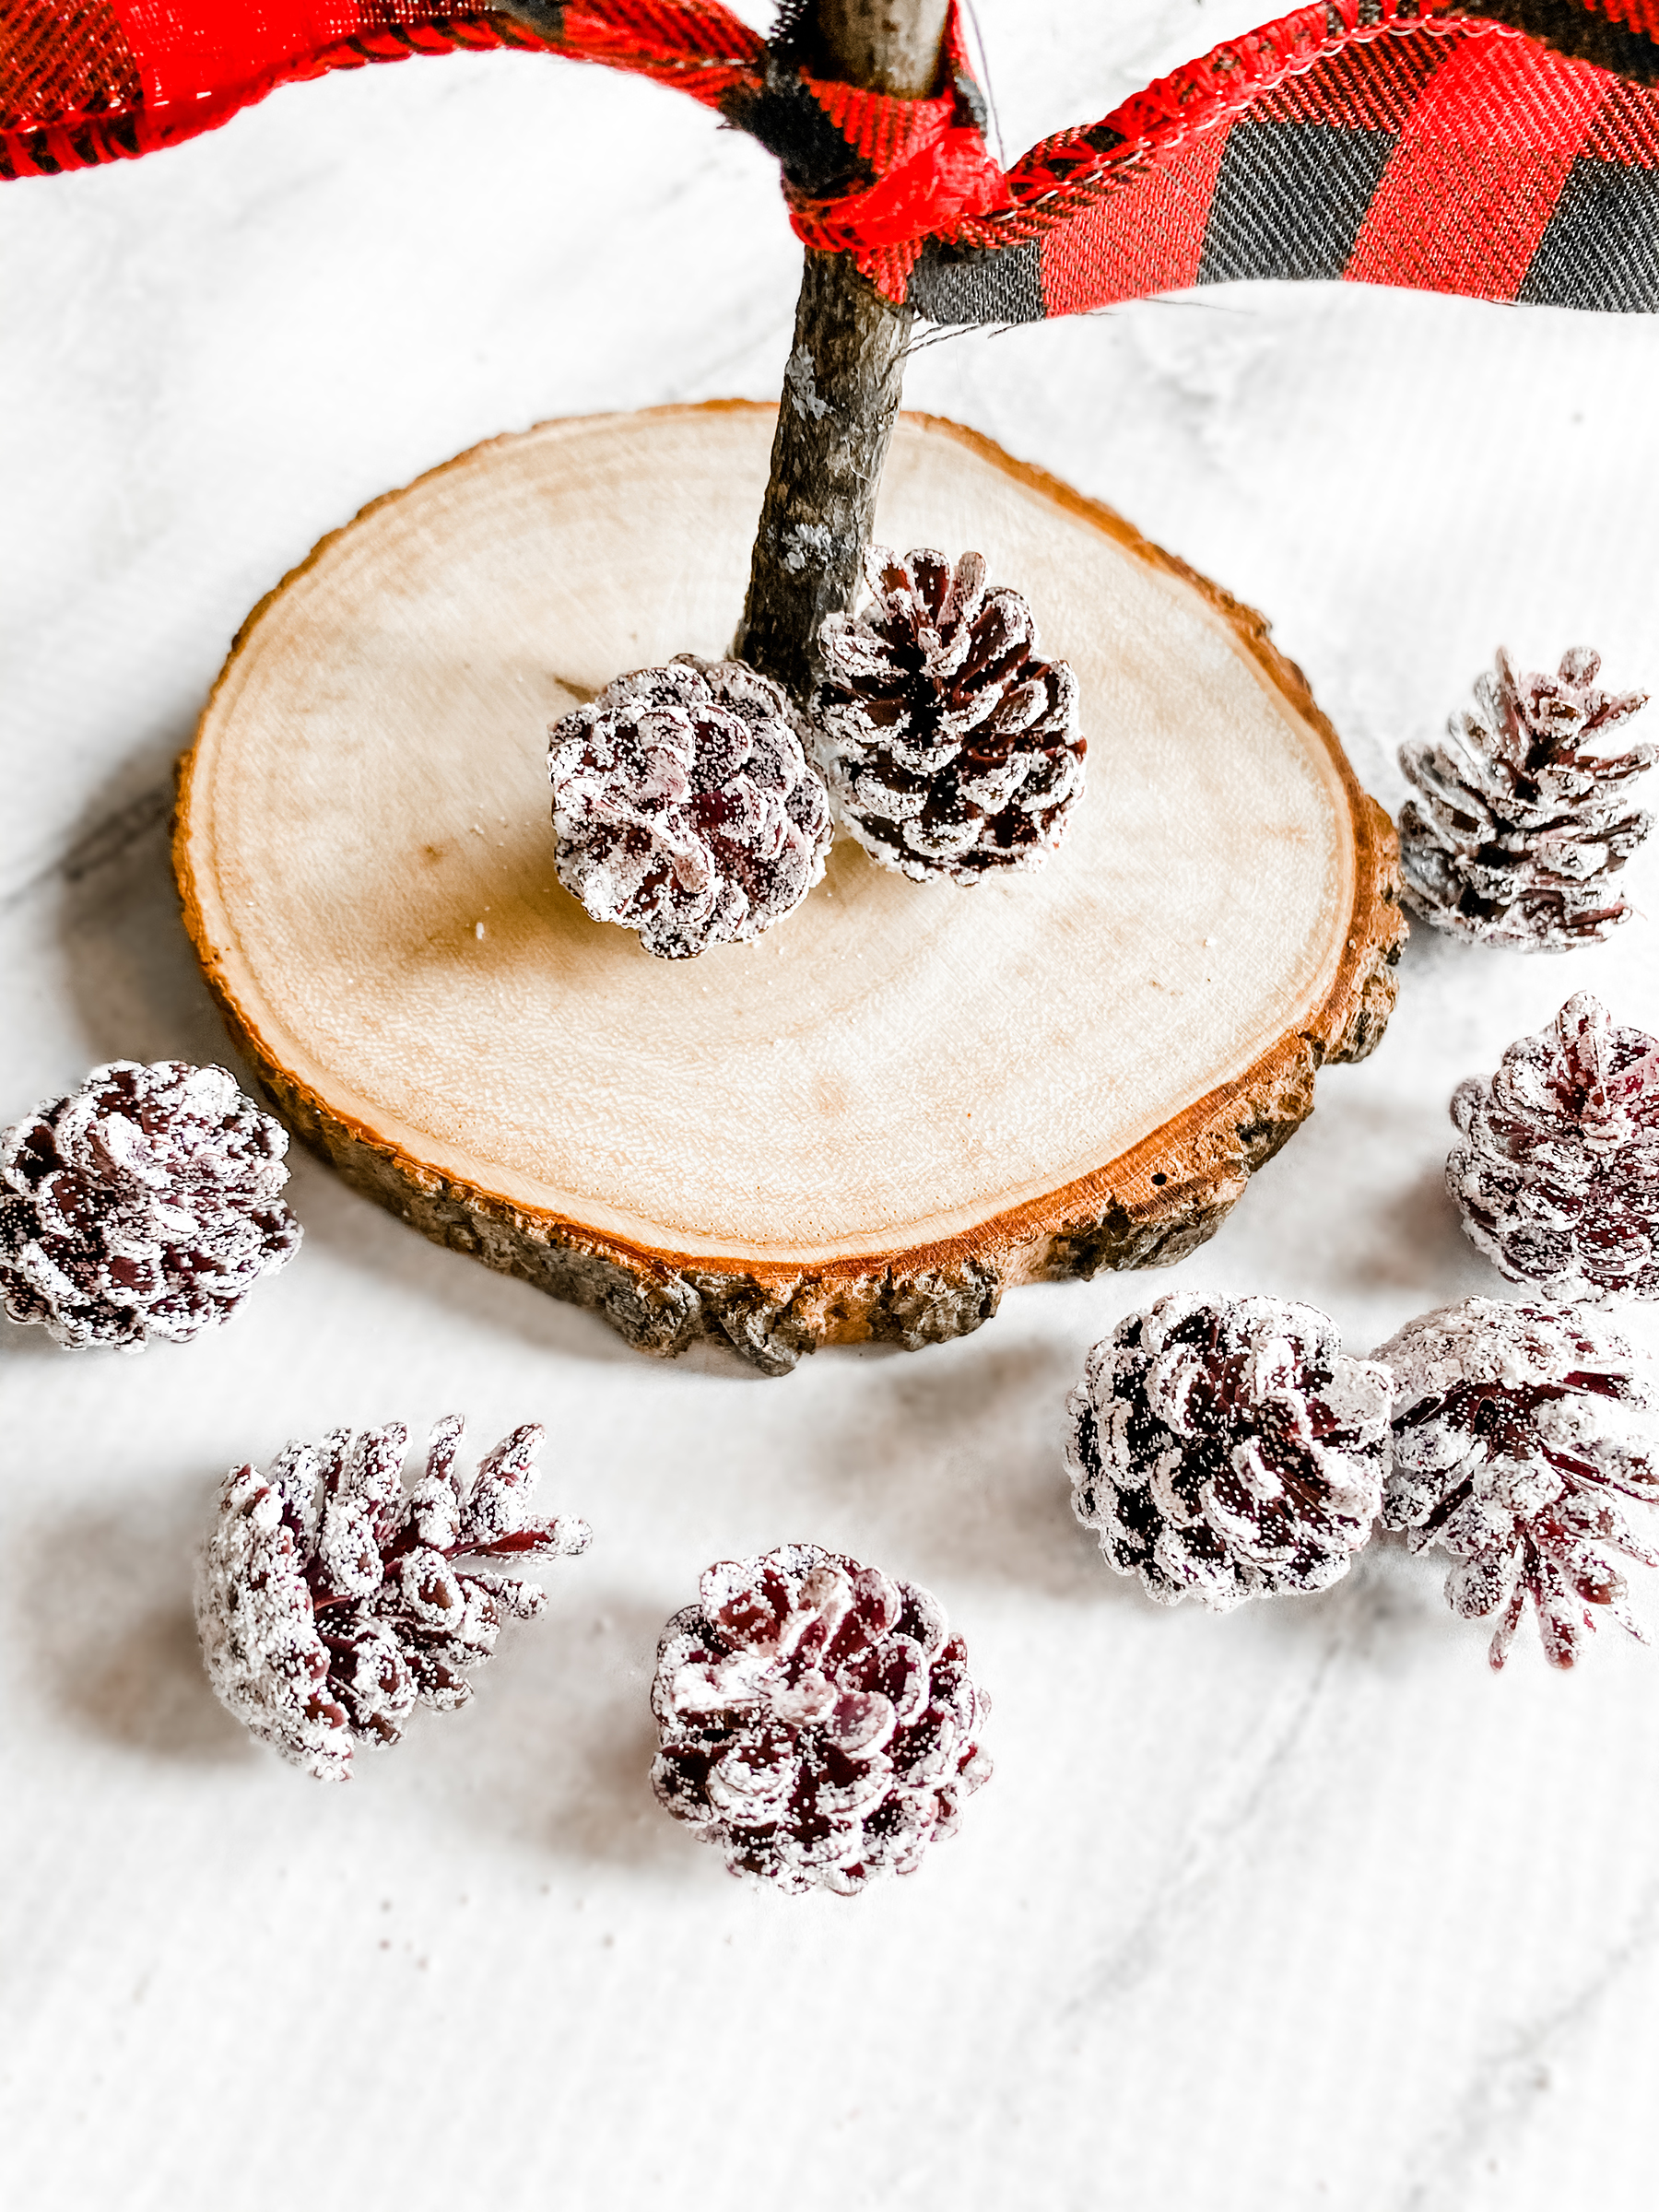
©Aimée Geroux | https://extremecouponingmom.ca
Using your chosen embellishments, start glueing them around the base of the stick.
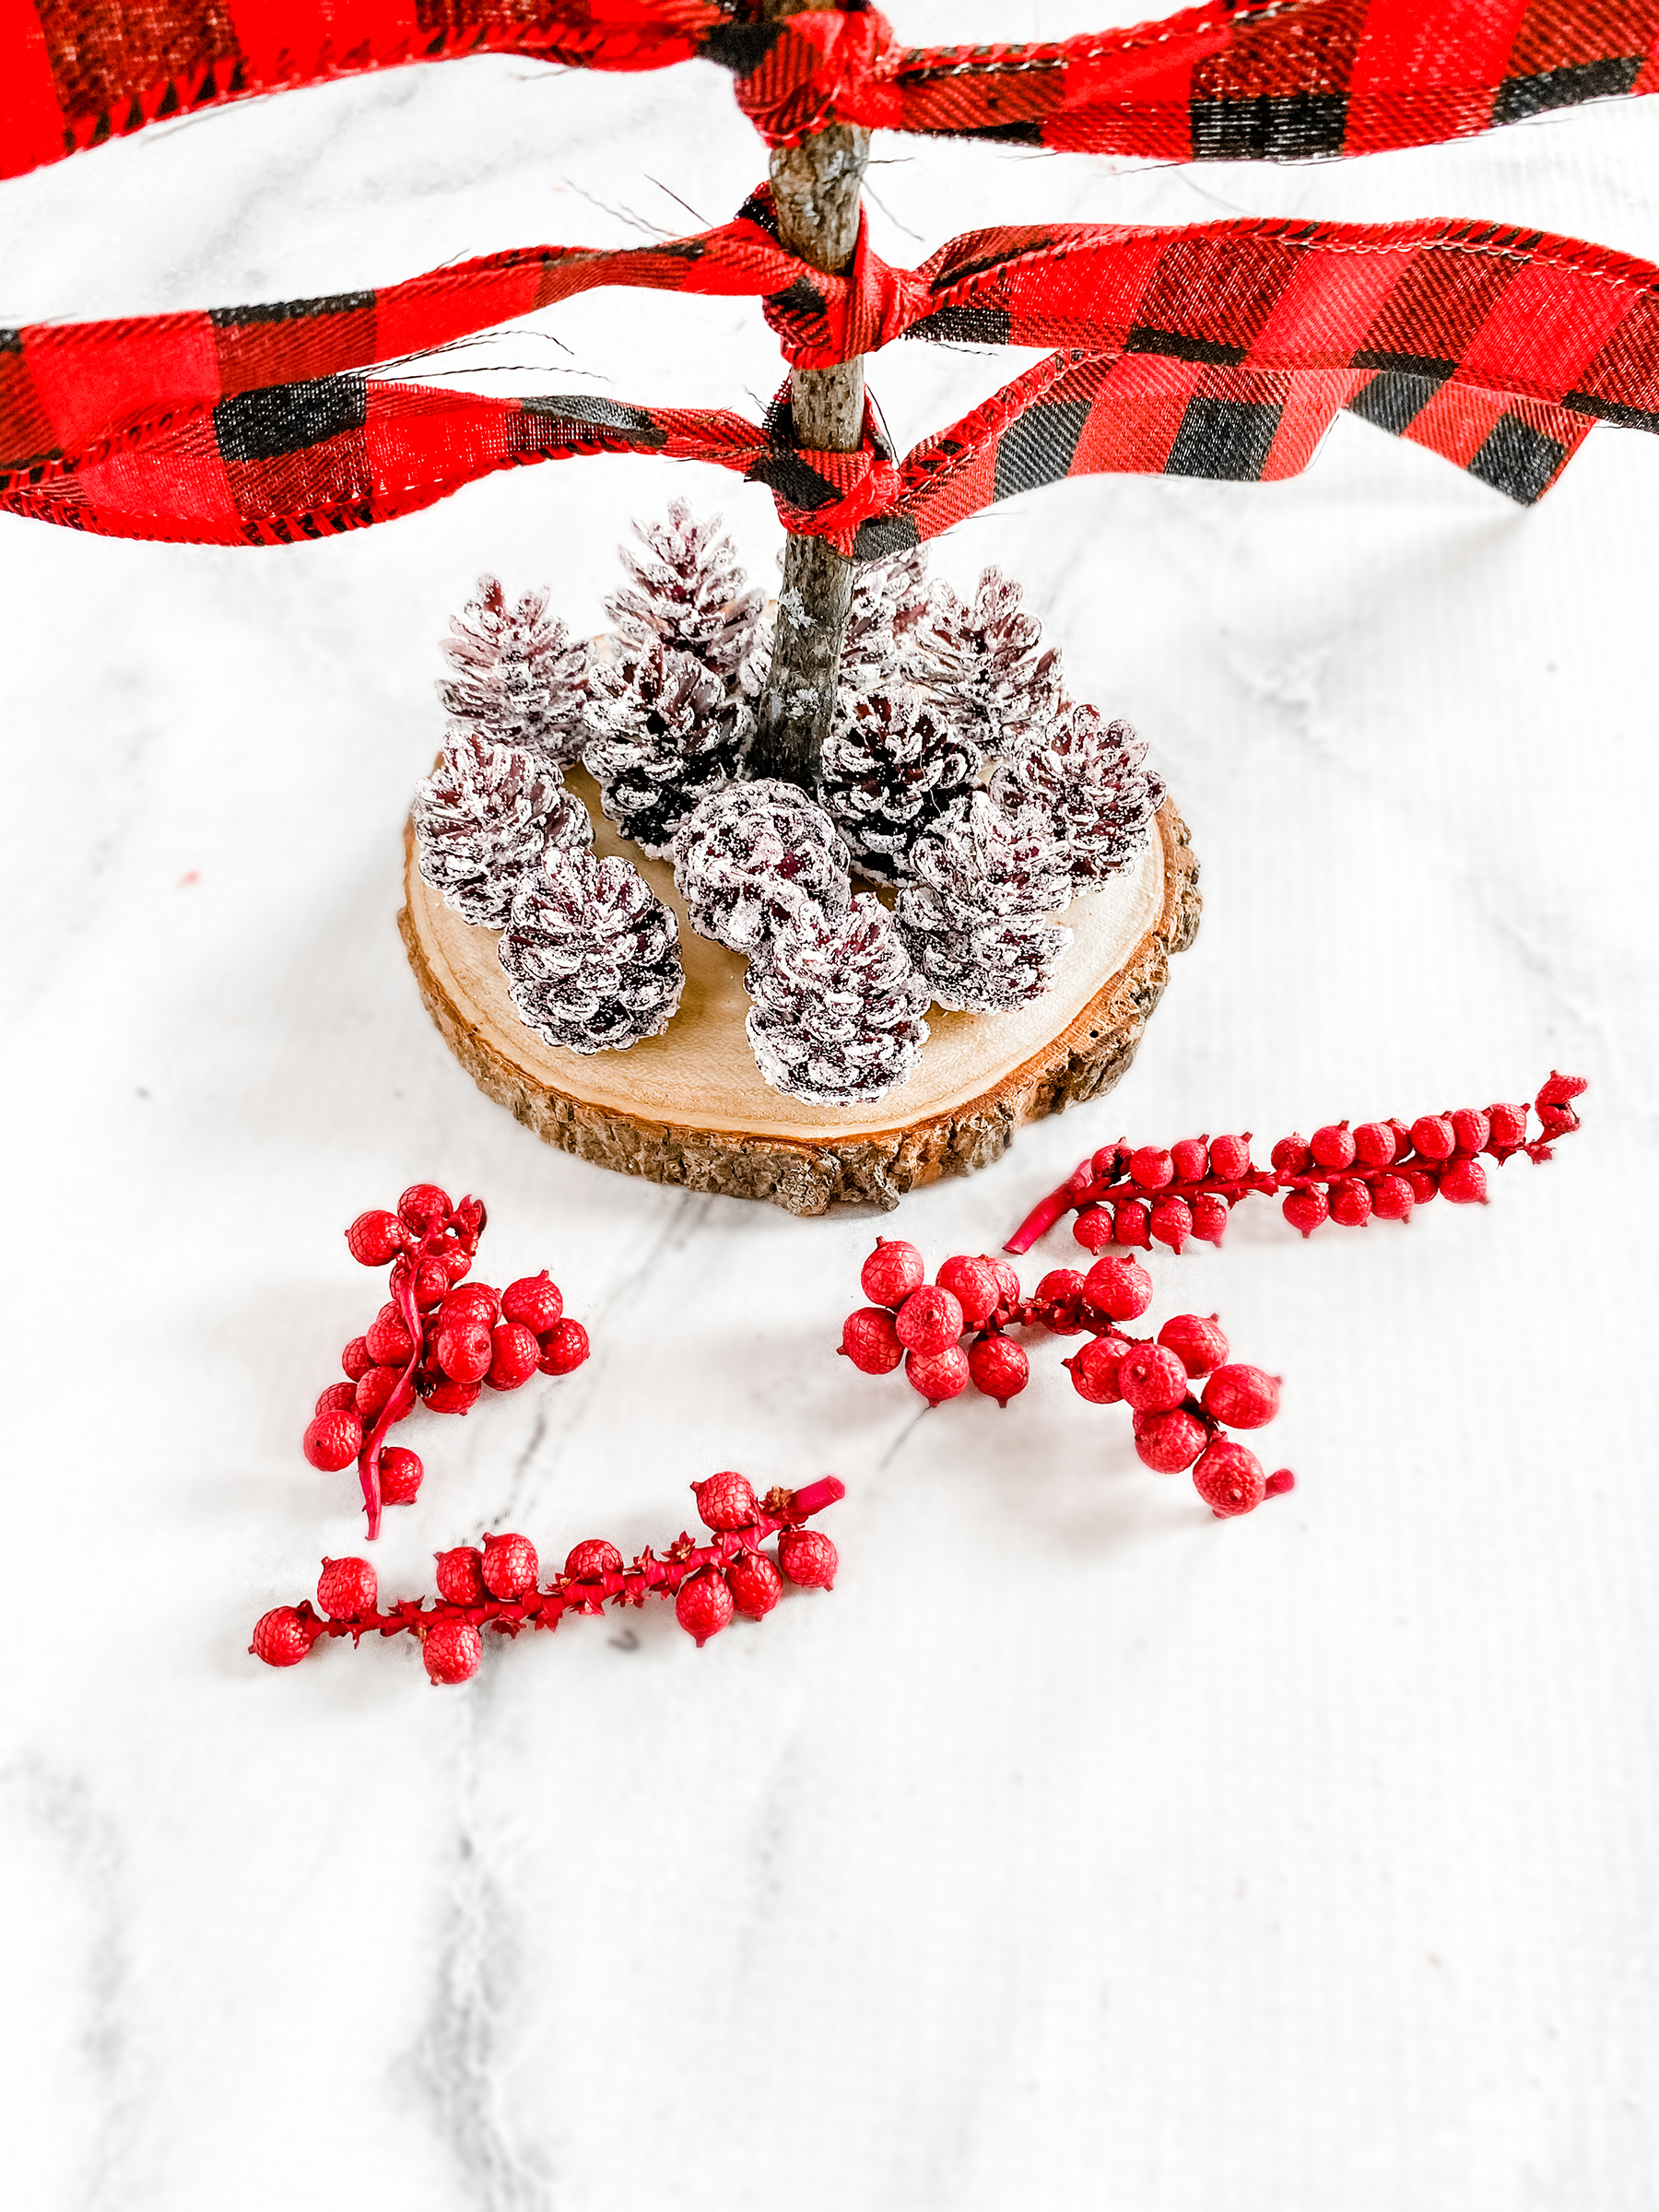
©Aimée Geroux | https://extremecouponingmom.ca
I always like to lay out my idea and then pick each piece up and glue it down.
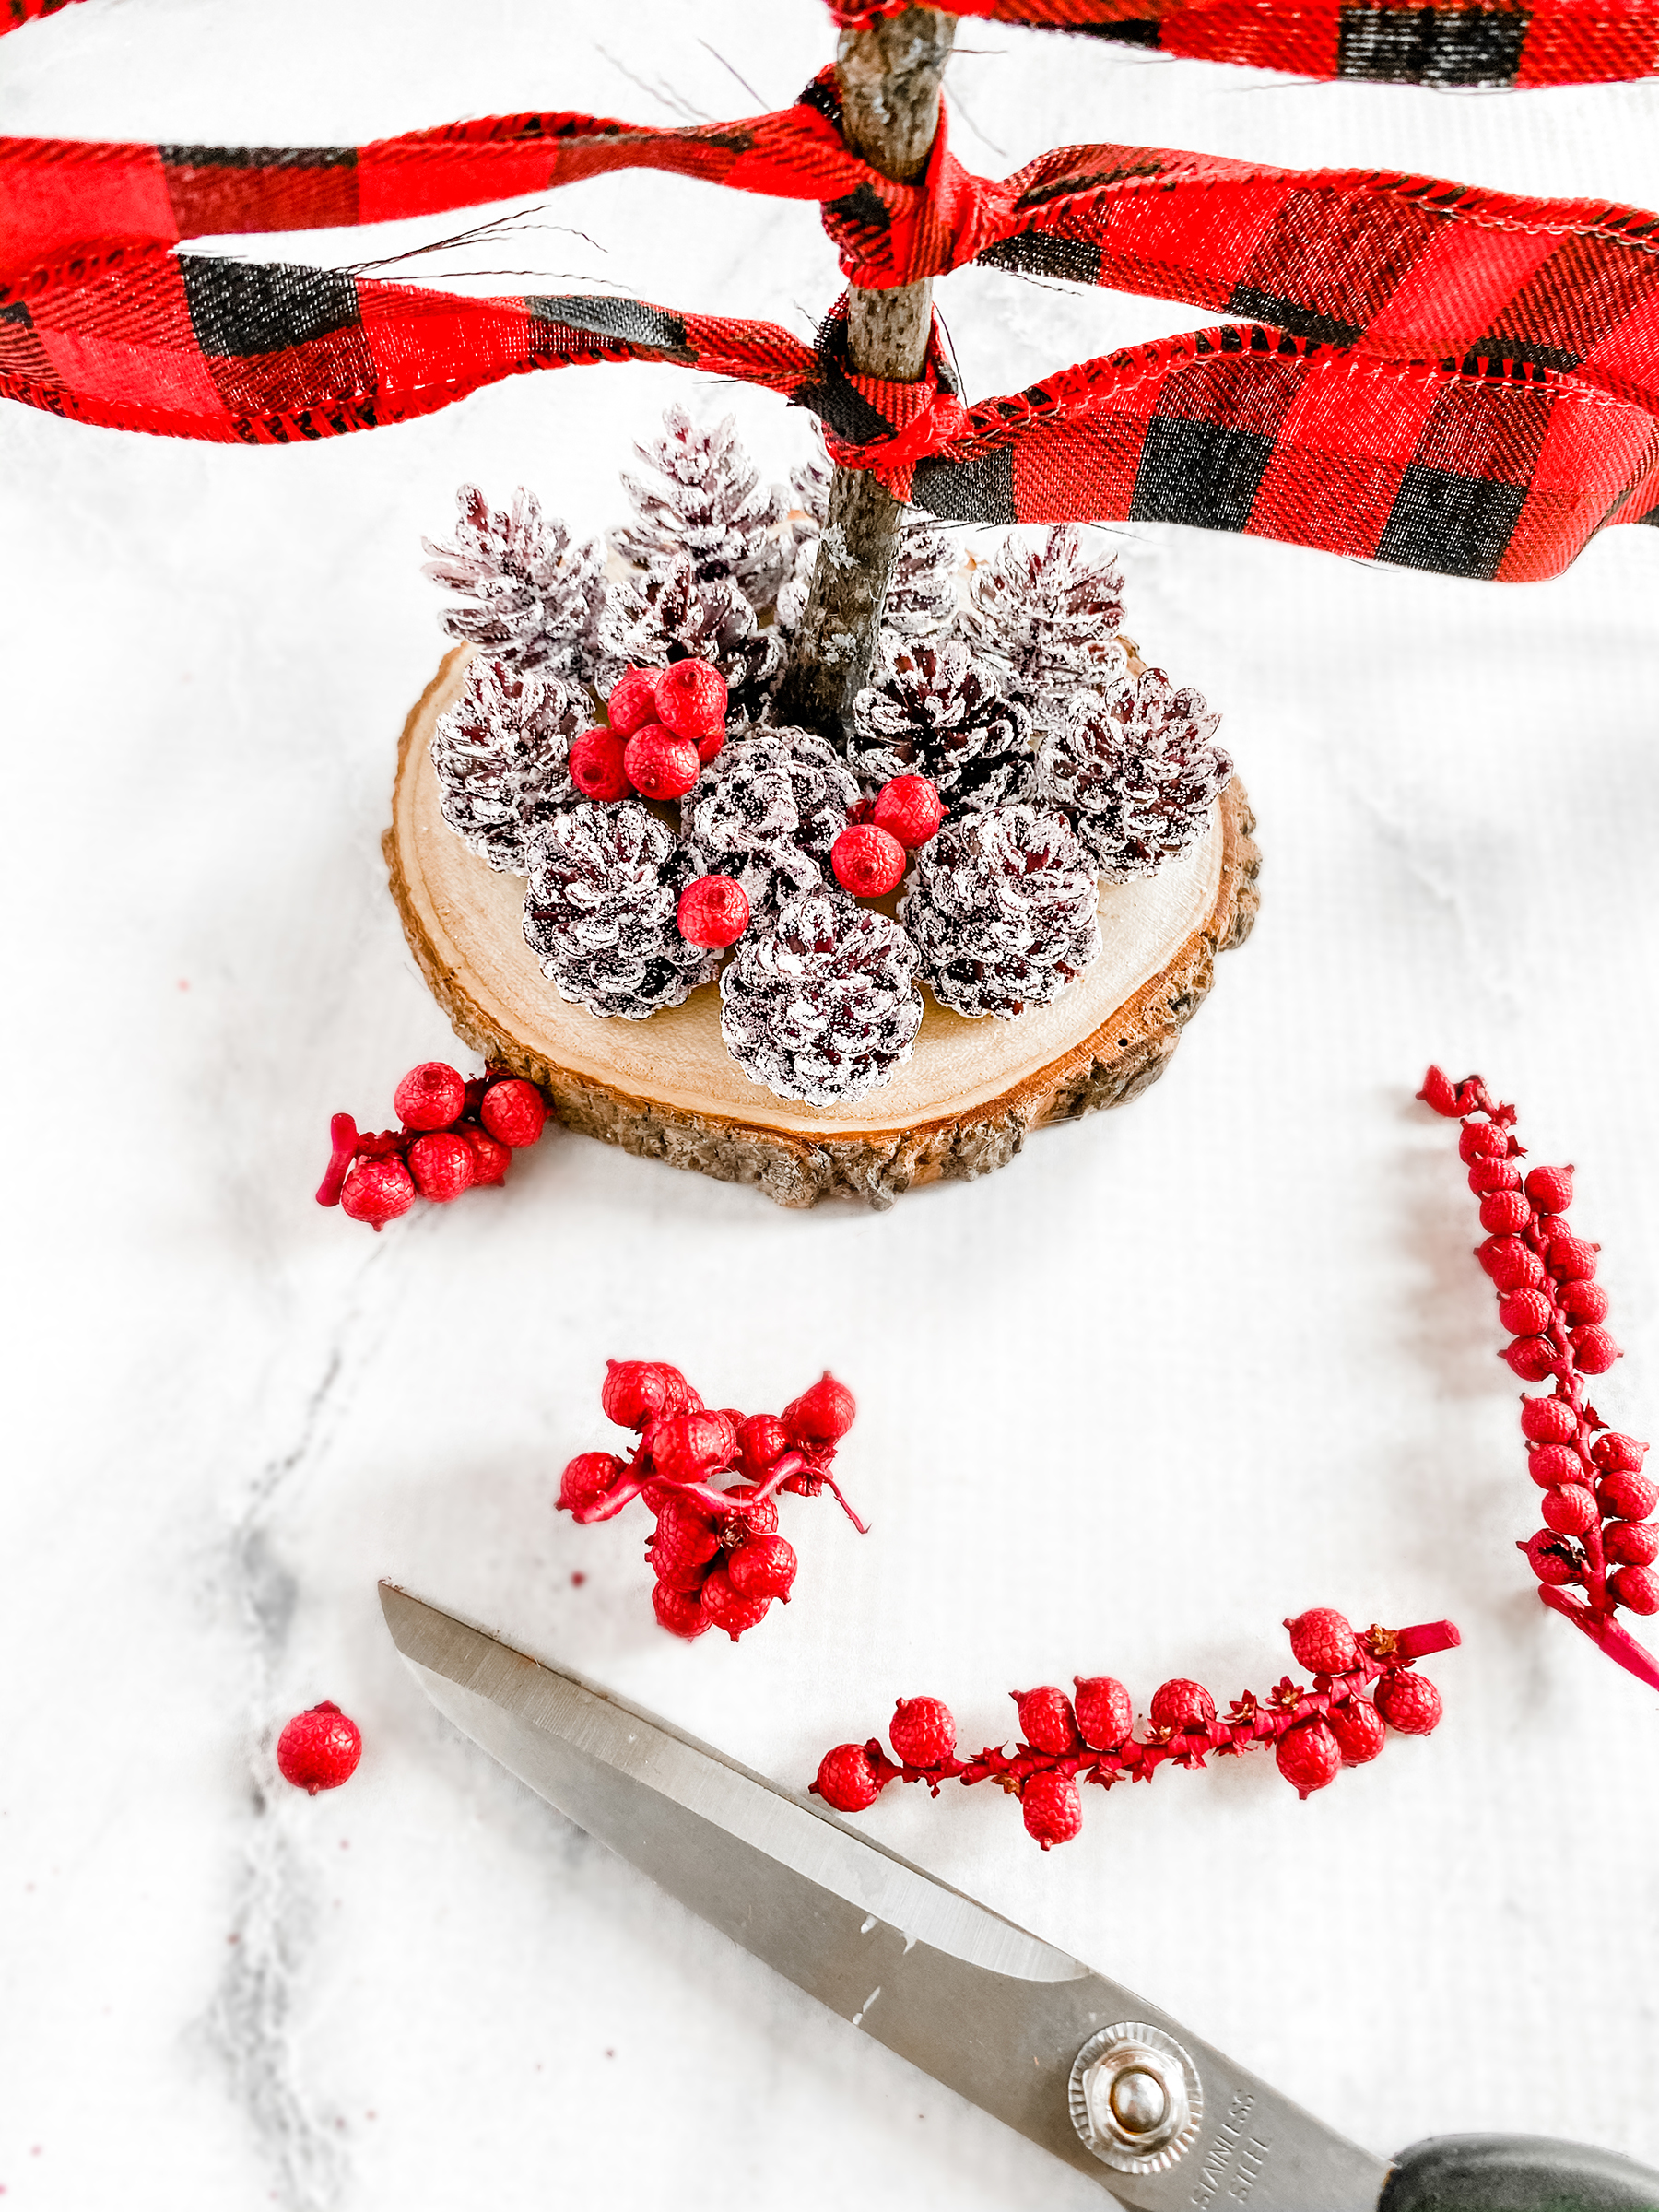
©Aimée Geroux | https://extremecouponingmom.ca
Add some more embellishments.
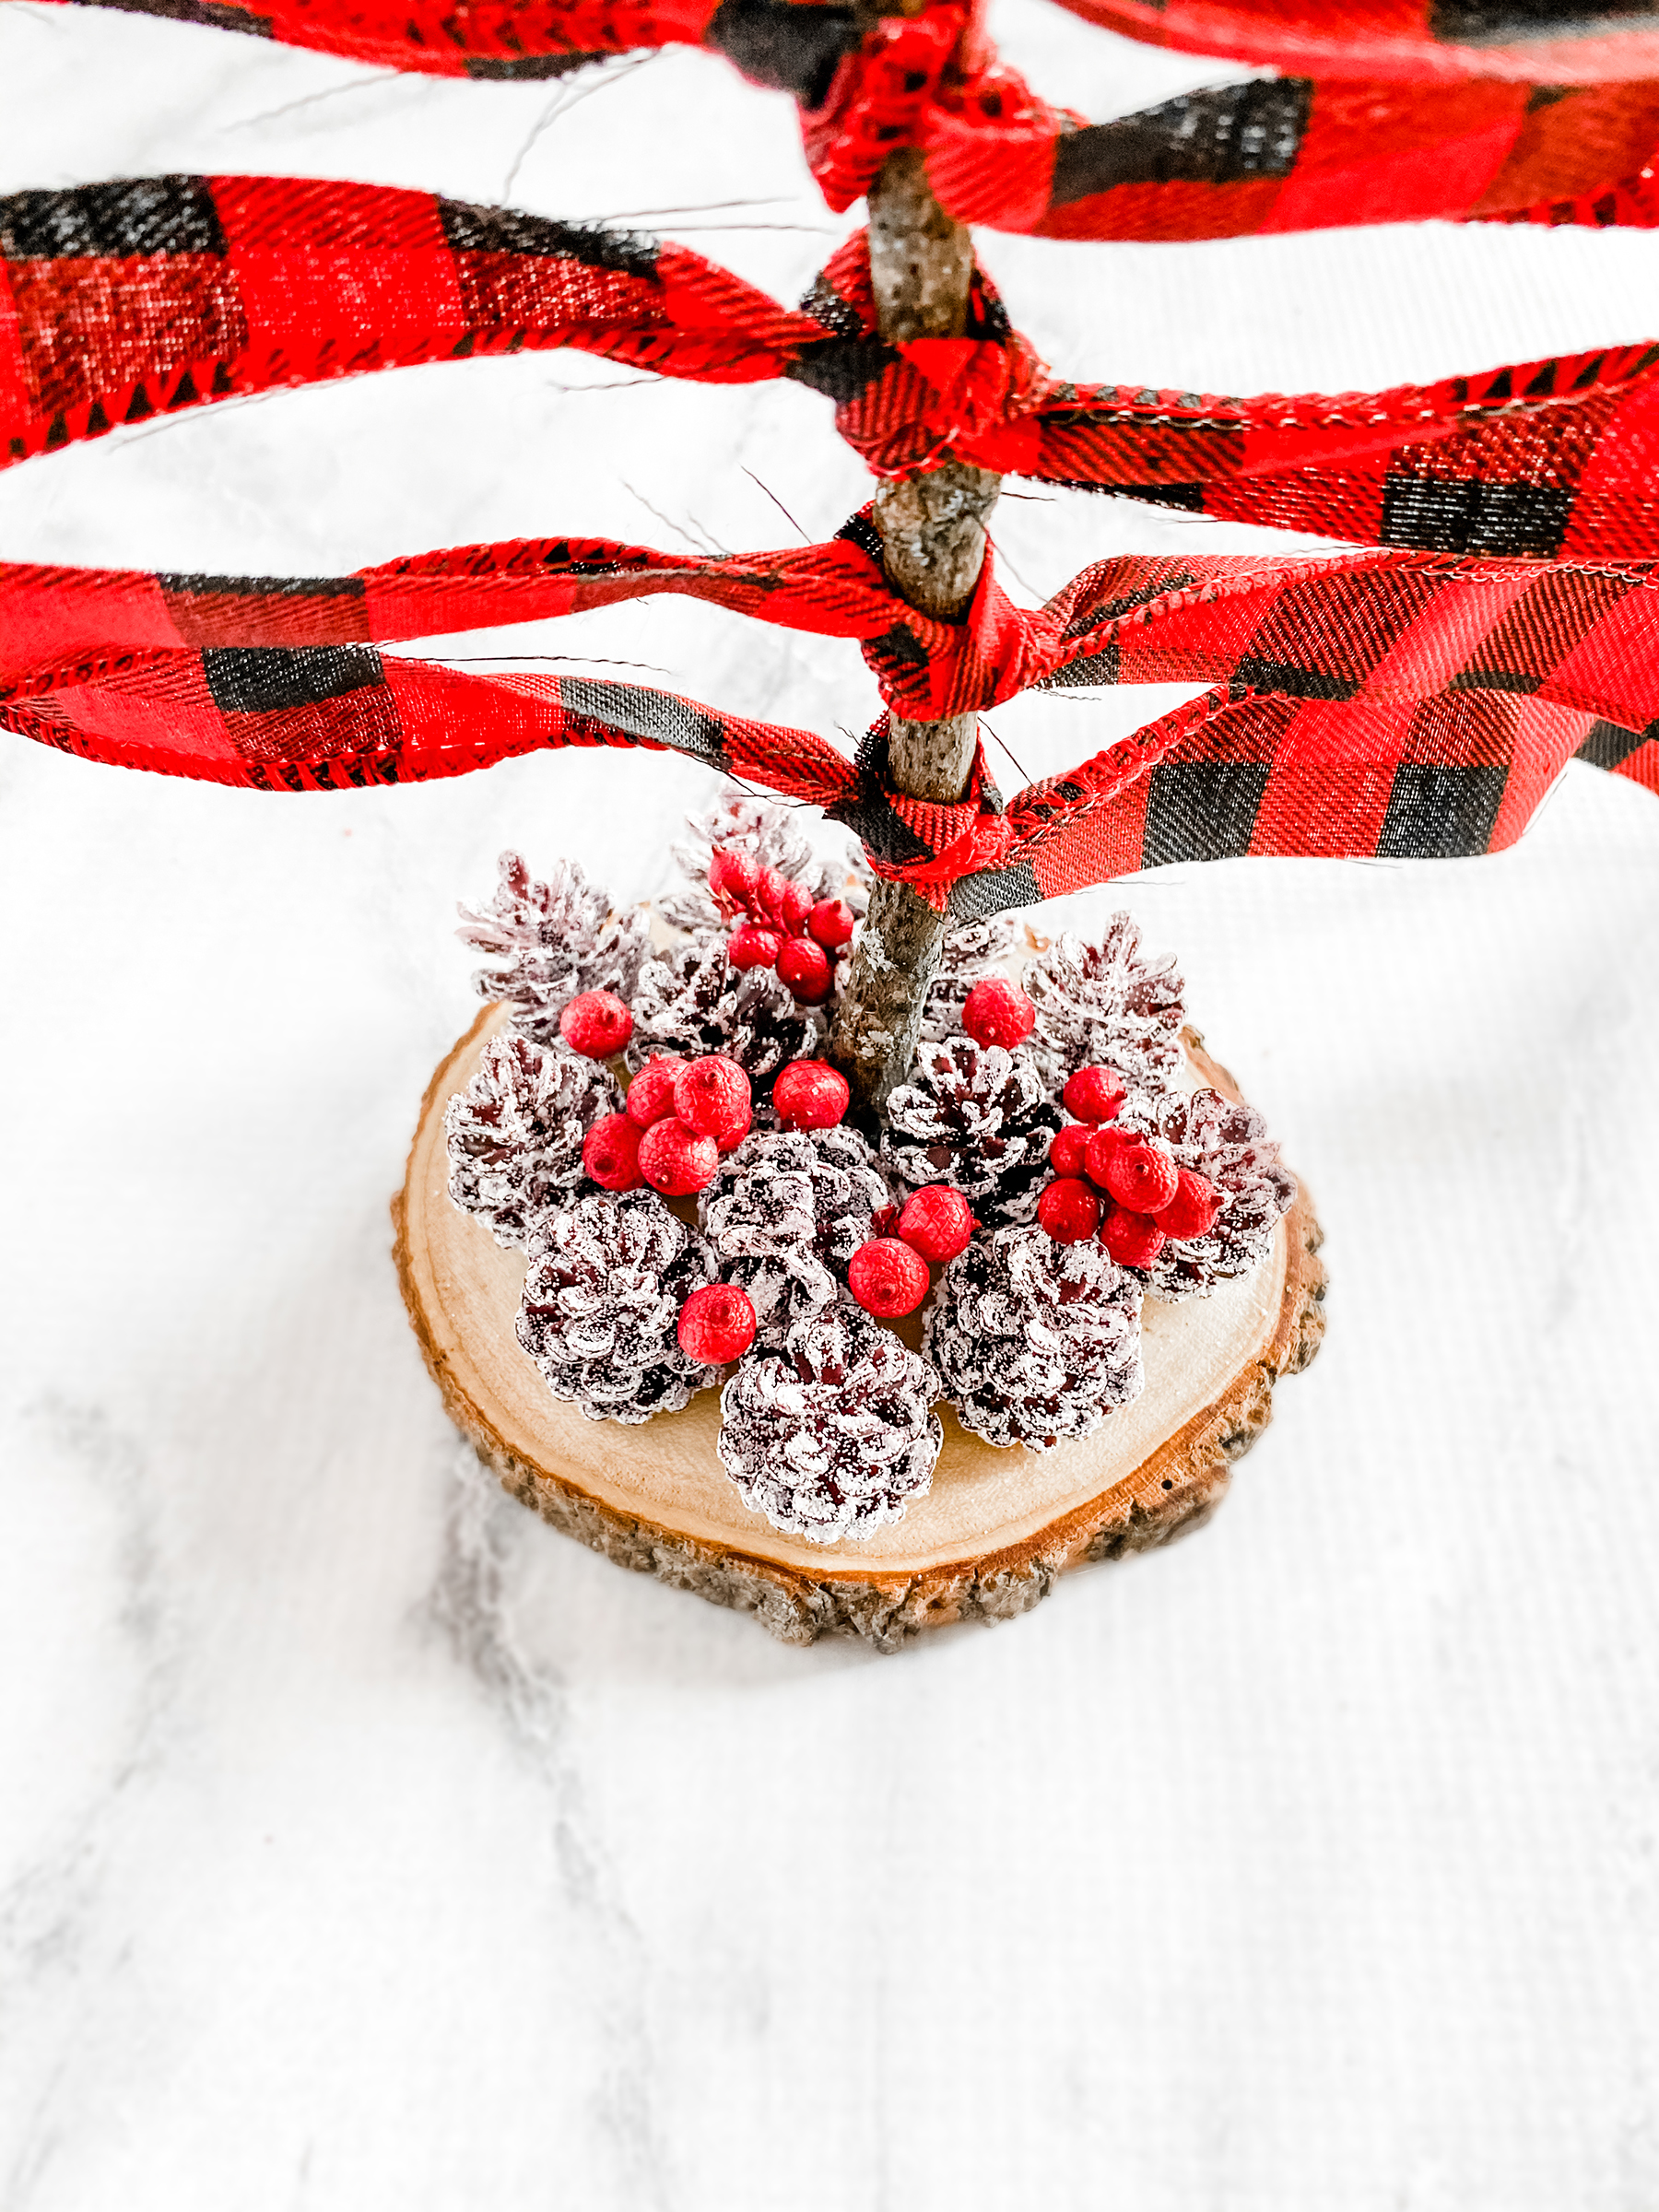
©Aimée Geroux | https://extremecouponingmom.ca
When you are happy with how your buffalo plaid Christmas tree looks you are done!
I originally was going to add a star at the top, but I changed my mind as I think it looks more rustic without it.
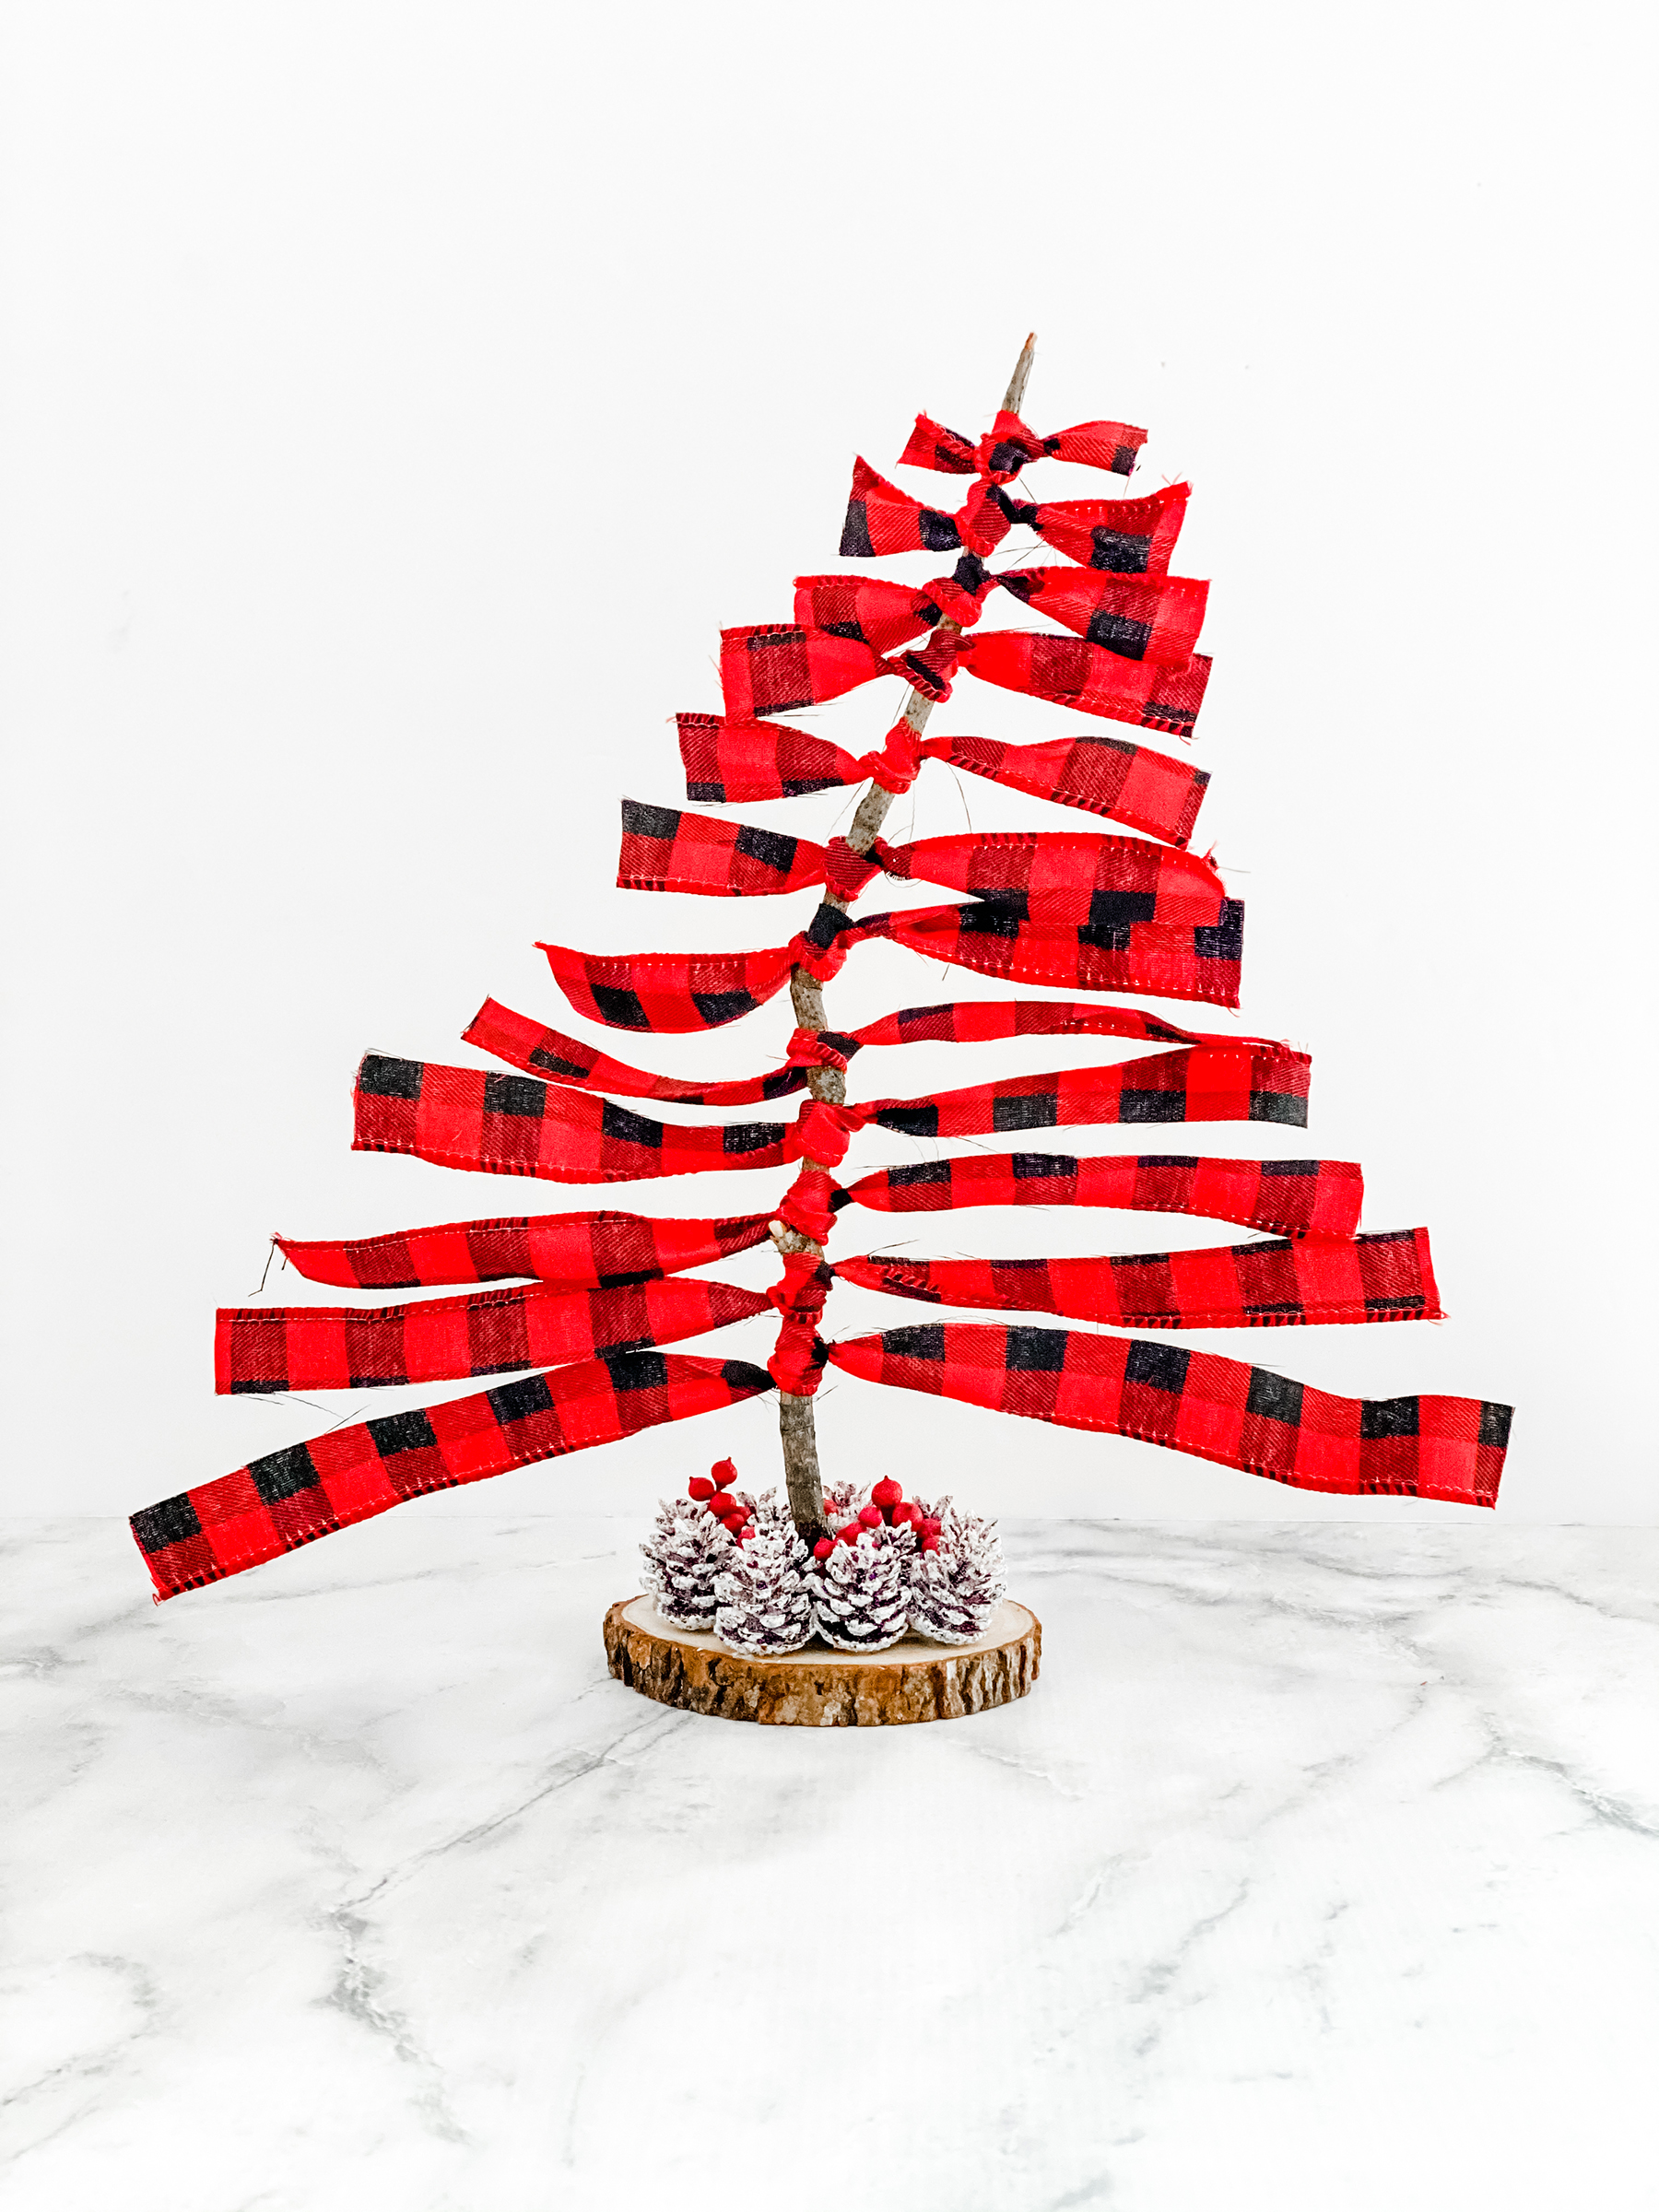
©Aimée Geroux | https://extremecouponingmom.ca
So pretty!
Buffalo Plaid Christmas Tree Decor DIY
Materials
- Glue gun
- Hot glue stick
- Stick
- Base/stand
- Ribbon
- Embellishments
Instructions
- Cut the bottom of the stick to make it as flat/level as possible.
- Next, cut strips of ribbon. You will need to cut them bigger than you want them as once they are tied they become a bit smaller and you will need to trim some off later on. Also, if your ribbon is a wider ribbon, cut it down the middle to make thinner strips.
- Starting at the bottom, begin tying the ribbon onto the stick.
- Continue until you have tied all your ribbon on. You can slide them up and down to adjust the spacing between them if needed.
- Once you are happy with how it looks it is time to trim. Starting at the top, you want to trim a bit off both sides. Each row should be a bit longer than the one above, you may need to trim a few times. Take a little off at a time as you can always take more off, but you cannot put it back on!
- Once you have trimmed your tree it is time to glue it onto the base. You can drill a small hole to glue it into for more stability. I am lazy so I just glued it to the base and held it there until it dried some.
- Sing a song while you wait for the glue to dry.
- Glue up the stick a bit on all sides to create some stability if not drilling a hole. Hold the stick in place until the glue dries, a few minutes.
- Using your chosen embellishments, start glueing them around the base of the stick.
- When you are happy with how your buffalo plaid Christmas tree looks you are done.
©Aimée Geroux | https://extremecouponingmom.ca
More Christmas DIY's
Check out these other fun Christmas DIY's to get you in the holiday spirit!
©Aimée Geroux | https://extremecouponingmom.ca
- Williams Sonoma Canada Cyber Monday Sale - December 1, 2025
- Knix Canada Cyber Monday Sale - December 1, 2025
- KitchenAid Canada Cyber Monday Sale - December 1, 2025


Leave a Reply